
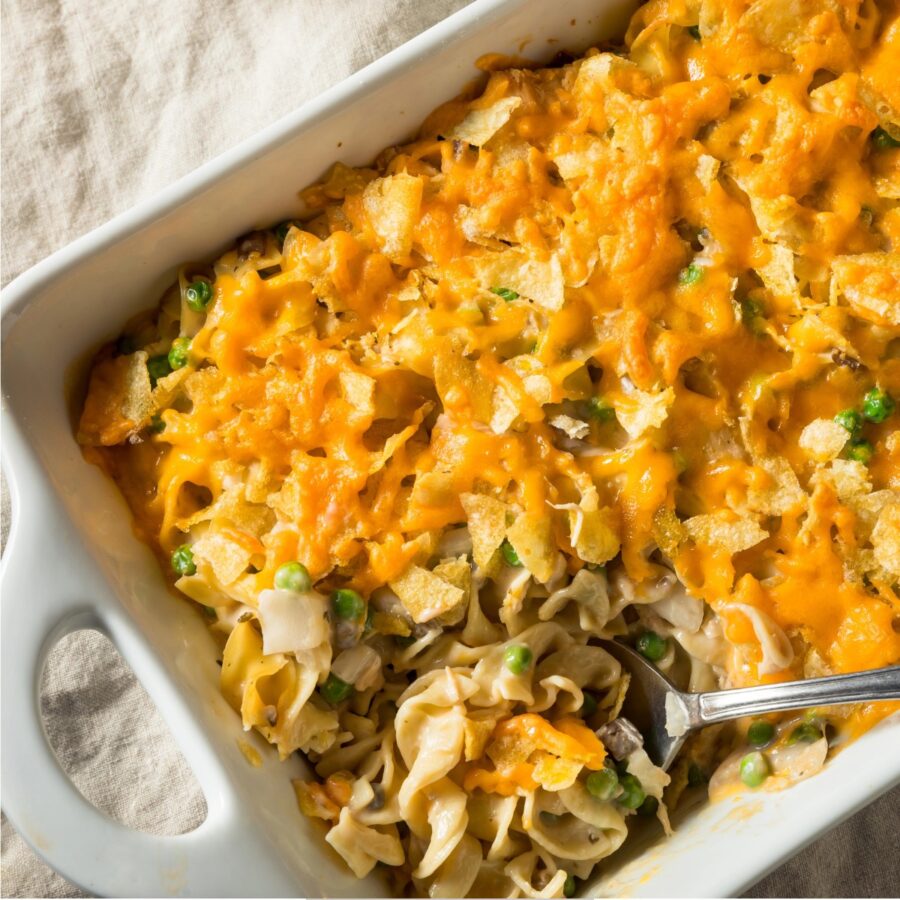
If you’re craving a classic comfort food that’s both satisfying and easy to make, this Tuna Casserole is the perfect choice. Packed with hearty noodles, creamy sauce, and flavorful tuna, this dish will quickly become a family favorite.
Why You’ll Love This Comforting Casserole
- Quick & Easy . Ready in under 40 minutes, making it a perfect meal for busy days.
- Comforting . A warm, creamy casserole that’s sure to hit the spot.
- Family-Friendly . The mild flavor and simple ingredients make it a hit with kids and adults alike.
- Versatile . Add or swap ingredients based on your preferences or dietary needs.
Whether you’re cooking for a busy weeknight or preparing a dish to feed a crowd, this tuna casserole is quick, filling, and guaranteed to please.
What Does Tuna Casserole Taste Like?
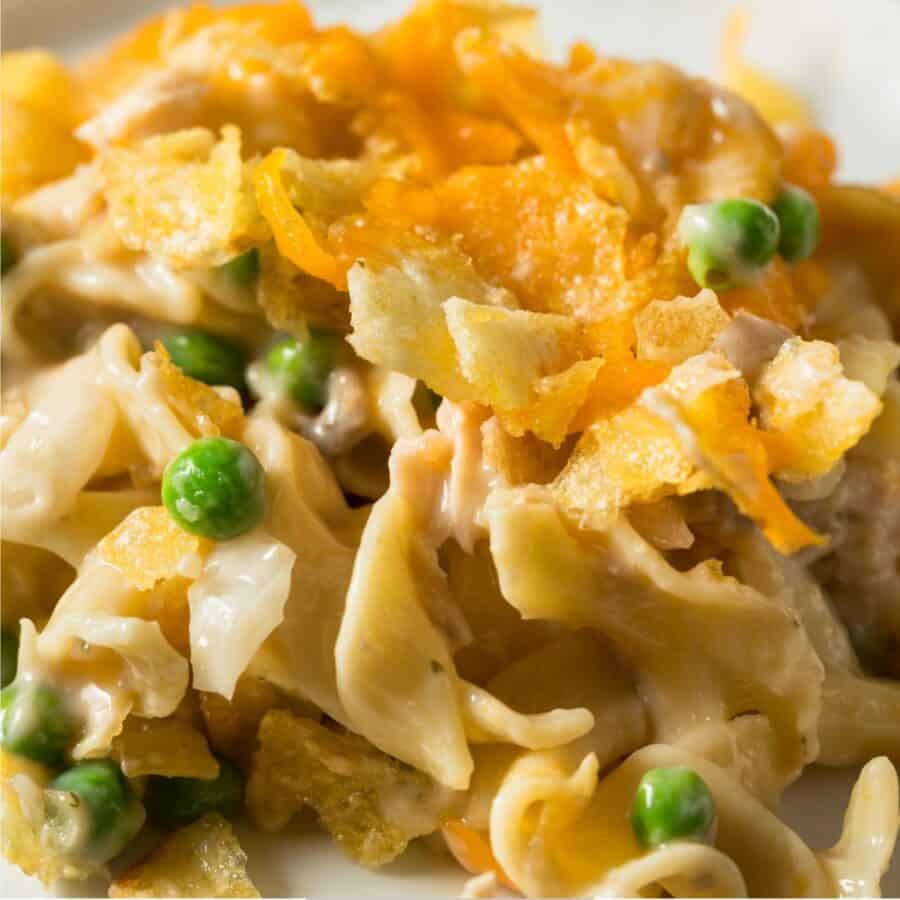
Tuna Casserole is a comforting blend of creamy sauce, tender noodles, and savory tuna. The mild flavor of tuna combined with the rich creaminess of the sauce and a crispy, cheesy topping makes this dish irresistibly good.
It’s the ultimate balance of flavor and texture, with a slight crunch on top and a soft, creamy filling.
Ingredients You’ll Need
Here’s what you’ll need to make this classic Tuna Casserole:
- Egg Noodles - They provide the perfect base for the casserole, soft and hearty when baked.
- Canned Tuna - A classic and budget-friendly choice for protein, making the dish both filling and flavorful.
- Cream of Mushroom Soup - This adds richness and helps bind the casserole together.
- Milk - Used to create a creamy sauce, adding moisture to the dish.
- Cheddar Cheese - Sharp cheddar adds flavor and melty goodness.
- Frozen Peas - For added texture and color. You can also use any vegetable you prefer.
- Onion - A mild aromatic that deepens the flavor of the casserole.
- Potato Chips - Topping the casserole with thin and crispy chips adds a satisfying crunch.
How To Make Tuna Casserole
- Cook the Noodles . Start by boiling the egg noodles according to the package instructions, then drain and set aside.
- Prepare the Tuna Mixture . In a large mixing bowl, combine the cooked noodles, canned tuna (drained), peas, and chopped onion. Stir in the cream of mushroom soup and milk, then season with salt and pepper to taste. The mixture should be creamy and well combined.
- Assemble the Casserole . Transfer the tuna mixture into a greased 9x13-inch baking dish. Spread it out evenly to ensure it bakes uniformly.
- Add the Cheese and Chips . Top the casserole with shredded cheddar cheese, making sure it covers the surface. Then sprinkle a generous amount of chips over the cheese for a crispy topping.
- Bake . Preheat your oven to 350°F. Place the casserole in the oven and bake for 20–25 minutes, or until the cheese is bubbly and the top is golden brown. You can also broil it for 1–2 minutes at the end for an extra crispy topping.
- Serve and Enjoy . Let the casserole cool slightly before serving. It pairs wonderfully with a simple side salad or steamed vegetables.
Tips And Tricks
Here are some creative variations you can try when making Tuna Casserole to suit different tastes or dietary preferences:
- Customize Your Vegetables . If you’re not a fan of peas, try adding other vegetables like corn, green beans, or even carrots for added flavor and texture.
- Add Extra Cheese . For a cheesier casserole, sprinkle extra cheese on top before baking or even mix it into the casserole filling.
- Use Fresh Herbs . Add parsley or thyme to enhance the flavor profile.
- Make It Gluten-Free . Use gluten-free pasta and substitute a gluten-free cream of mushroom soup if needed.
Variations
Here are some creative variations you can try when making Tuna Casserole to suit different tastes or dietary preferences:
- Spicy - Add some jalapeños or a bit of cayenne pepper to the sauce for a spicy kick.
- Tuna & Broccoli - Mix in steamed broccoli for a boost of nutrition and color.
- Low-Carb - Swap the noodles for zucchini noodles or cauliflower rice to make this casserole lower in carbs.
- With Crispy Onions - Top the casserole with crispy fried onions instead of breadcrumbs for a different crunch.
- Tuna & Spinach - Add spinach for added greens and a fresh flavor that complements the tuna.
What To Eat With Tuna Casserole
Tuna casserole is hearty and satisfying, but a few sides can elevate the meal even further. Here are some perfect pairings:
- Salad - A simple green salad with a light vinaigrette helps balance the richness of the casserole.
- Garlic Bread - Serve with garlic bread or toasted rolls for an extra indulgent side.
- Roasted Vegetables - A mix of roasted carrots, sweet potatoes, or brussels sprouts pairs nicely with the creamy casserole.
- Coleslaw - A tangy coleslaw adds a crunchy, refreshing element to the meal.
How Long Does It Last?
Leftover tuna casserole can be stored in the refrigerator in an airtight container for up to 3-4 days. The flavors often intensify as it sits, making it even better the next day!
Can You Freeze It?
Yes! Tuna casserole freezes well. Let it cool completely before transferring to a freezer-safe container. It will last in the freezer for up to 2-3 months.
When you’re ready to eat, thaw it in the refrigerator overnight and bake it at 350°F for 20-25 minutes until heated through.
More Terriffic Tuna Recipes
- Tuna Melt
- Smoked Tuna Dip
- Keto Tuna Salad
- Salade Niçoise


Tuna Casserole Recipe | Classic Comforting Casserole
Ingredients
- ▢ 6 ounces Egg Noodles
- ▢ 10 ounces Canned Tuna , drained and flaked
- ▢ 10.5 ounces Cream of Mushroom Soup
- ▢ 1/2 cup Milk
- ▢ 1 1/2 cups Cheddar Cheese , shredded
- ▢ 1 cup Peas , frozen
- ▢ 1/2 Onion , chopped
- ▢ 1 cup Potato Chips , crushed
Instructions
- Cook the Noodles . Start by boiling the egg noodles according to the package instructions, then drain and set aside.
- Prepare the Tuna Mixture . In a large mixing bowl, combine the cooked noodles, canned tuna (drained), peas, and chopped onion. Stir in the cream of mushroom soup and milk, then season with salt and pepper to taste. The mixture should be creamy and well combined.
- Assemble the Casserole . Transfer the tuna mixture into a greased 9x13-inch baking dish. Spread it out evenly to ensure it bakes uniformly.
- Add the Cheese and Chips . Top the casserole with shredded cheddar cheese, making sure it covers the surface. Then sprinkle a generous amount of chips over the cheese for a crispy topping.
- Bake . Preheat your oven to 350°F. Place the casserole in the oven and bake for 20–25 minutes, or until the cheese is bubbly and the top is golden brown. You can also broil it for 1–2 minutes at the end for an extra crispy topping.
- Serve and Enjoy . Let the casserole cool slightly before serving. It pairs wonderfully with a simple side salad or steamed vegetables.
Get support & connect with our community on Facebook!
Nutrition

If you already signed up, you should have received an email with a password to give you unlimited access to our FREE Printable Library. The password is case sensitive. Enter it below and get printing!
Password:

Tuna Casserole Recipe | Classic Comforting Casserole
Ingredients
- 6 ounces Egg Noodles
- 10 ounces Canned Tuna drained and flaked
- 10.5 ounces Cream of Mushroom Soup
- 1/2 cup Milk
- 1 1/2 cups Cheddar Cheese shredded
- 1 cup Peas frozen
- 1/2 Onion chopped
- 1 cup Potato Chips crushed
Instructions
- Cook the Noodles . Start by boiling the egg noodles according to the package instructions, then drain and set aside.
- Prepare the Tuna Mixture . In a large mixing bowl, combine the cooked noodles, canned tuna (drained), peas, and chopped onion. Stir in the cream of mushroom soup and milk, then season with salt and pepper to taste. The mixture should be creamy and well combined.
- Assemble the Casserole . Transfer the tuna mixture into a greased 9x13-inch baking dish. Spread it out evenly to ensure it bakes uniformly.
- Add the Cheese and Chips . Top the casserole with shredded cheddar cheese, making sure it covers the surface. Then sprinkle a generous amount of chips over the cheese for a crispy topping.
- Bake . Preheat your oven to 350°F. Place the casserole in the oven and bake for 20–25 minutes, or until the cheese is bubbly and the top is golden brown. You can also broil it for 1–2 minutes at the end for an extra crispy topping.
- Serve and Enjoy . Let the casserole cool slightly before serving. It pairs wonderfully with a simple side salad or steamed vegetables.
Tuna Casserole Recipe | Classic Comforting Casserole https://twosleevers.com/tuna-casserole-recipe/
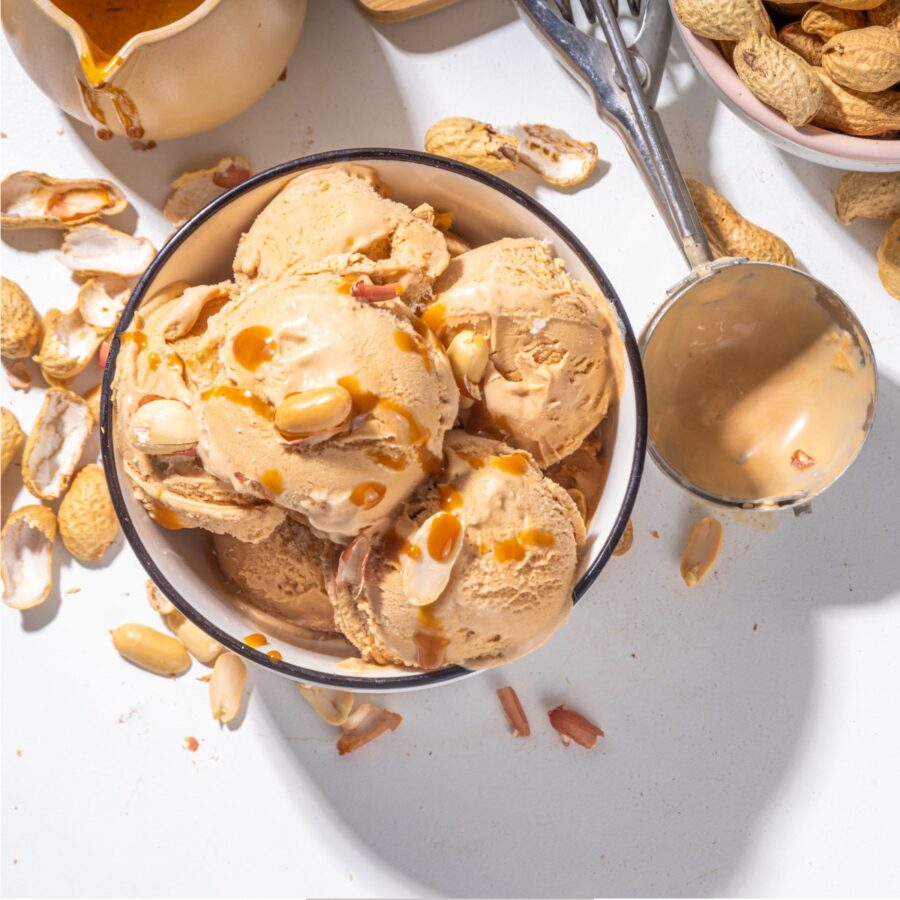
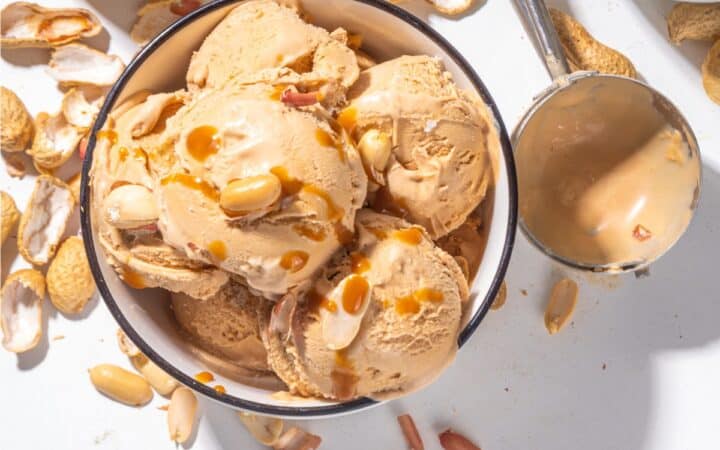
If you’re obsessed with the creamy, nutty richness of peanut butter and looking for a simple way to cool down, you’ll love this easy Peanut Butter Ice Cream recipe. No ice cream maker? No problem. This no-churn version delivers the same luscious texture and decadent flavor with just a few ingredients and minimal prep.
Why You’ll Love This Incredible Ice Cream Recipe
- No-Churn. No special equipment required. All you need is a hand mixer and a freezer!
- Creamy & Dreamy. This dessert has a thick, smooth texture thanks to whipped cream and sweetened condensed milk.
- Peanut Butter Perfection. Rich, salty-sweet peanut butter flavor in every bite.
- Customizable. Stir in your favorite add-ins like chocolate chips or peanut butter cups.
Whether you’re hosting a backyard BBQ or need a quick make-ahead dessert, this homemade peanut butter ice cream is the ultimate cool-down treat that everyone will crave.
Is Peanut Butter Ice Cream Good?
Absolutely! Peanut Butter Ice Cream is beloved for its velvety smooth texture and deeply satisfying flavor.
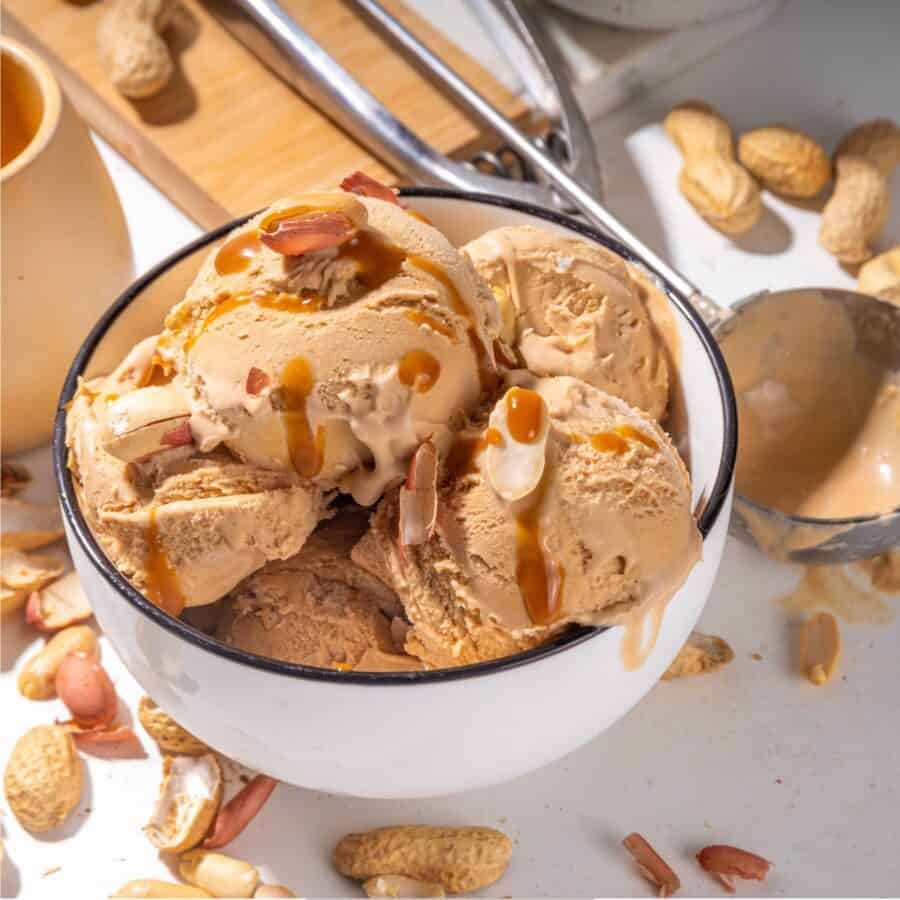
The nuttiness from the peanut butter pairs beautifully with the creamy base, striking a perfect balance between salty and sweet. It’s indulgent without being over-the-top and makes a great base for toppings like chocolate drizzle, caramel, or crushed peanuts.
What Is Peanut Butter Ice Cream Made Of?
- Heavy Cream – Adds richness and creaminess to the ice cream.
- Sweetened Condensed Milk – Provides sweetness and a smooth texture.
- Peanut Butter – Use your favorite creamy or chunky peanut butter.
- Vanilla Extract – Enhances the overall flavor.
- Salt – Balances the sweetness and enhances the peanut butter flavor.
How To Make Peanut Butter Ice Cream
- Prepare the Mixture. In a large mixing bowl, combine the sweetened condensed milk, peanut butter, vanilla extract, and salt. Stir until the mixture is smooth and well combined.
- Whip the Cream. In a separate bowl, whip the heavy cream until stiff peaks form. This usually takes about 3-4 minutes using an electric mixer on medium-high speed.
- Combine the Mixtures. Gently fold the whipped cream into the peanut butter mixture. Be careful not to deflate the whipped cream, as this will ensure a light and airy texture.
- Freeze. Transfer the mixture to a loaf pan or airtight container. Smooth the top with a spatula and cover with plastic wrap or a lid. Freeze for at least 6 hours or overnight.
- Serve. Scoop it into bowls or cones. Enjoy as is, or top with additional peanut butter, chocolate chips, or crushed peanuts for extra flavor and texture.
Tips And Tricks
Making Peanut Butter Ice Cream is a simple and rewarding process, and a few tips and tricks can help you achieve the best possible results. Here are some pointers to ensure your ice cream turns out perfectly creamy and flavorful:
- Use Cold Ingredients – Make sure your heavy cream is cold before whipping. This helps achieve stiff peaks and a creamy texture.
- Don’t Overmix – When folding the whipped cream into the peanut butter mixture, be gentle to maintain the airy texture.
- Adjust Sweetness – Taste the mixture before freezing and adjust the sweetness to your liking by adding more sweetened condensed milk if necessary.
Variations
If you love this recipe and want to try some creative variations, here are a few delicious ideas to explore:
- Chocolate Peanut Butter – Swirl melted chocolate or chocolate chips into the mixture before freezing for a delightful chocolatey twist.
- Banana Peanut Butter – Add mashed bananas to the peanut butter mixture for a fruity, nutty flavor combination.
- Peanut Butter Cup – Mix in chopped peanut butter cups for an extra indulgent treat.
What To Enjoy With Peanut Butter Ice Cream
Peanut Butter Ice Cream is a versatile dessert that pairs well with a variety of toppings and accompaniments. Here are some delicious options to consider serving alongside it:
- Chocolate Syrup – Drizzle over the ice cream for a rich, chocolatey contrast.
- Whipped Cream – Add a dollop of whipped cream for extra creaminess.
- Caramel Sauce – The sweet, buttery flavor of caramel complements the nutty peanut butter perfectly.
- Cookies – Serve with chocolate chip cookies or peanut butter cookies for a delightful crunch.
How Long Does It Last?
Peanut Butter Ice Cream can be stored in the freezer in an airtight container for up to 2 weeks. For the best texture and flavor, allow it to sit at room temperature for a few minutes before scooping.
More Delicious Desserts
- Deviled Strawberries
- Chocolate Chip Cookie Bars
- S’mores Brownies
- Lemon Tarts
- Cool Whip Cookies
- Cottage Cheese Ice Cream
- Strawberry Trifle
Watch The Video

Peanut Butter Ice Cream Recipe | No Churn Ice Cream
Ingredients
- ▢ 2 cups Heavy Cream
- ▢ 14 oz Sweetened Condensed Milk
- ▢ 1 cup Creamy Peanut Butter
- ▢ 1 tsp Vanilla Extract
- ▢ 1/4 tsp Kosher Salt
Instructions
- Prepare the Mixture. In a large mixing bowl, combine the sweetened condensed milk, peanut butter, vanilla extract, and salt. Stir until the mixture is smooth and well combined.
- Whip the Cream. In a separate bowl, whip the heavy cream until stiff peaks form. This usually takes about 3-4 minutes using an electric mixer on medium-high speed.
- Combine the Mixtures. Gently fold the whipped cream into the peanut butter mixture. Be careful not to deflate the whipped cream, as this will ensure a light and airy texture.
- Freeze. Transfer the mixture to a loaf pan or airtight container. Smooth the top with a spatula and cover with plastic wrap or a lid. Freeze for at least 6 hours or overnight.
- Serve. Scoop it into bowls or cones. Enjoy as is, or top with additional peanut butter, chocolate chips, or crushed peanuts for extra flavor and texture.
