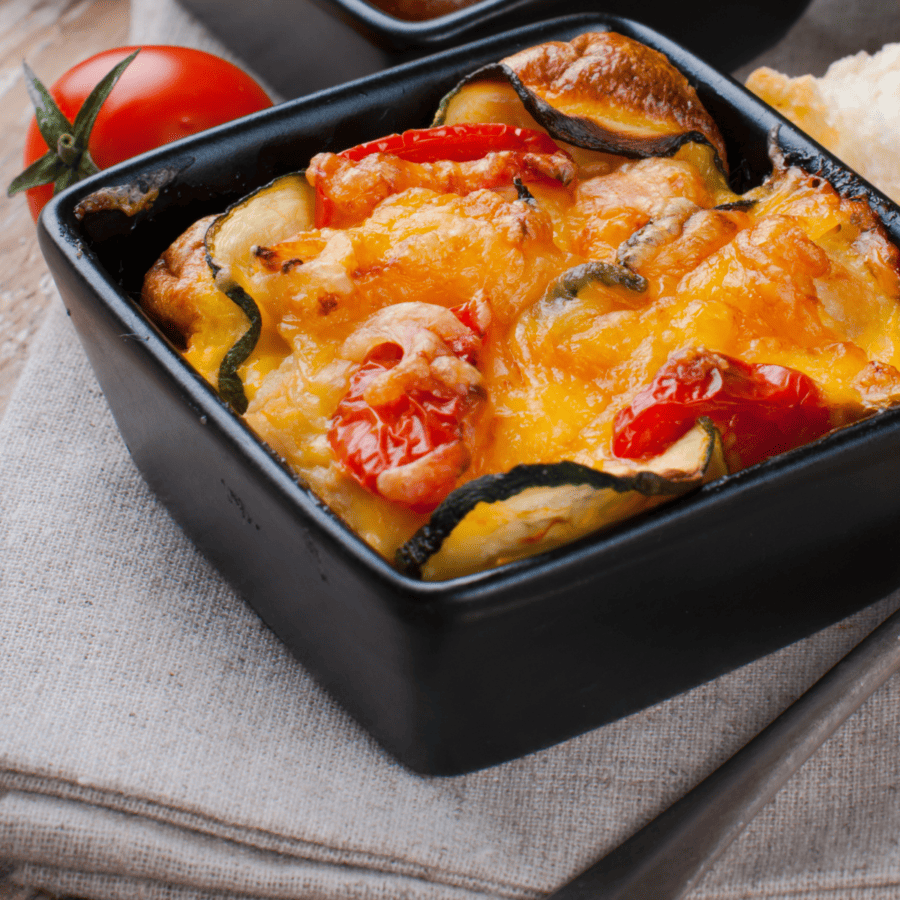
Low Carb Taco Casserole seamlessly blends the vibrant flavors of tacos with a comforting casserole, ensuring a memorable meal that’s sure to become a household favorite.
Why You’ll Love It
- Easy. Prep your veggies, cook the ground beef, layer it up, and bake until flavorful and bubbly.
- Low Carb. Minimal carbs per serving!
- Versatile. Adjust the ingredients to include your favorite low carb taco fillings for a beef recipe your whole family will love.
- Delicious. A main course that is absolutely bursting with tons of taco flavor.
A comforting meal that’s low in carbs yet high in taste, proving that you don’t have to compromise on flavor to honor your dietary goals. This Low Carb Taco Casserole is the epitome of mindful eating and flavorful ingredients, inviting you to savor the richness of Tex-Mex cuisine with every mouthwatering forkful.
How Many Carbs Are In A Taco Bake?
A typical low-carb casserole aims to reduce carbohydrate content by replacing high-carb ingredients like pasta, rice, or potatoes with lower-carb alternatives. That’s exactly what we did with this recipe.
Instead of using rice in this comforting casserole, we included riced cauliflower to give a similar texture and comfort factor without all of the carbs.
This delicious Taco Bake only has net carbs per serving!
Ingredients You’ll Need
- Ground Beef
- Keto Taco Seasoning
- Diced Onion
- Diced Bell Pepper
- Garlic
- Riced Cauliflower
- Diced Zucchini
- Diced Tomatoes
- Shredded Cheddar Cheese
- Black Olives
- Cilantro
- Green Onions
How To Make Taco Casserole
- Preheat the Oven. Preheat your oven to 375°F.
- Prepare the Meat Layer. Brown the ground beef in a skillet until fully cooked. Drain excess fat. Add the onion, bell pepper, and garlic to the skillet. Sauté until the vegetables are tender. Stir in the taco seasoning and a splash of water. Allow the mixture to simmer for a few minutes until the flavors meld.
- Assemble the Casserole. In a greased 9x13-inch baking dish, spread the cooked meat mixture evenly as the first layer. Spread the riced cauliflower evenly over the meat layer. Layer the diced zucchini on top of the cauliflower. Scatter the diced tomatoes over the zucchini.
- Add the Cheese Layer. Sprinkle the shredded cheddar cheese over the vegetable layer, creating a generous and even covering.
- Bake and Serve. Place the casserole in the preheated oven and bake for 20-25 minutes, or until the cheese is melted and bubbly, and the casserole is heated through. Once baked, remove the casserole from the oven and let it rest for a few minutes before slicing. Garnish the casserole with black olives, cilantro, and green onions.

Tips And Tricks
- Make It Ahead: You can assemble the casserole ahead of time and refrigerate it until you’re ready to bake and serve.
Variations
Elevate your low carb taco casserole game with these creative and delicious variations that cater to your taste preferences and dietary needs. These options offer a diverse range of flavors and ingredients while keeping the carb count in check:
- Customize the Proteins . Feel free to use ground turkey, chicken, or even a plant-based alternative for the meat layer, according to your dietary preferences.
- Try Cheese Variations . Experiment with different cheeses, such as Monterey Jack, pepper jack, or a Mexican cheese blend, to create unique flavor profiles.
- Make it Vegetarian. Utilize thin slices of eggplant as the base layer. Top with seasoned ground meat, diced tomatoes, and a sprinkle of cotija cheese for a unique and savory option.
What To Serve With Taco Casserole
Complement your flavorful Low-Carb Taco Casserole with a variety of delicious and nutritious side dishes that enhance the meal without adding unnecessary carbs. Here are some tasty options to consider:
- Low Carb Tortilla Chips - If you’re looking for a crunchy element, serve the casserole with low-carb tortilla chips on the side.
- Guacamole - Prepare a creamy guacamole using ripe avocados, diced tomatoes, red onion, lime juice, and a sprinkle of cumin and salt. Serve with cucumber or bell pepper slices for dipping.
- Sour Cream or Greek Yogurt - Offer a dollop of sour cream or plain Greek yogurt on the side for a cool and creamy contrast.
How Long Does It Last?
A properly stored low-carb taco casserole can last for about 3 to 5 days in the refrigerator.
Allow the taco casserole to cool down to room temperature before refrigerating. Transfer the casserole to an airtight container or cover it tightly with plastic wrap or aluminum foil.
When you’re ready to enjoy the leftover casserole, reheat it in the microwave or oven until it is warmed through.
Can You Freeze It?
Yes, you can absolutely freeze low-carb taco casserole for longer storage. Freezing is a convenient way to preserve the casserole’s freshness and flavors, allowing you to enjoy it at a later time.
Properly frozen low-carb taco casserole can be stored in the freezer for approximately 2 to 3 months. While it might still be safe to eat beyond this timeframe, the quality may start to decline.
When you’re ready to enjoy your leftovers, transfer them from the freezer to the refrigerator and allow them to thaw overnight. Once thawed, you can reheat the casserole portion in the microwave or oven.
More Of OurBest Taco Recipes
- Instant Pot Taco Soup
- Taco Salad
- Shrimp Tacos
- Korean Beef Tacos
- Chorizo Tacos


Taco Casserole | Keto Taco Casserole Recipe
Ingredients
- ▢ 1 pound ground beef
- ▢ 2 tbsp taco seasoning
- ▢ 1/4 cup Onion , diced
- ▢ 2 tbsp Garlic , minced
- ▢ 1 cup Riced Cauliflower
- ▢ 1 cup zucchini
- ▢ 1/2 cup diced tomatoes
- ▢ 1 1/2 cups Mexican Blend Shredded Cheese
- ▢ 1/4 cup olives
- ▢ 2 tbsp cilantro
- ▢ 2 tbsp green onions , diced
Instructions
- Preheat the Oven. Preheat your oven to 375°F.
- Prepare the Meat Layer. Brown the ground beef in a skillet until fully cooked. Drain excess fat. Add the onion, bell pepper, and garlic to the skillet. Sauté until the vegetables are tender. Stir in the taco seasoning and a splash of water. Allow the mixture to simmer for a few minutes until the flavors meld.
- Assemble the Casserole. In a greased 9x13-inch baking dish, spread the cooked meat mixture evenly as the first layer. Spread the riced cauliflower evenly over the meat layer. Layer the diced zucchini on top of the cauliflower. Scatter the diced tomatoes over the zucchini.
- Add the Cheese Layer. Sprinkle the shredded cheddar cheese over the vegetable layer, creating a generous and even covering.
- Bake and Serve. Place the casserole in the preheated oven and bake for 20-25 minutes, or until the cheese is melted and bubbly, and the casserole is heated through. Once baked, remove the casserole from the oven and let it rest for a few minutes before slicing. Garnish the casserole with black olives, cilantro, and green onions.
Get support & connect with our community on Facebook!
Nutrition
Don’t forget to check out my other Ketocookbooks.
Keto Instant Pot, Keto Fat Bombs, Sweets, & Treats , and Easy keto in 30 minutes.


If you already signed up, you should have received an email with a password to give you unlimited access to our FREE Printable Library. The password is case sensitive. Enter it below and get printing!
Password:

Taco Casserole | Keto Taco Casserole Recipe
Ingredients
- 1 pound ground beef
- 2 tbsp taco seasoning
- 1/4 cup Onion diced
- 2 tbsp Garlic minced
- 1 cup Riced Cauliflower
- 1 cup zucchini
- 1/2 cup diced tomatoes
- 1 1/2 cups Mexican Blend Shredded Cheese
- 1/4 cup olives
- 2 tbsp cilantro
- 2 tbsp green onions diced
Instructions
- Preheat the Oven. Preheat your oven to 375°F.
- Prepare the Meat Layer. Brown the ground beef in a skillet until fully cooked. Drain excess fat. Add the onion, bell pepper, and garlic to the skillet. Sauté until the vegetables are tender. Stir in the taco seasoning and a splash of water. Allow the mixture to simmer for a few minutes until the flavors meld.
- Assemble the Casserole. In a greased 9x13-inch baking dish, spread the cooked meat mixture evenly as the first layer. Spread the riced cauliflower evenly over the meat layer. Layer the diced zucchini on top of the cauliflower. Scatter the diced tomatoes over the zucchini.
- Add the Cheese Layer. Sprinkle the shredded cheddar cheese over the vegetable layer, creating a generous and even covering.
- Bake and Serve. Place the casserole in the preheated oven and bake for 20-25 minutes, or until the cheese is melted and bubbly, and the casserole is heated through. Once baked, remove the casserole from the oven and let it rest for a few minutes before slicing. Garnish the casserole with black olives, cilantro, and green onions.
Taco Casserole | Keto Taco Casserole Recipe https://twosleevers.com/taco-casserole/

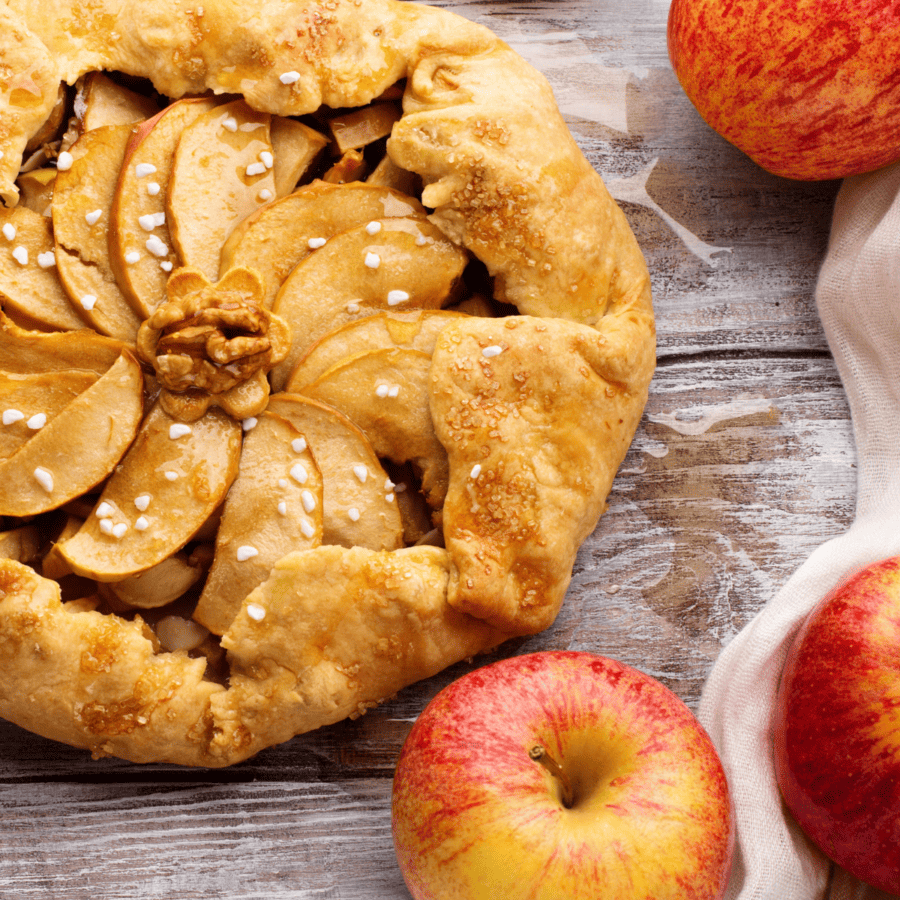
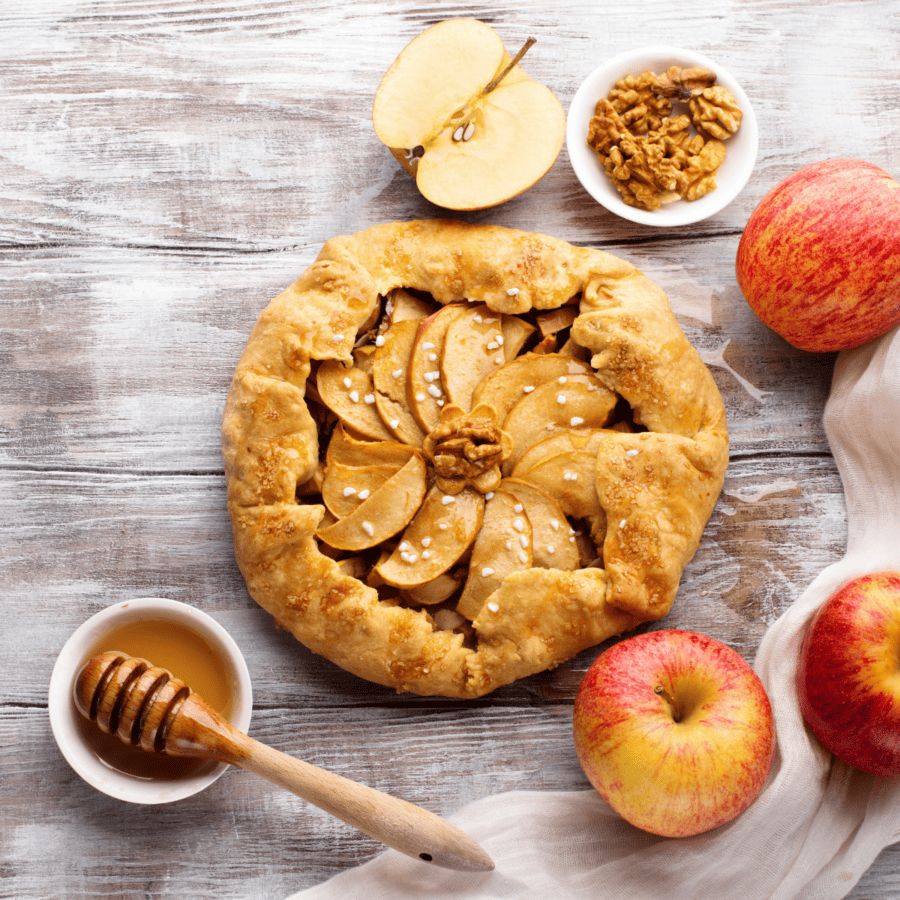
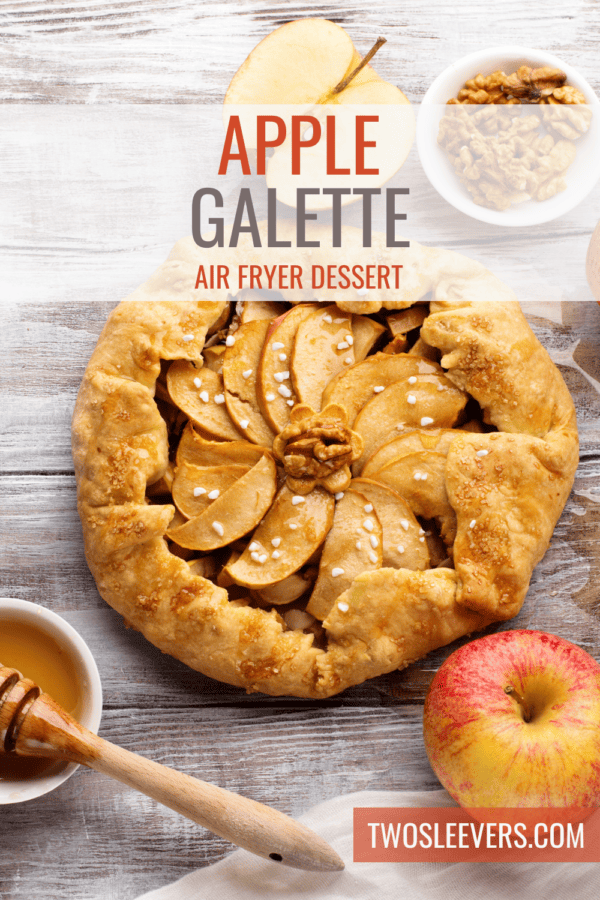
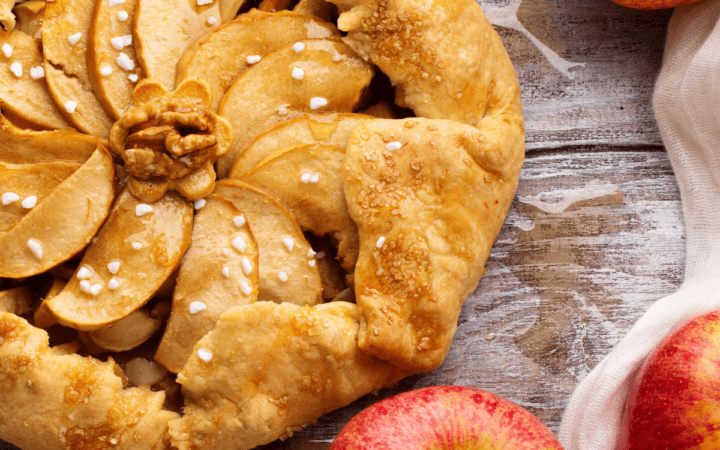
An Air Fryer Apple Galette is a rustic and charming dessert that perfectly captures the essence of the season. With its golden, flaky crust and tender, cinnamon-spiced apples, this galette is a testament to the magic that can happen when traditional flavors meet modern cooking techniques.
Why You’ll Love This Apple Pastry
- Easy.
- Delicious.
- Versatile.
An Air Fryer Apple Galette is a testament to the fusion of tradition and innovation. With its flaky crust, fragrant apple filling, and effortless preparation, this dessert exemplifies the magic of fall baking.
What Is The Difference Between An Apple Pie And A Galette?
Apple Pie and Galette are both delicious desserts, but they have distinct characteristics that set them apart. Here’s a breakdown of the key differences between the two:
Crust
- Apple Pie: Traditional apple pie has a double crust, with a bottom crust that lines the pie dish and a top crust that covers the filling. The crust can be flaky and buttery.
- Galette: Galette has a single crust that is folded over the edges of the filling, creating a more rustic and free-form appearance. The crust is typically thinner and less structured than a pie crust.
Assembly
- Apple Pie: Apple pie requires precise assembly of the bottom and top crusts, often with intricate lattice patterns or decorative cutouts.
- Galette: Galettes are simpler to assemble, with the dough rolled out, the filling placed in the center, and the edges of the dough folded over the filling.
Appearance
- Apple Pie: The top crust of an apple pie can be adorned with lattice patterns, braids, or decorative shapes, making it visually appealing.
- Galette: Galettes have a more casual and undone appearance, with the edges of the dough folded over the filling in a carefree manner.
Baking
- Apple Pie: Apple pies are baked in a pie dish, allowing the filling to cook and set between the two crusts.
- Galette: Galettes are typically baked directly on a baking sheet, allowing for more even exposure to heat and resulting in a slightly different texture.
Presentation
- Apple Pie: Apple pies have a classic and timeless presentation, often associated with special occasions and holiday gatherings.
- Galette: Galettes have a charmingly rustic and down-to-earth presentation, making them suitable for both casual and elegant settings.
Is Galette Crust The Same As Pie Dough?
While galette crust and pie dough share similar ingredients, they are adapted to suit the different styles and presentations of galettes and traditional pies.
Galette crust is more about simplicity and a rustic appearance, while pie dough often involves more intricate design work and precise assembly. Both crusts are delicious and versatile, so you can choose the one that best fits your baking needs and preferences.
How Do You Keep The Bottom Of A Galette From Getting Soggy?
Preventing the bottom of a galette from getting soggy involves a combination of techniques to create a barrier between the juicy filling and the crust. Here are some tips to help you achieve a perfectly crisp and flaky bottom crust for your galette:
- Prevent Overfilling . Avoid overloading the galette with too much filling. Excessive moisture from the filling can saturate the dough and lead to sogginess.
- Prebaking. Before adding the filling, consider rolling out the galette dough and baking it for just a few minutes to allow the dough that will be covered with fruit to bake through.
- Bake on a Preheated Baking Sheet or Pizza Stone . Preheat a baking sheet or pizza stone in the oven before placing the galette on it. This helps ensure that the bottom crust starts cooking and crisping up immediately upon contact.
Ingredients You’ll Need
Galette Dough
- All-Purpose Flour
- Granulated Sugar
- Salt
- Unsalted Butter
Apple Filling
- Apples
- Granulated Sugar
- Ground Cinnamon
- Ground Nutmeg
- Lemon Juice
- Cornstarch
Assemble and Finish
- Egg
- Granulated Sugar
How To Make An Apple Galette
- Prepare the Galette Dough. In a large mixing bowl, combine the flour, sugar, and salt. Add the cold cubed butter and use a pastry cutter or your fingers to work the butter into the dry ingredients until the mixture resembles coarse crumbs. Gradually add ice water, one tablespoon at a time, and mix until the dough comes together. Shape the dough into a disc, wrap it in plastic wrap, and refrigerate for at least 30 minutes.
- Prepare the Apple Filling. In a bowl, combine the sliced apples, granulated sugar, ground cinnamon, ground nutmeg, lemon juice, and cornstarch. Toss the mixture gently to coat the apple slices evenly. Set aside to allow the flavors to meld.
- Roll Out the Dough. Preheat your air fryer to 350°F. On a lightly floured surface, roll out the chilled galette dough into a circle, about 12-14 inches in diameter. Transfer the rolled-out dough to a piece of parchment paper.
- Assemble the Galette. Arrange the seasoned apple slices in the center of the dough, leaving a border of about 2 inches. Gently fold the edges of the dough over the apples, pleating as you go, to create a rustic border.
- Brush with Egg Wash and Sprinkle with Sugar. Brush the folded edges of the dough with the beaten egg to create a golden finish when baked. Sprinkle granulated sugar over the egg-washed edges for a touch of sweetness and sparkle.
- Air Fry the Galette. Carefully transfer the parchment paper with the assembled galette to the air fryer basket. Air fry the galette at 350°F for about 20-25 minutes or until the crust is golden brown and the apples are tender.
- Serve and Enjoy. Once the galette is cooked to perfection, carefully remove it from the air fryer and allow it to cool slightly.
Tips And Tricks
Making an air fryer galette is a fantastic way to achieve a crispy, golden crust, and tender, flavorful filling. Here are some tips and tricks to help you create a delicious and successful air fryer galette:
- Preheat the Air Fryer: Preheat your air fryer before placing the galette inside. Preheating helps ensure that the crust starts cooking immediately upon contact, leading to better browning and texture.
- Leave Space Around the Edges: When placing the filling on the dough, leave a border of about 1-2 inches around the edges. This border will be folded over the filling to create a rustic galette shape.
- Monitor Cooking Time: Keep a close eye on the galette as it cooks. Cooking times can vary based on the air fryer model and the size of the galette. Start with the recommended time and adjust as needed.
Variations
While a classic apple galette is a delightful treat, there are countless variations you can explore to add unique flavors and textures to this rustic dessert. Here are some creative ideas for different fillings, spices, and toppings to elevate it:
- Caramel Apple Galette: Drizzle caramel sauce over the apple slices before folding the crust, creating a decadent and gooey caramel-infused filling.
- Nutty Apple Galette: Sprinkle chopped nuts, such as walnuts, pecans, or almonds, over the apple slices to add crunch and nutty richness to each bite.
- Apple-Pear Galette: Mix apples with sliced pears for a delightful blend of textures and flavors. Add a touch of ground ginger or cardamom for extra warmth.
What To Serve With An Apple Galette
An apple galette is a delightful dessert that pairs well with a variety of accompaniments, enhancing its flavors and providing a well-rounded dining experience. Here are some delicious options to consider serving with your apple galette:
- Vanilla Ice Cream - A classic choice, a scoop of creamy vanilla ice cream adds a luxurious and cooling contrast to the warm and flaky apple galette.
- Whipped Cream - Dollop some freshly whipped cream onto a slice of apple galette for a light and airy topping that complements the sweetness of the apples.
How Long Does It Last?
An apple galette can be kept at room temperature for about 1 to 2 days. However, keep in mind that the crust may gradually lose its crispiness, and the filling may soften.
If you want to extend the shelf life, you can store the apple galette in the refrigerator. When properly stored in an airtight container or wrapped tightly in plastic wrap, it can last for about 3 to 4 days.
Before serving, you can reheat individual slices in the air fryer or microwave to help restore some of the warmth and texture.
Can You Freeze It?
For longer storage, you can freeze an apple galette. To do so, wrap the galette tightly in plastic wrap and then place it in an airtight container or resealable freezer bag. It can be frozen for up to 2 to 3 months.
When you’re ready to enjoy it, allow the galette to thaw in the refrigerator overnight and then reheat it in the oven to help revive its texture.
More Recipes With Apples
- Baked Apples
- German Apple Pancake
- Apple Spice Cake
- Instant Pot Applesauce
- Apple Zucchini Salad
Apple Galette | Easy And Delicious Apple Pastry
Ingredients
Galette Dough
- ▢ 1 1/4 cups All Purpose Flour
- ▢ 1/2 tsp Salt
- ▢ 1/2 tsp Granulated Sugar
- ▢ 1/2 cup Unsalted Butter
- ▢ 4 tbsp Cold Water
For The Filling
- ▢ 4 Apples , Sliced
- ▢ 1/2 cup Granulated Sugar
- ▢ 1 tsp Ground Cinnamon
- ▢ 1/4 tsp Ground Nutmeg
- ▢ 1 tbsp Lemon Juice
- ▢ 1 tbsp cornstarch
Assmebly
- ▢ 1 egg
- ▢ 2 tbsp granulated sugar
Instructions
- Prepare the Galette Dough. In a large mixing bowl, combine the flour, sugar, and salt. Add the cold cubed butter and use a pastry cutter or your fingers to work the butter into the dry ingredients until the mixture resembles coarse crumbs. Gradually add ice water, one tablespoon at a time, and mix until the dough comes together. Shape the dough into a disc, wrap it in plastic wrap, and refrigerate for at least 30 minutes.
- Prepare the Apple Filling. In a bowl, combine the sliced apples, granulated sugar, ground cinnamon, ground nutmeg, lemon juice, and cornstarch. Toss the mixture gently to coat the apple slices evenly. Set aside to allow the flavors to meld.
- Roll Out the Dough. Preheat your air fryer to 350°F. On a lightly floured surface, roll out the chilled galette dough into a circle, about 12-14 inches in diameter. Transfer the rolled-out dough to a piece of parchment paper.
- Assemble the Galette. Arrange the seasoned apple slices in the center of the dough, leaving a border of about 2 inches. Gently fold the edges of the dough over the apples, pleating as you go, to create a rustic border.
- Brush with Egg Wash and Sprinkle with Sugar. Brush the folded edges of the dough with the beaten egg to create a golden finish when baked. Sprinkle granulated sugar over the egg-washed edges for a touch of sweetness and sparkle.
- Air Fry the Galette. Carefully transfer the parchment paper with the assembled galette to the air fryer basket. Air fry the galette at 350°F for about 20-25 minutes or until the crust is golden brown and the apples are tender.
- Serve and Enjoy. Once the galette is cooked to perfection, carefully remove it from the air fryer and allow it to cool slightly.
Get support & connect with our community on Facebook!
Nutrition
And don’t forget to check out my air fryer cookbooks! Every day easy air fryer , and Air Fryer Revolution .

