

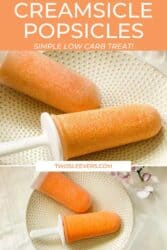
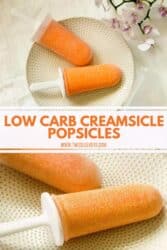
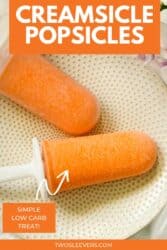
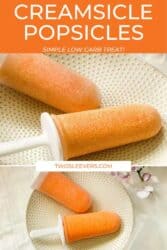

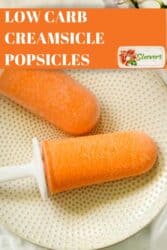

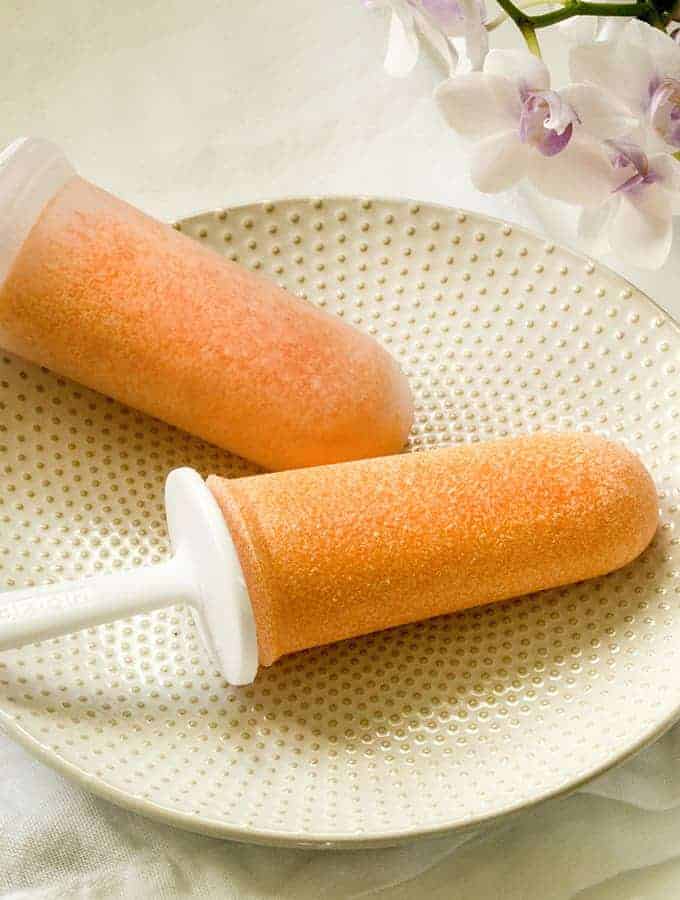
If you want a summer treat you don’t have to feel guilty about, these 3-ingredient Creamsicle Sugar Free Popsicles are just the ticket! They are so easy and delicious that you won’t even notice they’re low carb.
What Makes These Jello Popsicles So Great?
- Fast. Sure, you have to wait for them to freeze, but the prep time is next to nothing.
- Easy. Make jello solution, add liquid jello to a blender with cream, and freeze. That’s it.
- Low Carb . Only one single carb per serving.
- Inexpensive. Make this whole recipe for under $2. You would never find a keto popsicle at the grocery store for that price.
- Kid-Friendly. What kid doesn’t like jello? Pick your favorite flavor (or flavors) and let the kids help make them.
Why You’ll Love These Sugar Free Popsicles
Summer is hot in Texas. I mean, it’s hot everywhere, but it’s especially hot in Texas. My way of eating doesn’t take a break during the hot months, because it’s been a lifestyle change for my husband and me, BUT that doesn’t take away the want for us to cool off with a frozen treat.
These Jello Ice Pops hit the spot and as a bonus, they’re only three ingredients make an excellent Keto Fat Bomb .
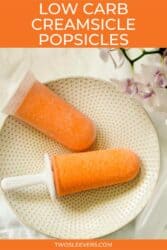
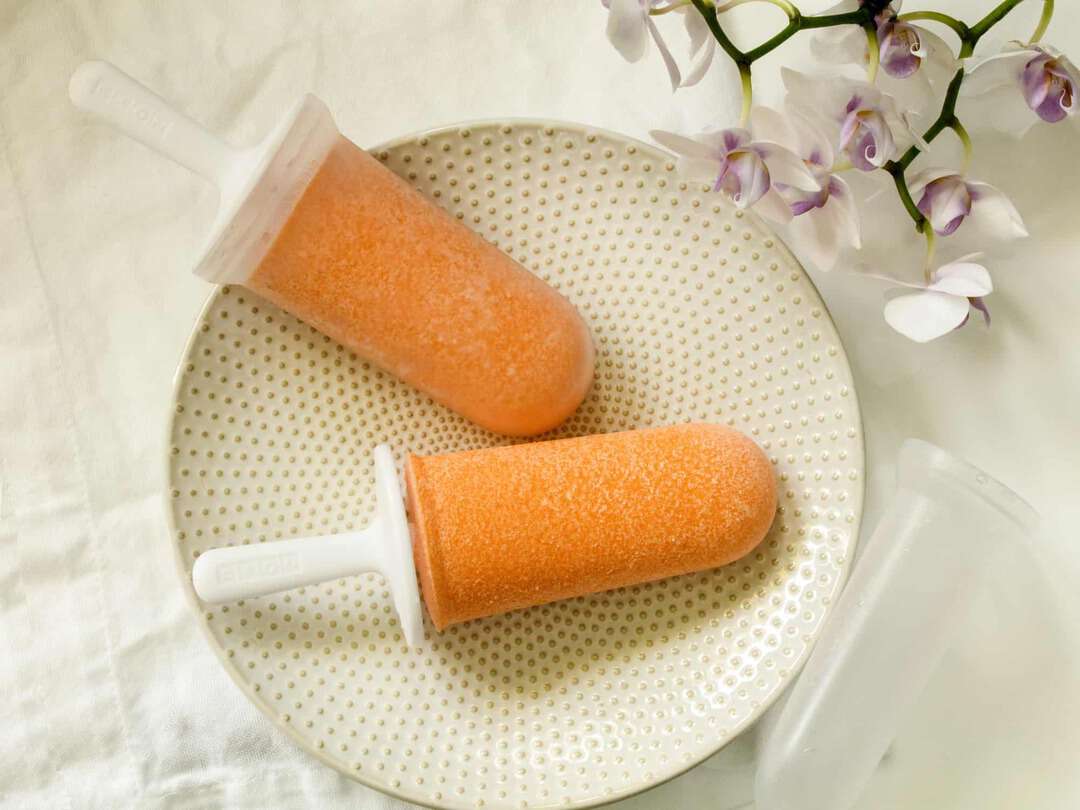
Creamsicle Popsicles are a low-carb recipe and actually they’re a fat bomb recipe, but you’d never know it by tasting them. These are all you expect and hope from a creamy popsicle and they were a welcome sweet treat after dinner.
These would be perfect for the whole family and kids will LOVE them!
What Are Creamsicles?
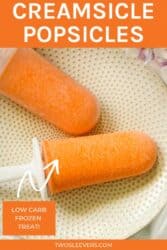
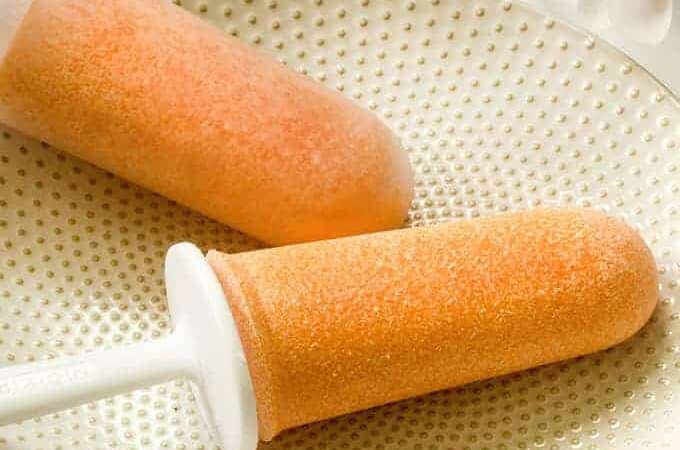
So, if you’re unaware of what Creamsicle Popsicles are, I’ll tell you. They’re creamy jello popsicles flavored with orange and vanilla and come together in the best sweet and tangy flavor combo ever.
This may be an American thing. I would actually love to know what these types of popsicles are called in whatever part of the world you live in.
What Do These Sugar Free Popsicles Taste Like?
I will tell you that these jello freezer pops do taste a little bit grainy once they’re frozen. I have tried several different variations–four different ones, but who’s counting? (Me, that’s who).
I think once you freeze gelatin, the crystals just become–more crystally I suppose. But you get to love the slight chew in these jello ice pop s after you get over your first surprise. Or at least, Roger and I did. I hope you welcome that texture too.
The key is to make absolutely sure the gelatin is well dissolved before you freeze them. Hot/warm water helps a lot with this process, but nothing beats good old fashioned elbow grease for stirring.
How To Make Keto Popsicles
- Put boiling water into a heat-proof bowl. Sprinkle the gelatin on top and let it rest for 10 minutes.
- Stir and ensure the gelatin is well-incorporated . If it is still grainy, place the bowl in the microwave and cook for 30 seconds. Stir again.
- Pour cream into a blender jar. Add the gelatin mixture and beat until the mix is creamy and well blended, stopping to scrape the sides down to get all the gelatin crystals mixed in as needed. About 30 seconds in a high powered blender is all you need.
- Pour into 6 popsicle molds and freeze for at least 4 hours.
Tips and Tricks for Making Creamsicle Popsicles
- One note about the jello popsicle molds. I have tried so many popsicle molds, it’s a little crazy. Now I use two models, and this Zoku pop mold is the one I used to make these popsicles. I like that the mold stands up by itself, and it helps release the pops very easily. It’s also a lot easier to clean than some of the others I’ve tried so I would recommend these.
- Do not over blend the gelatin mixture! If you over blend the mixture it will end up turning into jello butter, which is certainly not what we’re going for here. About 30 seconds in a high powered blender is all you need.
- If you’re in need of a good, solid blender, check out this Vitamix Blender. They’re wonderful blenders and they’re what I use in my own kitchen. A more affordable and great blender is the Ace Instant Pot Blender.
- Make absolutely sure the gelatin is well dissolved before you freeze them. Hot/warm water helps a lot with this process, but nothing beats good old-fashioned elbow grease for stirring.
- For a vegan version, use a vegetarian /agar-agar based gelatin, such as this Simply Delish Dessert Jel.
- If you are dairy-free , try these with canned, full-fat coconut milk instead of the heavy whipping cream.
- Plan to freeze for at least 4 hours before they harden. Do not leave these in the freezer for too long as the jello seems to get grainier over time. Plan to eat them within a day or two.
How Long Do They Last?
If I had to guess, you’ll likely finish these off well before they go bad.
As with any store-bought popsicles, when stored properly these sugar free popsicles will last up to 3 months in your freezer.
Want More Frozen Sweet Treats?
- Keto Ice Cream - Yummy no-cook ice cream.
- Avocado Lime Popsicles - An unexpected flavor combination.
- Blueberry Ice Cream - Low carb and packed with blueberries.
- Bulletproof Popsicles - A fun way to have bulletproof coffee.
- Cantaloupe Ice Pops - A treat the whole family will love.
- Creamsicle Pops - Easy and classic popsicle flavor.
- Mango Frozen Yogurt - My personal favorite.
- Mixed Berry Popsicles - Your kids will beg for more of these.
- Watermelon Popsicles - Bursting with watermelon flavor.
Looking for something that isn’t a popsicle? Try this Sugar-Free Sorbet . It’s delicious and low carb!
So the next time you need your Creamsicle fix, make these flavorful low carb Creamsicle Keto Popsicles instead! And if you enjoyed them, make sure to share the recipe with your friends on Facebook, Twitter, and Pinterest!
Creamsicle Keto Popsicles | Sugar Free Popsicles
Ingredients
- ▢ 1 0.3 oz package orange sugar free gelatin , (small package)
- ▢ 1/2 cup boiling water
- ▢ 1 cup Heavy Whipping Cream
Instructions
Put boiling water into a heat-proof bowl. Sprinkle the gelatin on top and let it rest for 10 minutes. Stir and ensure the gelatin is well-incorporated. If it is still grainy, place the bowl in the microwave and cook for 30 seconds. Stir again.
Pour cream into a blender jar. Add the gelatin mixture and beat until the mix is creamy and well blended, stopping to scrape the sides down to get all the gelatin crystals mixed in as needed. Do not over-blend, or you will have jello butter from that whipping cream turning into butter (Ask me how I know this.) About 30 seconds in a high powered blender is all you need.
Pour into 6 popsicle molds and freeze for at least 4 hours.
One note about popsicle molds. I have tried so many popsicle molds, it’s a little crazy. I now use two models, and this Zoku pop mold is the one I used to make these popsicles. I like that the mold stands up by itself, and it helps release the pops very easily. It’s also a lot easier to clean than some of the others I’ve tried so I would recommend these.
Do not over blend the gelatine mixture! If you over blend the mixture it will end up turning into jello butter, which is certainly not what we’re going for here. About 30 seconds in a high powered blender is all you need.
If you’re in need of a good, solid blender, check out [eafl id=“11078” name=“Vitamix Blender” text=“Vitamix Blender”]s. They’re wonderful blenders and they’re what I use in my own kitchen.
Make absolutely sure the gelatin is well dissolved before you freeze them. Hot/warm water helps a lot with this process, but nothing beats good old fashioned elbow grease for stirring.
For a vegan version, use a vegetarian/agar-agar based gelatin, such as this [eafl id=“25363” name=“Vegetarian Gelatin” text=“Simply Delish Dessert Jel”].
If you are dairy-free, try these with canned, full-fat coconut milk instead of the heavy whipping cream.
Plan to freeze for at least 4 hours before they harden. Do not leave these in the freezer for too long as the jello seems to get grainier over time. Plan to eat them within a day or two.
Get support & connect with our community on Facebook!
Nutrition
Originally Published July 18, 2018.
Craving moreKeto Recipes? Check out my cookbook below!
Don’t forget to check out my other Ketocookbooks.
Keto Instant Pot, Keto Fat Bombs, Sweets, & Treats , and Easy keto in 30 minutes.


If you already signed up, you should have received an email with a password to give you unlimited access to our FREE Printable Library. The password is case sensitive. Enter it below and get printing!
Password:

Creamsicle Keto Popsicles | Sugar Free Popsicles
Ingredients
- 1 0.3 oz package orange sugar free gelatin (small package)
- 1/2 cup boiling water
- 1 cup Heavy Whipping Cream
Instructions
Put boiling water into a heat-proof bowl. Sprinkle the gelatin on top and let it rest for 10 minutes. Stir and ensure the gelatin is well-incorporated. If it is still grainy, place the bowl in the microwave and cook for 30 seconds. Stir again.
Pour cream into a blender jar. Add the gelatin mixture and beat until the mix is creamy and well blended, stopping to scrape the sides down to get all the gelatin crystals mixed in as needed. Do not over-blend, or you will have jello butter from that whipping cream turning into butter (Ask me how I know this.) About 30 seconds in a high powered blender is all you need.
Pour into 6 popsicle molds and freeze for at least 4 hours.
One note about popsicle molds. I have tried so many popsicle molds, it’s a little crazy. I now use two models, and this Zoku pop mold is the one I used to make these popsicles. I like that the mold stands up by itself, and it helps release the pops very easily. It’s also a lot easier to clean than some of the others I’ve tried so I would recommend these.
Do not over blend the gelatine mixture! If you over blend the mixture it will end up turning into jello butter, which is certainly not what we’re going for here. About 30 seconds in a high powered blender is all you need.
If you’re in need of a good, solid blender, check out [eafl id=“11078” name=“Vitamix Blender” text=“Vitamix Blender”]s. They’re wonderful blenders and they’re what I use in my own kitchen.
Make absolutely sure the gelatin is well dissolved before you freeze them. Hot/warm water helps a lot with this process, but nothing beats good old fashioned elbow grease for stirring.
For a vegan version, use a vegetarian/agar-agar based gelatin, such as this [eafl id=“25363” name=“Vegetarian Gelatin” text=“Simply Delish Dessert Jel”].
If you are dairy-free, try these with canned, full-fat coconut milk instead of the heavy whipping cream.
Plan to freeze for at least 4 hours before they harden. Do not leave these in the freezer for too long as the jello seems to get grainier over time. Plan to eat them within a day or two.
Creamsicle Keto Popsicles | Sugar Free Popsicles https://twosleevers.com/creamsicle-pops-low-carb-creamsicle-pops/
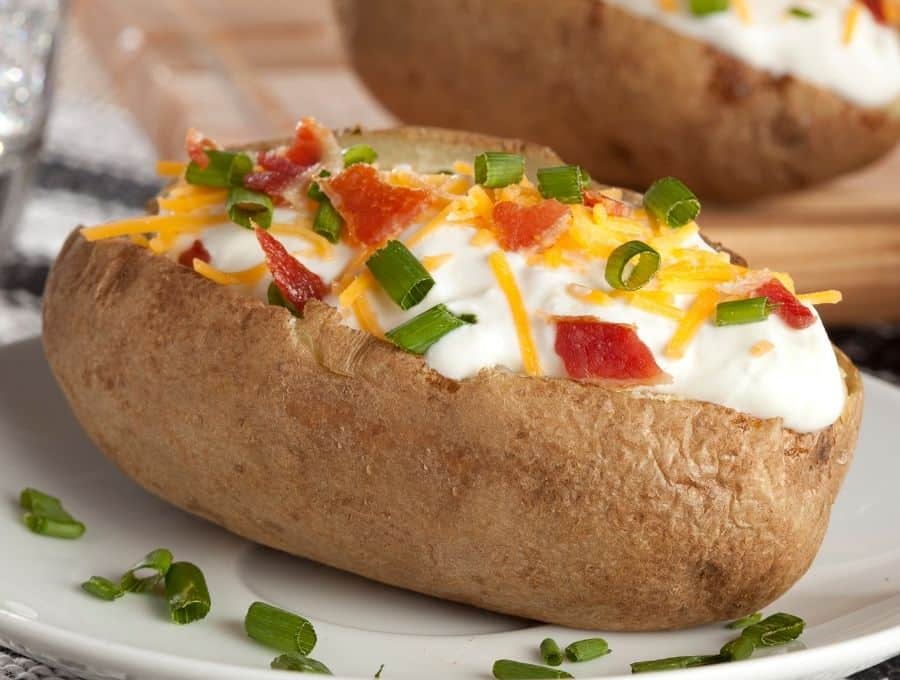
Baked potatoes are one of the easiest and most family-friendly side dishes out there. Make them faster and easier with this Instant Pot Baked Potatoes recipe!
Why Make Baked Potatoes In Your Instant Pot?
- Fast. Done in less than 30 minutes .
- Easy. Poke your potatoes, pop them in your Instant Pot , and cook!
- One-Pot Clean Up. No need to dirty multiple pans. You can make this amazing side dish in one pot.
- Vegetarian. Works great as a side dish or filling Vegetarian or Vegan main course .
What You’ll Need To Make Instant Pot Baked Potatoes
- Instant Pot
- Trivet
- Potatoes
- Fork
Really, that’s it. If you have an Instant Po t, you don’t need to worry about a ton of extra gadgets. Use the trivet that comes with your 6 quart or 8 quart Instant Pot and use a fork to poke some holes in potatoes.
How Do You Cook Baked Potatoes In An Instant Pot?
If you’ve ever tried making air fryer baked potatoes or oven baked potatoes, you know how much attention you need to pay to the skin of the potato.
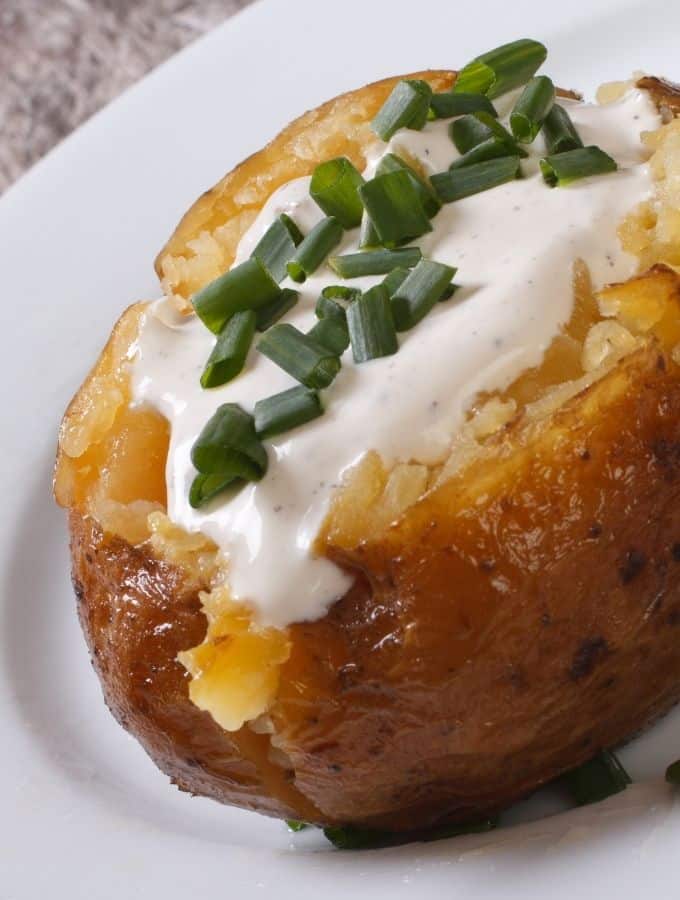
With this recipe, the emphasis is on the fluffy interior of the potato (and let’s be honest, that’s my favorite part anyway).
- Wash potatoes thoroughly
- Place potatoes on a trivet
- Add water to Instant Pot liner
- Cook for 14 minutes under high pressure
- Allow pressure to naturally release for 10 minutes
- Release remaining pressure
- Remove potatoes from the pot and serve with desired toppings
Tips And Tricks For Making Instant Pot Baked Potatoes
This recipe is so incredibly simple, adding tips and tricks seems unnecessary. However, if you’re not used to cooking with your Instant Pot , here are some things you might consider to get the best results:
- Pick potatoes that are consistent in size so they cook evenly.
- Poke the potatoes liberally to keep them from splitting under pressure.
- Always use a trivet to keep the potatoes out of the water. You want tender steamed potatoes, not boiled potatoes.
- Wash them well before cooking so you can enjoy the skin too!
Can You Put Tin Foil In An Instant Pot?
You absolutely can use tin foil or aluminum foil in your Instant Pot . In fact, it’s one of my favorite accessories in a pinch. I often use it as a sling when I do pot in pot cooking or use it to cover cheesecakes when I don’t want any condensation to reach the top.
However, you won’t need to use it for these Instant Pot Baked Potatoes . No need to wrap these potatoes before cooking. They cook up light and fluffy without being wrapped in the Instant Pot .
What Temperature Are Baked Potatoes Done?
If your potatoes reach the full cook time in your Instant Pot and you’re still unsure if they’re done (potato size can vary significantly and time may need to be adjusted) you can use an internal thermometer to check to see if they are cooked completely.
Push your probe thermometer into the thickest part of the potato and measure the internal temperature. If it reaches at least 210F, your potatoes should be ready to serve.
How To Serve Instant Pot Baked Potatoes
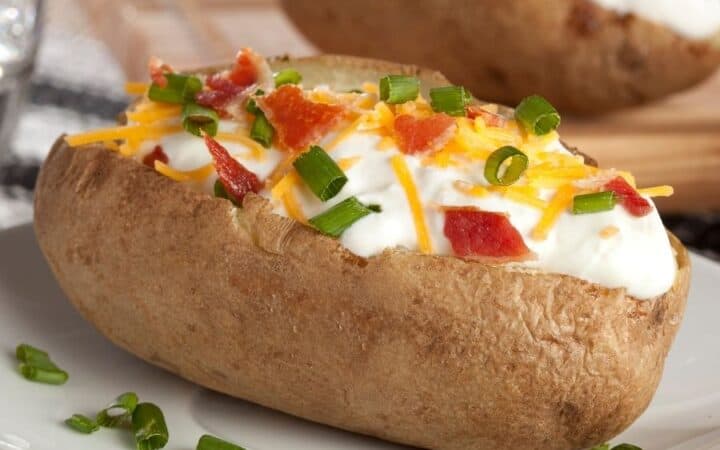
The best thing about these Instant Pot Baked Potatoes is how versatile they are. You can top them with simple ingredients to make them a yummy side dish or you can load them full of veggies and your favorite dairy item to make them a filling vegetarian main course
Here are a few of my favorite things to top my potatoes with:
- Sour Cream
- Cheese
- Buffalo Chicken Dip
- Butter
- Scallions
- Ham
- Chili
- Bacon
- Sesame Ginger Broccoli
Other Delicious Potato Recipes
- Air Fryer Baked Potatoes
- Cheesy Potatoes
- Air Fryer Potatoes Anna
- Rosemary Roasted Potatoes
- Instant Pot Colcannon
Instant Pot Baked Potatoes
Equipment
- Instant Pot
Ingredients
- ▢ 6 Potatoes , Medium
- ▢ 1 cup Water
Instructions
- Wash potatoes thoroughly
- Poke holes liberally in the skin of the potatoes
- Place trivet in your Instant Pot
- Place potatoes on top of the trivet
- Pour water in the inner liner of your Instant Pot
- Close Instant Pot lid
- Set Instant Pot to High Pressure for 14 minutes
- Allow pressure to release naturally for 10 minutes
- Release all remaining pressure and remove Instant Pot Lid
- Add desired topping to your potatoes and serve
Get support & connect with our community on Facebook!
Nutrition
Don’t forget to check out my otherBest-selling Instant Pot Cookbooks!
Indian Instant Pot , Keto Instant Pot, Instant Pot Fast and Easy , Healthy Instant Pot & Vegetarian Instant Pot .

