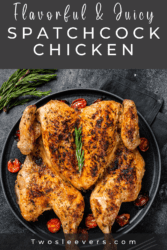
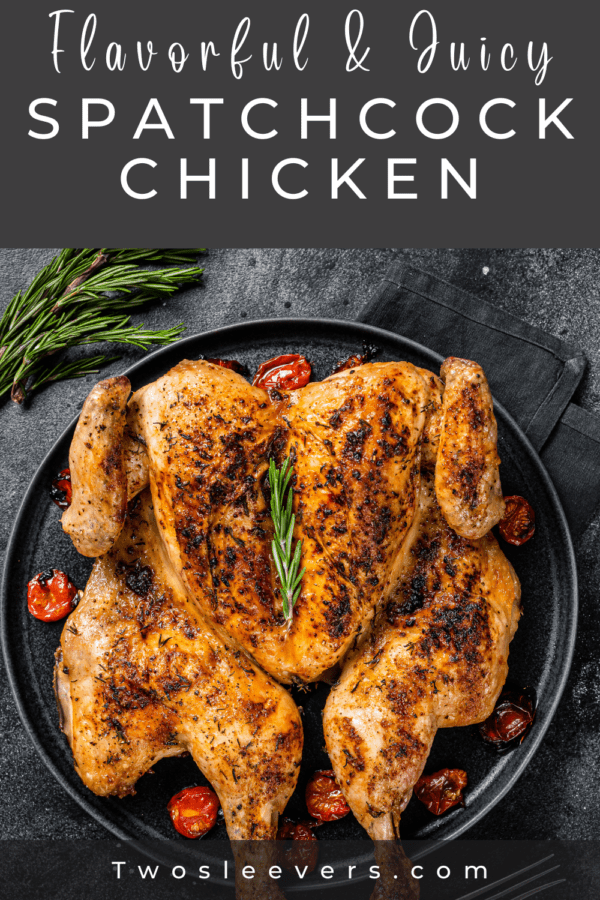
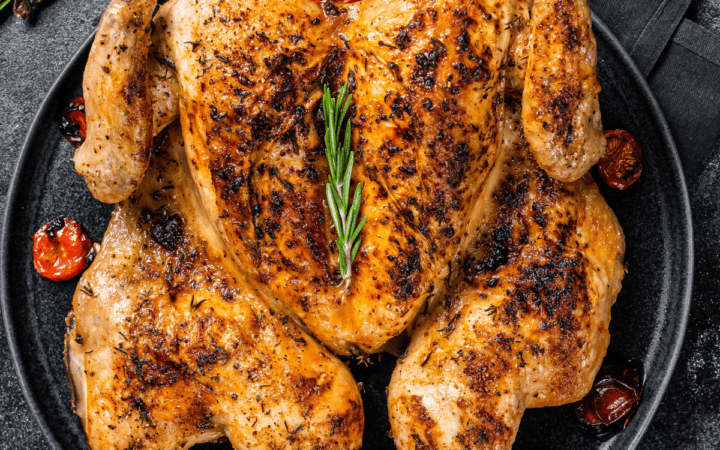
In this step-by-step guide, we’ll show you how to spatchcock a chicken and roast it to perfection. Whether you’re a novice cook or a seasoned pro, this method is a surefire way to impress your family and friends with a mouthwatering meal.
Why This Will Be Your New Go-To Special Occasion Meal
- Faster Cooking . Spatchcocking reduces the cooking time, so you can have a delicious roasted chicken ready in less time.
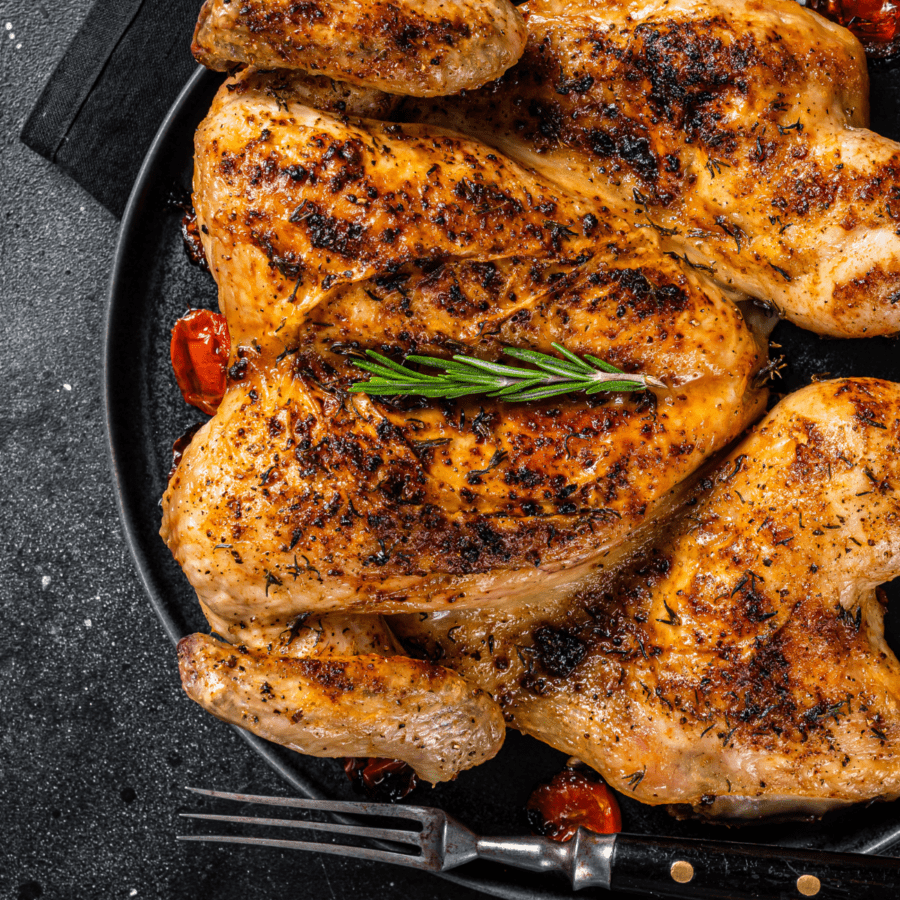
- Crispier Skin . The flattened bird ensures the skin is exposed evenly, resulting in a crispy and golden brown finish.
- Even Cooking . Because it lies flat, the meat cooks more evenly, preventing overcooked breasts and undercooked thighs.
- Juicy Meat . Spatchcocking helps the chicken retain its juices, making it incredibly tender and flavorful.
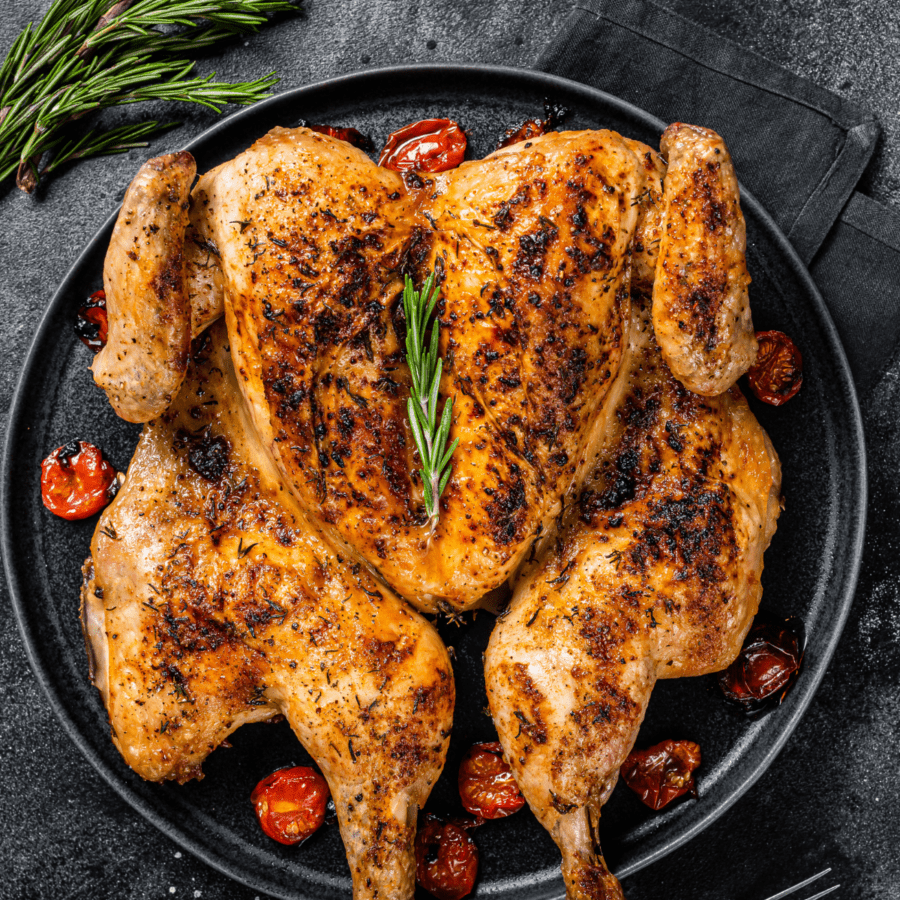
Spatchcocking a chicken may seem intimidating, but it’s a simple technique that yields fantastic results. With this method, you’ll enjoy a perfectly roasted chicken with crispy skin and tender, juicy meat.
What Is Spatchcocking?
Spatchcocking, also known as “butterflying,” is a method that involves removing the backbone of a whole chicken to open it up like a book. This technique not only ensures the chicken cooks evenly but also reduces the cooking time significantly. The result? Crispy skin, tender meat, and an unforgettable dining experience.
Is It Worth It To Spatchcock A Chicken?
Spatchcocking is a cooking technique that consistently delivers delicious results. The combination of even cooking, reduced cooking time, and enhanced flavors makes it a favorite among both home cooks and professional chefs. If you’re looking for a way to elevate your roasted chicken game, spatchcocking is definitely worth trying.
Ingredients You’ll Need
- Whole Chicken - The star of the show, the whole chicken is the main protein source.
- Olive Oil - Olive oil is used as a coating for the chicken. This serves several purposes. It helps the seasonings adhere to the chicken’s surface, adds moisture, and aids in achieving that coveted crispy skin.
- Salt and Pepper - Salt and pepper are essential seasonings used to enhance the flavor of the chicken.
- Your Choice of Seasonings (Rosemary, Thyme, Garlic, Paprika, etc.) - These seasonings add complexity and depth to the chicken’s flavor. You have the freedom to choose your favorite herbs and spices to customize the taste. For instance, rosemary and thyme bring herbal and earthy notes, garlic offers a savory and aromatic profile, and paprika can add smokiness and a touch of sweetness.
How To Cook A Spatchcock Chicken
- Gather Your Tools . Before we dive into spatchcocking, gather all your tools and ingredients. You’ll need a sharp pair of kitchen shears or a knife, a roasting pan, a meat thermometer, and, of course, a whole chicken. Preheat your oven to 425°F.
- Prep the Chicken . Place your chicken on a clean cutting board, breast side down. Identify the backbone, which runs along the length of the chicken. Using your kitchen shears or a knife, cut along one side of the backbone from the tail to the neck.
- Spatchcock the Chicken . Once you’ve made the initial cut along the backbone, open up the chicken like a book. Now, flip it over so the breast side is facing up.
- Flatten the Chicken . Apply gentle pressure to the breastbone with your palm to flatten the chicken. This helps ensure even cooking.
- Season the Chicken . Drizzle olive oil or melted butter over the chicken, ensuring it’s evenly coated. Season with salt, pepper, and your choice of herbs and spices. Be generous with your seasonings; this is where you can get creative with flavors.
- Roast the Chicken . Place your spatchcocked chicken, breast side up, in a roasting pan or on a baking sheet. Roast it in the preheated oven for about 45-55 minutes, or until the internal temperature reaches 165°F. Use a meat thermometer to check the thickest part of the thigh and ensure it’s fully cooked.
- Rest and Carve . Once your spatchcock chicken reaches the desired temperature, remove it from the oven and let it rest for 10-15 minutes. This allows the juices to redistribute and ensures a moist, delicious chicken. Carve it into pieces and serve.
Variations
Spatchcock chicken is a versatile dish, and you can create a variety of flavor profiles by experimenting with different seasonings and preparations. Here are some variations:
- Lemon and Herb - Rub the chicken with olive oil, lemon zest, and a combination of fresh herbs like rosemary, thyme, and parsley. Season with salt and pepper. Roast the chicken until golden brown and aromatic.
- BBQ Spatchcock Chicken - Marinate the chicken in your favorite barbecue sauce for a few hours before grilling. This gives the chicken a smoky and tangy flavor. Brush with more barbecue sauce while grilling.
- Garlic Butter Spatchcock Chicken - Mix softened butter with minced garlic, chopped fresh herbs (parsley, chives, or tarragon), and lemon juice. Carefully lift the chicken skin and rub the garlic herb butter underneath it. Season with salt and pepper, and roast until the skin is crispy.
- Cajun or Blackened Spatchcock Chicken- Coat the chicken with a mixture of Cajun or blackening spices, which typically include paprika, cayenne, garlic, and other seasonings. Sear in a hot skillet or grill for a flavorful and slightly spicy option.
What To Serve With Spatchcock Chicken
Spatchcock chicken is a versatile and delicious main dish that pairs well with a variety of sides. Here are some popular options to serve with it:
- Roasted Vegetables - Roasted vegetables such as carrots, potatoes, bell peppers, and zucchini complement the flavors of the chicken and add a nice textural contrast. Season them with herbs like rosemary and thyme for extra flavor.
- Salad - A simple green salad with fresh lettuce, cherry tomatoes, cucumbers, and a vinaigrette dressing is a refreshing and light accompaniment to spatchcock chicken.
- Coleslaw - Creamy coleslaw, with its crunchy and slightly tangy profile, is an excellent side dish that balances the richness of the chicken.
- Mashed Potatoes - Creamy mashed potatoes are a classic pairing with roasted chicken. They provide a smooth, buttery texture that complements the chicken’s crispy skin.
- Asparagus - Asparagus, seasoned to perfection, makes a delightful side dish with spatchcock chicken. Its slightly charred flavor pairs well with the chicken’s smokiness.
How Long Does It Last?
If you have cooked and spatchcocked a chicken and want to store it in the refrigerator, it will remain safe to eat for about 3-4 days. Ensure it’s sealed in an airtight container or wrapped tightly in aluminum foil or plastic wrap to prevent it from drying out or absorbing odors from the fridge.
Can You Freeze It?
For longer storage, you can freeze spatchcock chicken. If properly wrapped and stored in a freezer-safe container, it can last for up to 2-6 months. To prevent freezer burn, wrap it tightly in plastic wrap or aluminum foil, and place it in an airtight freezer bag.
Spatchcock Chicken | Roasted Chicken Recipe
Instructions
- Gather Your Tools . Before we dive into spatchcocking, gather all your tools and ingredients. You’ll need a sharp pair of kitchen shears or a knife, a roasting pan, a meat thermometer, and, of course, a whole chicken. Preheat your oven to 425°F.
- Prep the Chicken . Place your chicken on a clean cutting board, breast side down. Identify the backbone, which runs along the length of the chicken. Using your kitchen shears or a knife, cut along one side of the backbone from the tail to the neck.
- Spatchcock the Chicken . Once you’ve made the initial cut along the backbone, open up the chicken like a book. Now, flip it over so the breast side is facing up.
- Flatten the Chicken . Apply gentle pressure to the breastbone with your palm to flatten the chicken. This helps ensure even cooking.
- Season the Chicken . Drizzle olive oil or melted butter over the chicken, ensuring it’s evenly coated. Season with salt, pepper, and your choice of herbs and spices. Be generous with your seasonings; this is where you can get creative with flavors.
- Roast the Chicken . Place your spatchcocked chicken, breast side up, in a roasting pan or on a baking sheet. Roast it in the preheated oven for about 45-55 minutes, or until the internal temperature reaches 165°F. Use a meat thermometer to check the thickest part of the thigh and ensure it’s fully cooked.
- Rest and Carve . Once your spatchcock chicken reaches the desired temperature, remove it from the oven and let it rest for 10-15 minutes. This allows the juices to redistribute and ensures a moist, delicious chicken. Carve it into pieces and serve.
Get support & connect with our community on Facebook!
Don’t forget to check out my other Ketocookbooks.
Keto Instant Pot, Keto Fat Bombs, Sweets, & Treats , and Easy keto in 30 minutes.


If you already signed up, you should have received an email with a password to give you unlimited access to our FREE Printable Library. The password is case sensitive. Enter it below and get printing!
Password:
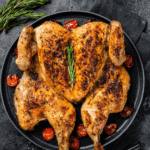
Spatchcock Chicken | Roasted Chicken Recipe
Instructions
- Gather Your Tools . Before we dive into spatchcocking, gather all your tools and ingredients. You’ll need a sharp pair of kitchen shears or a knife, a roasting pan, a meat thermometer, and, of course, a whole chicken. Preheat your oven to 425°F.
- Prep the Chicken . Place your chicken on a clean cutting board, breast side down. Identify the backbone, which runs along the length of the chicken. Using your kitchen shears or a knife, cut along one side of the backbone from the tail to the neck.
- Spatchcock the Chicken . Once you’ve made the initial cut along the backbone, open up the chicken like a book. Now, flip it over so the breast side is facing up.
- Flatten the Chicken . Apply gentle pressure to the breastbone with your palm to flatten the chicken. This helps ensure even cooking.
- Season the Chicken . Drizzle olive oil or melted butter over the chicken, ensuring it’s evenly coated. Season with salt, pepper, and your choice of herbs and spices. Be generous with your seasonings; this is where you can get creative with flavors.
- Roast the Chicken . Place your spatchcocked chicken, breast side up, in a roasting pan or on a baking sheet. Roast it in the preheated oven for about 45-55 minutes, or until the internal temperature reaches 165°F. Use a meat thermometer to check the thickest part of the thigh and ensure it’s fully cooked.
- Rest and Carve . Once your spatchcock chicken reaches the desired temperature, remove it from the oven and let it rest for 10-15 minutes. This allows the juices to redistribute and ensures a moist, delicious chicken. Carve it into pieces and serve.
Spatchcock Chicken | Roasted Chicken Recipe https://twosleevers.com/spatchcock-chicken/
Indulging in a side dish that effortlessly combines sweetness and savory flavors is a culinary delight, and candied carrots masterfully achieve that balance. Whether you’re preparing a family dinner or hosting a special gathering, candied carrots add a burst of vibrant color and a touch of sweetness to your plate.

Why This Will Be Your New Favorite Side Dish
- Fast. Make these family-friendly carrots in under 30 minutes.
- Easy. Peel your carrots, make the glaze, and bake.
- Few Ingredients. Less than five ingedients are needed for this perfectly sweet side dish.
- Versatile. Mix this recipe up with a variety of spices, carrots, and varieties of sweetener.
Ingredients You’ll Need
- Carrots. I prefer smaller carrots for this dish because they cook faster and are more tender.
- Honey. Grab locally sourced honey when you’re able to help combat seasonal allergies.
- Brown Sugar. Light brown sugar or brown sugar swerve to keep the carb count down.
- Butter. I prefer to use an unsalted butter for these carrots so I can season them to taste after they’re finished roasting.
How To Make Candied Carrots
- Preheat the Air Fryer. Preheat your air fryer to 375°F. This will ensure it’s hot and ready to cook your candied carrots.
- Prepare the Carrots . Peel the carrots and slice them into rounds of relatively uniform thickness, about 1/4 inch thick. This ensures even cooking.
- Toss with Butter. In a mixing bowl, toss the carrot rounds with the melted butter to coat them evenly.
- Coat with Brown Sugar. Sprinkle the brown sugar and, if desired, the ground cinnamon over the butter-coated carrots. Toss them well to ensure they’re coated with the sugar.
- Air Fry the Carrots . Place the coated carrot rounds in the air fryer basket in a single layer. You may need to cook them in batches if your air fryer has limited space.
- Air Fry . Cook the carrots at 375°F for about 10-15 minutes, shaking the basket or tossing the carrots halfway through the cooking time. The exact time may vary depending on the air fryer model and the thickness of your carrot rounds.
- Check for Doneness . The candied carrots are ready when they are tender and the sugar has caramelized, giving them a glossy appearance. Make sure they are not too soft but still have a slight bite.
- Serve . Once done, transfer the candied carrots to a serving dish and serve them while they’re warm.
Tips And Variations
- Choose the Right Carrots: Opt for fresh, firm carrots. Baby carrots work well for candying, but you can also use regular carrots, sliced into uniform pieces.
- Even Slicing: To ensure even cooking, slice the carrots into equal-sized pieces. This helps them cook uniformly and achieve a consistent caramelization.
- Preheat Your Air Fryer: Preheat your air fryer for a few minutes to ensure even cooking and better caramelization of the sugar.
- Coat Evenly: Make sure the carrots are evenly coated in the sugar mixture. You can place them in a bowl, add the sugar mixture, and toss to coat.
- Single Layer: Arrange the carrots in a single layer in the air fryer basket to avoid overcrowding. If the carrots are too close, they may not caramelize properly.
How Long Do Candied Carrots Last?
Candied carrots can be stored in the refrigerator for 3 to 5 days. To extend their shelf life, place them in an airtight container or a sealed plastic bag.
What To Serve With Them
I love these candied carrots because of how versatile they are. Not only are they perfect for a holiday side dish, but they can easily be made to accompany a quick weeknight meal.
Try enjoying them with one of these easy to make main courses:
- Air Fryer Philly Cheesesteak - Forget dirtying a ton of dishes when you prepare them in your air fryer.
- Salmon Croquettes - Made in a snap with the help of your air fryer.
- Creamy Chicken Salad - A great meal prep or quick lunch solution.
More Tasty Side Dishes
- Cheesy Potatoes - Just like your favorite cheesy potato recipe, but with a surprising twist in ingredients.
- Air Fryer Asparagus - Prepared perfectly tender every time.
- Instant Pot Green Beans with Bacon - You’ll never want to eat green beans any other way.
- Indian Cucumber Salad - A healthy and flavorful salad you’ll want to make over and over again.
- Air Fryer Corn on the Cob - Cooked to perfection in a fraction of the time of boiling on the stovetop.
- Sausage Stuffing - A traditional side dish that is made even tastier with the addition of ground sausage.

If you love these Candied Carrots as much as we do, make sure you share the recipe on Facebook and Instagram. Don’t forget to Pin them so you can make them again soon.
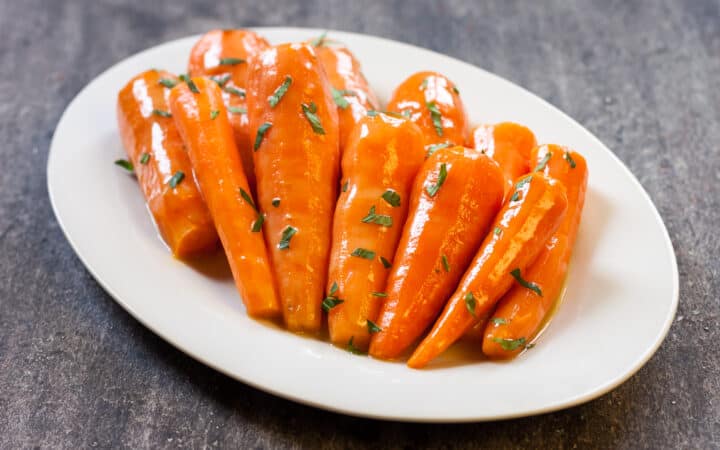
Candied Carrots | Easy Carrot Side Dish
Ingredients
- ▢ 2 cups Carrots
- ▢ 2 tbsp Honey
- ▢ 2 tbsp Brown Sugar
- ▢ 2 tbsp Unsalted Butter
Instructions
- Preheat the Air Fryer. Preheat your air fryer to 375°F. This will ensure it’s hot and ready to cook your candied carrots.
- Prepare the Carrots . Peel the carrots and slice them into rounds of relatively uniform thickness, about 1/4 inch thick. This ensures even cooking.
- Coat with Brown Sugar. Sprinkle the brown sugar and, if desired, the ground cinnamon over the butter-coated carrots. Toss them well to ensure they’re coated with the sugar.
- Air Fry the Carrots . Place the coated carrot rounds in the air fryer basket in a single layer. You may need to cook them in batches if your air fryer has limited space.
- Air Fry . Cook the carrots at 375°F for about 10-15 minutes, shaking the basket or tossing the carrots halfway through the cooking time. The exact time may vary depending on the air fryer model and the thickness of your carrot rounds.
- Check for Doneness . The candied carrots are ready when they are tender and the sugar has caramelized, giving them a glossy appearance. Make sure they are not too soft but still have a slight bite.
- Serve . Once done, transfer the candied carrots to a serving dish and serve them while they’re warm.
