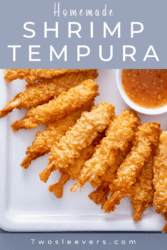
Shrimp Tempura is a Japanese fried seafood appetizer made with large shrimp, all-purpose flour, cornstarch, baking powder, ice-cold water, and vegetable oil for frying. It’s quick and works well for a party appetizer or sushi night at home when you want crispy tempura without a lot of prep. Unlike restaurant tempura or heavier battered fried shrimp, this version uses a simple cold-water batter with cornstarch and baking powder to stay light, airy, and crisp.

Why You’ll Love Making This Fried Shrimp
- Fast. Using shrimp that are prepared and ready to be breaded and fried makes this a simple meal or appetizer that is ready in under 30 minutes .
- Easy. Just a few simple steps to follow for an incredibly simple bite you’re sure to enjoy.
- Budget-friendly. Skip the takeout or expensive Japanese restaurants and make these tasty little fried shrimp at home.
- Delicious. Guaranteed to taste just as good as your favorite restaurant.
Making tempura shrimp at home is simple and easy. With just a few ingredients and a little bit of practice, you can make a tasty and crispy dish that is sure to impress your friends and family.
What Does Shrimp Tempura Mean?
The word “tempura” refers to the cooking technique used to prepare the dish, which involves coating the shrimp (in the case of this recipe) in a batter made of flour, water, and eggs, and then frying it in hot oil until it is crispy and golden brown.
Is Tempura Shrimp The Same As Fried Shrimp?
Tempura shrimp and fried shrimp are similar in that both involve coating shrimp in batter and frying them. However, there are some differences between the two dishes.
Tempura Shrimp. The batter used in tempura shrimp is typically thinner and less greasy than the batter used in traditional fried shrimp. This results in a lighter and more delicate texture for the shrimp, with a crispy and crunchy exterior and a tender and juicy interior.
Fried Shrimp. Fried shrimp is a more general term that can refer to shrimp that have been coated in a variety of different batters or coatings, such as bread crumbs or cornmeal, and then deep-fried.
What Kind Of Shrimp Is Used For Tempura?
When making tempura shrimp, it’s best to use large-sized shrimp that have been peeled and deveined.
It’s important to use large-sized shrimp for tempura because they hold their shape better during the cooking process, and their meat stays tender and juicy. Using smaller-sized shrimp can result in overcooking and a rubbery texture.
Ingredients You’ll Need
- 1 pound large shrimp - The star of the dish. Large shrimp provide a sweet, tender, and juicy base that holds up well to frying. They’re peeled, deveined, and often butterflied to create a flatter surface for the batter to cling to.
- 1 cup all-purpose flour - The primary dry ingredient in the batter. It gives structure, crispiness, and a light coating around the shrimp when fried.
- 1/4 cup cornstarch - Helps lighten the batter by reducing gluten formation from the flour. It makes the tempura coating crispier and less dense.
- 2 tablespoons baking powder - A leavening agent that creates tiny bubbles in the batter, ensuring the fried coating is airy, puffy, and delicate instead of heavy.
- 1/2 cup cold water - Essential for the tempura’s light texture. Ice-cold water prevents the flour from over-absorbing liquid and keeps the batter from developing too much gluten, resulting in a thin, crisp shell.
- 1 teaspoon salt - Adds seasoning to the batter, enhancing the natural sweetness of the shrimp and balancing flavors.
- 1/4 teaspoon ground black pepper - Provides a subtle savory note and mild spice, rounding out the flavor of the batter.
- Vegetable oil - A neutral oil with a high smoke point that allows the tempura to fry evenly and develop a golden, crisp exterior without overpowering the shrimp’s flavor.
How To Make Tempura Shrimp
- Prepare the Shrimp. Rinse the shrimp under cold water and pat them dry with paper towels.
- Make the Batter. In a large mixing bowl, whisk together the flour, cornstarch, baking powder, and salt until well combined. Gradually pour in the ice water, whisking continuously, until the batter is smooth and has a slightly runny consistency. Make sure not to overmix the batter as this can result in a dense and heavy coating.
- Heat the Oil. Heat vegetable oil in a large pot or deep fryer until it reaches 375F. It’s important to use a deep pot or fryer to avoid splattering hot oil. You can check the temperature of the oil using a candy thermometer or by dropping a small piece of batter into the oil. If it sizzles and turns golden brown in a few seconds, the oil is ready.
- Coat the Shrimp. Place each shrimp on a skewer lengthwise. Dip each shrimp into the batter, making sure it is coated evenly. Shake off any excess batter and carefully place the shrimp in the hot oil. Fry the shrimp in batches for 2-3 minutes or until they are golden brown and crispy. Use a slotted spoon or tongs to remove the shrimp from the oil and transfer them to a plate lined with paper towels to drain excess oil.
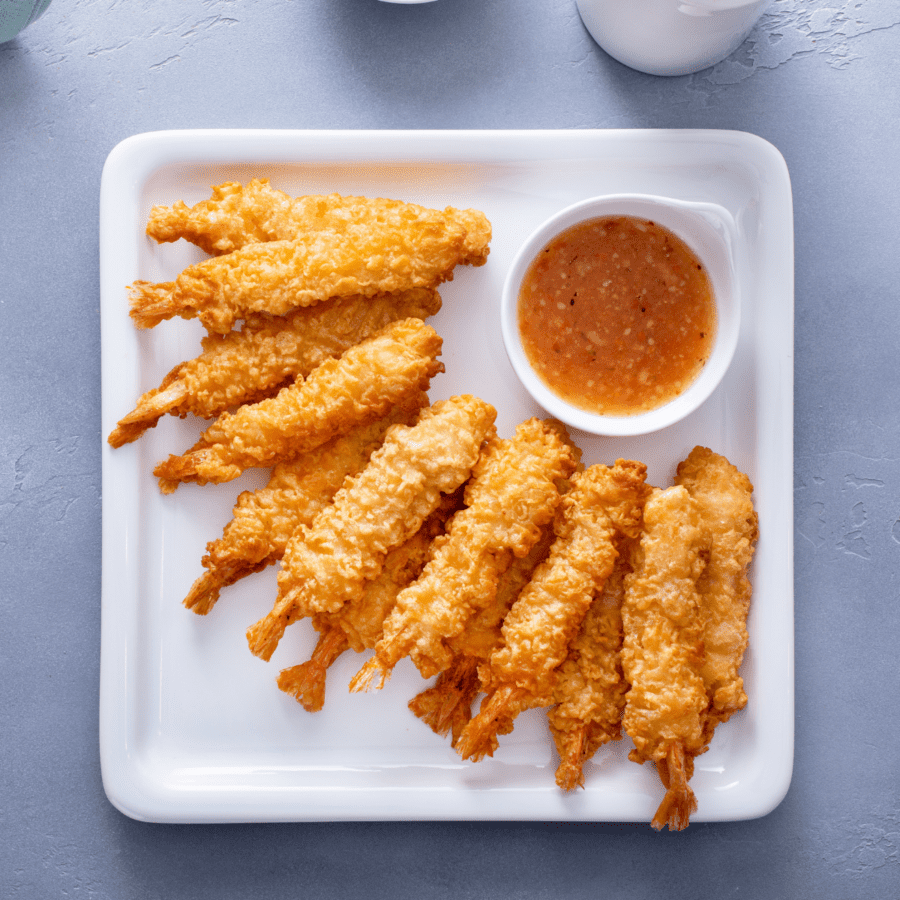
- Serve and Enjoy! Remove the shrimp from the skewers and serve with your favorite dipping sauce.
Tips And Tricks
Making perfect shrimp tempura at home can seem intimidating, but a few simple tips and tricks will help you achieve that light, crispy, restaurant-quality texture every time. Here’s what you need to know:
- Use Very Cold Ingredients . Keep your batter ingredients, especially the water, ice-cold. Cold batter slows gluten formation in the flour, which prevents the coating from becoming heavy and dense.
- Do Not Overmix the Batter . When combining the flour and cold water, mix just until incorporated. Lumps are okay; overmixing develops gluten, leading to a chewy, dense coating instead of a light, airy crunch.
- Dry the Shrimp Thoroughly . Pat the shrimp completely dry before dipping in batter. Excess moisture causes the oil to splatter and prevents the batter from adhering properly.
Variations
While the traditional recipe is simply shrimp battered in tempura batter and fried, there are many variations you can try to add variety to this delicious dish. Here are some ideas to help switch it up:
- Make them spicy. Add some heat to your tempura shrimp by mixing some chili flakes or cayenne pepper into the tempura batter.
- Add some sweetness . Add some tropical flavor to your tempura shrimp by adding shredded coconut to the batter.
- Add a taste of teriyaki. Drizzle some teriyaki sauce over the fried tempura shrimp for a savory and sweet flavor.
What To Serve With Them
Tempura shrimp is a delicious dish that can be served as an appetizer or a main course. Here are some sides to serve alongside them to make it a complete meal:
- Rice - A bowl of steamed white rice is a classic accompaniment.
- Miso Soup - A warm bowl of miso soup can balance out the fried texture of the shrimp.
- Noodles - Cold soba or udon noodles can be served with a dipping sauce alongside the tempura shrimp.
- Pickled Vegetables - Pickled vegetables like daikon or cucumber can provide a refreshing contrast.
- Dipping Sauce - A light dipping sauce, such as soy sauce mixed with grated ginger, can enhance the flavor.
How Long Do They Last?
Tempura shrimp can last for up to 3-4 days in the refrigerator when stored properly. It’s important to remember that the texture of the batter may become less crispy over time.
Can You Freeze Them?
Yes, you can freeze tempura shrimp for up to 2-3 months.
To freeze, allow the shrimp to cool to room temperature and then place them in an airtight container or freezer bag. You can also wrap them individually in plastic wrap before placing them in the container to prevent them from sticking together.
When you’re ready to eat them, thaw them overnight in the refrigerator, and then reheat them in the oven or air fryer to crisp up the batter.
Shrimp tempura is usually not crispy because the oil temperature was too low or dropped from frying too many pieces at once, which makes the tempura batter absorb oil and turn soggy. Overmixing the ice cold tempura batter can also develop gluten and create a heavier coating, and batter that is too thick will fry up bready instead of light and airy. For crispier ebi tempura, keep the batter very cold, mix just until combined, dredge lightly, fry in small batches at a steady hot oil temperature, and drain on a rack instead of paper towels to prevent steaming.
Yes, you can use sparkling water in tempura batter, and it can help make shrimp tempura lighter because the carbonation adds airiness and the cold liquid slows gluten development. Use very cold sparkling water, mix the tempura batter just until combined, and keep it chilled between batches to maintain a crisp tempura coating. You still need the right hot oil temperature and small batch frying for ebi tempura that stays crispy.
To keep tempura batter cold for crispy shrimp tempura, use ice cold water or sparkling water and chill your mixing bowl and whisk ahead of time. Set the batter bowl inside a larger bowl of ice while you fry, and only mix small batches so it does not warm up while sitting. Avoid overmixing and do not let the batter rest at room temperature, since a colder tempura batter helps create a light, airy coating for ebi tempura.
More Savory Shrimp Recipes
- Air Fryer Shrimp Fried Rice
- Shrimp Risotto
- Bang Bang Shrimp
- Shrimp Fajitas
- Air Fryer Keto Shrimp Scampi

Shrimp Tempura | Easy Tempura Shrimp Recipe
Ingredients
- ▢ 1 pound large shrimp
- ▢ 1 cup All-Purpose Flour
- ▢ 1/4 cup Cornstarch
- ▢ 2 tbsp Baking Powder
- ▢ 1/2 cups Cold Water
- ▢ 1 tsp Kosher Salt
- ▢ 1/4 tsp Ground Black Pepper
- ▢ Vegetable Oil , For Frying
Instructions
- Rinse the shrimp under cold water and pat them dry with paper towels.
- In a large mixing bowl, whisk together the flour, cornstarch, baking powder, and salt until well combined. Gradually pour in the ice water, whisking continuously, until the batter is smooth and has a slightly runny consistency.
- Heat vegetable oil in a large pot or deep fryer until it reaches 375F.
- Place each shrimp on a skewer lengthwise. Dip each shrimp into the batter, making sure it is coated evenly. Shake off any excess batter and carefully place the shrimp in the hot oil. Fry the shrimp in batches for 2-3 minutes or until they are golden brown and crispy. Use a slotted spoon or tongs to remove the shrimp from the oil and transfer them to a plate lined with paper towels to drain excess oil.
- Remove the shrimp from the skewers and serve with your favorite dipping sauce.
Get support & connect with our community on Facebook!
Nutrition

If you already signed up, you should have received an email with a password to give you unlimited access to our FREE Printable Library. The password is case sensitive. Enter it below and get printing!
Password:
Shrimp Tempura | Easy Tempura Shrimp Recipe
Ingredients
- 1 pound large shrimp
- 1 cup All-Purpose Flour
- 1/4 cup Cornstarch
- 2 tbsp Baking Powder
- 1/2 cups Cold Water
- 1 tsp Kosher Salt
- 1/4 tsp Ground Black Pepper
- Vegetable Oil For Frying
Instructions
- Rinse the shrimp under cold water and pat them dry with paper towels.
- In a large mixing bowl, whisk together the flour, cornstarch, baking powder, and salt until well combined. Gradually pour in the ice water, whisking continuously, until the batter is smooth and has a slightly runny consistency.
- Heat vegetable oil in a large pot or deep fryer until it reaches 375F.
- Place each shrimp on a skewer lengthwise. Dip each shrimp into the batter, making sure it is coated evenly. Shake off any excess batter and carefully place the shrimp in the hot oil. Fry the shrimp in batches for 2-3 minutes or until they are golden brown and crispy. Use a slotted spoon or tongs to remove the shrimp from the oil and transfer them to a plate lined with paper towels to drain excess oil.
- Remove the shrimp from the skewers and serve with your favorite dipping sauce.
Shrimp Tempura | Easy Tempura Shrimp Recipe https://twosleevers.com/shrimp-tempura/
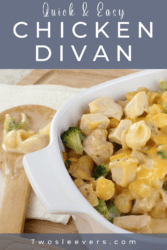
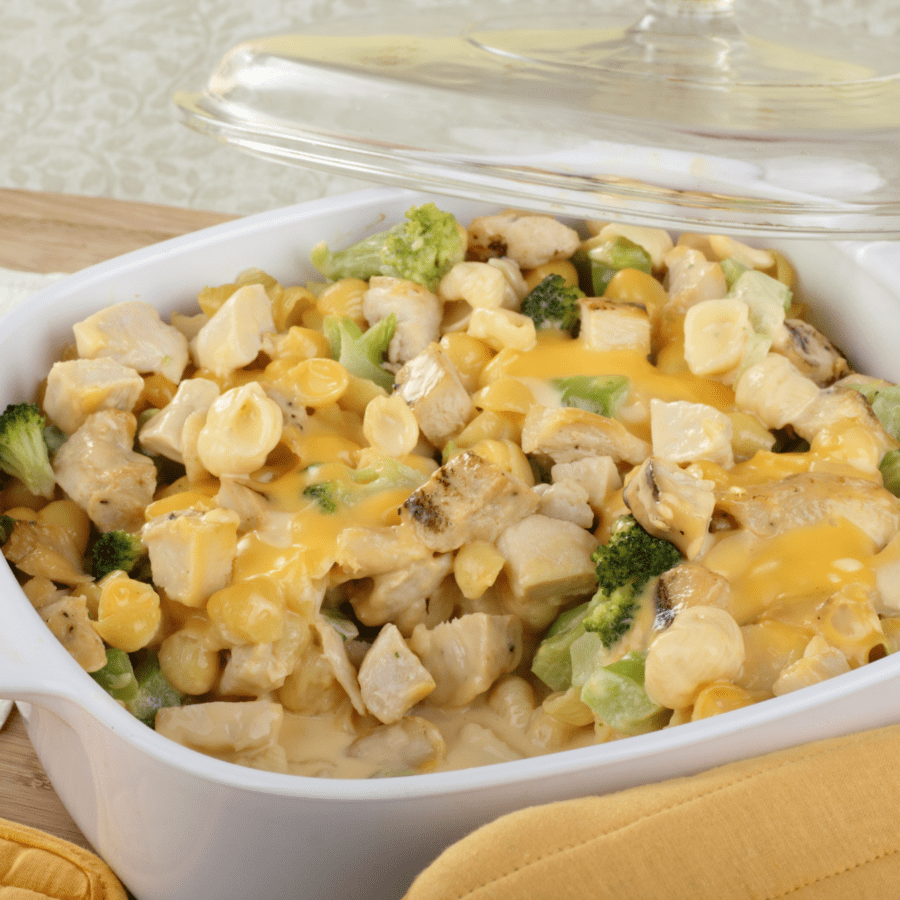
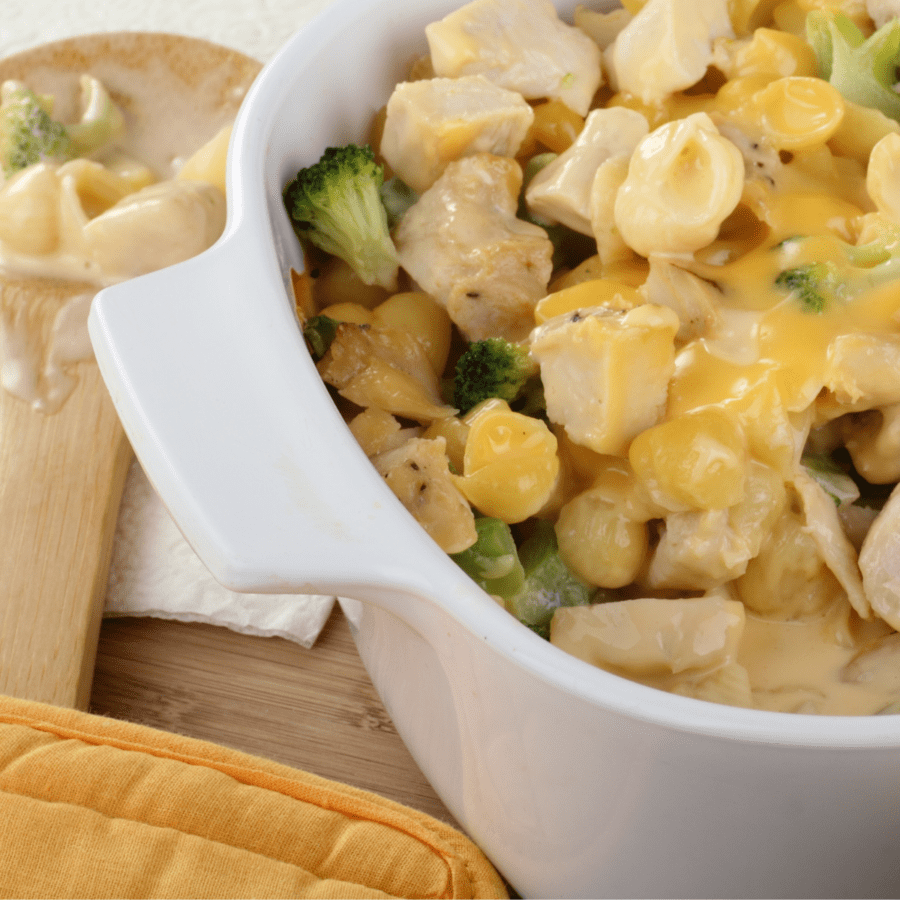
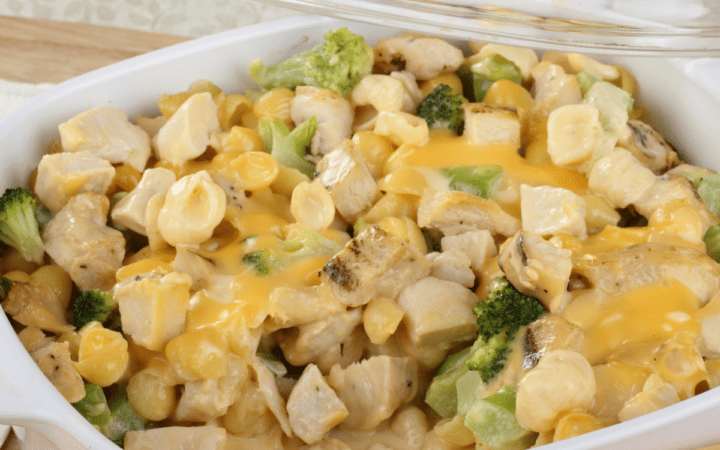
Chicken Divan Casserole is a classic dish that has been enjoyed by families for generations. It’s a comforting and flavorful meal that is perfect for weeknight dinners, potlucks, or special occasions.
What Makes This The Perfect Family-Friendly Meal?
- Fast. Use rotisserie chicken and quick-cooking noodles to make a delicious and filling casserole the whole family will love.
- Easy. Cook some noodles, create a sauce, combine all of the ingredients, top with some breadcrumbs, and bake to perfection.
- Versatile. Use some of my simple and tasty variations below to switch up this dish without sacrificing flavor.
- Budget-friendly. Use some affordable kitchen staples to create a dish that feels brand new and comforting.
Delicious and comforting Chicken Divan Casserole is sure to become a family favorite. This recipe can easily be adjusted to your taste preferences, so feel free to add or remove any ingredients you like.
Why Do They Call It Chicken Divan?
Chicken Divan is named after the Divan Parisienne Restaurant in New York City where it was first created in the early 1900s.
The dish was invented by the restaurant’s head chef, who named it after a play called “The Girl of the Golden West” which featured a character named Lady Divan. The dish became a popular menu item at the restaurant and eventually spread to other restaurants and homes across the country.
How Do You Spice Up A Bland Chicken Casserole?
In an effort to avoid using that creepy canned soup, I omitted cream of chicken soup in this recipe and included cream cheese to help mimic the creaminess of the canned soup.
- Use my homemade Keto Cream of Mushroom Soup. I have an absolutely scrumptious recipe for a cream of mushroom soup that is incredibly flavorful and nutritious. If you aren’t afraid of a little extra work, you can whip some up and enjoy the leftovers as a savory bowl of soup for lunch the next day!
- Stir in some granulated chicken bouillon. If what you’re missing is that robust chicken flavor that a can provides, sprinkle in a tablespoon of powdered chicken bouillon and stir it into the sour cream and mayo mix before tossing the broccoli, chicken, and noodles with it.
- Use the canned stuff. There’s nothing saying that you can’t use canned cream of chicken soup. Just because something isn’t my personal preference doesn’t mean that it can’t be something that you enjoy. So, if you want to use it, just omit the cream cheese and add in a can.
Ingredients You’ll Need
- Rotisserie Chicken - It makes this dish a quick weeknight recipe without a ton of extra steps and prep time.
- Egg Noodles - These noodles are quick-cooking and have a soft texture that pairs well with the creamy textures of the other ingredients in the dish.
- Cream Cheese - Is used in place of the traditional canned cream of chicken soup to add a pop of flavor and creaminess.
- Broccoli florets - Adds nutrition, color, and texture to the casserole.
- Mayonnaise
- Sour cream
- Parmesan cheese - Has an earthy and salty taste that sings with the subtle flavors of the other ingredients in this chicken casserole.
- Garlic powder
- Onion powder
- Thyme
- Salt and pepper
- Cheddar cheese - Creates a cheesy layer under the crispy crust of the panko.
- Panko breadcrumbs - Create a fun texture that is a lovely addition to the top of the casserole.
- Butter - Helps the bread crumbs crisp up when baked on top.
How To Make Chicken Divan Casserole
- Preheat your oven to 375°F.
- Boil a large pot of water and cook the egg noodles until al dente.
- In a large mixing bowl, combine the cream of chicken soup, mayonnaise, sour cream, grated Parmesan cheese, garlic powder, onion powder, dried thyme, salt, and pepper. Mix well until the ingredients are fully combined.
- Add the shredded chicken, cooked noodles, and blanched broccoli florets to the mixing bowl and mix everything together until they are fully coated in the sauce.
- Pour the mixture into a 9x13 inch baking dish.
- Sprinkle the shredded cheddar cheese evenly over the top of the chicken and broccoli mixture.
- In a separate mixing bowl, combine the panko breadcrumbs and melted butter. Mix well until the breadcrumbs are fully coated in the butter.
- Sprinkle the buttered breadcrumbs evenly over the top of the cheddar cheese.
- Place the baking dish in the oven and bake for 20 minutes, or until the cheese is melted and the breadcrumbs are golden brown.
- Remove the casserole from the oven and let it cool for a few minutes before serving.
Variations
- Make it low carb. If you’re living a low carb lifestyle, a chicken casserole with traditional noodles in it and topped with breadcrumbs simply isn’t an option. You can try my recipe for Broccoli Chicken Casserole which is similar to this chicken divan dish, but modified to be low carb!
- Use rice instead of noodles. If you prefer the bite of rice over noodles, you can cook rice in your Instant Pot and use it in place of the noodles. Other than this one simple substitution, the cooking instructions remain the same.
- Add more veggies. Casseroles are the perfect opportunity to sneak more veggies into your meals without even realizing you’re eating them! While this may not be an issue for most of your family, some of the more selective eaters may need extra help. Cauliflower, peas, corn, and even julienned carrots can be cooked through in a short amount of time and make a nice addition to the dish.
What To Serve With It
Chicken Divan is a classic casserole dish that is both delicious and filling. Here are some ideas for sides to serve with it to make it a complete meal:
- Roasted Vegetables - Roasted vegetables such as carrots, asparagus, or Brussels sprouts can add a pop of color and nutrition to your meal.
- Salad - A simple green salad with a light dressing can balance out the richness of the casserole and provide a refreshing contrast.
- Bread - A slice of crusty bread or a roll can be a great accompaniment to Chicken Divan. It can help soak up the sauce and add some texture to the meal.
- Mashed Potatoes - Creamy mashed potatoes can complement the creamy chicken casserole and add some extra comfort to the meal.
Feel free to experiment with some different side dishes and see what works best for you and your dinner guests!
How Long Does It Last?
Chicken Divan will typically last for about 3-4 days when stored properly in the refrigerator.
To maximize its shelf life, be sure to transfer the casserole to an airtight container or wrap it tightly with plastic wrap or aluminum foil before storing it.
Can You Freeze It?
If you have leftovers that you don’t think you’ll be able to eat within 3-4 days, consider freezing the casserole. Let the casserole cool to room temperature, then transfer it to a freezer-safe container or freezer bag.
It will keep well in the freezer for up to 3 months.
To reheat the casserole, place it in the refrigerator overnight to completely defrost. Once it is defrosted, pop it back in the oven at 350F until warmed through.
For even quicker heating and to prevent drying it out, consider freezing the casserole in individual portions.
More Craveable Casseroles
If you love a quick and easy meal, there’s nothing better than a great casserole. To keep dinner feeling new and exciting without adding a ton of extra work, check out some of these other casserole recipes that your family is sure to love!
- Cheeseburger Casserole
- Chicken Cordon Bleu Casserole
- Reuben Casserole
- Chicken Bacon Ranch Casserole
- Keto Breakfast Casserole

Chicken Divan | Chicken Divan Casserole With Noodles
Ingredients
- ▢ 2 cups Rotisserie Chicken
- ▢ 8 oz Egg Noodles
- ▢ 4 oz Cream Cheese
- ▢ 2 cups broccoli florets,
- ▢ 1/2 cup Mayonnaise
- ▢ 1/4 cup sour cream
- ▢ 1/4 cup shredded parmesan cheese
- ▢ 1/2 cup shredded sharp cheddar cheese
- ▢ 1/2 cup panko breadcrumbs
- ▢ 2 tbsp Butter
- ▢ 1 tsp Kosher Salt
- ▢ 1/2 tsp Ground Black Pepper
- ▢ 1 tsp Onion Powder
- ▢ 1 tsp Garlic Powder
- ▢ 1 tsp Dried Thyme
Instructions
- Preheat your oven to 375°F.
- Boil a large pot of water and cook the egg noodles until al dente.
- In a large mixing bowl, combine the cream of chicken soup, mayonnaise, sour cream, grated Parmesan cheese, garlic powder, onion powder, dried thyme, salt, and pepper. Mix well until the ingredients are fully combined.
- Add the shredded chicken, cooked noodles, and blanched broccoli florets to the mixing bowl and mix everything together until they are fully coated in the sauce.
- Pour the mixture into a 9x13 inch baking dish.
- Sprinkle the shredded cheddar cheese evenly over the top of the chicken and broccoli mixture.
- In a separate mixing bowl, combine the panko breadcrumbs and melted butter. Mix well until the breadcrumbs are fully coated in the butter.
- Sprinkle the buttered breadcrumbs evenly over the top of the cheddar cheese.
- Place the baking dish in the oven and bake for 20 minutes, or until the cheese is melted and the breadcrumbs are golden brown.
- Remove the casserole from the oven and let it cool for a few minutes before serving.
Get support & connect with our community on Facebook!
Nutrition
And don’t forget to check out my air fryer cookbooks! Every day easy air fryer , and Air Fryer Revolution .

