
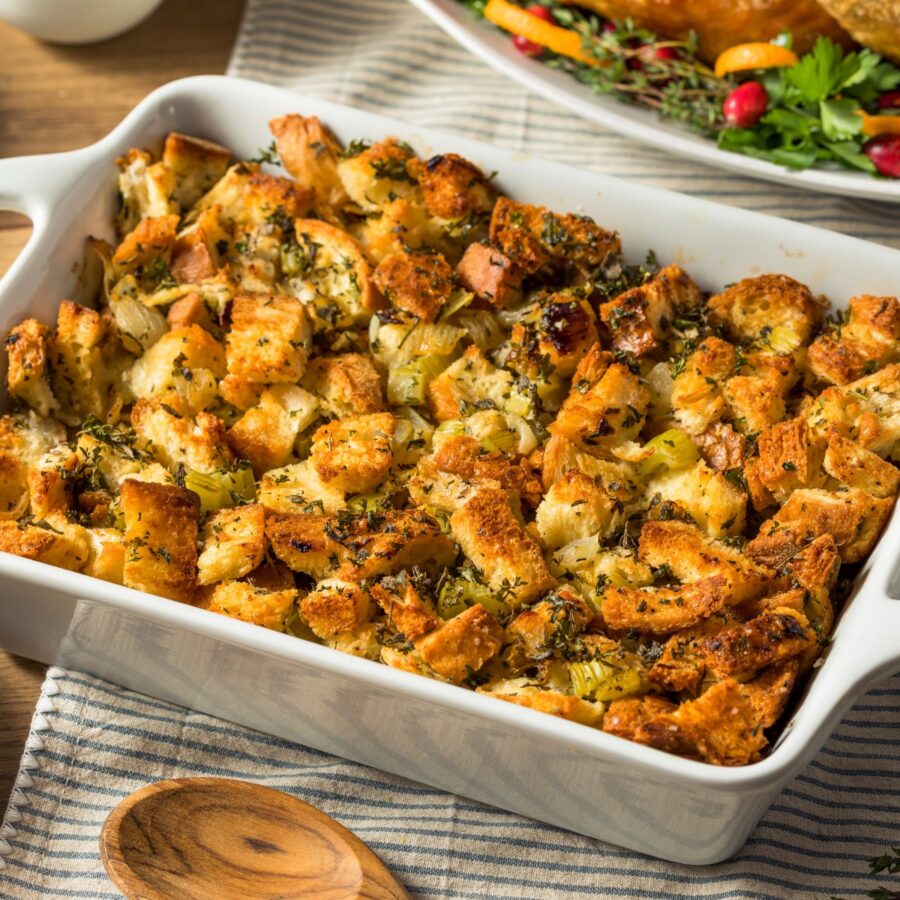
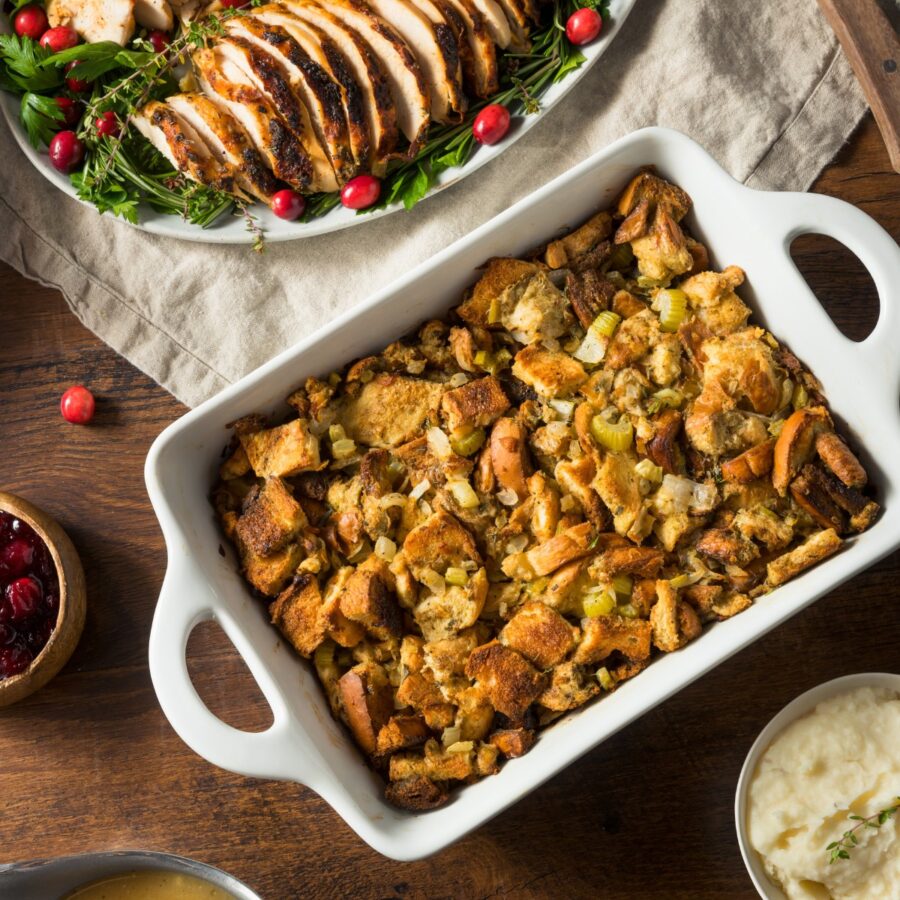
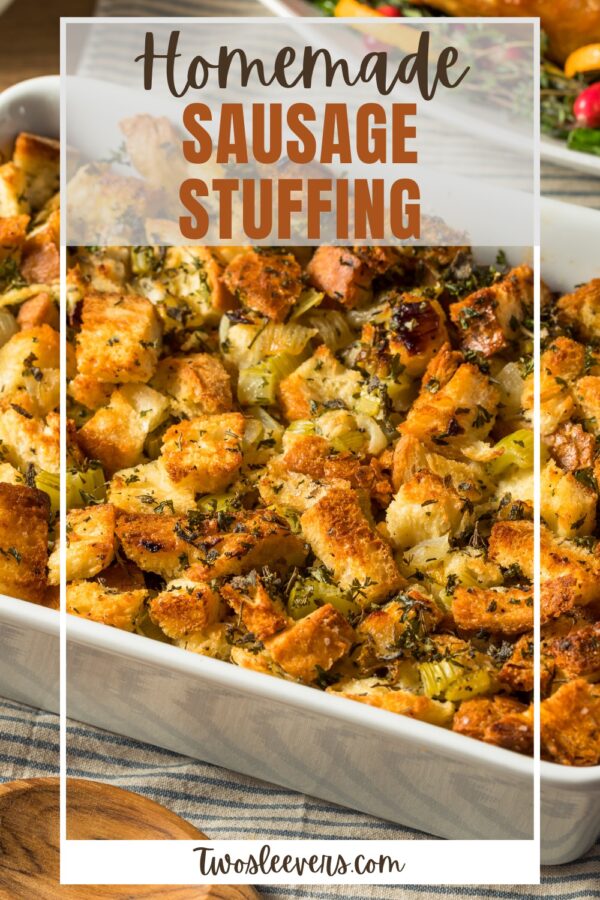
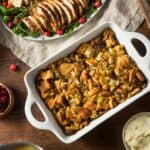
If you’re looking for the perfect side dish to complete your holiday table, Sage and Sausage Stuffing is a must-try! With savory sausage, fresh sage, and a buttery blend of aromatics, this dish is loaded with flavor and perfect for Thanksgiving, Christmas, or any special meal. Whether you bake it in a casserole dish or stuff it into your turkey, this stuffing is guaranteed to be a hit!
Why You’ll Love This Spectacular Side Dish
- Flavorful . Packed with savory sausage, fresh herbs, and a medley of vegetables.
- Easy to Make . Simple ingredients come together in just a few steps.
- Customizable . Easily adapt to dietary preferences or add your favorite mix-ins.
- Perfect for Any Occasion . Great for holidays or as a comforting side dish.
What Does Sausage Stuffing Taste Like?
Sage and Sausage Stuffing is a classic dish that brings a perfect balance of flavors. The richness of the sausage pairs beautifully with the earthiness of sage, while the buttery bread cubes soak up all the delicious juices.
This stuffing is the ultimate crowd-pleaser, delivering comforting, hearty flavors in every bite.
Why Is My Sausage Stuffing Dry?
If your sausage stuffing turns out dry, it’s likely due to a few common mistakes during preparation. Here’s why it might happen and how to fix it:
- Not Enough Liquid . Gradually add chicken or vegetable broth to the stuffing mixture until the bread cubes are moist but not soggy. The amount needed may vary depending on the type and dryness of the bread.
- Overbaking . Bake the stuffing covered with foil for most of the cooking time to retain moisture. Remove the foil for the last 15–20 minutes to crisp the top.
- Bread Was Too Dry . Use bread that’s dry but not rock-hard. If the bread is too dry, soak it briefly in broth before mixing it with the other ingredients.
By addressing these common issues, your sausage stuffing will turn out perfectly moist and flavorful every time!
Ingredients You’ll Need
- Bread Cubes - Use day-old bread, cubed and slightly dried, for the best texture.
- Sausage - Ground pork sausage adds a savory, flavorful base.
- Onion and Celery - Aromatic vegetables that build depth in the stuffing.
- Butter - Adds richness and ensures the bread cubes stay moist.
- Chicken Broth - Keeps the stuffing moist and flavorful. Use low-sodium for better control over salt levels.
- Fresh Sage - Provides a classic, earthy flavor.
- Eggs - Help bind the stuffing together.
- Seasonings - Salt, pepper, and optional poultry seasoning for added flavor.
How To Make Sausage Stuffing
- Prep the Bread Cubes . Cut the bread into 1-inch cubes and spread them on a baking sheet. Allow them to dry overnight, or toast them in the oven at 300°F for 10–15 minutes.
- Cook the Sausage . In a large skillet, cook the sausage over medium heat until browned and cooked through. Remove with a slotted spoon and set aside, leaving the drippings in the pan.
- Sauté the Vegetables . Add butter to the skillet with the sausage drippings. Sauté the onion and celery until softened, about 5–7 minutes. Stir in the fresh sage and cook for 1 minute.
- Combine the Ingredients . In a large mixing bowl, combine the dried bread cubes, cooked sausage, and sautéed vegetables. Toss to combine.
- Add the Broth and Eggs . Whisk the eggs with the chicken broth, then pour the mixture over the stuffing. Stir gently until the bread cubes are evenly moistened.
- Bake the Stuffing . Transfer the stuffing mixture to a greased casserole dish. Cover with foil and bake at 350°F for 30 minutes. Remove the foil and bake for an additional 15–20 minutes, or until the top is golden and slightly crisp.
Tips And Tricks
Here are some tips and tricks to ensure your sausage stuffing turns out perfectly every time:
- Use Sturdy Bread . Opt for hearty bread like sourdough or French bread for the best texture. Avoid overly soft bread, as it can become mushy.
- Don’t Overmoisten . Add broth gradually to ensure the bread is moist but not soggy.
- Toast the Bread . Drying or toasting the bread cubes helps them absorb the liquid without falling apart.
- Fresh Herbs Are Best . Fresh sage and parsley deliver the most vibrant flavors.
Variations
Here are some creative and delicious variations for making sausage stuffing to suit different tastes and occasions:
- Apple Sage- Add diced apples for a touch of sweetness that pairs beautifully with the savory sausage.
- Cornbread- Substitute half of the bread cubes with crumbled cornbread for a Southern twist.
- Vegetarian- Omit the sausage and use vegetable broth for a meat-free version.
- Nutty Addition - Add chopped pecans or walnuts for extra crunch.
- Spicy- Use spicy Italian sausage for a kick of heat.
What To Eat With Sausage Stuffing
Sausage stuffing is a flavorful and hearty dish that pairs wonderfully with a variety of sides and main courses. Here are some delicious ideas for what to eat with it:
- Turkey or Chicken - A perfect complement to roast turkey or chicken.
- Mashed Potatoes - Serve alongside creamy mashed potatoes for a comforting meal.
- Cranberry Sauce - The tartness of cranberry sauce balances the richness of the stuffing.
- Green Bean Casserole - A classic pairing for holiday feasts.
How Long Does It Last?
Sage and sausage stuffing can last for several days if stored properly, making it an ideal dish for meal prep or enjoying leftovers after a holiday feast.
Once cooked, allow the stuffing to cool completely before transferring it to an airtight container. In the refrigerator, it will stay fresh for up to 3–4 days.
Can You Freeze It?
For longer storage, you can freeze the stuffing. To freeze, portion it into freezer-safe containers or resealable bags, removing as much air as possible to prevent freezer burn.
Frozen stuffing can last for up to 2 months and is best reheated in the oven to retain its original texture and flavor.
More Traditional Holiday Recipes
- Crock Pot Ham
- Roasted Turkey Breast
- Cheesy Potatoes
- Low Carb Pumpkin Pie
- Beef Tenderloin

Sausage Stuffing Recipe | Classic Sage And Sausage Stuffing
Ingredients
- ▢ 12 cups Bread Cubes
- ▢ 1 pound Pork Sausage
- ▢ 1 1/2 cups Onion , diced
- ▢ 1 1/2 cups Celery , chopped
- ▢ 1 cup Unsalted Butter
- ▢ 2 1/2 cups Chicken Broth
- ▢ 2 tbsp Sage , finely chopped
- ▢ 2 Eggs
- ▢ 1 tsp Kosher Salt
- ▢ 1/2 tsp Ground Black Pepper
- ▢ 1 tsp Poultry Seasoning , optional
Instructions
- Prep the Bread Cubes . Cut the bread into 1-inch cubes and spread them on a baking sheet. Allow them to dry overnight, or toast them in the oven at 300°F for 10–15 minutes.
- Cook the Sausage . In a large skillet, cook the sausage over medium heat until browned and cooked through. Remove with a slotted spoon and set aside, leaving the drippings in the pan.
- Sauté the Vegetables . Add butter to the skillet with the sausage drippings. Sauté the onion and celery until softened, about 5–7 minutes. Stir in the fresh sage and cook for 1 minute.
- Combine the Ingredients . In a large mixing bowl, combine the dried bread cubes, cooked sausage, and sautéed vegetables. Toss to combine.
- Add the Broth and Eggs . Whisk the eggs with the chicken broth, then pour the mixture over the stuffing. Stir gently until the bread cubes are evenly moistened.
- Bake the Stuffing . Transfer the stuffing mixture to a greased casserole dish. Cover with foil and bake at 350°F for 30 minutes. Remove the foil and bake for an additional 15–20 minutes, or until the top is golden and slightly crisp.
Get support & connect with our community on Facebook!

If you already signed up, you should have received an email with a password to give you unlimited access to our FREE Printable Library. The password is case sensitive. Enter it below and get printing!
Password:
Sausage Stuffing Recipe | Classic Sage And Sausage Stuffing
Ingredients
- 12 cups Bread Cubes
- 1 pound Pork Sausage
- 1 1/2 cups Onion diced
- 1 1/2 cups Celery chopped
- 1 cup Unsalted Butter
- 2 1/2 cups Chicken Broth
- 2 tbsp Sage finely chopped
- 2 Eggs
- 1 tsp Kosher Salt
- 1/2 tsp Ground Black Pepper
- 1 tsp Poultry Seasoning optional
Instructions
- Prep the Bread Cubes . Cut the bread into 1-inch cubes and spread them on a baking sheet. Allow them to dry overnight, or toast them in the oven at 300°F for 10–15 minutes.
- Cook the Sausage . In a large skillet, cook the sausage over medium heat until browned and cooked through. Remove with a slotted spoon and set aside, leaving the drippings in the pan.
- Sauté the Vegetables . Add butter to the skillet with the sausage drippings. Sauté the onion and celery until softened, about 5–7 minutes. Stir in the fresh sage and cook for 1 minute.
- Combine the Ingredients . In a large mixing bowl, combine the dried bread cubes, cooked sausage, and sautéed vegetables. Toss to combine.
- Add the Broth and Eggs . Whisk the eggs with the chicken broth, then pour the mixture over the stuffing. Stir gently until the bread cubes are evenly moistened.
- Bake the Stuffing . Transfer the stuffing mixture to a greased casserole dish. Cover with foil and bake at 350°F for 30 minutes. Remove the foil and bake for an additional 15–20 minutes, or until the top is golden and slightly crisp.
Sausage Stuffing Recipe | Classic Sage And Sausage Stuffing https://twosleevers.com/sausage-stuffing-recipe/
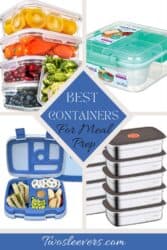
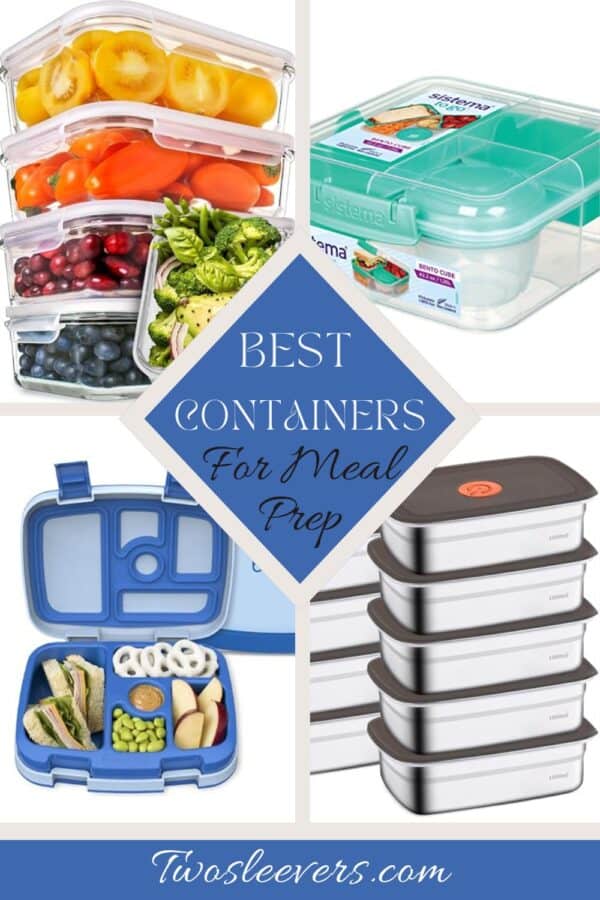
Why You’ll Love These Meal Prep Containers
If you’ve ever opened your fridge and wished your meals were neatly stacked, ready to go, and perfectly portioned, you’re not alone. The right meal prep containers make healthier, mindful eating easy. It saves you time, money, and stress during the week.
What to Look For in a Meal Prep Container
Before diving into the top picks, here’s what makes a great container worth investing in:
- Leak-Proof Lids . Keep soups and sauces contained without spills.
- Microwave, Freezer & Dishwasher Safe . For easy heating, freezing, and cleanup.
- Portion Control Compartments . Perfect for calorie tracking or balanced meals.
- Stackable Design . Saves space in your fridge and cabinets.
- Durable Materials . Choose between BPA-free plastic, borosilicate glass, or stainless steel based on your lifestyle.

Bentgo Kids Bento-Style 5-Compartment Leak-Proof Lunch Box
You will love the Bentgo Kids Bento-Style 5-Compartment Lunch Box because it makes packing balanced, leak-proof meals fun and easy. It has perfectly sized compartments for snacks, fruits, and main dishes that keep food fresh and neatly separated all day.

PrepNaturals 5 Pack 30 Oz Glass Meal Prep Containers
You’ll love the Prep Naturals Glass Meal Prep Containers because they’re durable, oven-safe, and completely leak-proof. They’re perfect for prepping, storing, and reheating healthy meals without worrying about spills or plastic odors.

Rubbermaid Brilliance Food Storage Containers
People will love the Rubbermaid Brilliance Storage Containers because they’re crystal clear, completely leak-proof, and stack beautifully. This keeps your fridge organized while locking in freshness for everything from soups to salads.

Sistema To Go Collection Bento Box Cube
People will love the Sistema To Go Bento Box because its clever, compartmentalized design keeps meals and snacks perfectly separated, making it an ideal grab-and-go option for work, school, or travel without any leaks or mess.

CLWVPCOT 10 Pack Stainless Steel Food Storage Containers with Leak-Proof Lids
People will love the CLWVPCOT Stainless Steel Meal Prep Containers because they’re durable, eco-friendly, and completely leak-proof. This keeps meals fresh without plastic, stains, or lingering odors, whether you’re at home or on the go.
How to Care for Your Containers
Caring for your meal prep containers properly ensures they last longer, stay odor-free, and keep your food fresh week after week. Here’s a list of simple yet effective tips to help you maintain your containers in top condition:
- Cool Before Sealing . Always let hot food cool slightly before sealing to prevent trapped steam and condensation.
- Avoid Microwaving Lids . Even if marked “microwave-safe,” lids can warp or lose their seal. Heat the base only.
- Hand Wash When Possible . Gentle handwashing helps preserve lid seals and prevents scratches on plastic or glass.
- Remove Stains with Baking Soda . Make a paste of baking soda and water to scrub away tomato or curry stains.
- Store with Lids Off . Keeping containers slightly open helps prevent odors and moisture buildup.
- Use Vinegar to Remove Odors . A quick rinse with white vinegar can eliminate lingering smells.
- Don’t Overfill . Leave a little room at the top for expansion if freezing food.
Meal Prep Tips for Busy Cooks
Meal prepping doesn’t have to be time-consuming or complicated. With a few smart strategies, you can save hours in the kitchen while eating healthy, homemade meals all week long. Here’s a list of the best meal prep tips for busy cooks to keep you organized, efficient, and stress-free:
- Plan Before You Prep . Choose 3–4 recipes you can mix and match throughout the week to prevent burnout.
- Shop with a List . Organize your grocery list by category (produce, protein, pantry) for faster shopping.
- Batch Cook Proteins. Grill, roast, or pressure cook a large batch of chicken, beef, or tofu to use in multiple meals.
- Use Multi-Compartment Containers . Keep meals balanced with separate sections for protein, carbs, and veggies.
- Prep Grains Ahead . Cook rice, quinoa, or pasta in bulk and refrigerate or freeze for quick sides.
- Wash and Chop Veggies Right Away . Prepping produce as soon as you get home saves time later in the week.
- Label Everything . Use masking tape or labels to note what’s inside and the prep date to stay organized.
- Freeze in Portions . Freeze meals or ingredients in single servings for easy grab-and-go lunches.
- Keep a Prep Schedule . Set aside one or two dedicated meal prep sessions each week. Consistency is key.
