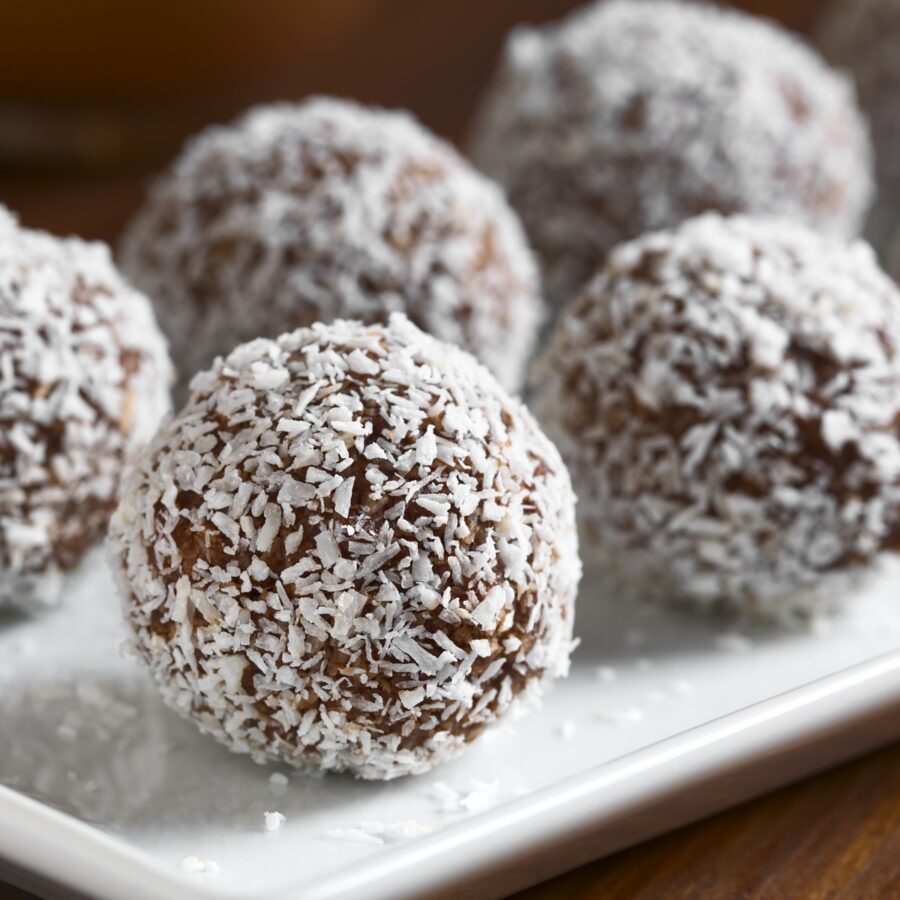
Looking for a no-bake dessert that’s easy, indulgent, and perfect for parties? Let me introduce you to Rum Balls! These bite-sized treats are packed with rich chocolate flavor, a hint of rum, and a nutty crunch, all rolled in powdered sugar or sprinkles for the ultimate festive flair. Whether you’re preparing for the holidays or just treating yourself, this recipe will quickly become a favorite.
Why You’ll Love This Tasty Treat
- No-Bake Dessert. No oven? No problem! These Rum Balls come together quickly without baking.
- Customizable . Adjust the rum strength, roll them in your favorite coatings, or add mix-ins to suit your taste.
- Perfect for Gifting . They’re easy to package up for a sweet, homemade gift.
- Make-Ahead Friendly . These only get better as the flavors meld together over time.
This indulgent and easy Rum Balls recipe will quickly become a favorite in your home. Perfect for any celebration or a sweet, boozy treat, they’re as versatile as they are delicious. Enjoy making them, eating them, and sharing them with friends and family!
What Do Rum Balls Taste Like?
Rum Balls are an irresistible treat! The combination of crushed cookies, cocoa, nuts, and a splash of rum creates a sweet, decadent bite with a warm, boozy kick.
The texture is soft yet slightly chewy, with a satisfying crunch from the nuts. They’re perfect for anyone who loves a balance of sweet and spirited flavors.
Will Rum Balls Get You Drunk?
While rum is an ingredient in the recipe, the amount used is typically spread out over dozens of small balls. This means each individual bite contains only a tiny amount of alcohol.
Rum balls are usually eaten in moderation. You’d have to eat a significant number of them in a short period to feel any effects, which is highly unlikely due to their richness.
Rum balls are more about enjoying the flavor of rum than experiencing its effects. However, if you’re serving these to someone who avoids alcohol entirely, consider making a non-alcoholic version by substituting rum with rum extract or another liquid like orange juice.
Ingredients You’ll Need
Here’s a quick rundown of what you’ll need to create these festive delights:
- Vanilla Wafer Cookies - Crushed finely to form the base of the mixture.
- Cocoa Powder - Adds deep chocolate flavor.
- Powdered Sugar - Sweetens the mix and doubles as a coating.
- Dark Rum - The star ingredient that gives these balls their signature boozy flavor.
- Corn Syrup - Binds the ingredients together and keeps them moist.
- Pecans (or Walnuts) - Add a nutty crunch to the texture.
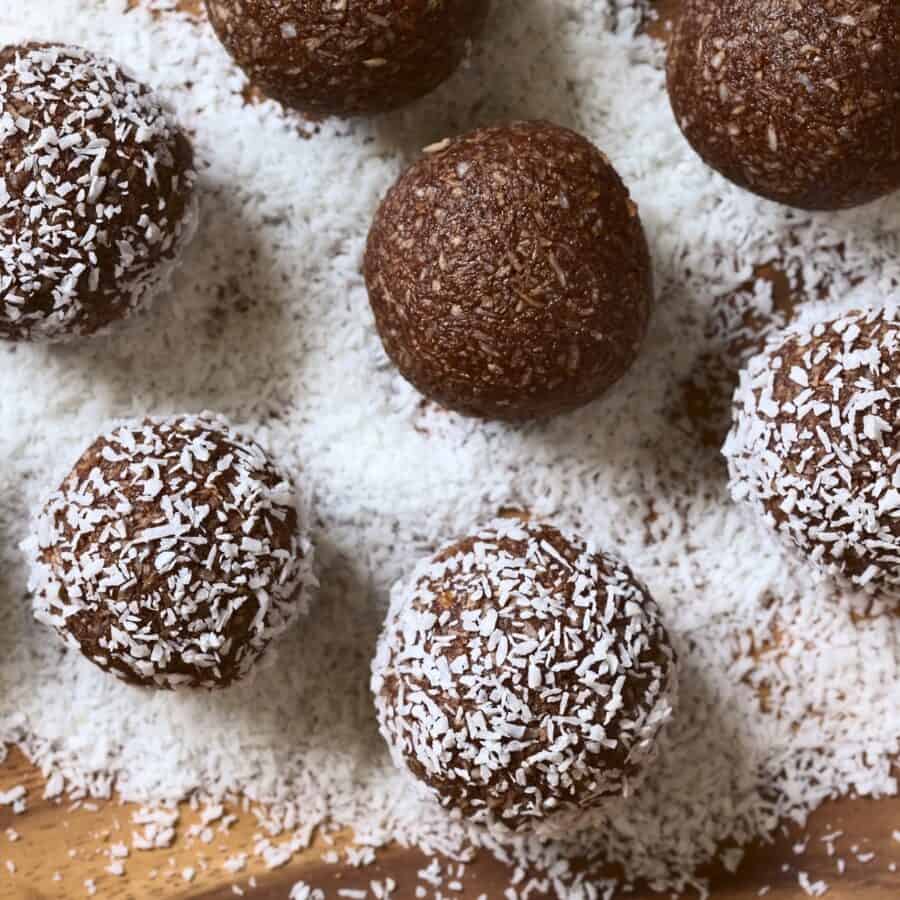
- Optional Coatings - Powdered sugar, sprinkles, shredded coconut, or cocoa powder for rolling.
How To Make Rum Balls
- Prepare the Dry Ingredients . In a large bowl, combine finely crushed vanilla wafer cookies, cocoa powder, powdered sugar, and chopped nuts. Stir until well blended.
- Add the Wet Ingredients . Pour in the dark rum and corn syrup. Mix until the ingredients come together to form a thick, sticky dough.
- Shape the Balls . Using your hands or a small cookie scoop, form the mixture into 1-inch balls.
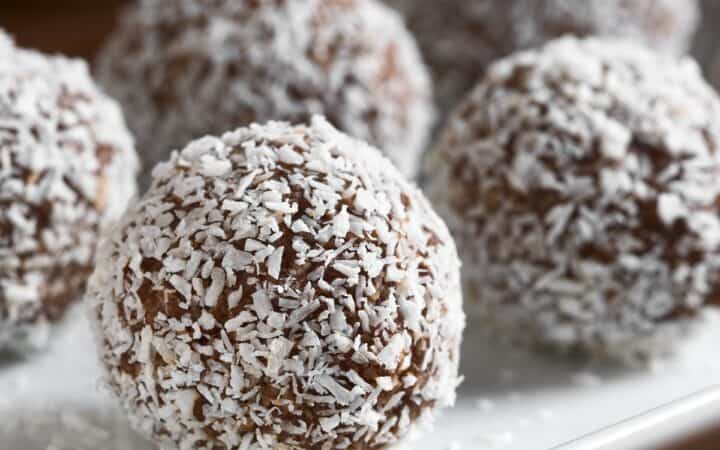
- Roll in Coating . Roll each ball in your preferred coating—powdered sugar, sprinkles, or shredded coconut. Place them on a parchment-lined tray.
- Chill . Refrigerate the Rum Balls for at least 2 hours to allow the flavors to meld and the texture to firm up.
Tips And Tricks
Making rum balls is a straightforward process, but these tips and tricks will help ensure they turn out perfectly every time:
- Crush Cookies Finely. Use a food processor for the smoothest texture. Larger chunks may cause the balls to crumble.
- Adjust Rum Flavor . For a milder taste, reduce the rum slightly or substitute part of it with orange juice.
- Chill the Dough . If the mixture feels too sticky, refrigerate it for 30 minutes before rolling.
- Use Gloves . Rolling the balls can get messy! Wear gloves to keep your hands clean.
Variations
Rum balls are a classic treat, but there’s so much room for creativity! Whether you want to experiment with flavors, coatings, or ingredients, these variations will take them to the next level:
- Bourbon Balls - Swap the rum for bourbon for a different flavor profile.
- Nut-Free Version - Skip the nuts and use crushed pretzels or graham crackers for texture.
- Spiced Rum Balls - Use spiced rum and add a pinch of cinnamon or nutmeg.
- Chocolate Coated - Dip the balls in melted chocolate for an extra layer of indulgence.
- Holiday Themed - Use red and green sprinkles for a festive look during the holidays.
What To Enjoy With Rum Balls
Rum balls are a decadent treat, and their rich, boozy flavor pairs wonderfully with a variety of accompaniments. Here are some ideas to complement and elevate your experience:
- Coffee or Espresso - The rich flavors complement each other perfectly.
- Ice Cream - Serve alongside vanilla or chocolate ice cream for a decadent dessert.
- Cocktails - Enjoy with a glass of eggnog or a classic rum cocktail.
- Cheese Platter - Balance the sweetness by serving them on a charcuterie or dessert board.
How Long Do They Last?
Rum Balls are the ultimate make-ahead treat. When stored in an airtight container in the refrigerator, they can last up to 2 weeks.
In fact, they taste even better after a couple of days as the flavors meld together.
Can You Freeze Them?
Yes! Rum Balls freeze exceptionally well. Place them in a single layer on a baking sheet to freeze, then transfer them to an airtight container or freezer bag. Thaw them in the refrigerator overnight before serving.
More Delicious Desserts
- Snow Balls
- Molasses Cookies
- Peppermint Chocolate Chip Cookies
- Eggnog
- Keto Ginger Cookies
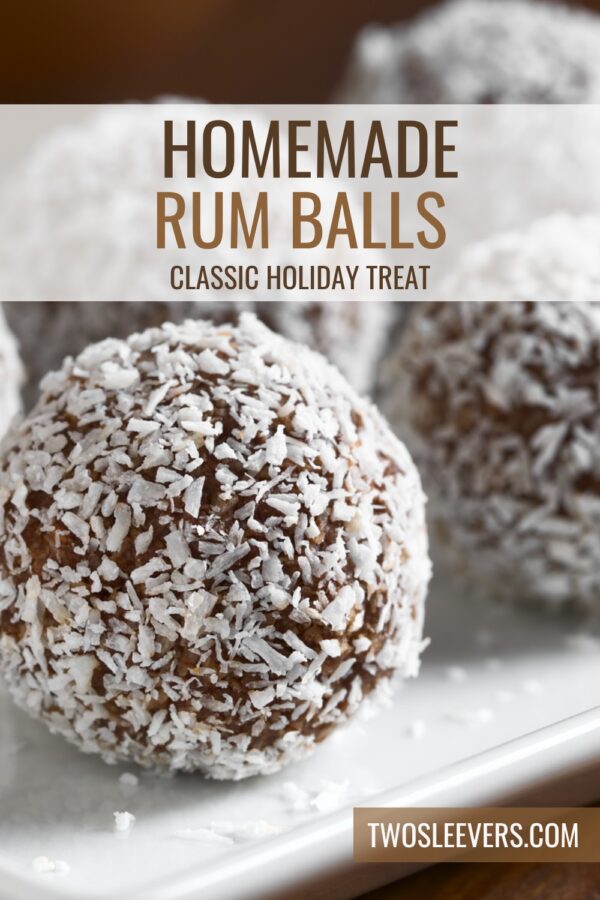
Rum Balls Recipe | Classic Rum Balls
Ingredients
- ▢ 2 cups Vanilla Wafer Cookies
- ▢ 1/4 cup Cocoa Powder
- ▢ 1 cup Powdered Sugar
- ▢ 1/3 cup Dark Rum
- ▢ 1/4 cup Corn Syrup
- ▢ 1/2 cup Pecans , finely chopped
- ▢ 1 cup Coconut Flakes , for rolling
Instructions
- Prepare the Dry Ingredients . In a large bowl, combine finely crushed vanilla wafer cookies, cocoa powder, powdered sugar, and chopped nuts. Stir until well blended.
- Add the Wet Ingredients . Pour in the dark rum and corn syrup. Mix until the ingredients come together to form a thick, sticky dough.
- Shape the Balls . Using your hands or a small cookie scoop, form the mixture into 1-inch balls.
- Roll in Coating . Roll each ball in your preferred coating—powdered sugar, sprinkles, or shredded coconut. Place them on a parchment-lined tray.
- Chill . Refrigerate the Rum Balls for at least 2 hours to allow the flavors to meld and the texture to firm up.
Get support & connect with our community on Facebook!
Nutrition
Looking for a no-bake dessert that’s easy, indulgent, and perfect for parties? Let me introduce you to Rum Balls! These bite-sized treats are packed with rich chocolate flavor, a hint of rum, and a nutty crunch, all rolled in powdered sugar or sprinkles for the ultimate festive flair. Whether you’re preparing for the holidays or just treating yourself, this recipe will quickly become a favorite.
Why You’ll Love This Tasty Treat
- No-Bake Dessert. No oven? No problem! These Rum Balls come together quickly without baking.
- Customizable . Adjust the rum strength, roll them in your favorite coatings, or add mix-ins to suit your taste.
- Perfect for Gifting . They’re easy to package up for a sweet, homemade gift.
- Make-Ahead Friendly . These only get better as the flavors meld together over time.
This indulgent and easy Rum Balls recipe will quickly become a favorite in your home. Perfect for any celebration or a sweet, boozy treat, they’re as versatile as they are delicious. Enjoy making them, eating them, and sharing them with friends and family!
What Do Rum Balls Taste Like?
Rum Balls are an irresistible treat! The combination of crushed cookies, cocoa, nuts, and a splash of rum creates a sweet, decadent bite with a warm, boozy kick.
The texture is soft yet slightly chewy, with a satisfying crunch from the nuts. They’re perfect for anyone who loves a balance of sweet and spirited flavors.
Will Rum Balls Get You Drunk?
While rum is an ingredient in the recipe, the amount used is typically spread out over dozens of small balls. This means each individual bite contains only a tiny amount of alcohol.
Rum balls are usually eaten in moderation. You’d have to eat a significant number of them in a short period to feel any effects, which is highly unlikely due to their richness.
Rum balls are more about enjoying the flavor of rum than experiencing its effects. However, if you’re serving these to someone who avoids alcohol entirely, consider making a non-alcoholic version by substituting rum with rum extract or another liquid like orange juice.
Ingredients You’ll Need
Here’s a quick rundown of what you’ll need to create these festive delights:
- Vanilla Wafer Cookies - Crushed finely to form the base of the mixture.
- Cocoa Powder - Adds deep chocolate flavor.
- Powdered Sugar - Sweetens the mix and doubles as a coating.
- Dark Rum - The star ingredient that gives these balls their signature boozy flavor.
- Corn Syrup - Binds the ingredients together and keeps them moist.
- Pecans (or Walnuts) - Add a nutty crunch to the texture.
- Optional Coatings - Powdered sugar, sprinkles, shredded coconut, or cocoa powder for rolling.
How To Make Rum Balls
- Prepare the Dry Ingredients . In a large bowl, combine finely crushed vanilla wafer cookies, cocoa powder, powdered sugar, and chopped nuts. Stir until well blended.
- Add the Wet Ingredients . Pour in the dark rum and corn syrup. Mix until the ingredients come together to form a thick, sticky dough.
- Shape the Balls . Using your hands or a small cookie scoop, form the mixture into 1-inch balls.
- Roll in Coating . Roll each ball in your preferred coating—powdered sugar, sprinkles, or shredded coconut. Place them on a parchment-lined tray.
- Chill . Refrigerate the Rum Balls for at least 2 hours to allow the flavors to meld and the texture to firm up.
Tips And Tricks
Making rum balls is a straightforward process, but these tips and tricks will help ensure they turn out perfectly every time:
- Crush Cookies Finely. Use a food processor for the smoothest texture. Larger chunks may cause the balls to crumble.
- Adjust Rum Flavor . For a milder taste, reduce the rum slightly or substitute part of it with orange juice.
- Chill the Dough . If the mixture feels too sticky, refrigerate it for 30 minutes before rolling.
- Use Gloves . Rolling the balls can get messy! Wear gloves to keep your hands clean.
Variations
Rum balls are a classic treat, but there’s so much room for creativity! Whether you want to experiment with flavors, coatings, or ingredients, these variations will take them to the next level:
- Bourbon Balls - Swap the rum for bourbon for a different flavor profile.
- Nut-Free Version - Skip the nuts and use crushed pretzels or graham crackers for texture.
- Spiced Rum Balls - Use spiced rum and add a pinch of cinnamon or nutmeg.
- Chocolate Coated - Dip the balls in melted chocolate for an extra layer of indulgence.
- Holiday Themed - Use red and green sprinkles for a festive look during the holidays.
What To Enjoy With Rum Balls
Rum balls are a decadent treat, and their rich, boozy flavor pairs wonderfully with a variety of accompaniments. Here are some ideas to complement and elevate your experience:
- Coffee or Espresso - The rich flavors complement each other perfectly.
- Ice Cream - Serve alongside vanilla or chocolate ice cream for a decadent dessert.
- Cocktails - Enjoy with a glass of eggnog or a classic rum cocktail.
- Cheese Platter - Balance the sweetness by serving them on a charcuterie or dessert board.
How Long Do They Last?
Rum Balls are the ultimate make-ahead treat. When stored in an airtight container in the refrigerator, they can last up to 2 weeks.
In fact, they taste even better after a couple of days as the flavors meld together.
Can You Freeze Them?
Yes! Rum Balls freeze exceptionally well. Place them in a single layer on a baking sheet to freeze, then transfer them to an airtight container or freezer bag. Thaw them in the refrigerator overnight before serving.
More Delicious Desserts
- Snow Balls
- Molasses Cookies
- Peppermint Chocolate Chip Cookies
- Eggnog
- Keto Ginger Cookies
Rum Balls Recipe | Classic Rum Balls
Ingredients
- ▢ 2 cups Vanilla Wafer Cookies
- ▢ 1/4 cup Cocoa Powder
- ▢ 1 cup Powdered Sugar
- ▢ 1/3 cup Dark Rum
- ▢ 1/4 cup Corn Syrup
- ▢ 1/2 cup Pecans , finely chopped
- ▢ 1 cup Coconut Flakes , for rolling
Instructions
- Prepare the Dry Ingredients . In a large bowl, combine finely crushed vanilla wafer cookies, cocoa powder, powdered sugar, and chopped nuts. Stir until well blended.
- Add the Wet Ingredients . Pour in the dark rum and corn syrup. Mix until the ingredients come together to form a thick, sticky dough.
- Shape the Balls . Using your hands or a small cookie scoop, form the mixture into 1-inch balls.
- Roll in Coating . Roll each ball in your preferred coating—powdered sugar, sprinkles, or shredded coconut. Place them on a parchment-lined tray.
- Chill . Refrigerate the Rum Balls for at least 2 hours to allow the flavors to meld and the texture to firm up.
Get support & connect with our community on Facebook!
Nutrition

If you already signed up, you should have received an email with a password to give you unlimited access to our FREE Printable Library. The password is case sensitive. Enter it below and get printing!
Password:

Rum Balls Recipe | Classic Rum Balls
Ingredients
- 2 cups Vanilla Wafer Cookies
- 1/4 cup Cocoa Powder
- 1 cup Powdered Sugar
- 1/3 cup Dark Rum
- 1/4 cup Corn Syrup
- 1/2 cup Pecans finely chopped
- 1 cup Coconut Flakes for rolling
Instructions
- Prepare the Dry Ingredients . In a large bowl, combine finely crushed vanilla wafer cookies, cocoa powder, powdered sugar, and chopped nuts. Stir until well blended.
- Add the Wet Ingredients . Pour in the dark rum and corn syrup. Mix until the ingredients come together to form a thick, sticky dough.
- Shape the Balls . Using your hands or a small cookie scoop, form the mixture into 1-inch balls.
- Roll in Coating . Roll each ball in your preferred coating—powdered sugar, sprinkles, or shredded coconut. Place them on a parchment-lined tray.
- Chill . Refrigerate the Rum Balls for at least 2 hours to allow the flavors to meld and the texture to firm up.
Rum Balls Recipe | Classic Rum Balls https://twosleevers.com/rum-balls-recipe/

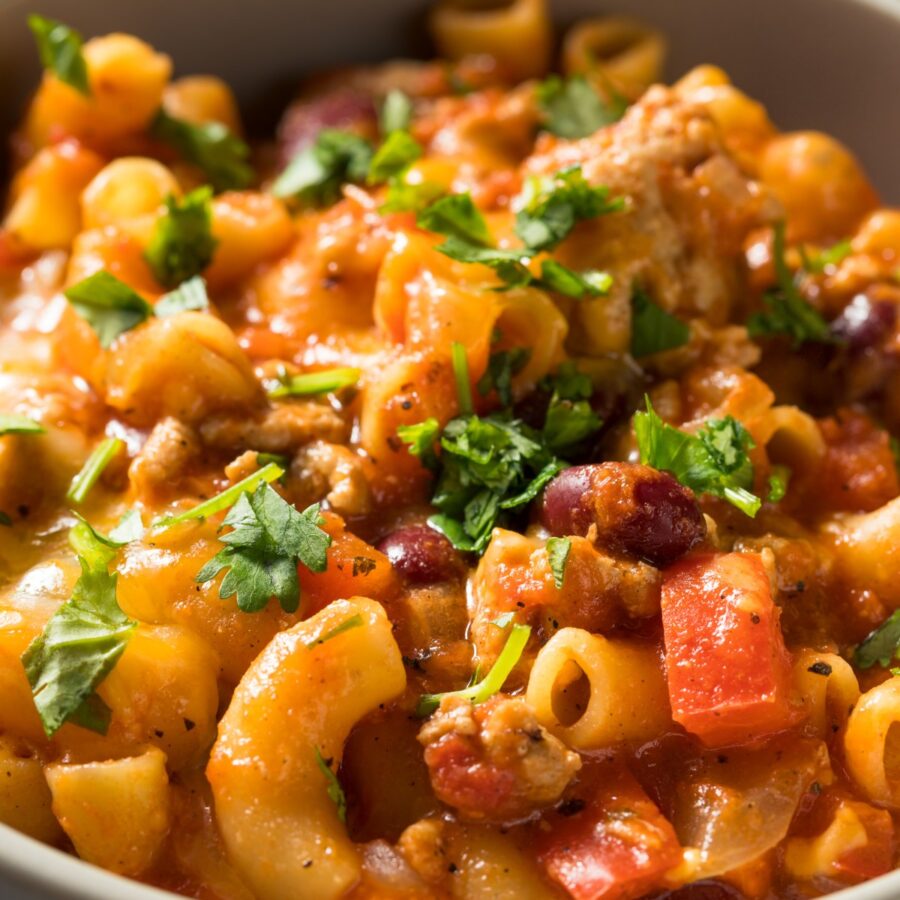
If you’re craving a hearty, cheesy, and flavor-packed meal that comes together in no time, Instant Pot Chili Mac is your answer. This recipe combines the best of both worlds: the spicy, savory richness of chili and the creamy, comforting appeal of macaroni and cheese. Perfect for weeknight dinners or when you need to feed a crowd, this one-pot wonder is sure to satisfy everyone at the table.
Why You’ll Love This Flavorful Dish
- Quick and Easy . Ready in under 30 minutes with the convenience of the Instant Pot.
- One-Pot Meal . Minimal cleanup for maximum enjoyment.
- Customizable . Add your favorite toppings and adjust the spice level to your liking.
- Family-Friendly . A dish that kids and adults alike will adore.
With its rich, bold flavors and creamy texture, Instant Pot Chili Mac is a comfort food classic that’s perfect for any occasion. Pair it with a crisp salad or enjoy it on its own for a satisfying meal.
What Does Chili Mac Taste Like?
Chili Mac is the ultimate fusion dish that combines the robust flavors of chili with the creamy indulgence of mac and cheese.
It’s filling, delicious, and packed with protein, making it a versatile meal that works for lunch, dinner, or even meal prep. Plus, the Instant Pot makes it quick and easy to prepare without sacrificing flavor.
What Is The Difference Between Chili Mac And Goulash?
Chili Mac and Goulash are both hearty, comforting dishes that combine pasta with a flavorful, saucy base, but they differ in origin, ingredients, and flavor profiles:
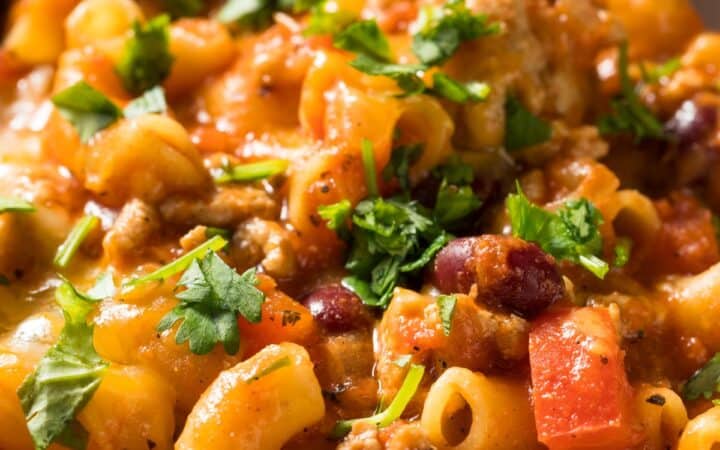
- Chili Mac is a cheesy, chili-inspired pasta dish with bold, spicy flavors, perfect for lovers of chili and mac and cheese.
- Goulash (especially American Goulash) is a simpler, tomato-based pasta dish with a milder flavor profile and a history tied to Hungarian cuisine.
While they share similarities as hearty one-pot meals, their seasonings, origins, and textures set them apart. Both are excellent choices for comforting, easy-to-make meals!
Ingredients You’ll Need
- Ground Beef - Lean ground beef works best, but you can substitute ground turkey or chicken for a lighter option.
- Onion - Diced for a flavorful base.
- Garlic - Minced to enhance the savory flavors.
- Chili Powder - Adds that classic chili kick.
- Cumin - For a warm, earthy flavor.
- Paprika - A touch of smokiness to deepen the taste.
- Diced Tomatoes - Canned and undrained for added moisture and flavor.
- Chili Beans - For added protein and texture.
- Tomato Sauce - Helps create a rich and hearty base.
- Beef Broth - Adds depth and keeps the pasta from sticking.
- Elbow Macaroni - The star of the dish, cooked to perfection in the Instant Pot.
- Cheddar Cheese - Shredded for creamy, melty goodness.
- Salt and Pepper - To taste.
How To Make Chili Mac
- Sauté the Aromatics . Set the Instant Pot to the “Sauté” function. Add ground beef and cook until browned, breaking it into crumbles. Drain excess grease if necessary. Stir in diced onion and garlic, cooking for 2-3 minutes until fragrant.
- Add the Spices and Liquids . Sprinkle in chili powder, cumin, paprika, salt, and pepper. Stir to coat the beef evenly. Add diced tomatoes, tomato sauce, and beef broth. Stir well to combine.
- Add the Pasta . Stir in the uncooked elbow macaroni and canned beans, ensuring it is fully submerged in the liquid.
- Pressure Cook . Close the lid and set the Instant Pot to “Manual” or “Pressure Cook” for 5 minutes. Once the cooking time is complete, perform a quick release of the pressure. Carefully open the lid.
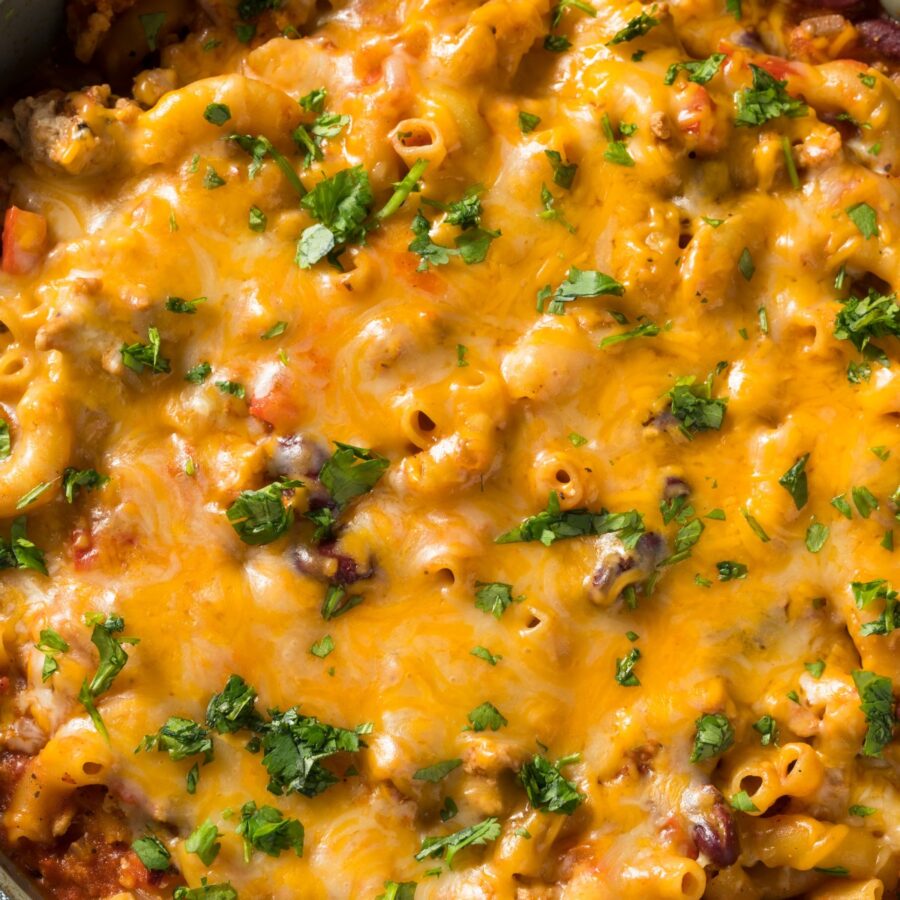
- Stir in the Cheese . Switch to the “Sauté” function. Gradually add shredded cheddar cheese, stirring until melted and creamy.
- Serve and Enjoy . Ladle the chili mac into bowls and top with your favorite garnishes like green onions, sour cream, or extra cheese.
Tips And Tricks
Making Instant Pot Chili Mac is straightforward, but these tips will help you achieve the best results:
- Use Lean Meat . Lean ground beef reduces grease, making the dish less heavy.
- Don’t Overcook the Pasta . Follow the recommended cooking time to prevent mushy pasta.
- Shred Your Own Cheese . Pre-shredded cheese often contains additives that can affect the soup’s texture. Freshly shredded cheese melts smoother and tastes better.
- Adjust the Spice Level . Add more chili powder or a pinch of cayenne pepper for extra heat, or reduce the spices for a milder flavor.
- Deglaze the Pot . After sautéing, scrape the bottom of the pot with a wooden spoon to prevent the “Burn” warning.
Variations
Here’s a list of variations for Instant Pot Chili Mac to suit different tastes and dietary needs:
- Vegetarian- Substitute ground beef with plant-based meat or additional beans, such as black beans or kidney beans.
- Spicy- Add diced jalapeños or a dash of hot sauce for a spicy kick.
- Cheesy Overload - Mix in a blend of cheeses like Monterey Jack, Pepper Jack, or Gouda for extra creaminess.
- Mexican-Inspired- Add corn, black beans, and a sprinkle of cilantro for a Tex-Mex twist.
- Gluten-Free- Use gluten-free pasta and ensure all other ingredients are gluten-free.
What To Eat With Chili Mac
While Instant Pot Chili Mac is a complete meal on its own, pairing it with the right sides can elevate the experience:
- Cornbread - A slice of warm, buttery cornbread complements the bold flavors.
- Salad - A crisp green salad with a tangy vinaigrette adds freshness.
- Tortilla Chips - Perfect for scooping up every cheesy bite.
- Garlic Bread - Adds a touch of indulgence and pairs beautifully with the rich, saucy dish.
How Long Does It Last?
Instant Pot Chili Mac is a great dish to make ahead or enjoy as leftovers. When stored properly in an airtight container, it will last in the refrigerator for up to 3-4 days.
Reheating is simple—just warm it on the stove or in the microwave, adding a splash of broth or water to restore its creamy consistency.
Can You Freeze It?
For longer storage, Chili Mac can be frozen for up to 3 months. Allow it to cool completely before transferring it to a freezer-safe container, leaving a little space for expansion.
To enjoy frozen Chili Mac, thaw it overnight in the refrigerator and reheat gently, stirring occasionally to ensure even heating.
More Easy Instant Pot Recipes
- Instant Pot Ground Beef Casserole
- Beef Curry
- Instant Pot Butter Chicken
- Thai Basil Beef
- Dak Makhani

Chili Mac Recipe | Easy One Pot Chili Mac
Ingredients
- ▢ 1 pound Ground Beef
- ▢ 1 Onion , diced
- ▢ 3 cloves Garlic , minced
- ▢ 2 tbsp Chili Powder
- ▢ 1 tbsp Cumin
- ▢ 1 tsp Paprika
- ▢ 29 ounces Diced Tomatoes
- ▢ 2 ounces Tomato Sauce
- ▢ 2 cups Beef Broth
- ▢ 2 cups Elbow Macaroni
- ▢ 2 cups Cheddar Cheese , shredded
- ▢ 15 ounces Chili Beans , drained
- ▢ Kosher Salt , to taste
- ▢ Ground Black Pepper , to taste
- ▢ Green Onion , diced, for garnish
Instructions
- Sauté the Aromatics . Set the Instant Pot to the “Sauté” function. Add ground beef and cook until browned, breaking it into crumbles. Drain excess grease if necessary. Stir in diced onion and garlic, cooking for 2-3 minutes until fragrant.
- Add the Spices and Liquids . Sprinkle in chili powder, cumin, paprika, salt, and pepper. Stir to coat the beef evenly. Add diced tomatoes, tomato sauce, and beef broth. Stir well to combine.
- Add the Pasta . Stir in the uncooked elbow macaroni, ensuring it is fully submerged in the liquid.
- Pressure Cook . Close the lid and set the Instant Pot to “Manual” or “Pressure Cook” for 5 minutes. Once the cooking time is complete, perform a quick release of the pressure. Carefully open the lid.
- Stir in the Cheese . Switch to the “Sauté” function. Gradually add shredded cheddar cheese, stirring until melted and creamy.
- Serve and Enjoy . Ladle the chili mac into bowls and top with your favorite garnishes like green onions, sour cream, or extra cheese.
Get support & connect with our community on Facebook!
Nutrition
Don’t forget to check out my otherBest-selling Instant Pot Cookbooks!
Indian Instant Pot , Keto Instant Pot, Instant Pot Fast and Easy , Healthy Instant Pot & Vegetarian Instant Pot .

