
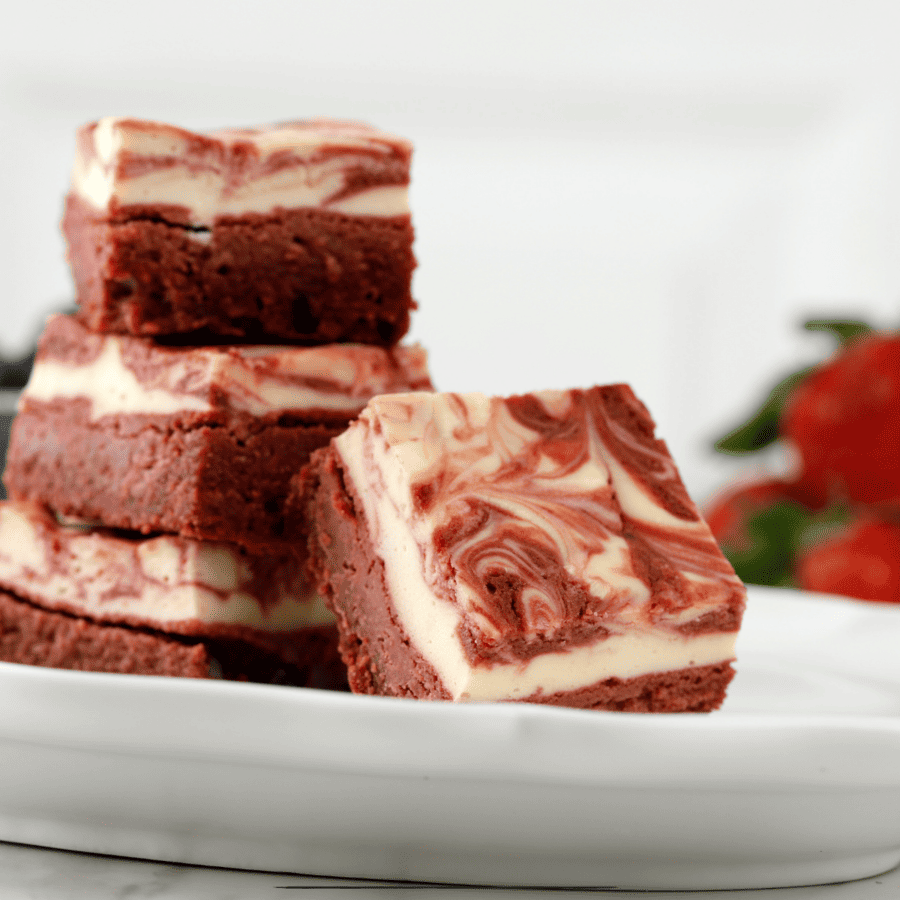
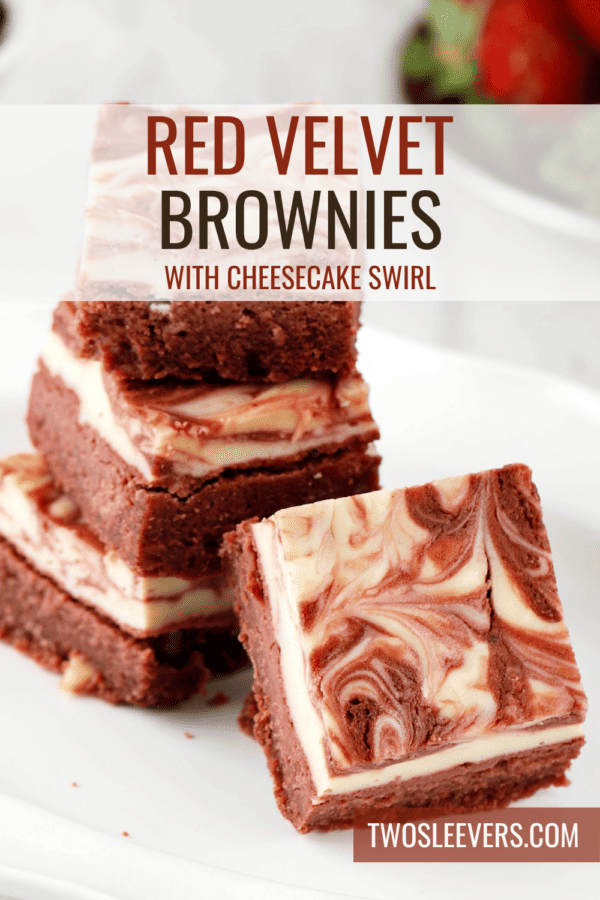
Craving a delightful fusion of rich chocolate and creamy cheesecake? Look no further! Dive into the world of Red Velvet Cheesecake Brownies where luscious layers of red velvet brownie batter and velvety cheesecake swirl together to create a lovely dessert experience.

What Makes This Dessert Extra Special?
- Irresistible Flavor Combination . Satisfy your sweet tooth with the harmonious blend of red velvet and cheesecake flavors, creating a dessert that’s both decadent and delightful.
- Easy to Make . With simple ingredients and straightforward instructions, these brownies are a breeze to whip up, making them perfect for last-minute cravings or special occasions.
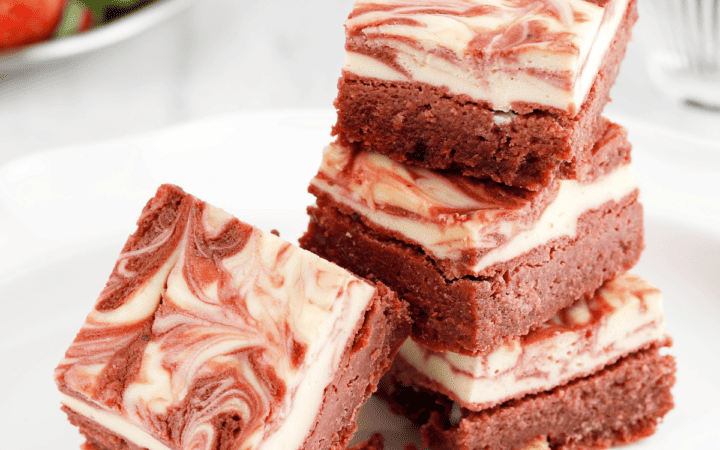
- Eye-Catching Presentation . Impress your friends and family with these visually stunning brownies that are as beautiful as they are delicious.
Whether you’re celebrating a special occasion or simply treating yourself to a sweet indulgence, these Red Velvet Brownies are sure to become a favorite in your dessert repertoire.
Are Red Velvet Brownies Good?
Absolutely! Red Velvet Brownies offer a perfect balance of rich chocolate flavor from the red velvet brownie layer and creamy indulgence from the cheesecake swirl.
Each bite is a heavenly combination of moist, fudgy brownie and smooth, tangy cheesecake, making them a truly irresistible treat.
What Makes Brownies Fudgy Or Cakey?
The texture of brownies can vary widely depending on the ingredients and the baking process. The main factors that determine whether brownies turn out fudgy or cakey are:
- Ratio of Ingredients . The ratio of fat (such as butter or oil), flour, eggs, and sugar in the brownie batter significantly influences its texture. Fudgy brownies typically have a higher ratio of fat to flour and sugar, while cakey brownies have a higher ratio of flour and eggs, resulting in a lighter texture.
- Egg Content . Eggs provide structure and moisture to brownies. Using fewer eggs or incorporating only egg yolks can result in a denser and more fudgy texture, while using more eggs or incorporating beaten egg whites can lead to a lighter and cake-like texture.
- Baking Time and Temperature . Baking brownies for a shorter period of time at a lower temperature can result in fudgier brownies, as they will retain more moisture. On the other hand, baking brownies for a longer period of time at a higher temperature can lead to a drier texture and a cake-like consistency.
What Are Red Velvet Brownies Made Of?
- Unsalted Butter - Adds richness and moisture to brownies. It contributes to the fudgy texture and provides flavor.
- White Vinegar - While it might seem unusual, vinegar reacts with baking soda to create carbon dioxide, which helps the brownies rise.
- Unsweetened Cocoa Powder - Cocoa powder is responsible for the chocolate flavor in brownies. It adds depth and richness to the taste profile.
- Salt - Salt enhances the flavor of the brownies by balancing the sweetness and intensifying the chocolate flavor.
- Flour - Provides structure to the brownies. It helps to hold the ingredients together and gives the brownies their chewy texture.
- Sugar - Sugar not only sweetens the brownies but also contributes to their texture. It caramelizes during baking, creating a desirable chewiness and adding moisture to the brownies.
- Eggs - Eggs serve as a binding agent in both the brownie and cheesecake layers, helping to hold the ingredients together and create a moist texture.
- Red Food Coloring (optional) - Red food coloring is used to enhance the vibrant red color of the brownies. While optional, it is commonly used in red velvet desserts for a visually striking appearance.
- Cream Cheese - Cream cheese is the main ingredient in the cheesecake swirl. It adds richness, creaminess, and a tangy flavor that complements the sweetness of the brownie layer.
- Powdered Sugar - Adds sweetness to the tangy cream cheese mixture.
- Vanilla Extract - Vanilla extract enhances the flavor of both the brownie and cheesecake layers, providing a warm and aromatic undertone to the dessert.
These ingredients come together to create a decadent and indulgent dessert with layers of rich chocolatey brownie and creamy cheesecake swirls, making red velvet cheesecake brownies a delightful treat for any occasion.
How To Make Red Velvet Brownies
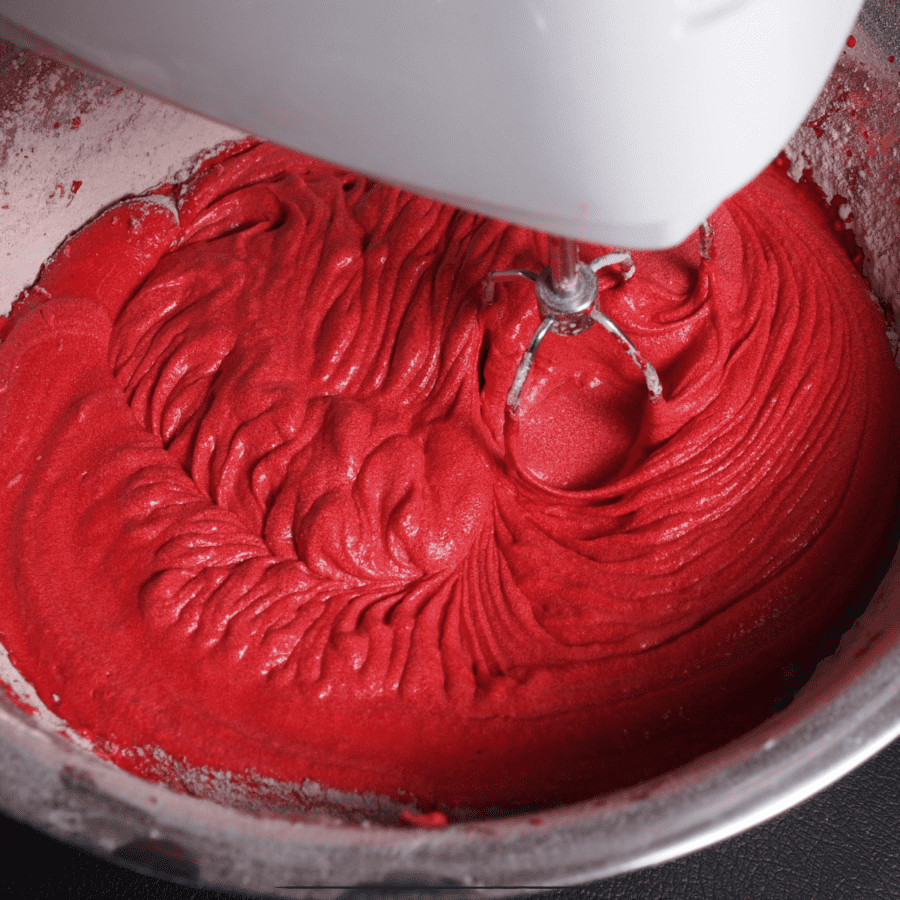
Prepare the Red Velvet Brownie Batter . In a large mixing bowl, combine the red velvet cake mix, eggs, butter, and red food coloring (if using) until smooth.
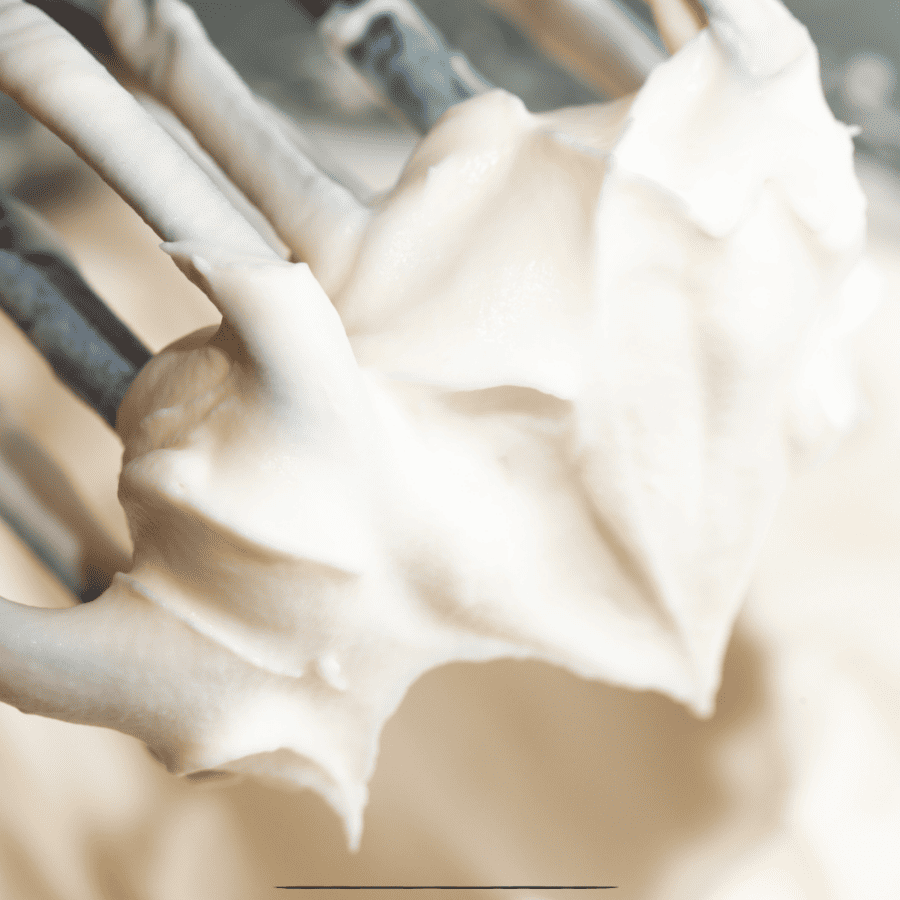
Make the Cheesecake Swirl . In another bowl, beat together the cream cheese, powdered sugar, and vanilla extract until creamy. Add the eggs one at a time, mixing well after each addition.
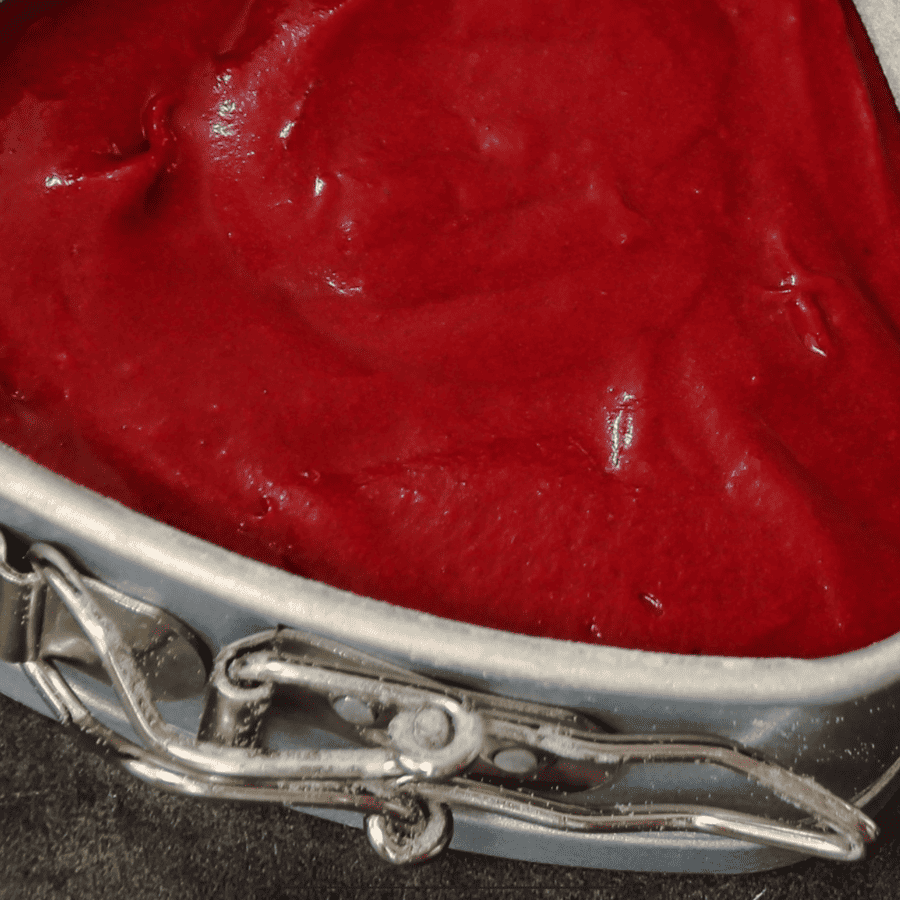
Layer and Swirl . Pour most of the red velvet brownie batter into a greased baking dish, reserving a small amount. Spoon the cheesecake mixture over the brownie batter. Drop spoonfuls of the reserved brownie batter and cheesecake mixture on top, then swirl gently with a knife to create a marbled effect.
Bake . Bake the brownies in a 350F preheated oven for 30 minutes or until set and a toothpick inserted into the center comes out with a few moist crumbs.
Cool and Serve . Allow the brownies to cool completely in the pan before slicing into squares and serving.
Tips And Tricks
Making red velvet cheesecake brownies can be an enjoyable and rewarding baking project. Here are some tips and tricks to help you achieve the best results:
- Ingredients at Room Temperature . Make sure your cream cheese and eggs are at room temperature before you start. This ensures a smoother cheesecake mixture and a better emulsion with the brownie batter.
- Proper Mixing . When mixing the brownie batter, avoid overmixing as this can lead to a tougher texture. Mix just until the dry ingredients are moistened.
- Layering . Pour the brownie batter into the pan first, then add dollops of the cheesecake mixture on top. Use a knife or a skewer to swirl the cheesecake mixture into the brownie batter, creating a marbled effect. Don’t overdo it, or the layers will mix too much.
Variations
Red velvet cheesecake brownies are a delightful treat that can be customized in various ways to suit different tastes and occasions. Here are several variations to consider:
- White Chocolate Chip - Stir white chocolate chips into the red velvet brownie batter before baking. The white chocolate adds a sweet and creamy texture, complementing the tangy cheesecake layer.
- Nutty Brownies - Add chopped pecans or walnuts to the brownie batter for a crunchy texture and nutty flavor. This adds a nice contrast to the smooth cheesecake layer.
- Oreo Crunch - Add crushed Oreo cookies to the brownie layer for extra crunch and a cookies-and-cream flavor. You can also mix some crushed Oreos into the cheesecake layer.
What To Enjoy With Red Velvet Brownies
Red velvet brownies are versatile and can be paired with a variety of accompaniments to enhance their flavor and make them even more enjoyable. Here are some delightful options:
- Ice Cream - A scoop of vanilla, cream cheese, or chocolate ice cream complements the flavors of the red velvet and cheesecake layers, adding a cold, creamy texture contrast.
- Whipped Cream - A dollop of whipped cream on top of each brownie adds a light, fluffy texture and a hint of sweetness that pairs well with the dense, rich brownie.
- Fresh Berries - Fresh strawberries, raspberries, or blueberries can add a refreshing, slightly tart contrast to the sweetness of the brownies. They also add a beautiful pop of color.
How Long Do They Last?
Store leftover Red Velvet Cheesecake Brownies in an airtight container in the refrigerator for up to 5 days. Bring to room temperature or warm slightly before serving for the best taste and texture.
Can You Freeze Them?
Yes, you can freeze Red Velvet Cheesecake Brownies for up to 2 months. Wrap individual brownies tightly in plastic wrap and store them in a freezer-safe container.
Thaw the cheesecake brownies overnight in the refrigerator before serving.
More Brownie Recipes
- Strawberry Brownies
- Vegan Brownies
- Air Fryer Brownies
- Mint Brownies
- Peanut Butter Brownies
Red Velvet Brownies Recipe | Red Velvet Cheesecake Brownies
Ingredients
Red Velvet Brownies
- ▢ 1/2 cup Unsalted Butter
- ▢ 1 tsp White Vinegar
- ▢ 2 tbsp Unsweetened Cocoa Powder
- ▢ 1/4 tsp Kosher Salt
- ▢ 1 cup All Purpose Flour
- ▢ 1 cup Granulated Sugar
- ▢ 2 Eggs
- ▢ 1 1/2 tsp Red Food Coloring
Cream Cheese Swirl
- ▢ 8 oz Cream Cheese
- ▢ 1/4 cup Powdered Sugar
- ▢ 1 Egg
- ▢ 1 tsp Vanilla Extract
Instructions
- Prepare the Red Velvet Brownie Batter . In a large mixing bowl, combine the red velvet cake mix, eggs, butter, and red food coloring (if using) until smooth.
- Make the Cheesecake Swirl . In another bowl, beat together the cream cheese, powdered sugar, and vanilla extract until creamy. Add the eggs one at a time, mixing well after each addition.
- Layer and Swirl . Pour most of the red velvet brownie batter into a greased baking dish, reserving a small amount. Spoon the cheesecake mixture over the brownie batter. Drop spoonfuls of the reserved brownie batter and cheesecake mixture on top, then swirl gently with a knife to create a marbled effect.
- Bake . Bake the brownies in a 350F preheated oven for 30 minutes or until set and a toothpick inserted into the center comes out with a few moist crumbs.
- Cool and Serve . Allow the brownies to cool completely in the pan before slicing into squares and serving.
Get support & connect with our community on Facebook!
Nutrition

If you already signed up, you should have received an email with a password to give you unlimited access to our FREE Printable Library. The password is case sensitive. Enter it below and get printing!
Password:
Red Velvet Brownies Recipe | Red Velvet Cheesecake Brownies
Ingredients
Red Velvet Brownies
- 1/2 cup Unsalted Butter
- 1 tsp White Vinegar
- 2 tbsp Unsweetened Cocoa Powder
- 1/4 tsp Kosher Salt
- 1 cup All Purpose Flour
- 1 cup Granulated Sugar
- 2 Eggs
- 1 1/2 tsp Red Food Coloring
Cream Cheese Swirl
- 8 oz Cream Cheese
- 1/4 cup Powdered Sugar
- 1 Egg
- 1 tsp Vanilla Extract
Instructions
- Prepare the Red Velvet Brownie Batter . In a large mixing bowl, combine the red velvet cake mix, eggs, butter, and red food coloring (if using) until smooth.
- Make the Cheesecake Swirl . In another bowl, beat together the cream cheese, powdered sugar, and vanilla extract until creamy. Add the eggs one at a time, mixing well after each addition.
- Layer and Swirl . Pour most of the red velvet brownie batter into a greased baking dish, reserving a small amount. Spoon the cheesecake mixture over the brownie batter. Drop spoonfuls of the reserved brownie batter and cheesecake mixture on top, then swirl gently with a knife to create a marbled effect.
- Bake . Bake the brownies in a 350F preheated oven for 30 minutes or until set and a toothpick inserted into the center comes out with a few moist crumbs.
- Cool and Serve . Allow the brownies to cool completely in the pan before slicing into squares and serving.
Red Velvet Brownies Recipe | Red Velvet Cheesecake Brownies https://twosleevers.com/red-velvet-brownies-recipe/

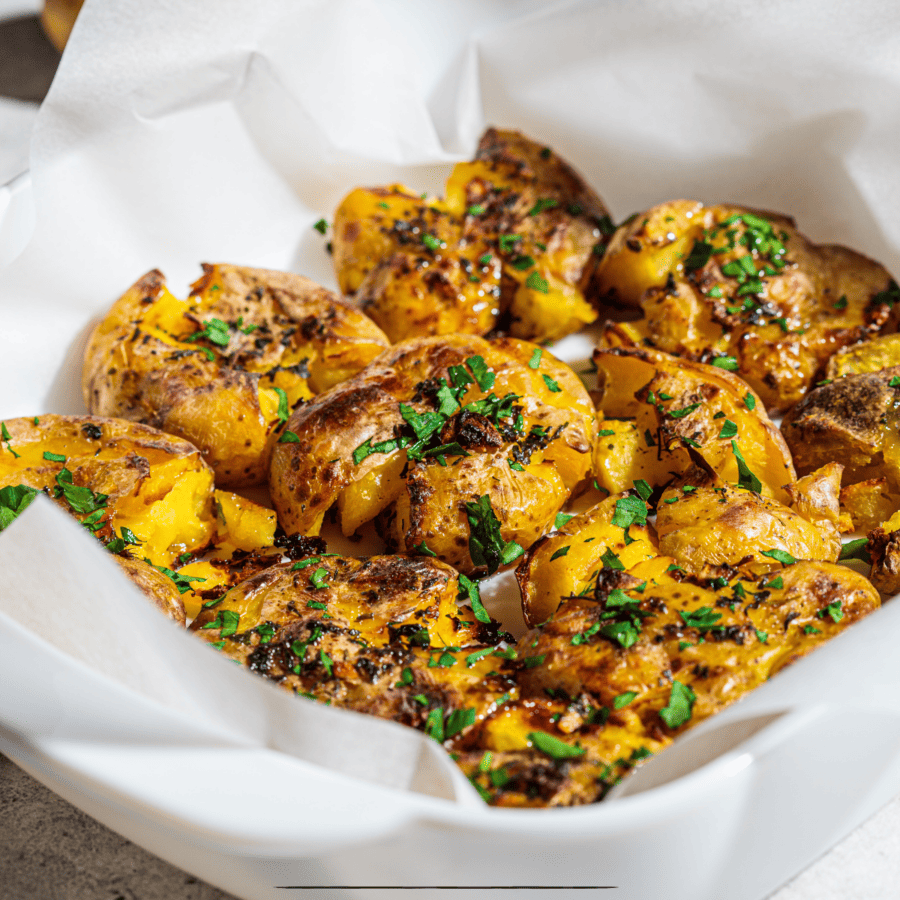
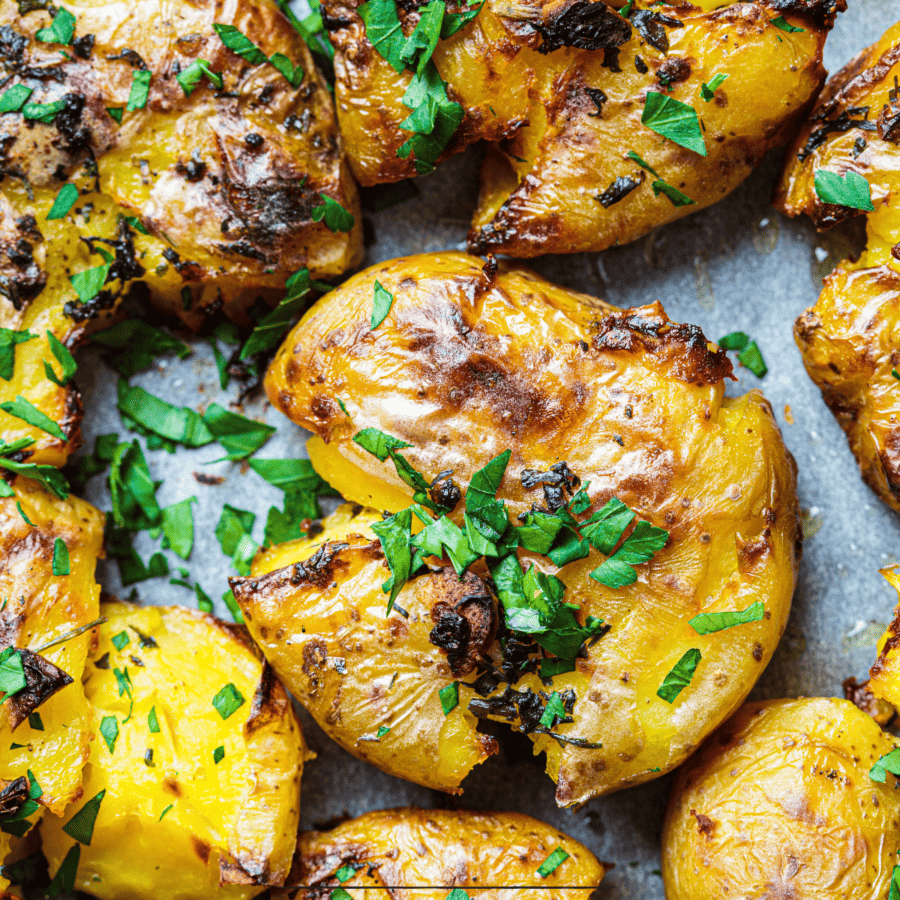
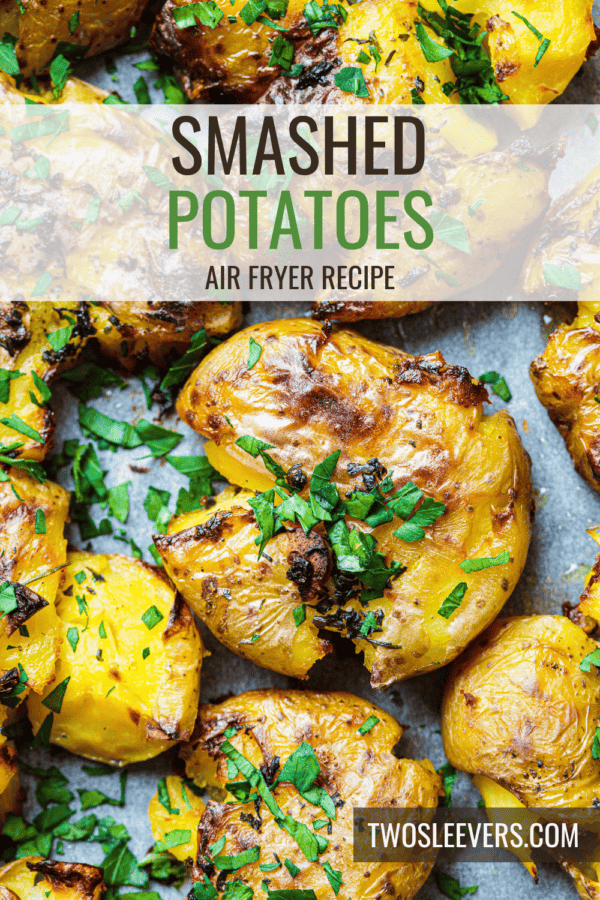
If you’re seeking the ultimate side dish that perfectly balances crispy exteriors with fluffy interiors, our Air Fryer Smashed Potatoes recipe is a game-changer. Discover how simple it is to create these golden, crunchy delights that are sure to become a favorite at your table.
Why You’ll Love This Crispy Side Dish
- Quick and Easy . Ready in under 30 minutes, these potatoes are a breeze to make, thanks to the efficiency of your air fryer.
- Versatile . Whether accompanying a weeknight dinner or serving as a party snack, these potatoes adapt effortlessly to any occasion.
- Irresistible Texture . With a satisfying crunch on the outside and a soft, pillowy center, they offer a delightful textural experience.
Elevate your culinary repertoire with these Air Fryer Smashed Potatoes. Their simplicity belies their incredible flavor and texture, making them a must-have addition to your recipe collection.
Are Smashed Potatoes Good?
Yes, smashed potatoes are incredibly delicious! They offer a perfect balance of crispy exteriors and fluffy interiors, creating a delightful texture with every bite.
Smashed potatoes are versatile and can be seasoned and customized to suit various flavor preferences, making them a popular and enjoyable side dish for any occasion.
Ingredients You’ll Need
- Baby Potatoes - Opt for small, uniform baby potatoes for the best results. Their petite size ensures they cook evenly and smash effortlessly.
- Olive Oil - Used to coat the potatoes before air frying, olive oil helps achieve that coveted crispy exterior.
- Salt - Enhances the natural flavor of the potatoes and adds a savory dimension to each bite.
- Black Pepper - Provides a subtle warmth and depth of flavor that complements the potatoes beautifully.
- Optional Toppings - Get creative with your toppings! Consider sprinkling grated Parmesan cheese, chopped fresh herbs, or crispy bacon bits over them before serving.
How To Make Smashed Potatoes
- Boil the Potatoes . Start by boiling the baby potatoes until they are fork-tender. This step ensures that they cook evenly and smash easily.
- Smash the Potatoes . Once boiled, carefully transfer the potatoes to a baking sheet lined with parchment paper. Gently press down on each potato with the back of a fork or a potato masher until they are flattened but still intact.
- Season and Oil . Drizzle the smashed potatoes with olive oil and sprinkle them with salt and black pepper. This seasoning not only enhances the flavor but also helps achieve that crispy exterior when air frying.
- Air Fry to Perfection . Preheat your air fryer, then arrange the seasoned potatoes in a single layer in the air fryer basket. Cook at a high temperature until the potatoes are golden brown and crispy on the outside, with a tender interior.
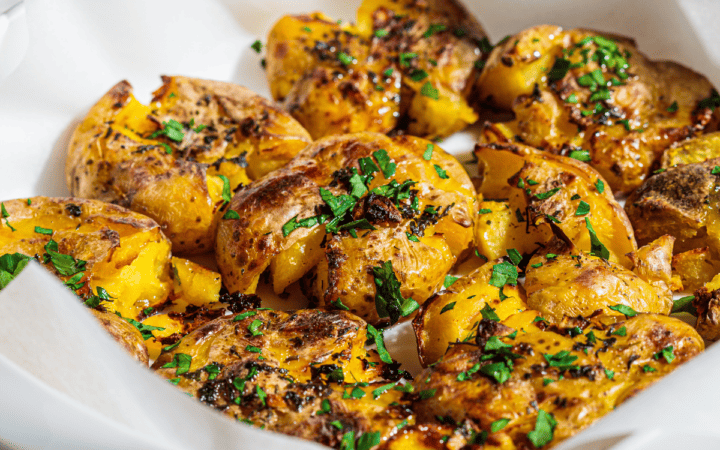
- Serve and Enjoy . Once cooked to perfection, transfer the smashed potatoes to a serving platter and garnish with your favorite toppings. These potatoes are best enjoyed hot and fresh from the air fryer.
Tips And Tricks
Here are some tips and tricks to help you make perfect air fryer smashed potatoes:
- Cho ose the right potatoes. While you can use any type of potato for smashed potatoes, baby potatoes work best due to their small size and tender texture.
- Parboil the potatoes . Boil the potatoes until they are just fork-tender before smashing them. This step ensures that the potatoes are cooked all the way through and allows for easier smashing.
- Use parchment paper or a silicone mat . Placing parchment paper or a silicone mat on the bottom of the air fryer basket can prevent the potatoes from sticking and make cleanup easier.
Variations
There are endless variations you can try to customize your air fryer smashed potatoes. Here are a few ideas to get you started:
- Garlic Parmesan - After smashing the potatoes, brush them with melted butter infused with minced garlic and sprinkle with grated Parmesan cheese before air frying. Garnish with fresh parsley for added freshness.
- Loaded - Top the smashed potatoes with shredded cheddar cheese, crumbled bacon, and sliced green onions before air frying. Serve with a dollop of sour cream on the side for extra indulgence.
- Mediterranean - Brush the smashed potatoes with olive oil and sprinkle with dried oregano, thyme, and crumbled feta cheese before air frying. Serve with a side of tzatziki sauce for a refreshing twist.
What To Eat With Smashed Potatoes
Smashed potatoes are a versatile and delicious side dish that pairs well with a variety of main courses. Here are some tasty options to enjoy alongside them:
- Grilled or Roasted Meats - Serve smashed potatoes alongside grilled or roasted meats such as steak, chicken, pork chops, or lamb for a hearty and satisfying meal.
- Fish and Seafood - Pair smashed potatoes with grilled or baked fish, shrimp, salmon, or scallops for a flavorful and well-balanced dish.
- Vegetarian Entrees - Smashed potatoes complement vegetarian dishes like roasted vegetables, veggie burgers, tofu stir-fry, or stuffed bell peppers, adding a comforting element to the meal.
How Long Do They Last?
Smashed potatoes can typically be stored in the refrigerator for 3 to 5 days. To store them properly, place the cooled potatoes in an airtight container or a resealable plastic bag.
Keep in mind that the texture may change slightly upon reheating, but they should still be safe to eat within the recommended time frame.
Can You Freeze Them?
Yes, you can freeze smashed potatoes for longer-term storage. Here’s how to do it:
- Place the cooled potatoes on a baking sheet lined with parchment paper, making sure they are not touching each other.
- Transfer the baking sheet to the freezer and let the potatoes freeze until they are solid, typically for about 1 to 2 hours.
- Once frozen, transfer the potatoes to airtight freezer-safe containers or resealable freezer bags. Be sure to remove as much air as possible from the bags to prevent freezer burn.
- Store the frozen smashed potatoes in the freezer for up to 2 to 3 months.
When you’re ready to enjoy the frozen smashed potatoes, simply thaw them overnight in the refrigerator before reheating. You can reheat them in the microwave, oven, or on the stovetop until heated through.
More Perfect Potato Recipes
- Cheesy Potatoes
- Air Fryer Potatoes
- Instant Pot Mashed Potatoes
- Colcannon
- Air Fryer Baked Potatoes
- Mashed Potato Casserole
- Sheet Pan Potatoes
- Sour Cream Mashed Potatoes
Smashed Potatoes Recipe | Air Fryer Crispy Smashed Potatoes
Ingredients
- ▢ 1.5 pounds Baby Potatoes
- ▢ 2 tbsp Olive Oil
- ▢ 1 tsp Kosher Salt
- ▢ 1/4 tsp Black Pepper
- ▢ 1/4 cup Parmesan Cheese
- ▢ Parsley , for garnish
Instructions
- Boil the Potatoes . Start by boiling the baby potatoes until they are fork-tender. This step ensures that they cook evenly and smash easily.
- Smash the Potatoes . Once boiled, carefully transfer the potatoes to a baking sheet lined with parchment paper. Gently press down on each potato with the back of a fork or a potato masher until they are flattened but still intact.
- Season and Oil . Drizzle the smashed potatoes with olive oil and sprinkle them with salt and black pepper. This seasoning not only enhances the flavor but also helps achieve that crispy exterior when air frying.
- Air Fry to Perfection . Preheat your air fryer, then arrange the seasoned potatoes in a single layer in the air fryer basket. Cook at a high temperature until the potatoes are golden brown and crispy on the outside, with a tender interior.
- Serve and Enjoy . Once cooked to perfection, transfer the smashed potatoes to a serving platter and garnish with your favorite toppings. These potatoes are best enjoyed hot and fresh from the air fryer.
Get support & connect with our community on Facebook!
Nutrition
And don’t forget to check out my air fryer cookbooks! Every day easy air fryer , and Air Fryer Revolution .

