
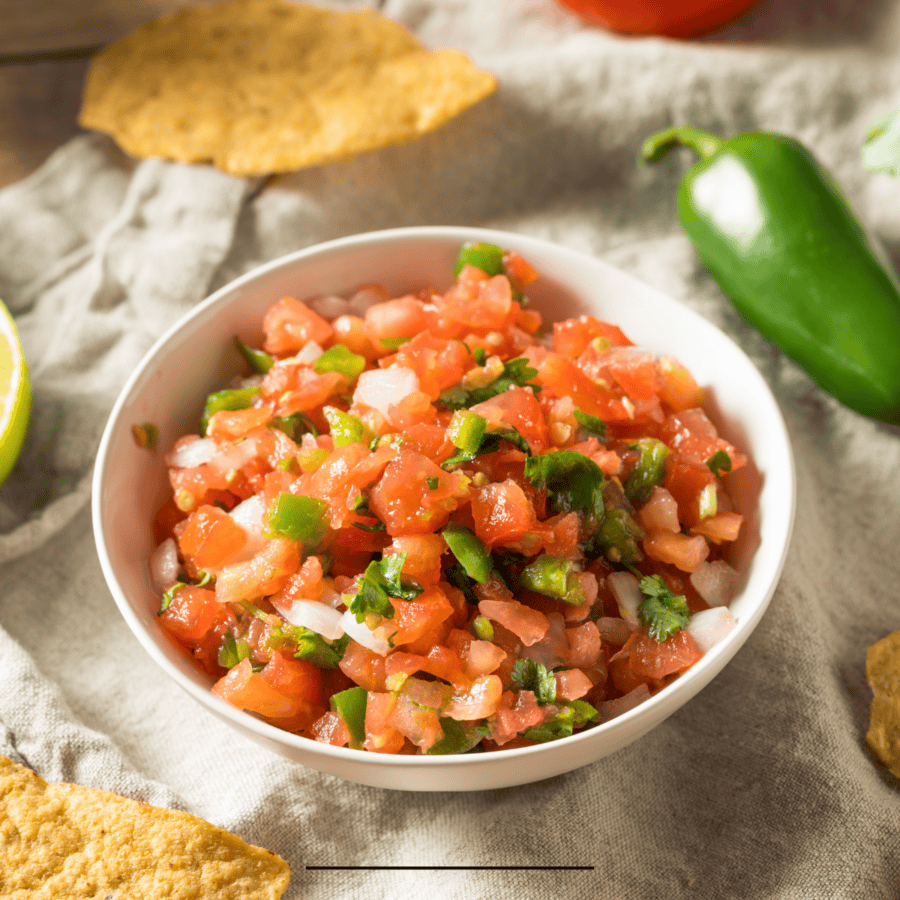
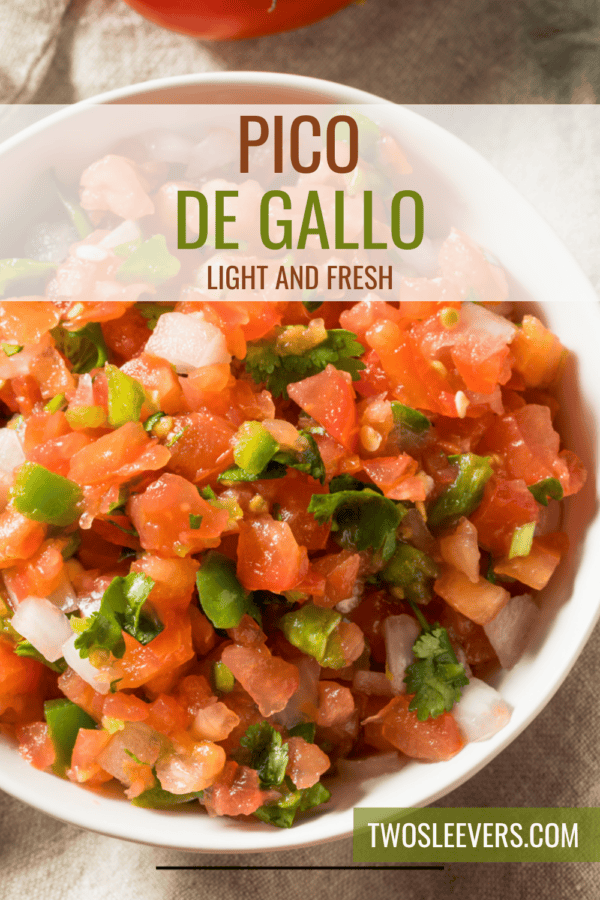
Add a burst of fresh flavor to your meals with this vibrant Pico de Gallo! This recipe transforms simple, fresh ingredients into a mouth-watering salsa with just the right balance of flavors. Dive into the ultimate combination of ease and zest with this foolproof method.

Why You’ll Love This Cravable Condiment
- Quick. Ready in just 15 minutes from start to finish.
- Effortless. Minimal preparation for a no-fuss cooking experience.
- Incredibly Fresh. The combination of ripe tomatoes, crisp onions, and zesty lime juice is a match made in heaven.
This Pico de Gallo is not only easy to make but also versatile, allowing you to enjoy it as a dip, a topping, or a side. Plus, it’s a great way to add fresh vegetables to your diet.
What Does Pico De Gallo Mean?
“Pico de Gallo” is a Spanish term that translates to “rooster’s beak” in English. The origin of the name is somewhat unclear, but there are a few theories:
- Appearance - The mixture of finely chopped ingredients might resemble the colorful and varied appearance of a rooster’s beak.
- Eating Style - It is believed that the name could refer to the way it was traditionally eaten, by pinching pieces between the thumb and forefinger, mimicking the pecking action of a rooster.
- Regional Sayings - The term might have roots in regional sayings or colloquialisms that have been lost or evolved over time.
Regardless of its etymology, it is a popular and traditional Mexican salsa made with fresh, raw ingredients including tomatoes, onions, cilantro, jalapeños, lime juice, and salt. It’s known for its bright, fresh flavors and crunchy texture, making it a versatile and refreshing accompaniment to many dishes.
Is Pico De Gallo Healthy?
Pico de Gallo is a nutritious and healthy choice that enhances the flavor of your dishes while providing numerous health benefits.
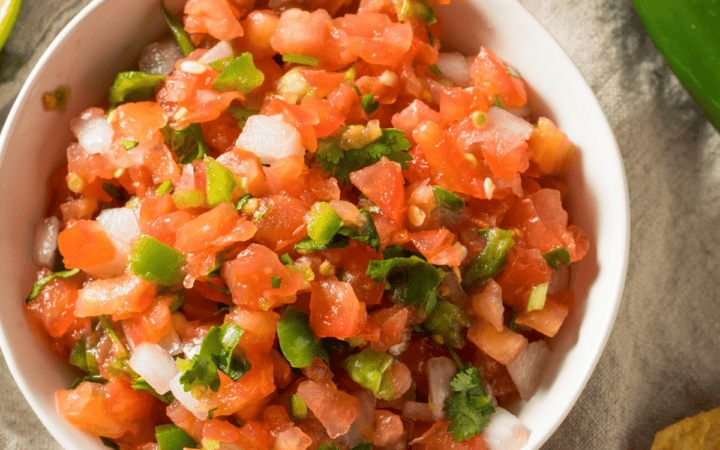
What Are The Ingredients For Pico De Gallo?
- Roma Tomatoes - The main ingredient, providing a juicy and slightly tangy base.
- Red Onion - Adds a sharp, savory note and beautiful color.
- Cilantro - Brings a fresh, herbaceous flavor that complements the other ingredients.
- Jalapeño - Adds a mild heat and a slight crunch.
- Lime Juice - Adds a zesty, bright flavor that ties all the ingredients together.
- Salt - Enhances the natural flavors of the vegetables.
- Garlic - Adds a subtle depth of flavor.
How To Make Pico de Gallo
- Prepare the Ingredients. Wash and dry the tomatoes, cilantro, and jalapeños. Dice the tomatoes and red onion into small, even pieces. Finely chop the cilantro and jalapeños. Mince the garlic if using.
- Mix the Ingredients. In a large bowl, combine the diced tomatoes, red onion, chopped cilantro, jalapeños, and garlic. Squeeze fresh lime juice over the mixture and add salt to taste. Stir until all the ingredients are well combined.
- Let It Rest. For the best flavor, let it sit for about 15 minutes to allow the flavors to meld together.
- Serve. Serve it fresh as a dip with tortilla chips, a topping for tacos, or a side for grilled meats.
Tips And Tricks
Making delicious Pico de Gallo involves more than just the right ingredients; it’s about technique and a few kitchen tricks to ensure it turns out flavorful and satisfying. Here’s a comprehensive guide to perfecting it:
- Use Ripe Tomatoes. Ripe Roma tomatoes provide the best flavor and texture. Avoid using overly juicy tomatoes as they can make it too watery.
- Balance the Heat. Adjust the amount of jalapeño to your preferred level of spiciness. Remove the seeds and ribs for a milder salsa, or include them for more heat.
- Fresh Lime Juice. Use fresh lime juice rather than bottled for the best taste. It adds a bright, zesty flavor that enhances all the other ingredients.
Variations
Pico de Gallo is a versatile dish that can be adapted to suit a variety of tastes and dietary needs. Here are some creative variations on the classic:
- Mango- Add diced mango for a sweet and tangy twist.
- Avocado- Mix in diced avocado for a creamy texture.
- Corn- Add fresh or grilled corn kernels for a sweet and crunchy addition.
What To Eat With It
Pico de Gallo pairs wonderfully with various dishes. Here are some great options:
- Tacos - Adds a fresh and zesty topping to any taco.
- Grilled Chicken - Complements the smoky flavor of grilled meats.
- Salads - Adds a burst of flavor to green salads.
How Long Does It Last?
Store any leftovers in an airtight container in the refrigerator for up to 3 days. Pico de Gallo is best enjoyed fresh, but it can last a couple of days with minimal loss of flavor and texture.
Can You Freeze It?
Pico de Gallo can become watery when frozen and defrosted. For the best taste and flavor, it is best to enjoy it fresh.
More Spectacular Sauces
- Big Mac Sauce
- Garlic Ginger Paste
- Yum Yum Sauce
- Baja Sauce
- Keto Ranch Dressing
- Chipotle Corn Salsa
- Peach Salsa
- Tomato Jam
Pico de Gallo Recipe | Fresh And Zesty Salsa
Ingredients
- ▢ 4 Roma Tomatoes , diced
- ▢ 1/2 Red Onion , diced
- ▢ 1/4 cup Cilantro , chopped
- ▢ 1 Jalapeno , seeded and diced
- ▢ 2 tbsp Lime Juice
- ▢ 1/2 tsp Kosher Salt
- ▢ 1 Garlic Clove , minced
Instructions
- Prepare the Ingredients. Wash and dry the tomatoes, cilantro, and jalapeños. Dice the tomatoes and red onion into small, even pieces. Finely chop the cilantro and jalapeños. Mince the garlic if using.
- Mix the Ingredients. In a large bowl, combine the diced tomatoes, red onion, chopped cilantro, jalapeños, and garlic. Squeeze fresh lime juice over the mixture and add salt to taste. Stir until all the ingredients are well combined.
- Let It Rest. For the best flavor, let it sit for about 15 minutes to allow the flavors to meld together.
- Serve. Serve it fresh as a dip with tortilla chips, a topping for tacos, or a side for grilled meats.
Get support & connect with our community on Facebook!
Nutrition
Don’t forget to check out my other Ketocookbooks.
Keto Instant Pot, Keto Fat Bombs, Sweets, & Treats , and Easy keto in 30 minutes.


If you already signed up, you should have received an email with a password to give you unlimited access to our FREE Printable Library. The password is case sensitive. Enter it below and get printing!
Password:

Pico de Gallo Recipe | Fresh And Zesty Salsa
Ingredients
- 4 Roma Tomatoes diced
- 1/2 Red Onion diced
- 1/4 cup Cilantro chopped
- 1 Jalapeno seeded and diced
- 2 tbsp Lime Juice
- 1/2 tsp Kosher Salt
- 1 Garlic Clove minced
Instructions
- Prepare the Ingredients. Wash and dry the tomatoes, cilantro, and jalapeños. Dice the tomatoes and red onion into small, even pieces. Finely chop the cilantro and jalapeños. Mince the garlic if using.
- Mix the Ingredients. In a large bowl, combine the diced tomatoes, red onion, chopped cilantro, jalapeños, and garlic. Squeeze fresh lime juice over the mixture and add salt to taste. Stir until all the ingredients are well combined.
- Let It Rest. For the best flavor, let it sit for about 15 minutes to allow the flavors to meld together.
- Serve. Serve it fresh as a dip with tortilla chips, a topping for tacos, or a side for grilled meats.
Pico de Gallo Recipe | Fresh And Zesty Salsa https://twosleevers.com/pico-de-gallo-recipe/

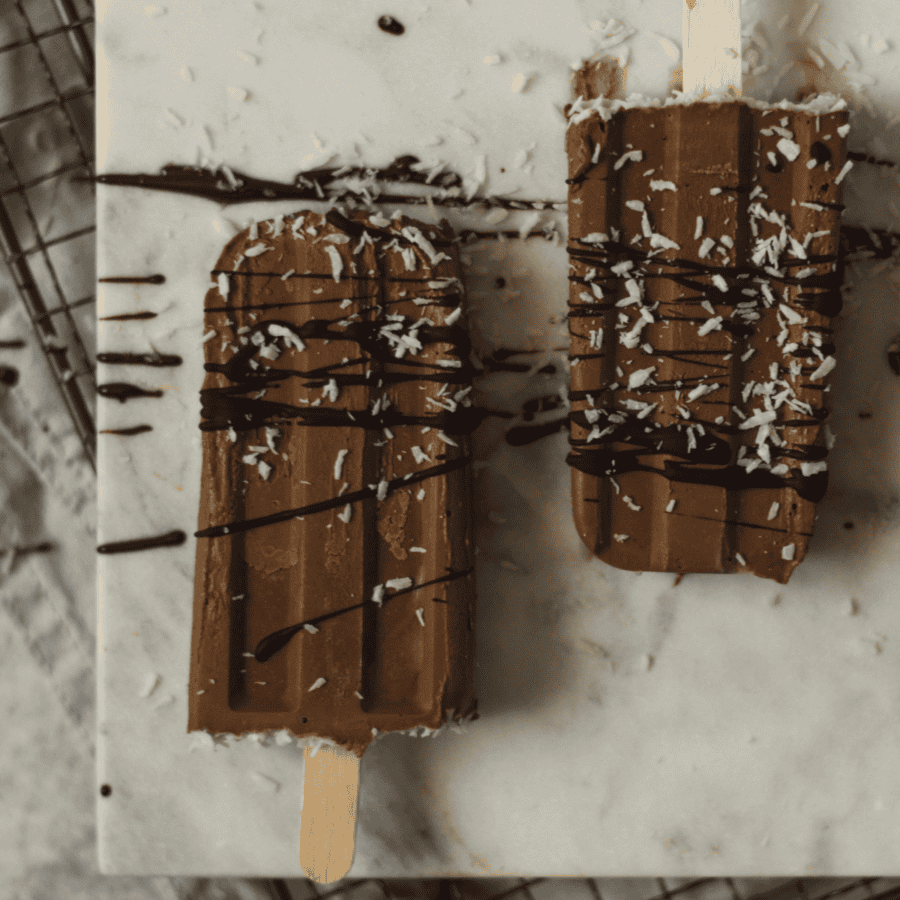
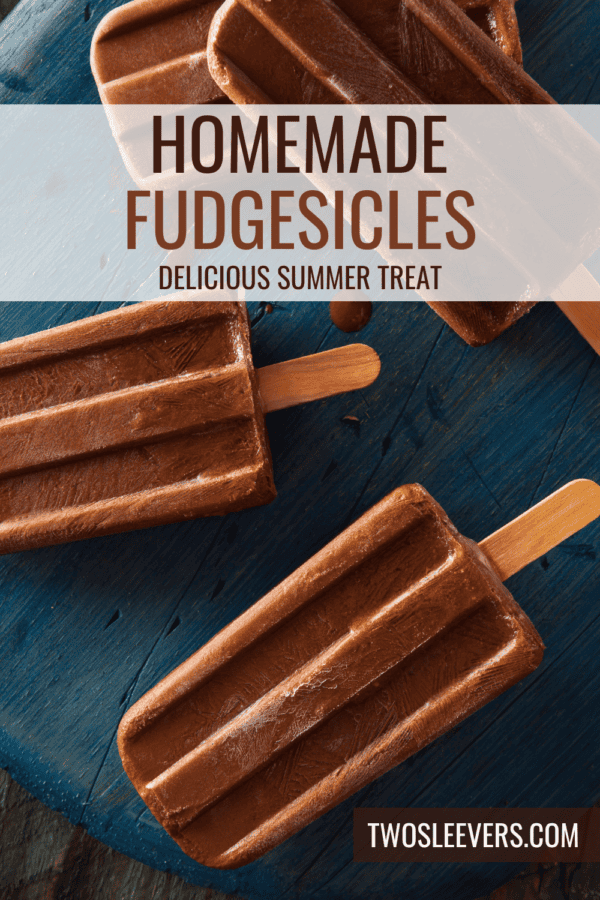
Satisfy your sweet cravings with this decadently creamy Homemade Fudgesicle recipe! Indulge in the rich chocolate flavor and velvety texture of these frozen treats. Discover how easy it is to make your own fudgesicles at home with simple ingredients and a few easy steps.
Why You’ll Love This Tasty Treat
- Quick & Easy . Ready to freeze in minutes, these fudgesicles are perfect for a quick dessert fix.
- Irresistible Flavor . Dive into the luscious taste of chocolate in every creamy bite.
- Customizable . Add your favorite toppings or mix-ins to personalize your fudgesicles.
Unlike store-bought fudge pops that often contain artificial flavors and preservatives, these homemade treats are made with wholesome ingredients that you can trust. With just a few simple steps, you can create a batch of delicious fudgesicles that the whole family will love.
What Do They Taste Like?
Fudgesicles have a rich, chocolatey flavor with a creamy and smooth texture. They taste like a blend of chocolate fudge and creamy ice cream, offering a satisfyingly sweet and indulgent treat. The cocoa powder provides the deep chocolate flavor, while the milk and sugar contribute to the creamy sweetness.
Is A Fudgesicle Ice Cream?
A Fudgesicle is similar to ice cream in that it’s a frozen treat enjoyed as a dessert. However, it’s not technically ice cream.
While ice cream is typically made with dairy cream, milk, sugar, and flavorings, Fudgesicles are made with cocoa powder, sugar, milk, and sometimes additional flavorings like vanilla extract. They have a creamy texture like ice cream but may not contain the same amount of dairy or fat content.
What Is A Fudgesicle Made Of?
- 1/3 cup Cocoa Powder - This provides the deep, rich chocolate flavor that defines a classic fudgesicle. Cocoa powder mixes with the milk to create the chocolaty base and contributes to the smooth, creamy texture once frozen.
- 1/2 cup Granulated Sugar - Sugar sweetens the fudgesicles and balances the bitterness of the cocoa powder. It also helps improve texture. Sugar lowers the freezing point slightly, preventing the fudgesicles from becoming icy and helping them stay creamy.
- 2 cups Whole Milk - Whole milk forms the creamy base of the fudgesicles. Its fat content helps create a smooth, soft texture instead of an icy one, giving the popsicles their classic fudge-like consistency.
- 1 tsp Vanilla Extract - Vanilla enhances the overall chocolate flavor and adds warmth and depth. It rounds out the sweetness and makes the fudgesicles taste more balanced and rich.
- 1/8 tsp Salt - A small amount of salt sharpens the chocolate flavor and keeps the sweetness from overwhelming the dessert. It adds depth and enhances all the other ingredients.
How To Make Fudgesicles
- Prepare the Mixture . In a saucepan over medium heat, whisk together cocoa powder, granulated sugar, and salt. Gradually whisk in the whole milk until smooth and combined. Cook the mixture, stirring constantly, until it thickens slightly, about 5 minutes. Remove from heat and stir in the vanilla extract. Let the mixture cool to room temperature.
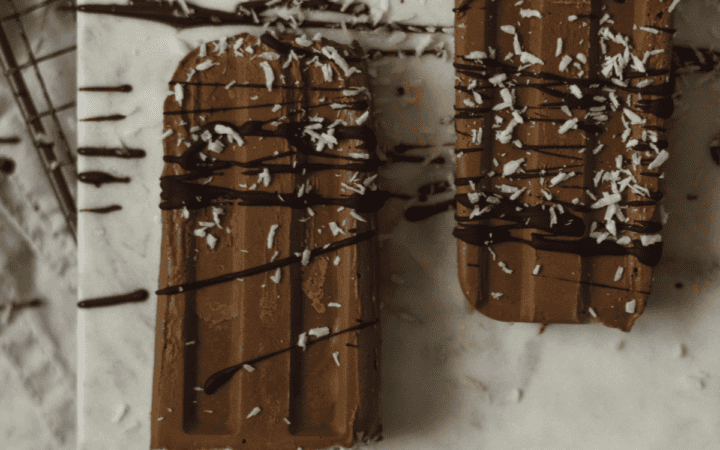
- Fill the Molds . Pour the cooled chocolate mixture into popsicle molds, leaving a little space at the top for expansion. Insert popsicle sticks into the molds. If desired, sprinkle your choice of toppings onto the fudgesicles.
- Freeze . Place the filled molds in the freezer and let them freeze until solid, about 4-6 hours or overnight.
- Enjoy . Once the fudgesicles are completely frozen, remove them from the molds by running them under warm water for a few seconds. Serve immediately and enjoy!

Tips And Tricks
Making fudgesicles at home is a fun and rewarding process. Here are some tips and tricks to ensure your homemade fudgesicles turn out perfectly every time:
- Sweete ner Balance - Adjust the amount of sweetener to suit your taste preferences. Keep in mind that the sweetness will be slightly muted once the mixture is frozen, so it’s okay to make it slightly sweeter than you prefer.
- Texture - For a smooth and creamy texture, blend the fudgesicle mixture until it’s completely smooth. This will help prevent any graininess or ice crystals from forming in the final product.
- Use a Popsicle Mold - Invest in a popsicle mold to create perfectly shaped fudgesicles. Silicone molds are ideal as they make it easy to remove the fudgesicles once frozen.
Variations
There are endless variations you can try to customize your homemade fudgesicles. Here are some delicious ideas to inspire you:
- Peanut Butter Fudge - Swirl creamy peanut butter into the fudgesicle mixture before freezing for a rich and indulgent treat.
- Mint Chocolate Chip - Add a few drops of peppermint extract and mini chocolate chips to the fudgesicle mixture for a refreshing twist on classic chocolate fudge.
- Salted Caramel - Drizzle homemade caramel sauce into the fudgesicle molds before filling them with the chocolate mixture for a sweet and salty contrast.
What To Enjoy With A Fudgesicle
Fudgesicles are a delightful treat on their own, but they can also be paired with other complementary flavors and textures for a more indulgent experience. Here are some delicious ideas for enjoying with them:
- Fresh Fruit- The combination of sweet, juicy fruit with the rich chocolate flavor of the Fudgesicles creates a delightful contrast.
- Nuts - Sprinkle chopped nuts such as almonds, peanuts, or pecans over your Fudgesicle for added crunch and nutty flavor.
- Whipped Cream - Top your Fudgesicle with a dollop of whipped cream for a creamy and decadent treat.
How Long Do They Last?
Store leftover fudgesicles in an airtight container in the freezer for up to 2 weeks. Be sure to wrap them individually in plastic wrap or parchment paper to prevent freezer burn.
More Delicious Desserts
- No Bake Peanut Butter Bars
- Sugar Free Jello Mousse
- Gluten Free Chocolate Cake
- Mini Cheesecakes
- Keto Chocolate Chip Cookies
Fudgesicle Recipe | Delicious Fudge Pops
Ingredients
- ▢ 1/3 cup Cocoa Powder
- ▢ 1/2 cup Graulated Sugar
- ▢ 2 cups Whole Milk
- ▢ 1 tsp Vanilla Extract
- ▢ 1/8 tsp Kosher Salt
Instructions
- Prepare the Mixture . In a saucepan over medium heat, whisk together cocoa powder, granulated sugar, and salt. Gradually whisk in the whole milk until smooth and combined. Cook the mixture, stirring constantly, until it thickens slightly, about 5 minutes. Remove from heat and stir in the vanilla extract. Let the mixture cool to room temperature.
- Fill the Molds . Pour the cooled chocolate mixture into popsicle molds, leaving a little space at the top for expansion. Insert popsicle sticks into the molds. If desired, sprinkle your choice of toppings onto the fudgesicles.
- Freeze . Place the filled molds in the freezer and let them freeze until solid, about 4-6 hours or overnight.
- Enjoy . Once the fudgesicles are completely frozen, remove them from the molds by running them under warm water for a few seconds. Serve immediately and enjoy!
