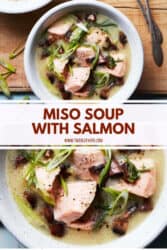
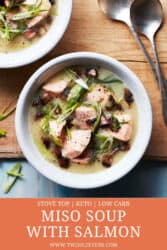
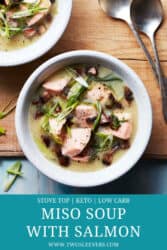

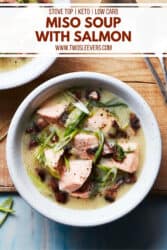
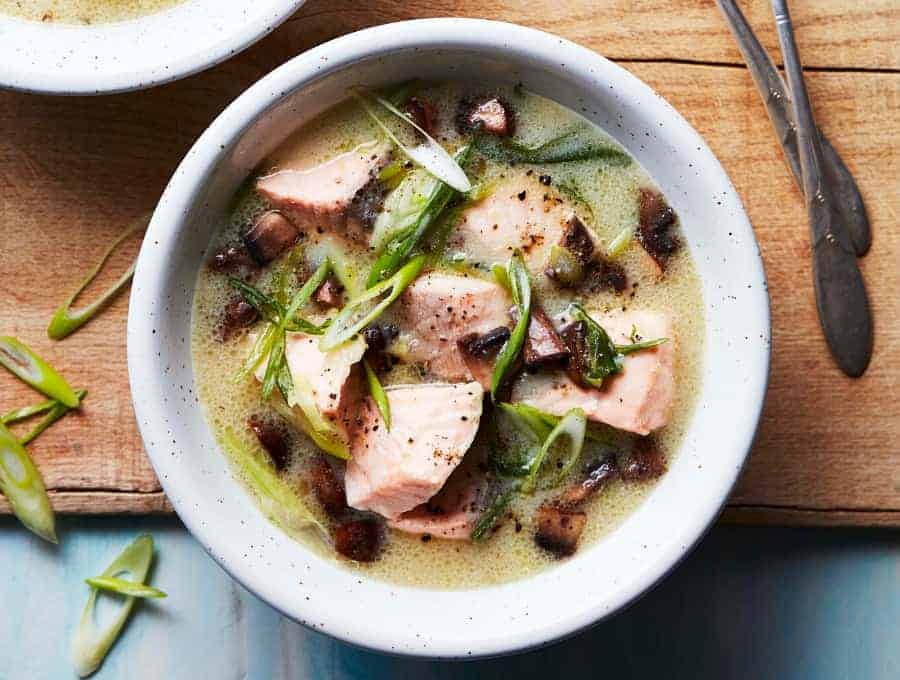
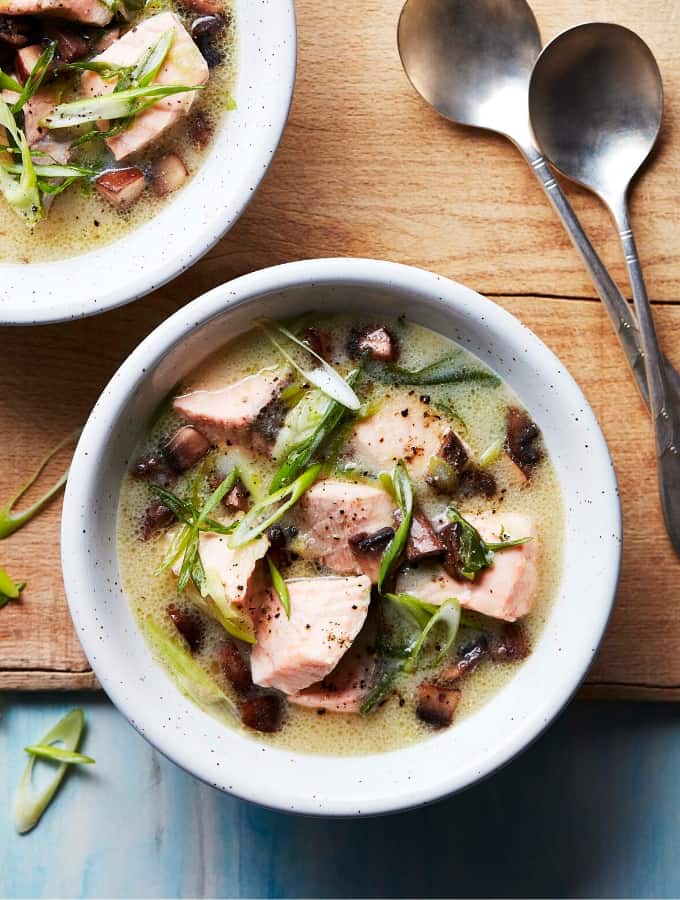
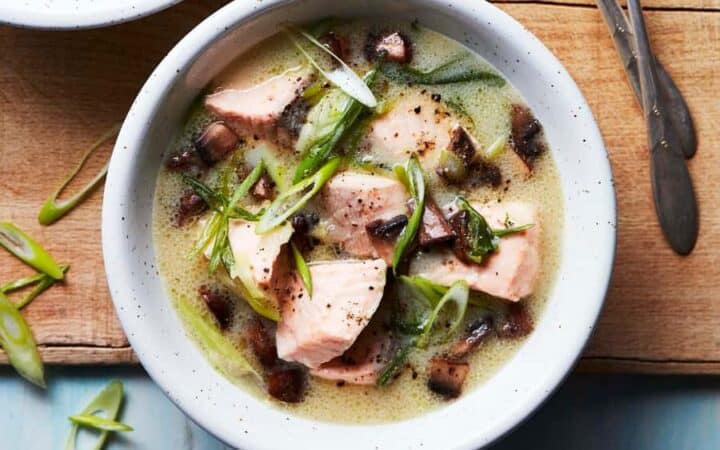
Miso Soup with Salmon is a low carb Japanese soup made with miso paste, salmon, mushrooms, green scallions, soy milk, chicken broth, soy sauce, garlic, and a little xanthan gum for body. It’s quick and works well for a keto or low carb weeknight dinner, since it comes together in under 30 minutes in one pot. Unlike traditional miso soup that relies on dashi and stays thin with tofu or seaweed, this version turns creamy and chowder-like with soy milk and xanthan gum while adding tender salmon for extra protein.
Why You Have To Try This Japanese Soup
- Low Carb. Only 8 net carbs per serving.
- Quick. Made in less than 30 minutes.
- Pour and Cook. Saute the aeromatics, pour in the remaining ingredients, and cook all in one pot.
- Delicious. Layers of bold and delicious seafood flavors that will having you making this soup again and again.
If you’re looking for a delicious low carb meal that’s a departure from the stereotypical, you have got to try this Miso Soup with Salmon.
This soup is perfectly savory, sweet, umami, and completely low carb. It’s one of those dishes that, once you’ve had it, want to make it again, and again, and again.
My friend David tested this recipe for me and said it was so good that he would totally make it for a dinner party, but also that no one would think this was special “ keto ” food.
Which to me, is what every keto recipe should be—just good food that anyone can enjoy.
Not only is this Miso Soup with Salmon delicious and low carb, but it’s very easy to make. It only takes about 20 minutes to make , and it really doesn’t take much effort on your part.
Not only is it quick, but it’s all cooked in a single pot , so clean-up is crazy easy as well. Quick, simple, and easy to clean up after – like music to my ears! Now let’s get to cooking…
What Does It Taste Like?
Miso soup with salmon has a wonderfully balanced flavor that’s both comforting and satisfying.
The miso paste provides a savory, umami-rich base with a slightly salty, fermented depth, while the salmon adds a buttery, rich, and mildly sweet flavor that blends seamlessly into the broth.
What Is Miso Soup Made Of?
The ingredients in a Miso soup vary quite widely depending on the region you get it from. It typically consists of stock with miso paste, veggies like mushrooms and onions, and sometimes a protein like fish or tofu.
Here’s what you’ll find in my recipe:
- 2 tablespoons Oil - Used to sauté the garlic, mushrooms, and scallions, helping release their flavors and creating a rich base for the soup.
- 2 tablespoons Minced Garlic - Adds a bold, savory aroma and depth of flavor that enhances the umami profile of the miso broth.
- 1 cup Mushrooms - Provide earthy, umami notes and a meaty texture, making the soup more hearty and satisfying without adding carbs.
- 1/2 cup Chopped Green Scallions - Infuse the broth with freshness and mild sharpness, while the garnish adds a bright, crisp finish.
- 2 tablespoons Miso - The star seasoning, delivering salty, savory, and slightly sweet umami flavor that defines the soup.
- 2 cups Unsweetened Soy Milk - Creates a creamy, low-carb broth that balances the saltiness of the miso while adding body and smooth texture.
- 1 cup Chicken Broth - Adds savory depth and enhances the richness of the soup’s base. You can use vegetable broth for a lighter option.
- 1 teaspoon Soy Sauce - Boosts the umami and adds a touch more saltiness and depth to the broth.
- 1/2 teaspoon Xanthan Gum - Thickens the broth slightly without adding carbs, giving it a silky consistency similar to traditional miso soup.
- 1 teaspoon Salt - Balances and enhances all the flavors while ensuring the broth and salmon are well seasoned.
- 1 teaspoon Pepper - Adds a gentle heat and sharpness to round out the savory broth.
- 1 pound Salmon Fillets - The protein centerpiece, giving the soup richness, heartiness, and flaky, buttery bites of fish.
- 1 tablespoon White Vinegar or Mirin - Adds brightness and a touch of acidity (or sweetness if using mirin), balancing the creamy, savory broth.
What Is Miso?
Miso is a fermented soybean paste. It’s not made entirely of fermented soybeans, however. It also includes Salt, grains, and fermentation starter.
Does Miso Soup Have Fish?
Miso Soup doesn’t always have fish in it, but I decided to include salmon in my recipe as I feel that it compliments the flavors of the soup perfectly and I wanted the added protein.
You could always use tofu in place of the salmon if you’d like to make this a vegan dish . Many people even enjoy substituting chicken for Chicken Miso Soup.
How To Make Miso Soup With Salmon
- Oil. Add oil to a 3-quart pot over high heat. When the oil is shimmering hot, add onions and ginger. Stir and then add diced mushrooms. Cook for 2-3 minutes until the onions are translucent.
- Broth. Add broth, soy or almond milk, chicken broth, miso , soy sauce, xanthan gum, salt, and pepper.
- Boil. Allow the mixture to come to a boil. Add in salmon and turn down the heat to medium-low so that the broth is bubbling gently. Allow the salmon to finish cooking, about 2-3 minutes.
- Serve. When the salmon flakes easily with a fork, remove the pot from the heat. Stir in vinegar and the remaining green onions, and serve.
Tips And Tricks
Miso soup is a simple yet deeply flavorful Japanese dish, and with a few key techniques, you can elevate it from basic to restaurant-quality. Here are some helpful tips and tricks to get it just right:
- Soy Milk. Use the thickest soy milk you can find for this recipe.
- Other Milks. For those who avoid soy, use whole milk, heavy whipping cream, almond milk or really anything else you prefer.
- Speed it up. To make this Miso Soup recipe go even faster, cut the salmon while the rest of the ingredients are cooking.
- Double it. Make a double batch to have the next day.
Variations
Miso soup with salmon is a comforting dish that combines the savory depth of miso with the richness of tender fish, and it can be easily adapted to suit different tastes and preferences. Here are some tasty variations you can try:
- Seafood Blend - Add shrimp, clams, or scallops along with salmon for a richer, seafood-forward miso soup.
- Spicy - Add a spoonful of chili paste, sriracha, or sliced fresh chili for a warming kick.
- Red Miso Version - Swap in red miso for a stronger, earthier, and saltier flavor that gives the soup a heartier edge.
What To Eat With Japanese Salmon Soup
Japanese miso soup is a light, umami-rich dish that’s often served as part of a balanced meal. Because of its delicate flavor and nourishing qualities, it pairs beautifully with a variety of traditional Japanese foods. Here are some excellent options to enjoy alongside it:
- Rice Dishes - White rice or brown rice is a classic pairing that balances the salty, savory broth.
- Teriyaki chicken or beef - sweet and savory flavors contrast beautifully with the light soup.
- Seaweed salad - adds freshness and complements the umami flavor.
How Long Does It Last?
This soup recipe doesn’t last an incredibly long time in the refrigerator, so it may be one you skip if you’re planning your weekly meal prep. It is best eaten within 2-3 days after cooking for the best flavor.
Don’t worry if you’re making this for an appetizer or for a smaller family. The portions in this recipe are fairly small, and it is so delicious, you’ll have a hard time not going back for another bowl.
Can You Freeze This Soup?
I would not recommend freezing this soup. Dairy has a tendency to change texture after it has been frozen. Since the real star of this soup is the broth, messing with the flavor and texture of it can change the integrity of the soup entirely.
Add miso paste at the very end of miso soup with salmon when the broth is just below a simmer, because rapidly boiling can dull miso’s aroma and flavor.
To keep salmon from drying out in miso soup with salmon, add the salmon near the end and cook it gently at a low simmer until it just flakes, then remove the pot from heat so it does not overcook. Cut the salmon into even pieces, avoid a hard boil, and let it finish in the residual heat for the best texture.
For miso soup with salmon, awase miso is often the best choice because it blends white and red miso for a balanced sweet savory flavor that complements salmon without overpowering it. White miso gives a milder, slightly sweet taste that works great in creamy miso soup with soy milk, while red miso is stronger and saltier and can taste more intense with delicate salmon unless you use less. If you are unsure, start with awase or white miso and adjust the amount at the end after tasting.
More Of Our Best Seafood Recipes
- Keto Miso Salmon
- Honey Lemon Salmon
- Dijon Salmon
- Pan Seared Salmon
- Honey Glazed Salmon
Miso Soup Recipe | Low Carb Japenese Soup With Salmon
Equipment
- 3-Quart Pot
Ingredients
- ▢ 2 tablespoons Oil
- ▢ 2 tablespoons Minced Garlic
- ▢ 1 cup Mushrooms , diced
- ▢ 1/2 cup Chopped Green Scallions , diced, plus an additional 2 tablespoons for garnish
- ▢ 2 tablespoons Miso
- ▢ 2 cups Soy Milk , unsweetened (or almond milk)
- ▢ 1 cup Chicken Broth
- ▢ 1 teaspoon Soy Sauce
- ▢ 1/2 teaspoon Xanthan Gum
- ▢ 1 teaspoon Kosher Salt
- ▢ 1 teaspoon Pepper
- ▢ 1 pound Salmon Fillets , cut into bite size chunks
- ▢ 1 tablespoon White Vinegar , or Mirin
Instructions
- Add oil to a 3-quart pot over high heat. When the oil is shimmering hot, add onions and ginger. Stir and then add diced mushrooms. Cook for 2-3 minutes until the onions are translucent.
- Add broth, soy or almond milk, chicken broth, miso , soy sauce, xanthan gum, salt, and pepper.
- Allow the mixture to come to a boil. Add in salmon and turn down the heat to medium-low so that the broth is bubbling gently. Allow the salmon to finish cooking, about 2-3 minutes. When the salmon flakes easily with a fork, remove the pot from the heat. Stir in vinegar and the remaining green onions, and serve.
Tips And Tricks For Making Miso Soup With Salmon
- Use the thickest milk you can find for this recipe.
- For those who avoid soy, use whole milk, heavy whipping cream, almond milk or really anything else you prefer.
- To make this recipe go even faster, cut the salmon while the rest of the ingredients are cooking.
- Make a double batch to have the next day but do not freeze . This recipe doesn’t freeze well because of the milk.
- You could always use tofu in place of the salmon if you’d like to make this a vegan dish.
Get support & connect with our community on Facebook!
Nutrition
Don’t forget to check out my other Ketocookbooks.
Keto Instant Pot, Keto Fat Bombs, Sweets, & Treats , and Easy keto in 30 minutes.


If you already signed up, you should have received an email with a password to give you unlimited access to our FREE Printable Library. The password is case sensitive. Enter it below and get printing!
Password:

Miso Soup Recipe | Low Carb Japenese Soup With Salmon
Ingredients
- 2 tablespoons Oil
- 2 tablespoons Minced Garlic
- 1 cup Mushrooms diced
- 1/2 cup Chopped Green Scallions diced, plus an additional 2 tablespoons for garnish
- 2 tablespoons Miso
- 2 cups Soy Milk unsweetened (or almond milk)
- 1 cup Chicken Broth
- 1 teaspoon Soy Sauce
- 1/2 teaspoon Xanthan Gum
- 1 teaspoon Kosher Salt
- 1 teaspoon Pepper
- 1 pound Salmon Fillets cut into bite size chunks
- 1 tablespoon White Vinegar or Mirin
Instructions
- Add oil to a 3-quart pot over high heat. When the oil is shimmering hot, add onions and ginger. Stir and then add diced mushrooms. Cook for 2-3 minutes until the onions are translucent.
- Add broth, soy or almond milk, chicken broth, miso , soy sauce, xanthan gum, salt, and pepper.
- Allow the mixture to come to a boil. Add in salmon and turn down the heat to medium-low so that the broth is bubbling gently. Allow the salmon to finish cooking, about 2-3 minutes. When the salmon flakes easily with a fork, remove the pot from the heat. Stir in vinegar and the remaining green onions, and serve.
Tips And Tricks For Making Miso Soup With Salmon
- Use the thickest milk you can find for this recipe.
- For those who avoid soy, use whole milk, heavy whipping cream, almond milk or really anything else you prefer.
- To make this recipe go even faster, cut the salmon while the rest of the ingredients are cooking.
- Make a double batch to have the next day but do not freeze . This recipe doesn’t freeze well because of the milk.
- You could always use tofu in place of the salmon if you’d like to make this a vegan dish.
Miso Soup Recipe | Low Carb Japenese Soup With Salmon https://twosleevers.com/miso-soup-with-salmon/
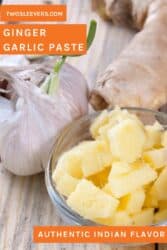
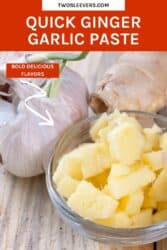
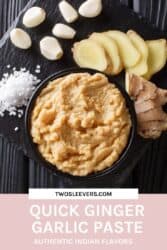
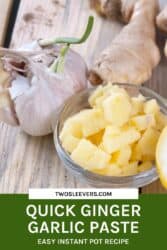
Quick Ginger Garlic Paste is a simple Indian cooking condiment/paste made with fresh ginger, garlic cloves, and water (with optional salt). It’s quick and weeknight-friendly and works well for building fast flavor in curries, marinades, and everyday Indian or Asian-inspired cooking. Unlike store-bought ginger garlic paste that often uses oil and preservatives (and can turn bitter over time), this version blends with water for a cleaner, fresher taste.
Why Should I Make This Ginger Garlic Paste Recipe?
- Long-lasting. Commercial pastes use oil. Over time, the paste tastes a little bitter. I prefer to make mine with water.
- Better Tasting. Since there’s no oil to go rancid, it tastes better long-term. But even when you first make it, if you’re like me, you’re going to use good quality ginger and fresh, healthy cloves of garlic. Better ingredients = better taste.
- Known Ingredients. No wondering about what fillers, additives, and preservatives were added into it. You make it, you own it. You choose what goes into it. This is why I have so many homemade spice blend recipes for you.
- Super Simple . Five minutes start to finish. Don’t even need to peel the ginger. Throw everything in, and go.
- Salt or not. Homemade means you get to decide whether or not you want to add salt to your ginger garlic paste. I believe it helps preserve it slightly longer, but I prefer not to use it so that I don’t have to account for the salt in it as I use it in a recipe.
What Is Ginger Garlic Paste Used For?
The more important question you may ask is what can’t you make with ginger garlic paste . It is packed with flavor and amplifies the flavors of any dish you use it in. I use it in my famous Butter Chicken .
So typically, you will have many recipes that call for a base onion tomato masala in Indian recipes . Just as Cajun Cooking has its holy trinity of onions, celery, and carrots or peppers, many easy Indian curries start with this mix of onions, tomatoes, ginger, and garlic.
But you can use this in many Asian Dishes that call for both ginger and garlic.
Other than the fact that it just tastes GREAT, there are a ton of health benefits that ginger and garlic are purported to offer. From being a great antioxidant to being helping reduce blood pressure and cholesterol, there are tons of reasons to keep this paste on hand.
The scientist in me will chime in and say there are few double-blind experiments demonstrating these long-term effects, but many ancient cultures have relied on both these ingredients for a variety of benefits.
Me, I eat them because I love ginger, and I love garlic 😀
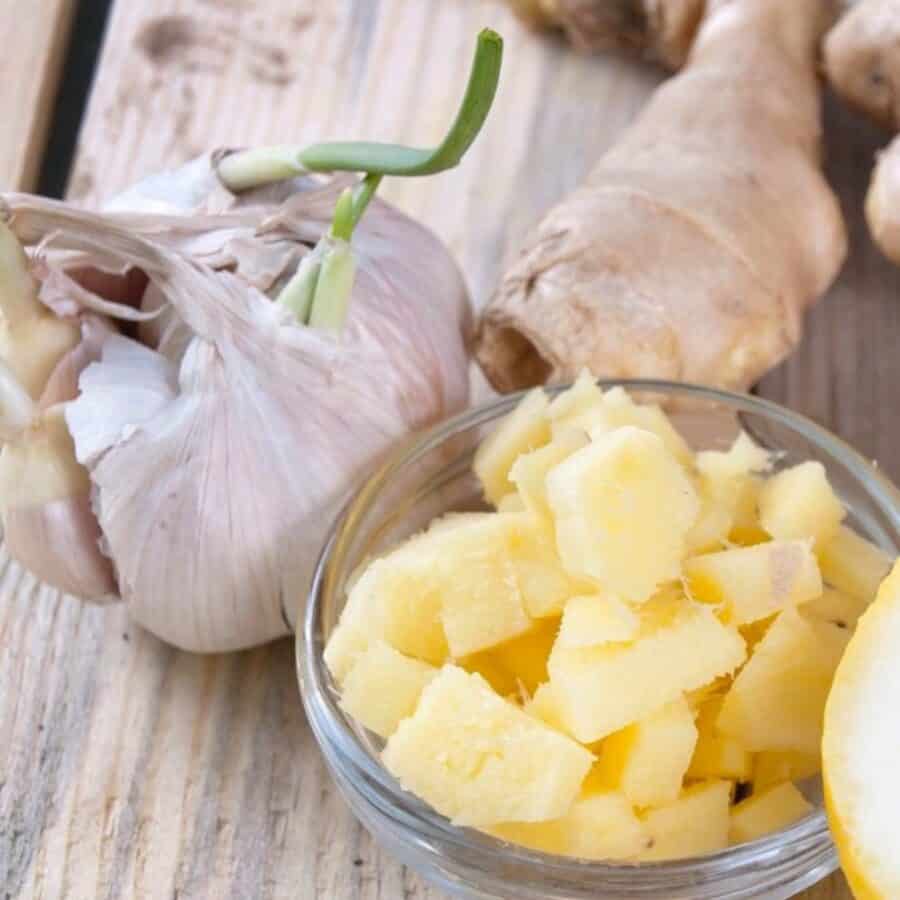
Ingredients Needed
If you love fresh ingredients and Asian cuisine, you’ll likely already have these ingredients on hand. If you don’t your local Asian market or big box store will likely have what you need.
I try to find ingredients that are easily accessible for my recipes. This one only takes 3 items–and one of them is water.
Here’s what you’ll need:
- 4 ounces garlic cloves - Garlic provides the sharp, pungent flavor that forms the backbone of the paste. It adds depth and umami to countless dishes, enhancing savory flavors and creating a strong aromatic base. In the paste, garlic balances the spiciness of the ginger and delivers that signature warmth essential in Indian, Asian, and Middle Eastern cooking.
- 4 ounces minced ginger - Ginger contributes bright, zesty, and slightly peppery notes that complement the garlic perfectly. Its natural oils and freshness bring a lively heat and subtle sweetness, making the paste more balanced and fragrant.
- 1/4 cup water - Water helps the blender or food processor break down the ginger and garlic into a smooth, cohesive paste. It ensures even blending and a spreadable consistency, making the paste easy to store and use.
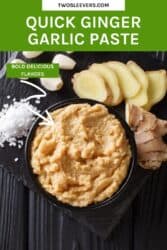
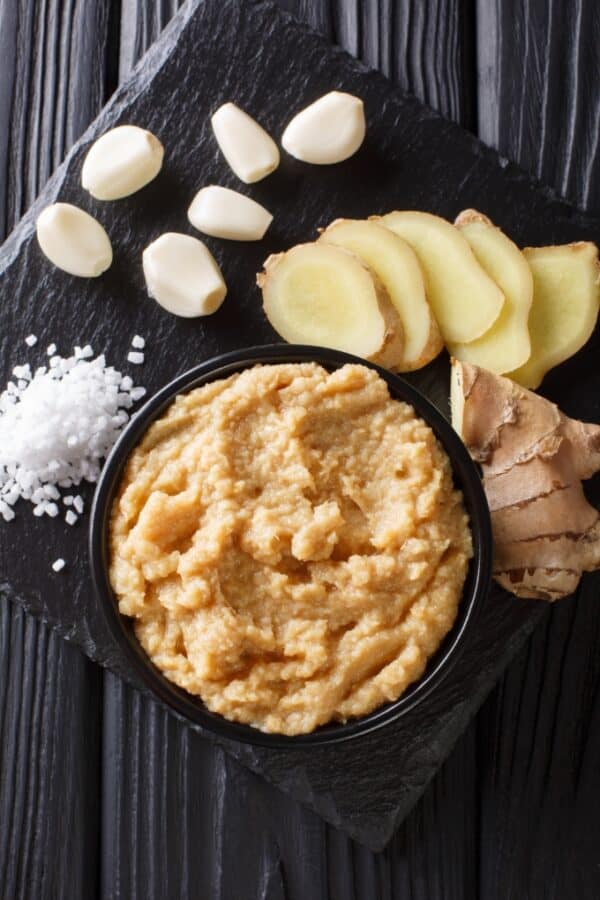
How Do You Make Ginger Garlic Paste?
Who has time to add an intricately made spice, sauce, or paste when they’re in a rush?
Not me, that’s for sure. Here are the two easy steps you’ll need to take to get a tasty and flavorful addition to your next meal:
- Place water in the bottom of a blender.
- Add ginger and garlic and process until the mixture is relatively smooth.
That’s it. You’ll be amazed at how quickly this comes together and how much flavor it adds to your dishes compared to prepackaged varieties you can buy at the market.
Tips And Tricks
Making ginger garlic paste at home is an easy way to elevate your cooking, adding instant depth and aroma to curries, stir-fries, marinades, and more. With a few smart techniques, you can create a smooth, flavorful paste that stays fresh and vibrant for weeks. Here are some helpful tips and tricks:
- Use Equal Parts Ginger and Garlic . A 1:1 ratio keeps the flavor balanced. Too much garlic can make it sharp, while too much ginger can make it overly spicy.
- Peel for Smoothness . Peel both the ginger and garlic for a smoother texture and cleaner flavor. Using a spoon to scrape ginger skin works best.
- Use a High-Speed Blender . A good blender or food processor ensures a silky consistency without adding too much liquid.
Variations
Adding variations to your ginger garlic paste can make it even more versatile, allowing you to tailor it for different cuisines or dishes. Here are a few creative ways to customize it:
- Spicy- Add 2–3 green chilies while blending for a fiery kick. Perfect for curries, stir-fries, or marinades that need extra heat and flavor.
- Turmeric- Add ½ teaspoon ground turmeric or a small piece of fresh turmeric root. This variation adds a warm, earthy note and extra anti-inflammatory benefits. It’s great for Indian curries and golden rice dishes.
- Lemon - Add 1 tablespoon fresh lemon juice for brightness and a slightly tangy flavor. Ideal for seafood marinades or light chicken dishes where you want a fresh, zesty touch.
How Long Does It Last?
One of the reasons I suggest making your own is because if you make it properly and store it correctly, it can last for months.
Your ginger garlic paste will last:
- 3 weeks in the refrigerator in an air tight container.
- 6 months or more in the freezer. Place the mixture into small ice cube trays and when they are frozen, pop out the ginger and garlic and store in ziptop bags in the freezer. You can use it without defrosting.
Recipes that Use Ginger Garlic Paste
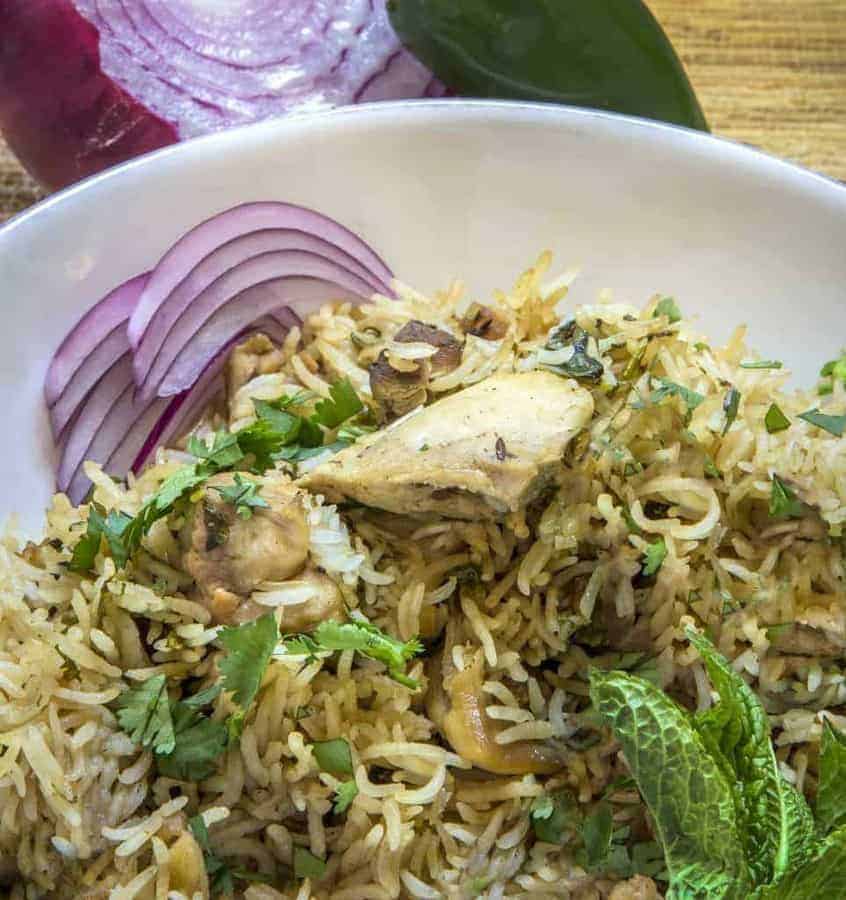
Chicken Birynai
Chicken Biryani - A delicious Indian comfort food recipe.
Chicken Curry with Spinach - Low Carb and made in your Instant Pot.
Keto Chicken Biryani - A take on one of my favorites without all of the carbs.
No, you usually don’t have to peel ginger for homemade ginger garlic paste, especially if you’re using young, thin-skinned ginger and blending it well. A good scrub under running water removes most grit, and the peel will disappear into a smooth ginger garlic paste made in a blender. Peel it only if the skin is thick, wrinkly, or dirty (older ginger can taste a bit tougher), or if you want an extra-silky Indian ginger garlic paste (adrak lehsun) texture. Either way, chopping the ginger first and blending with a little water helps you get a smooth paste without stringy bits.
Your homemade ginger garlic paste can turn green or brown mostly because of natural reactions. Oxidation (air exposure) causes browning, and garlic can sometimes shift green/blue when its sulfur compounds react with acids or certain minerals (it’s usually harmless, just weird-looking). This happens faster if the paste is warm, not stored airtight, or kept for a while in the fridge, and it can taste sharper over time. To slow discoloration, blend your ginger garlic paste with water (or a little oil if you prefer), store it in a very clean airtight jar, press plastic wrap directly on the surface to limit air contact, and for the best flavor freeze portions in ice cube trays so it stays fresh and doesn’t develop bitterness.
Homemade ginger garlic paste can taste bitter when the garlic is overprocessed, oxidized, or stored too long. Blending garlic into a super-fine puree can release more harsh compounds, and exposure to air (or an old, not-airtight jar) accelerates flavor changes. Bitter notes also show up if you used older garlic with a green sprout, very mature ginger skin, or if the paste picked up a metallic taste from certain containers. For a fresher ginger garlic paste in a blender, use fresh, de-sprouted garlic, scrub (or peel) tough ginger, blend just until smooth with a little water, store in a clean airtight container, and freeze portions in ice cube trays. Freezing is the easiest way to prevent that “bitter after a few days” problem.
Want MoreIndian Recipes?
Butter Chicken - One of my most popular recipes.
Tandoori Chicken - an easy air fryer recipe .
Pressure Cooker Rice and Dal - authentic made easy.
Indian Cabbage Slaw - a perfect low carb side dish .
Indian Seekh Kababs - delicious meaty bites.
75 Indian Instant Pot Recipes - So many great ones to choose from.
Ginger Garlic Paste Recipe | A Flavorful Addition To Indian Dishes
Equipment
- VITAMIX BLENDER
Ingredients
- ▢ 4 ounces ( 113.4 g ) Garlic Cloves
- ▢ 4 ounces ( 56.7 g ) Minced Ginger , (no need to peel)
- ▢ 1/4 cup ( 62.5 g ) Water
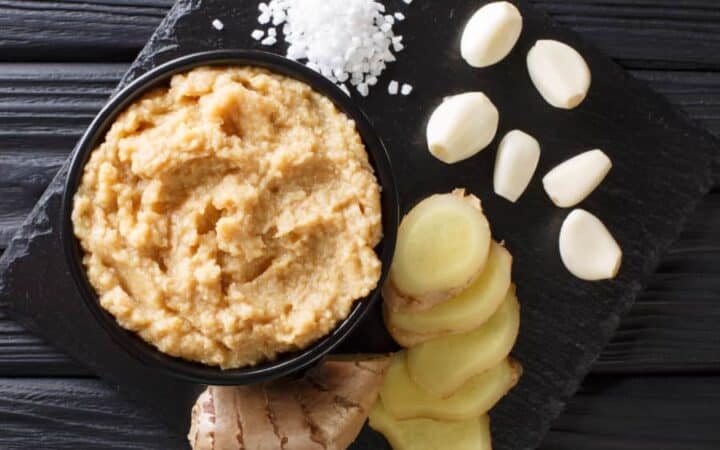
Instructions
Place 1/4 cup of water in the bottom of a blender or food processor to help the blades move freely.
Add ginger and garlic and process until the mixture is relatively smooth.
If I recipe calls for 1 tablespoon of minced ginger and 1 tablespoon of minced garlic, just use 2 tablespoons of the paste instead.
This freezes well so you might want to make little cubes in an ice tray and then just throw them in frozen when you’re ready to cook.
Salt or not. Homemade means you get to decide whether or not you want to add salt to your ginger garlic paste. I believe it helps preserve it slightly longer, but I prefer not to use it so that I don’t have to account for the salt in it as I use it in a recipe.
No peeling the ginger? ? Nope. Wash it well, and throw it in as is. The peel is totally edible and also a total pain to remove so thisis a great win win!
Get support & connect with our community on Facebook!
Nutrition
Don’t forget to check out my other Ketocookbooks.
Keto Instant Pot, Keto Fat Bombs, Sweets, & Treats , and Easy keto in 30 minutes.
