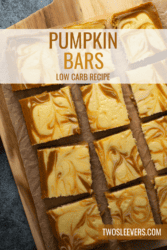
Low Carb Pumpkin Bars with Cheesecake Swirl are a harmonious blend of velvety pumpkin goodness and creamy cheesecake decadence, all while keeping your carb count in check.

Why You’ll Love This Pumpkin Dessert
- Easy. Mix up the pumpkin bar batter, create a simple cheesecake swirl, combine the two, and bake for a simple dessert recipe.
- Delicious. Packed full of fall flavors, you’ll love that this is both tasty and keto-friendly.
- Low Carb. Minimal net carbs per serving means you can enjoy your favorite meals while still having enough carbs left for the day to enjoy dessert too!
Indulging in the flavors of fall doesn’t have to mean sacrificing your commitment to a low-carb lifestyle. These Low-Carb Pumpkin Bars with Cheesecake Swirl offer the perfect balance of seasonal comfort and mindful eating.
What Are Pumpkin Bars Made Of?
Pumpkin Bars
- Almond Flour
- Coconut Flour
- Swerve
- Baking Powder
- Cinnamon
- Nutmeg
- Ginger
- Salt
- Pumpkin Puree
- Eggs
- Coconut oil
- Vanilla Extract
Cheesecake Swirl
- Cream Cheese
- Swerve
- Egg
- Vanilla Extract
How To Make Pumpkin Bars
- Prepare the Dry Pumpkin Bar Base. Preheat your oven to 350°F and line an 8x8-inch baking pan with parchment paper. In a bowl, whisk together the almond flour, coconut flour, sweetener, baking powder, cinnamon, nutmeg, ginger, and salt.
- Create the Wet Pumpkin Mixture. Add the pumpkin puree, eggs, melted coconut oil or butter, and vanilla extract. Mix until well combined. Spread the pumpkin batter evenly into the prepared baking pan.
- Create the Cheesecake Swirl. In a separate bowl, beat the softened cream cheese until smooth. Add the sweetener, egg, and vanilla extract. Mix until creamy and well incorporated.
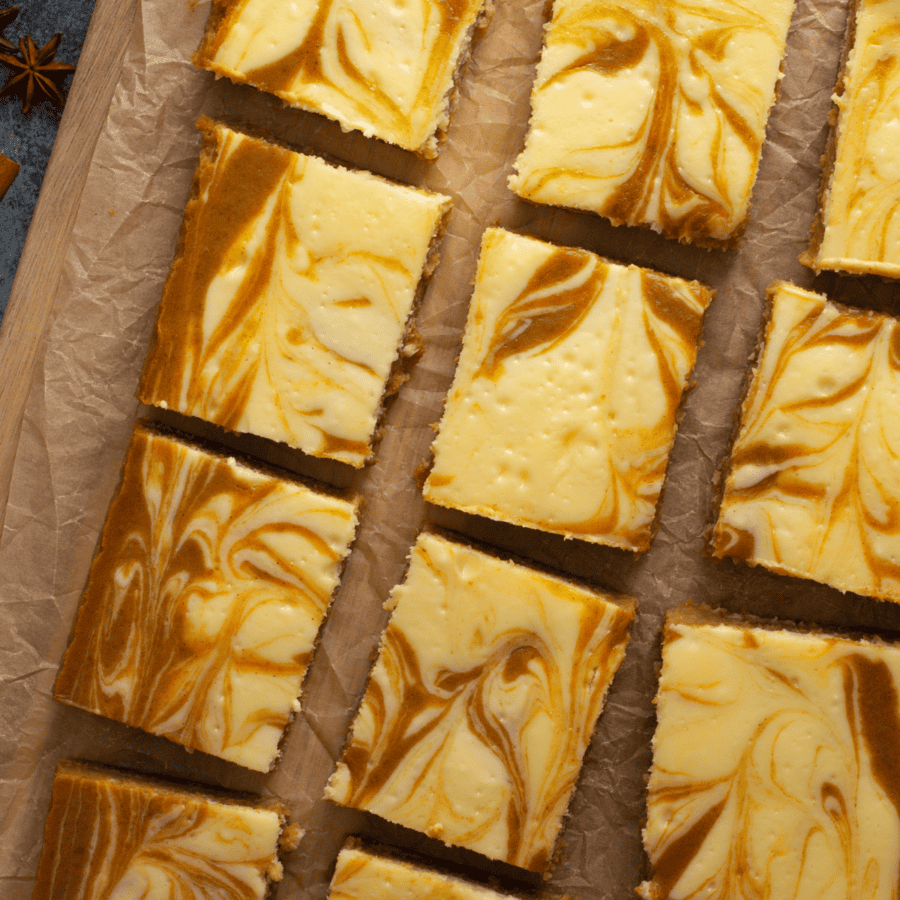
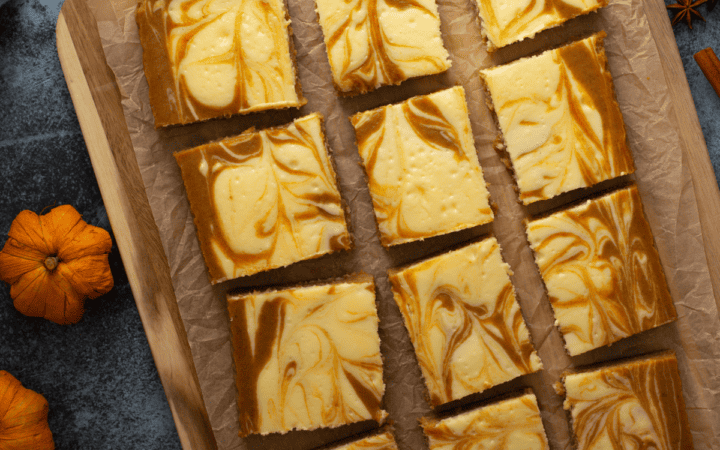
- Swirling the Cheesecake. Drop spoonfuls of the cheesecake mixture onto the pumpkin batter in the pan. Use a knife or toothpick to gently swirl the cheesecake mixture into the pumpkin batter, creating a marbled effect.
- Bake Them Up. Place the pan in the preheated oven and bake for 25-30 minutes, or until the bars are set and a toothpick inserted into the center comes out clean.
- Cool and Serve . Remove from the oven and let the bars cool in the pan for about 15 minutes. Then, lift them out using the parchment paper overhang and transfer them to a wire rack to cool completely. Refrigerate the bars for at least 2 hours to allow them to firm up. When ready to serve, cut the bars into squares and dust with a sprinkle of ground cinnamon, if desired.
Tips And Tricks
Creating delicious low-carb pumpkin bars with a cheesecake swirl requires some thoughtful ingredient choices and baking techniques. Here are some tips and tricks to help you make the best low carb dessert:
- Pumpkin Puree- Use unsweetened canned pumpkin puree (NOT PUMPKIN PIE FILLING) as the main ingredient. Pumpkin is relatively low in carbs and adds a wonderful fall flavor.
- Portion Control - Cut the bars into appropriate serving sizes to manage carb intake. A smaller portion can satisfy your sweet tooth without exceeding your carb limit.
- Cooling Time - Allow the bars to cool completely before cutting. This helps them set and makes slicing easier.
Variations
Low carb pumpkin bars with cheesecake swirl are a versatile treat that can be customized with various flavors and ingredients. Here are some creative variations to try:
- Chocolate Chip Pumpkin Bars - Fold in sugar-free chocolate chips to the pumpkin batter before swirling in the cheesecake mixture for a delightful chocolatey twist.
- Pecan Pumpkin Bars - Sprinkle chopped toasted pecans on top of the cheesecake swirl for added crunch and nutty flavor.
- Maple Walnut Pumpkin Bars- Mix chopped walnuts into the pumpkin batter and drizzle with a sugar-free maple-flavored syrup before baking.
What To Serve With Them
Low Carb Pumpkin Bars with cheesecake swirl are a delicious and satisfying treat on their own, but if you’re looking to complement their flavors or create a well-rounded dessert experience, here are some ideas for what to serve with them:
- Whipped Cream- A dollop of freshly whipped cream adds a light and airy contrast to the richness of the pumpkin bars. You can even flavor the whipped cream with a hint of vanilla or cinnamon.
- Low Carb Ice Cream - Serve a scoop of creamy vanilla ice cream alongside the pumpkin bars for a delightful combination of warm and cold textures.
- Caramel Sauce - Drizzle a small amount of caramel sauce over the pumpkin bars for an extra touch of sweetness and indulgence. Ensure you’re using a sugar-free or low carb option to keep this a guilt-free bite.
- Chopped Nuts - Sprinkle chopped toasted nuts, such as pecans or walnuts, over the pumpkin bars to add a crunchy texture and nutty flavor.
Can Pumpkin Bars Be Left Out?
Pumpkin bars with a cheesecake swirl should not be left out at room temperature for extended periods of time, especially since they contain dairy-based ingredients like cream cheese. Both the pumpkin and cheesecake components of the bars can be sensitive to temperature and can spoil if not stored properly.
Properly stored, in an airtight container, they can be refrigerated for up to 3-5 days.
Can You Freeze Them?
If you want to extend the shelf life further, consider freezing the pumpkin bars. Wrap individual bars tightly in plastic wrap and place them in an airtight container or freezer-safe bag. They can be frozen for up to 2-3 months.
To thaw, place the bars in the refrigerator overnight.
More Low Carb Desserts
- No Bake Peanut Butter Bars
- Peanut Butter Fat Bombs
- Keto French Silk Pie
- Low Carb Key Lime Pie
- Sugar Free Jello Mousse
- Gluten Free Pumpkin Bread

Low Carb Pumpkin Bars | Pumpkin Cheesecake Bars
Ingredients
Dry Pumpkin Bar Base
- ▢ 1 cup Almond Flour
- ▢ 1/4 cup Coconut Flour
- ▢ 1/2 cup Swerve
- ▢ 1 tsp Baking Powder
- ▢ 1 tsp Cinnamon
- ▢ 1/2 tsp Nutmeg
- ▢ 1/2 tsp Ginger
- ▢ 1/4 tsp Kosher Salt
Wet Pumpkin Mixture
- ▢ 1 cup Pumpkin Puree
- ▢ 3 Eggs
- ▢ 1/3 cup Unsalted Butter , melted
- ▢ 1 tsp Vanilla Extract
Cheesecake Swirl
- ▢ 8 oz Cream Cheese
- ▢ 3 tbsp Swerve
- ▢ 1 Egg
- ▢ 1 tsp Vanilla Extract
Instructions
- Prepare the Dry Pumpkin Bar Base. Preheat your oven to 350°F and line an 8x8-inch baking pan with parchment paper. In a bowl, whisk together the almond flour, coconut flour, sweetener, baking powder, cinnamon, nutmeg, ginger, and salt.
- Create the Wet Pumpkin Mixture. Add the pumpkin puree, eggs, melted coconut oil or butter, and vanilla extract. Mix until well combined. Spread the pumpkin batter evenly into the prepared baking pan.
- Create the Cheesecake Swirl. In a separate bowl, beat the softened cream cheese until smooth. Add the sweetener, egg, and vanilla extract. Mix until creamy and well incorporated.
- Swirling the Cheesecake. Drop spoonfuls of the cheesecake mixture onto the pumpkin batter in the pan. Use a knife or toothpick to gently swirl the cheesecake mixture into the pumpkin batter, creating a marbled effect.
- Bake Them Up. Place the pan in the preheated oven and bake for 25-30 minutes, or until the bars are set and a toothpick inserted into the center comes out clean.
- Cool and Serve . Remove from the oven and let the bars cool in the pan for about 15 minutes. Then, lift them out using the parchment paper overhang and transfer them to a wire rack to cool completely. Refrigerate the bars for at least 2 hours to allow them to firm up. When ready to serve, cut the bars into squares and dust with a sprinkle of ground cinnamon, if desired.
Get support & connect with our community on Facebook!
Don’t forget to check out my other Ketocookbooks.
Keto Instant Pot, Keto Fat Bombs, Sweets, & Treats , and Easy keto in 30 minutes.


If you already signed up, you should have received an email with a password to give you unlimited access to our FREE Printable Library. The password is case sensitive. Enter it below and get printing!
Password:
Low Carb Pumpkin Bars | Pumpkin Cheesecake Bars
Ingredients
Dry Pumpkin Bar Base
- 1 cup Almond Flour
- 1/4 cup Coconut Flour
- 1/2 cup Swerve
- 1 tsp Baking Powder
- 1 tsp Cinnamon
- 1/2 tsp Nutmeg
- 1/2 tsp Ginger
- 1/4 tsp Kosher Salt
Wet Pumpkin Mixture
- 1 cup Pumpkin Puree
- 3 Eggs
- 1/3 cup Unsalted Butter melted
- 1 tsp Vanilla Extract
Cheesecake Swirl
- 8 oz Cream Cheese
- 3 tbsp Swerve
- 1 Egg
- 1 tsp Vanilla Extract
Instructions
- Prepare the Dry Pumpkin Bar Base. Preheat your oven to 350°F and line an 8x8-inch baking pan with parchment paper. In a bowl, whisk together the almond flour, coconut flour, sweetener, baking powder, cinnamon, nutmeg, ginger, and salt.
- Create the Wet Pumpkin Mixture. Add the pumpkin puree, eggs, melted coconut oil or butter, and vanilla extract. Mix until well combined. Spread the pumpkin batter evenly into the prepared baking pan.
- Create the Cheesecake Swirl. In a separate bowl, beat the softened cream cheese until smooth. Add the sweetener, egg, and vanilla extract. Mix until creamy and well incorporated.
- Swirling the Cheesecake. Drop spoonfuls of the cheesecake mixture onto the pumpkin batter in the pan. Use a knife or toothpick to gently swirl the cheesecake mixture into the pumpkin batter, creating a marbled effect.
- Bake Them Up. Place the pan in the preheated oven and bake for 25-30 minutes, or until the bars are set and a toothpick inserted into the center comes out clean.
- Cool and Serve . Remove from the oven and let the bars cool in the pan for about 15 minutes. Then, lift them out using the parchment paper overhang and transfer them to a wire rack to cool completely. Refrigerate the bars for at least 2 hours to allow them to firm up. When ready to serve, cut the bars into squares and dust with a sprinkle of ground cinnamon, if desired.
Low Carb Pumpkin Bars | Pumpkin Cheesecake Bars https://twosleevers.com/low-carb-pumpkin-bars/
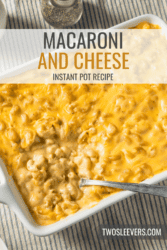
Instant Pot Mac and Cheese is an incredibly quick dish, making it an ideal choice for busy weeknight dinners or as a comforting side dish for gatherings. It is a beloved classic, and making it in the Instant Pot elevates it to a whole new level of convenience. The Instant Pot locks in the flavors, ensuring that the pasta is perfectly cooked and coated in a luscious cheese sauce.
Why You’ll Love Making Instant Pot Mac And Cheese This Way
- Quick & Easy . Ready in under 30 minutes with the help of your Instant Pot.
- Family Favorite . Creamy, cheesy, and irresistibly comforting – a crowd-pleaser for all ages.
- Customizable . Add your favorite mix-ins or keep it classic – it’s mac and cheese your way.
- No-Fuss . Minimal cleanup – just one pot to cook and serve.
With the convenience of the Instant Pot, you can whip up a batch of homemade mac and cheese that’s as creamy and satisfying as your favorite comfort food, but without the hassle of multiple pots and pans.
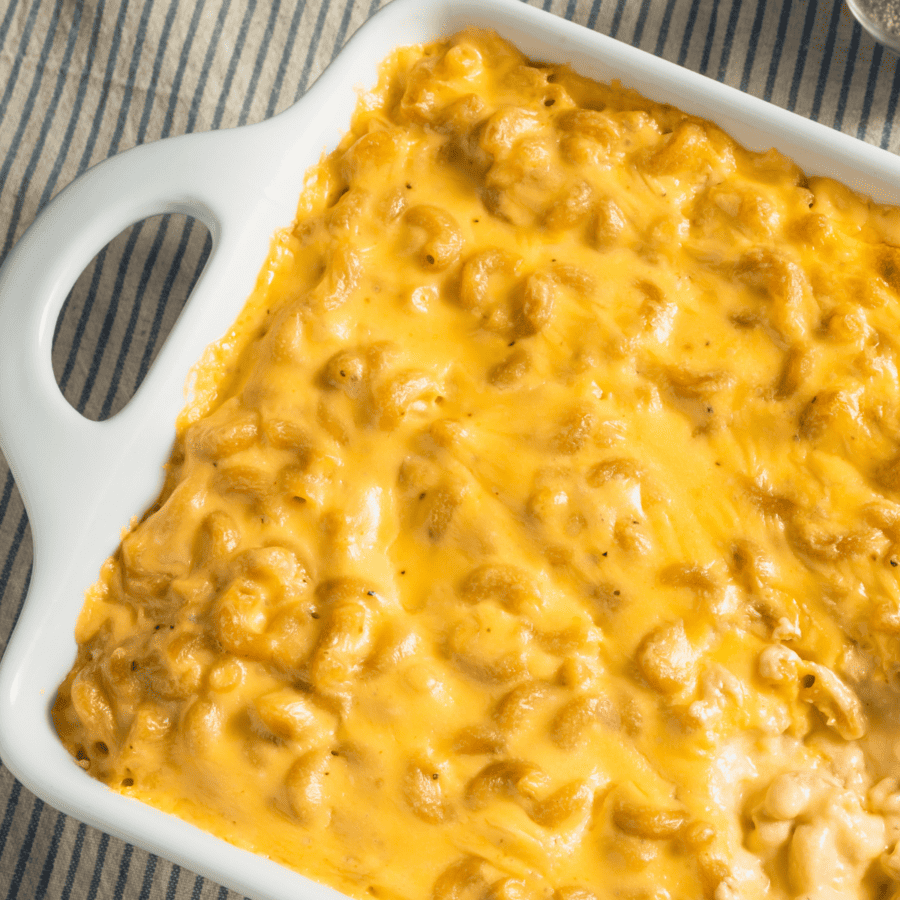
How Do You Keep Macaroni And Cheese From Getting Gummy?
- Don’t Overcook the Pasta . The most common reason for gummy mac and cheese is overcooked pasta. Cook the macaroni just until it reaches al dente, which means it should have a slight bite to it. It will continue cooking in the cheese sauce, so slightly undercooking the pasta is key.
- Rinse the Pasta . After cooking the pasta, drain it in a colander and rinse it under cold running water. Rinsing helps remove excess starch on the pasta’s surface, which can cause it to become sticky and gummy.
- Use the Right Cheese . Choose cheeses that melt well and have good texture. A combination of cheddar, gruyère, and/or Monterey Jack often works best. Avoid using cheeses that become stringy when melted, like mozzarella.
- Use Freshly Grated Cheese . Pre-shredded cheeses often have additives that can affect their melting properties. Grate your cheese from a block for a smoother sauce.
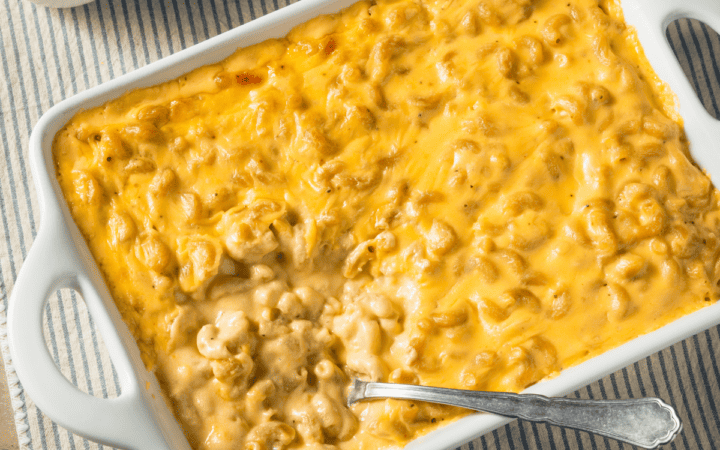
What Cheese Is Best For Mac And Cheese?
Feel free to experiment with different cheese combinations to find the flavor and texture you like best. Many mac and cheese recipes use a mix of cheddar and other cheeses to achieve a balanced and rich taste.
Ultimately, the best cheese for mac and cheese is the one that satisfies your taste buds.
Ingredients You’ll Need
- Elbow Macaroni- Classic pasta choice for mac and cheese.
- Water - The cooking liquid for the pasta.
- Salt- To season the pasta as it cooks.
- Butter - Adds richness and flavor to the cheese sauce.
- Evaporated Milk - Creates a creamy and silky sauce.
- Cheddar Cheese- Sharp cheddar delivers that quintessential cheesy taste.
- Monterey Jack Cheese - Adds a mild, creamy meltability to the sauce.
- Spices - A pinch of paprika, garlic powder, and mustard powder for depth of flavor.
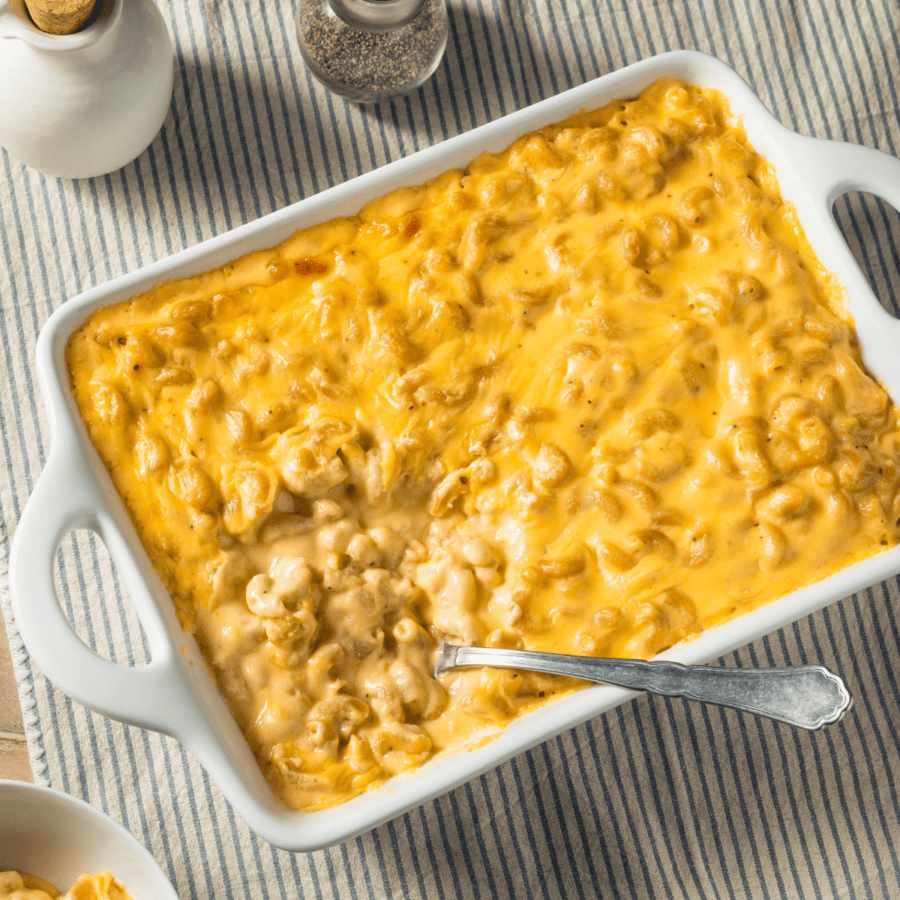
How To Make Instant Pot Mac And Cheese
- Cook Pasta . Add the elbow macaroni, water, and salt to the Instant Pot. Cook on high pressure for 4 minutes, then quick-release the pressure.
- Make Cheese Sauce . Stir in the butter, evaporated milk, spices, and hot sauce (if using). Then, gradually add the shredded cheddar and Monterey Jack cheeses, stirring until smooth and creamy.
- Serve . Serve the mac and cheese hot, garnished with extra cheese or your favorite toppings.
Tips And Tricks
Making Instant Pot mac and cheese is a breeze, and here are some tips and tricks to help you achieve a delicious and creamy result:
- Choose the Right Pasta . Opt for pasta shapes that work well with mac and cheese, such as elbow macaroni, shells, or cavatappi. These shapes hold the cheese sauce nicely.
- Rinse the Pasta . Rinse the pasta before cooking to remove excess starch. This prevents clumping and results in a creamier sauce.
- Use Chicken Broth . Replace some or all of the water with chicken broth for added flavor. It enhances the overall taste of the dish.
Variations
Instant Pot mac and cheese is a versatile dish that you can customize in various ways to suit your preferences. Here are some delicious variations to try:
- Bacon Mac and Cheese - Cook crispy bacon separately and crumble it over your mac and cheese just before serving for a smoky and savory twist.
- Buffalo Mac and Cheese - Add a few tablespoons of buffalo sauce to your cheese sauce for a tangy and spicy kick. Top with blue cheese crumbles for extra flavor.
- Loaded Mac and Cheese - Make it a hearty meal by adding cooked ground beef, ground turkey, or shredded rotisserie chicken. Include diced tomatoes, green onions, and sour cream for a loaded baked potato-inspired version.
What To Serve With Instant Pot Mac And Cheese
Instant Pot mac and cheese is a delicious and comforting dish that pairs well with a variety of side dishes and accompaniments. Here are some ideas for what to serve with Instant Pot mac and cheese to create a well-rounded and satisfying meal:
- Green Salad - A simple green salad with fresh lettuce, tomatoes, cucumbers, and your favorite dressing adds a refreshing and crunchy contrast to the creamy mac and cheese.
- Roasted Vegetable - Roasted vegetables like broccoli, cauliflower, or Brussels sprouts make a nutritious and flavorful side dish. The caramelized edges of roasted veggies complement the richness of the mac and cheese.
- Fried Chicken - For a hearty and indulgent meal, serve your mac and cheese with crispy fried chicken. The combination of creamy and cheesy pasta with crunchy fried chicken is a crowd-pleaser.
- Sausages - Sausages, whether bratwurst , Italian, or any of your favorite varieties, pair well with mac and cheese. They add a savory and meaty element to the meal.
How Long Does It Last?
Instant Pot mac and cheese can be stored in the refrigerator for up to 3-5 days. To maximize freshness and quality, follow these storage guidelines:
- Use Airtight Containers . Transfer the leftover mac and cheese to airtight containers or resealable bags. Ensure that there’s minimal exposure to air, as this can lead to faster deterioration.
- Label and Date . It’s a good practice to label the containers with the date when you prepared the mac and cheese. This helps you keep track of its freshness.
- Add Moisture . If the mac and cheese appears dry after refrigeration, you can add a splash of milk or cream before reheating to restore its creamy consistency.
Can You Freeze It?
Yes, you can freeze Instant Pot mac and cheese for longer-term storage. Freezing mac and cheese is a convenient way to have a homemade meal ready when you need it.
Leftovers can easily be stored for up to 2-3 months without a significant loss in quality.

Instant Pot mac and cheese is the ultimate comfort food, offering unbeatable convenience without sacrificing flavor. Whether it’s a quick family dinner or a side dish for a special occasion, this recipe is sure to please.
Instant Pot Mac And Cheese | Macaroni And Cheese Recipe
Ingredients
- ▢ 16 oz Elbow Macaroni
- ▢ 4 cups Water
- ▢ 1/4 cup Unsalted Butter
- ▢ 12 oz Evaporated Milk
- ▢ 2 cups Sharp Cheddar Cheese , shredded
- ▢ 1 cup Monterey Jack Cheese , shredded
- ▢ 1/2 tsp Paprika
- ▢ 1/2 tsp Garlic Powder
- ▢ 1/2 tsp Mustard Powder
- ▢ 1 tsp Kosher Salt
- ▢ 1/2 tsp Black Pepper
Instructions
- Cook Pasta . Add the elbow macaroni, water, and salt to the Instant Pot. Cook on high pressure for 4 minutes, then quick-release the pressure.
- Make Cheese Sauce . Stir in the butter, evaporated milk, spices, and hot sauce (if using). Then, gradually add the shredded cheddar and Monterey Jack cheeses, stirring until smooth and creamy.
- Serve . Serve the mac and cheese hot, garnished with extra cheese or your favorite toppings.
Get support & connect with our community on Facebook!
Don’t forget to check out my otherBest-selling Instant Pot Cookbooks!
Indian Instant Pot , Keto Instant Pot, Instant Pot Fast and Easy , Healthy Instant Pot & Vegetarian Instant Pot .

