
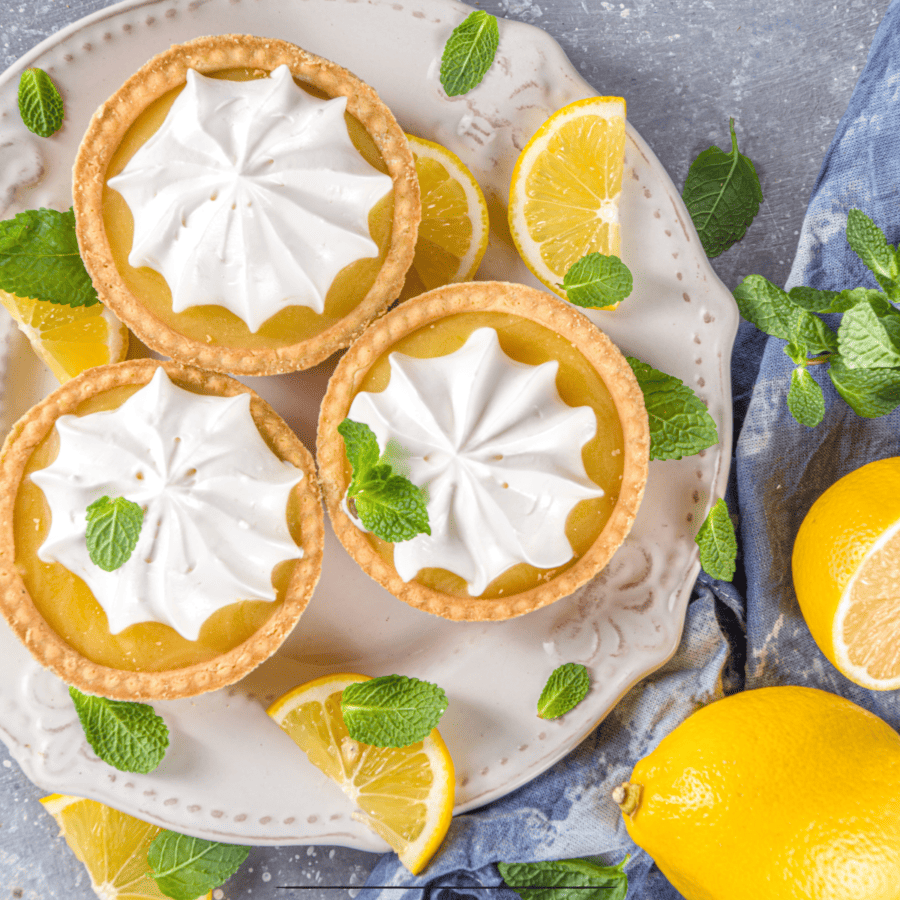
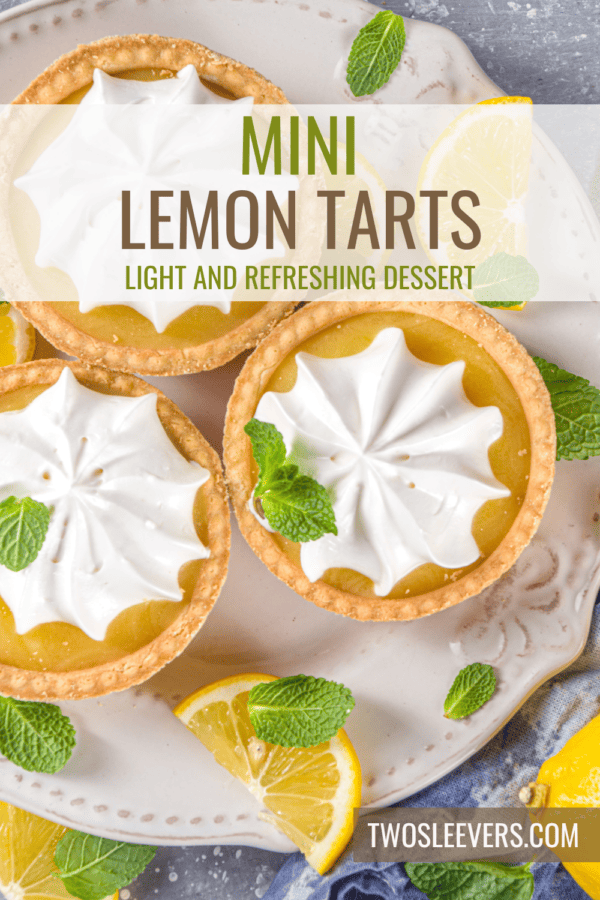
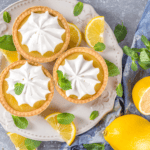
If your taste buds yearn for a dessert that strikes the perfect balance between tangy and sweet, brace yourself for these Mini Lemon Tarts! Uncover the secret to creating these delightful treats that will impress your guests.
Why You’ll Fall In Love With These Tiny Treats
- Refreshing. The lemon filling provides a perfect tangy kick that’s both invigorating and satisfying.
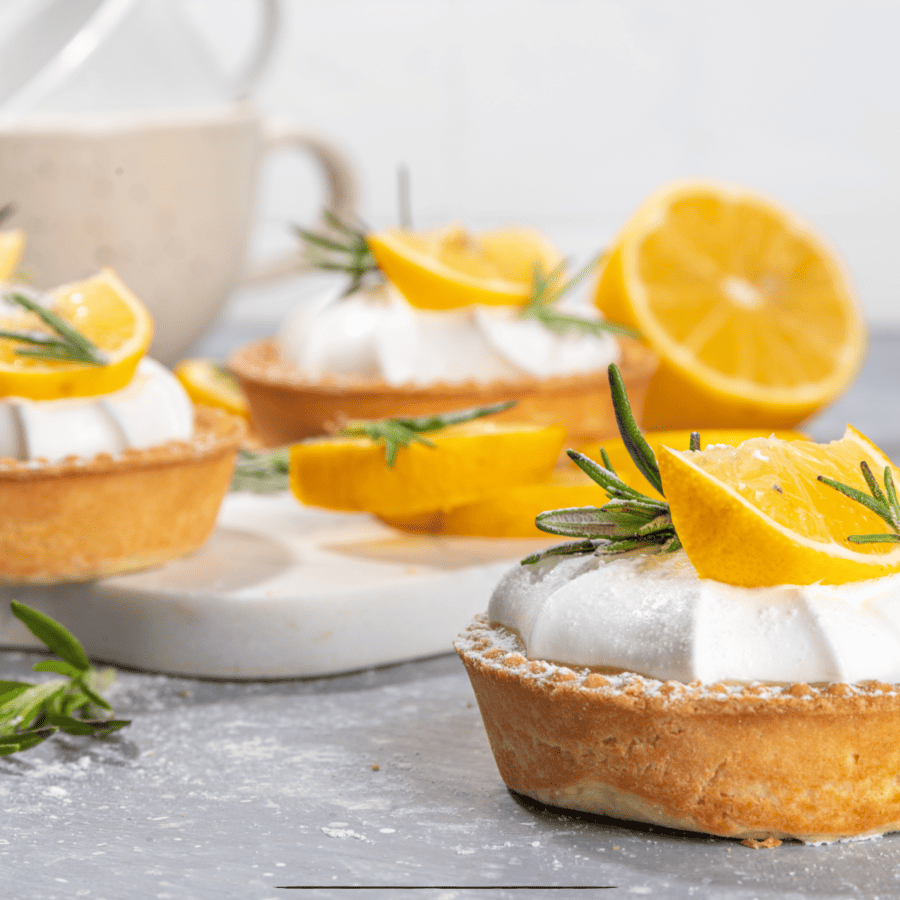
- Bite-Sized. Their mini size makes them ideal for snacking, parties, or as an elegant finish to a meal.
- Simple Ingredients. Made with everyday ingredients, these tarts are surprisingly easy to whip up.
- Make-Ahead Friendly. Prepare them in advance for stress-free entertaining or a ready-to-go treat.
Embrace the delightful combination of sweet and sour with these Mini Lemon Tarts, your new go-to dessert for any occasion.
Why Won’t My Lemon Tart Set?
If your lemon tart isn’t setting properly, several factors could be contributing to the issue:
- Undercooking . The most common reason a lemon tart filling doesn’t set is undercooking. The filling needs enough time to heat and thicken properly. Eggs in the mixture need to cook to the right temperature to coagulate and thicken the filling. Make sure to cook the filling until it has thickened sufficiently before removing it from the heat.
- Incorrect Ratios . If the proportions of liquid to egg in the recipe are off, the filling might not set correctly. Too much lemon juice or not enough eggs can prevent the tart from setting. Ensure you’re following the recipe accurately, particularly the balance between the acidic (lemon juice) and thickening (eggs, butter) components.
- Temperature Fluctuations . Rapid changes in temperature can affect the setting process. Let the tart cool gradually after baking. Sudden temperature changes, like moving it from a hot oven directly into a cold fridge, can cause the filling to break down and remain liquid.
What Are Lemon Tarts Made Of?
For the Crust
- All-purpose Flour - Serves as the base of the tart crust, providing structure and substance. It binds with the other ingredients to form a dough that will bake into a firm yet flaky crust.
- Granulated Sugar - Adds sweetness to the crust, balancing the savory aspects and complementing the tartness of the lemon filling.
- Unsalted Butter- : Adds richness and flakiness to the crust. The cold butter creates pockets in the dough as it bakes, leading to a tender and layered texture.
- Egg Yolk - Acts as a binding agent, helping the crust ingredients stick together more cohesively. It also contributes to the crust’s richness and color.
- Cold Water - Used sparingly, it helps in bringing the dough together without making it too wet. Cold water ensures the butter remains solid, which is key to a flaky crust.
For the Lemon Filling
- Large Eggs and Egg Yolks - Provide structure and richness to the filling. They help thicken the filling upon heating, creating a smooth and creamy texture.
- Granulated Sugar - Sweetens the filling, balancing the acidity of the lemon juice, and contributes to the smooth texture of the filling.
- Fresh Lemon Juice - Provides the characteristic tart, refreshing flavor of the lemon tarts. Fresh juice is preferred for its vibrant flavor and acidity.
- Zest of 2 Lemons - Adds aromatic oils and enhances the tart’s lemon flavor, giving it a brighter, more intense citrus note.
- Unsalted Butter- Contributes richness and creaminess to the lemon filling, complementing its tartness and improving the filling’s texture.
Optional for Garnish
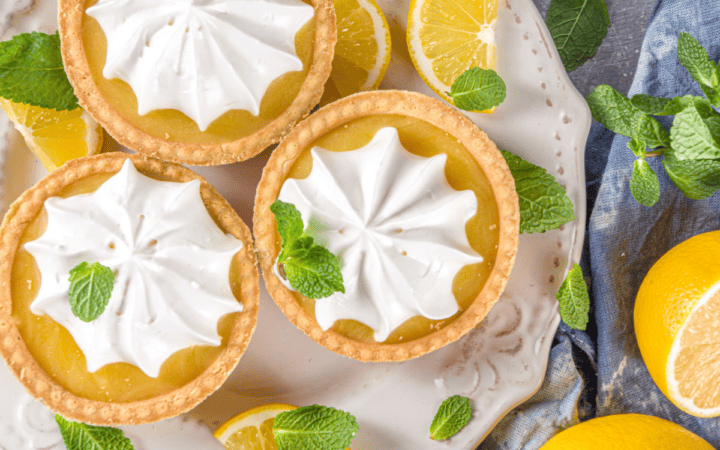
- Whipped Cream - Adds a light, sweet, and creamy element when dolloped on top of the finished tarts, providing a visually appealing contrast and a soft texture.
- Lemon Zest - Adds a pop of color and an extra burst of lemon flavor as garnish, enhancing the visual appeal and reinforcing the lemon theme of the dessert.
- Fresh Berries - Offer a fresh, juicy contrast to the tartness and sweetness of the lemon filling, adding visual appeal, texture, and complementary flavors to the overall dessert.
How To Make Lemon Tarts
- Prepare the Crust . In a food processor, pulse the flour, sugar, and butter until the mixture resembles coarse crumbs. Add the egg yolk and 1 tablespoon of cold water, pulsing until the dough comes together. Add an additional tablespoon of water if needed. Press the dough into mini tart pans and refrigerate for 30 minutes.
- Bake the Crust . Preheat the oven to 375°F. Prick the bottom of each crust with a fork. Bake for 12-15 minutes or until lightly golden. Let cool.
- Make the Lemon Filling . Whisk together eggs, egg yolks, sugar, lemon juice, and lemon zest in a saucepan over medium heat. Stir in the melted butter. Cook, stirring constantly, until the mixture thickens, about 5-7 minutes. Strain through a fine sieve.
- Fill and Chill . Spoon the lemon filling into the cooled tart shells. Refrigerate until set, about 2 hours.
- Serve . Garnish with whipped cream, lemon zest, and fresh berries if desired before serving.
Tips And Tricks
When making Mini Lemon Tarts, achieving the perfect balance of tangy lemon and sweet, buttery crust can elevate your dessert to new heights. Here are some tips and tricks for creating these delightful treats:
- Chill the Dough . Ensure your tart crust dough is well-chilled before rolling and shaping it into the mini tart pans. This prevents the butter from melting too quickly, which helps maintain a flaky texture and prevents the dough from shrinking during baking.
- Pre-bake the Crust . Blind baking (pre-baking) the crust before adding the lemon filling helps prevent a soggy bottom. Use pie weights or dried beans on parchment paper over the dough to keep it flat and even.
- Strain the Lemon Filling . For a smooth, lump-free filling, strain the lemon mixture through a fine mesh sieve before pouring it into the tart shells. This step removes any egg bits or larger zest pieces, ensuring a creamy and elegant filling.
Variations
Mini Lemon Tarts are wonderfully adaptable, allowing you to infuse various flavors and textures according to your taste preferences. Here are some variations to consider:
- Lime or Orange- Swap the lemon juice and zest for lime or orange to create a different citrus twist. Lime will give a tropical flair, while orange offers a sweeter, milder taste.
- Berry- Before adding the lemon filling, place a few fresh berries such as raspberries, blueberries, or sliced strawberries at the bottom of each tart shell. The berries add a burst of flavor and a vibrant color contrast.
- Chocolate- For a rich, decadent variation, spread a thin layer of melted chocolate over the pre-baked tart shells before adding the lemon filling. The chocolate adds a luxurious texture and complements the tartness of the lemon.
What To Serve With Lemon Tarts
Lemon tarts are a versatile dessert that can be paired with a variety of complementary items. Here’s what you can serve with them to enhance your dessert experience:
- Fresh Berries - Serve your lemon tarts with a side of fresh berries such as raspberries, strawberries, or blueberries for a burst of natural sweetness and a beautiful color contrast.
- Whipped Cream - A dollop of whipped cream on top of or beside your lemon tart adds a creamy texture and a subtle sweetness that balances the tartness of the lemon.
- Mint Leaves - A few fresh mint leaves can add a refreshing touch and a pop of color, enhancing the presentation and adding a slight minty flavor.
- Ice Cream - A scoop of vanilla or coconut ice cream complements the tanginess of the lemon tart with its creamy sweetness, making for a delightful combination.
Do Lemon Tarts Go Bad?
Mini Lemon Tarts can be stored in an airtight container in the refrigerator for up to 3 days.
Can You Freeze Them?
Yes, these tarts freeze well. Place them in a single layer in an airtight container and freeze for up to one month. Thaw in the refrigerator before serving.
More Delicious Desserts
- No Bake Peanut Butter Bars
- Mini Cheesecakes
- Vegan Brownies
- Gluten Free Chocolate Cake
- Sugar Free Jello Mousse
Lemon Tarts | Mini Lemon Tart Recipe
Ingredients
For The Crust
- ▢ 1 cup All Purpose Flour
- ▢ 2 tbsp Granulated Sugar
- ▢ 1/2 cup Unsalted Butter
- ▢ 1 Egg Yolk
- ▢ 2 tbsp Water
For The Filling
- ▢ 2 Eggs
- ▢ 2 Egg Yolks
- ▢ 3/4 cup Granulated Sugar
- ▢ 1/2 cup Lemon Juice
- ▢ Lemon Zest , from 2 lemons
- ▢ 1/4 cup Unsalted Butter
Instructions
- Prepare the Crust . In a food processor, pulse the flour, sugar, and butter until the mixture resembles coarse crumbs. Add the egg yolk and 1 tablespoon of cold water, pulsing until the dough comes together. Add an additional tablespoon of water if needed. Press the dough into mini tart pans and refrigerate for 30 minutes.
- Bake the Crust . Preheat the oven to 375°F. Prick the bottom of each crust with a fork. Bake for 12-15 minutes or until lightly golden. Let cool.
- Make the Lemon Filling . Whisk together eggs, egg yolks, sugar, lemon juice, and lemon zest in a saucepan over medium heat. Stir in the melted butter. Cook, stirring constantly, until the mixture thickens, about 5-7 minutes. Strain through a fine sieve.
- Fill and Chill . Spoon the lemon filling into the cooled tart shells. Refrigerate until set, about 2 hours.
- Serve . Garnish with whipped cream, lemon zest, and fresh berries if desired before serving.
Get support & connect with our community on Facebook!
Nutrition

If you already signed up, you should have received an email with a password to give you unlimited access to our FREE Printable Library. The password is case sensitive. Enter it below and get printing!
Password:
Lemon Tarts | Mini Lemon Tart Recipe
Ingredients
For The Crust
- 1 cup All Purpose Flour
- 2 tbsp Granulated Sugar
- 1/2 cup Unsalted Butter
- 1 Egg Yolk
- 2 tbsp Water
For The Filling
- 2 Eggs
- 2 Egg Yolks
- 3/4 cup Granulated Sugar
- 1/2 cup Lemon Juice
- Lemon Zest from 2 lemons
- 1/4 cup Unsalted Butter
Instructions
- Prepare the Crust . In a food processor, pulse the flour, sugar, and butter until the mixture resembles coarse crumbs. Add the egg yolk and 1 tablespoon of cold water, pulsing until the dough comes together. Add an additional tablespoon of water if needed. Press the dough into mini tart pans and refrigerate for 30 minutes.
- Bake the Crust . Preheat the oven to 375°F. Prick the bottom of each crust with a fork. Bake for 12-15 minutes or until lightly golden. Let cool.
- Make the Lemon Filling . Whisk together eggs, egg yolks, sugar, lemon juice, and lemon zest in a saucepan over medium heat. Stir in the melted butter. Cook, stirring constantly, until the mixture thickens, about 5-7 minutes. Strain through a fine sieve.
- Fill and Chill . Spoon the lemon filling into the cooled tart shells. Refrigerate until set, about 2 hours.
- Serve . Garnish with whipped cream, lemon zest, and fresh berries if desired before serving.
Lemon Tarts | Mini Lemon Tart Recipe https://twosleevers.com/lemon-tarts/

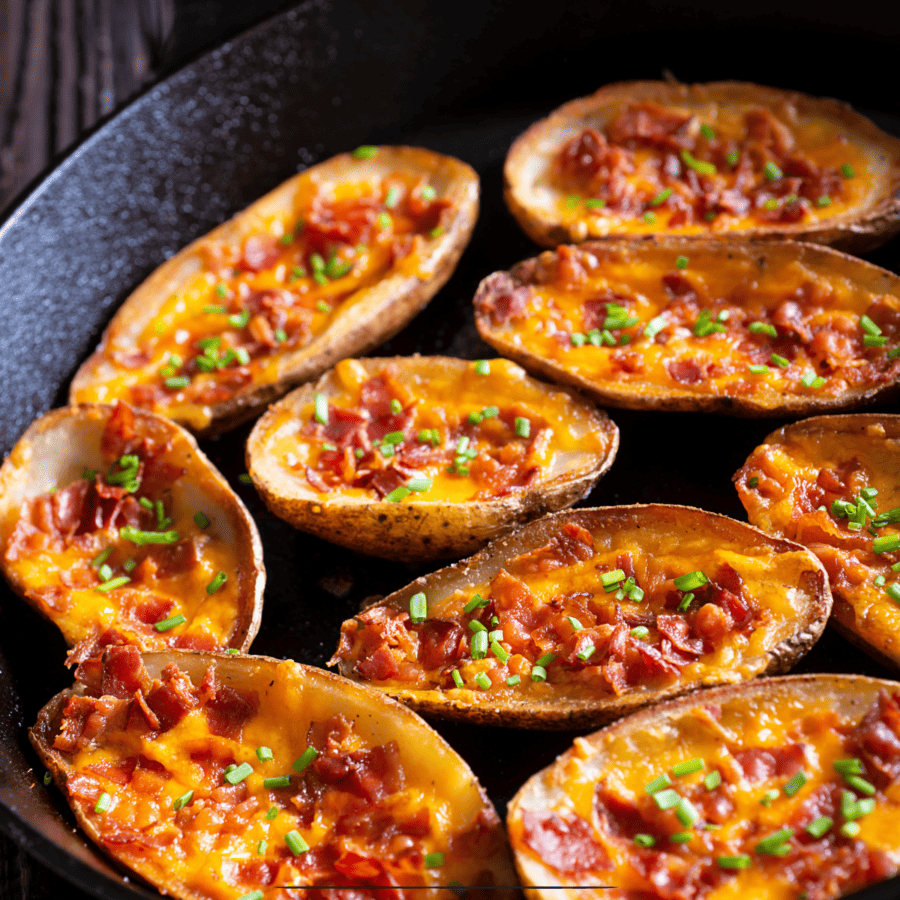
If you’re a fan of savory appetizers with a crunchy twist, get ready to dive into the ultimate comfort food experience! Learn how to make the most delicious Potato Skins that are crispy on the outside, fluffy on the inside, and loaded with all your favorite toppings.
Why You’ll Love This Fan-Favorite Appetizer
- Crunchy . Achieve the perfect crispiness with each bite, making these potatoes utterly satisfying.
- Cheesy . Loaded with gooey melted cheese that adds a burst of flavor to every mouthful.
- Versatile . Customize your toppings to suit your taste preferences, from crispy bacon bits to tangy sour cream and fresh green onions.
- Nostalgic . Reminiscent of classic pub fare, these bring a touch of comfort and nostalgia to any occasion.
These irresistible bites are perfect for game day parties, family gatherings, or anytime you crave a satisfying snack.
Are Potato Skins Good For You?
Whether potato skins are considered “good for you” depends on various factors, including how they are prepared and consumed, as well as individual dietary preferences and health goals.
Potato skins can be part of a balanced and nutritious diet when prepared and consumed mindfully. They offer valuable nutrients and can be enjoyed in moderation as a tasty and satisfying snack or appetizer.
What Can I Do With The Insides Of The Potato Skins?
The insides of the potato skins can be repurposed in various delicious ways rather than being wasted. Here are some ideas:
- Mashed Potatoes - Use the potato flesh to make mashed potatoes. Simply mash the cooked potato flesh with butter, milk or cream, salt, and pepper to taste. You can customize mashed potatoes by adding ingredients like garlic, cheese, herbs, or sour cream for extra flavor.
- Potato Soup - Incorporate the potato flesh into a creamy potato soup. Combine the mashed potato flesh with broth, vegetables, herbs, and spices, then simmer until everything is tender and flavorful. Blend the soup until smooth for a creamy texture.
- Potato Salad - Dice the potato flesh and use it in potato salad. Combine it with mayonnaise, mustard, chopped vegetables, herbs, and seasonings for a classic side dish that’s perfect for picnics, barbecues, or potlucks.
Ingredients You’ll Need
- Russet Potatoes - The ideal choice for making crispy potato skins with fluffy centers.
- Olive Oil - Helps to crisp up the skins during baking.
- Salt and Pepper - Season generously for added flavor.
- Shredded Cheese - Cheddar, mozzarella, or a blend of your favorite cheeses work perfectly.
- Toppings of Your Choice - Get creative with toppings like crispy bacon bits, sliced green onions, diced tomatoes, sour cream, and chopped fresh parsley.
How To Make Potato Skins
- Preheat the Air Fryer . Preheat your air fryer to 400°F for about 5 minutes.
- Prepare the Potatoes . Scrub the russet potatoes clean and pat them dry with paper towels.
- Cook the Potatoes . Pierce each potato several times with a fork. Place the potatoes in the preheated air fryer basket and cook for 35-40 minutes, or until they are fork-tender.
- Cool the Potatoes . Once cooked, remove the potatoes from the air fryer and allow them to cool slightly until they are safe to handle.
- Slice and Scoop . Slice each potato in half lengthwise. Use a spoon to carefully scoop out the flesh, leaving about ¼ inch of potato attached to the skin. Reserve the scooped-out potato for another use.
- Brush with Olive Oil . Brush the inside and outside of each potato skin with olive oil. Sprinkle with salt and pepper, to taste.
- Air Fry the Potato Skins . Place the prepared skins in the air fryer basket, skin side down. Cook for 8-10 minutes, or until they are crispy and golden brown.
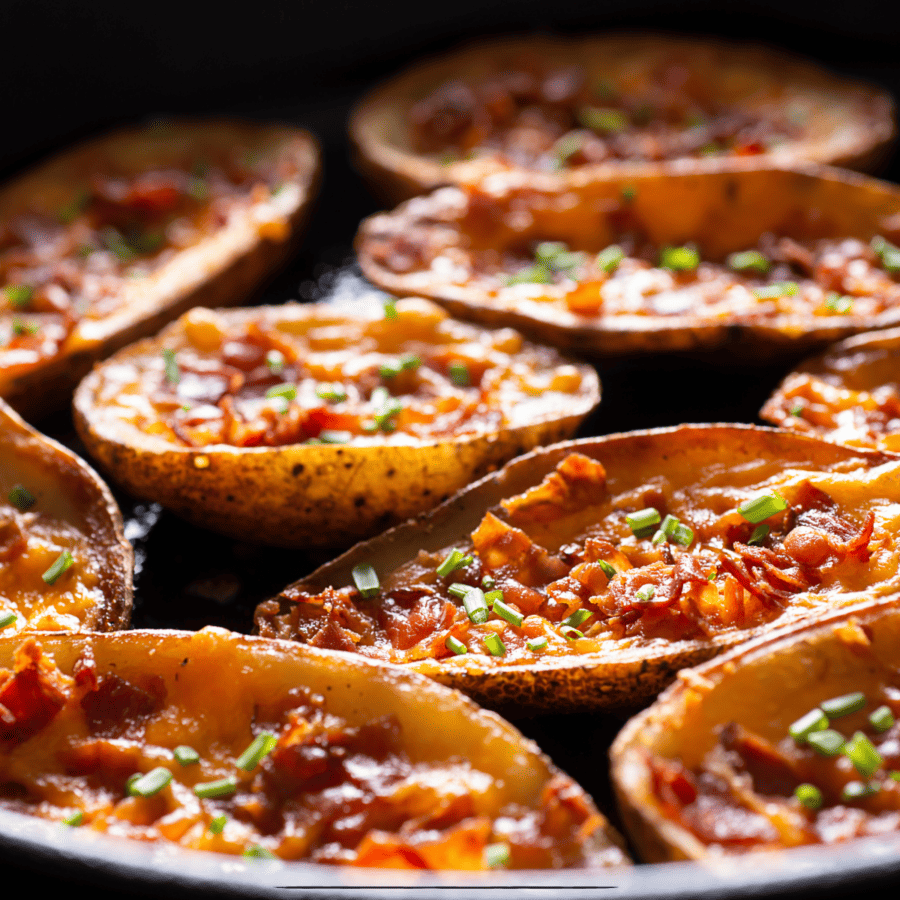
- Add Cheese and Bacon . Remove them from the air fryer and sprinkle each one with shredded cheddar cheese and crumbled bacon bits.
- Return to Air Fryer . Place the loaded potato skins back into the air fryer and cook for an additional 2-3 minutes, or until the cheese is melted and bubbly.
- Garnish and Serve . Remove the potatoes from the air fryer and transfer them to a serving platter. Sprinkle with sliced green onions and chopped fresh parsley. Serve hot with sour cream on the side for dipping.
Tips And Tricks
Making air fryer potato skins is a delightful way to enjoy a crispy and flavorful snack or appetizer. Here are some tips and tricks to ensure they turn out perfectly:
- Choose the Right Potatoes . Opt for large russet potatoes, as they have a fluffy interior and sturdy skin that crisps up nicely in the air fryer.
- Preheat the Air Fryer . Preheat your air fryer before adding the potato skins. This ensures that they cook evenly and develop a crispy texture.
- Cook in Batches if Necessary . Depending on the size of your air fryer, you may need to cook the potato skins in batches to avoid overcrowding. Overcrowding can prevent proper air circulation and result in uneven cooking.
- Watch Closely . Keep an eye on the potato skins towards the end of the cooking time to prevent them from burning. Cooking times may vary depending on the size and thickness of the potato skins.
Variations
There are numerous variations and toppings you can experiment with to customize your air fryer potato skins. Here are some delicious options to consider:
- Buffalo Chicken- Toss shredded cooked chicken in buffalo sauce and fill the skins with the buffalo chicken mixture. Top with crumbled blue cheese and finely chopped celery.
- Tex-Mex- Fill them with seasoned ground beef or shredded seasoned chicken. Top with shredded Mexican cheese blend, diced tomatoes, sliced jalapenos, and a dollop of guacamole or salsa.
- Barbecue Pulled Pork- Fill the potatoes with tender pulled pork tossed in barbecue sauce. Top with coleslaw and a drizzle of extra barbecue sauce for a tangy and savory twist.
What To Enjoy With Potato Skins
Potato skins are a versatile and delicious appetizer or snack that pairs well with a variety of accompaniments. Here are some tasty options to enjoy with them:
- Sour Cream - A classic choice, sour cream complements the crispy texture and savory flavors of potato skins. It adds a cool and creamy contrast to the warm potato filling.
- Ranch Dressing - Creamy ranch dressing is a popular choice for dipping potato skins. Its herby flavor profile and creamy texture enhance the taste of the potato skins and add a refreshing element to each bite.
- Cheese Sauce - Indulge in the ultimate comfort food by serving potato skins with warm cheese sauce. The gooey and rich cheese sauce adds decadence and richness to the crispy potato skins.
How Long Do They Last?
Cooked potato skins can be stored in an airtight container in the refrigerator for up to 3 days. Reheat them in the oven or air fryer until they are heated through before serving.
Can You Freeze Them?
While potato skins can be frozen, the texture may change slightly upon thawing and reheating. To freeze, arrange the cooked potato skins in a single layer on a baking sheet and freeze until solid.
Once frozen, transfer them to a freezer-safe bag or container and store them for up to 3 months. Reheat them in the oven or air fryer until they are heated through before serving.
More Amazing Appetizers
- Little Smokies
- Cocktail Meatballs
- Pizza Pinwheels
- Buffalo Chicken Dip
- Whipped Feta Dip

