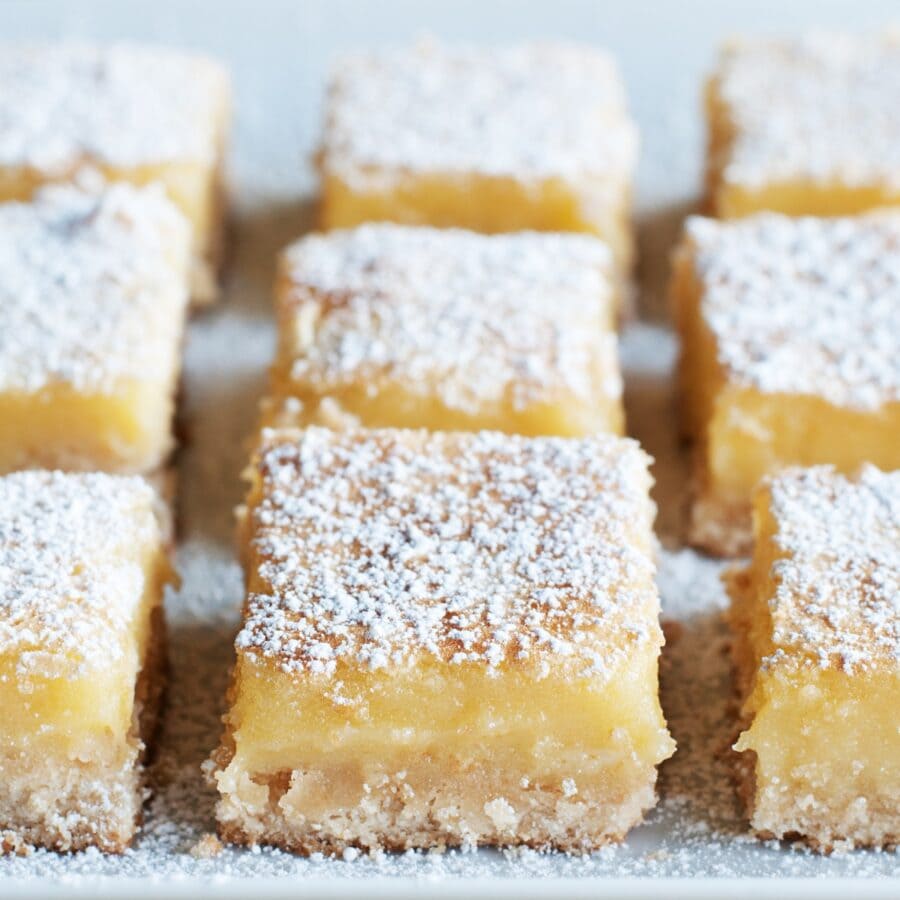
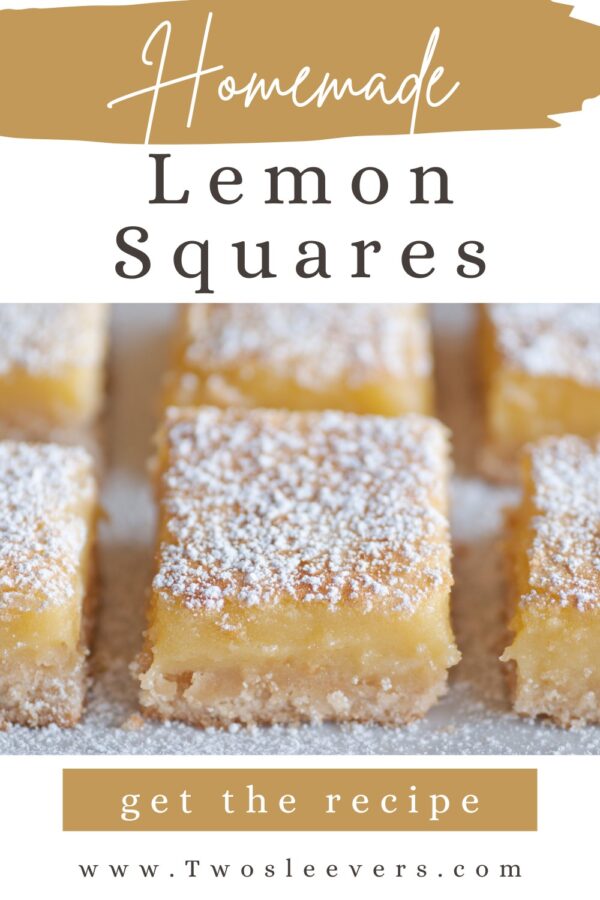
If you’re a fan of tart, sweet, and buttery desserts, you’re in for a treat! Learn how to make the best Lemon Squares with a perfectly crisp shortbread crust and a tangy, creamy lemon filling. These classic bars are a crowd-pleaser, whether served at a spring gathering, summer picnic, or even as a light dessert for the holidays.
Why You’ll Love This Delicious Dessert
- Simple to Make. These lemon squares require just a few pantry staples and are ready in no time.
- Perfect Balance. The buttery shortbread crust pairs beautifully with the bright, tangy lemon filling.
- Versatile. They make a refreshing dessert for any season and can be customized with extra toppings like berries or whipped cream.
- Elegant Presentation. The powdered sugar dusting makes these lemon bars look as good as they taste!
Whether you’re a seasoned baker or a beginner, this recipe is foolproof and guarantees rave reviews every time.
What Do Lemon Squares Taste Like?
Lemon Squares are a classic dessert that’s loved by many for their perfect combination of sweet and tangy flavors. The creamy lemon filling melts in your mouth while the shortbread crust provides a delightful buttery crunch.
Dusting the bars with powdered sugar not only makes them look stunning but also adds a touch of sweetness that balances the citrusy zest.
Ingredients You’ll Need
- All-Purpose Flour - Serves as the foundation of the buttery shortbread crust, providing structure and a firm base for the tangy lemon filling.
- Unsalted Butter - Adds richness to the crust, helping it bind together and bake into a crumbly, melt-in-your-mouth texture.
- Granulated Sugar - Sweetens both the crust and the lemon filling, balancing the tartness of the lemon and creating a perfectly sweet dessert.
- Eggs - Act as the primary binding agent in the lemon filling, giving it a rich, creamy, and custard-like consistency that sets beautifully when baked.
- Fresh Lemon Juice - The key flavor driver, offering a bold and tangy citrus flavor that defines the dessert’s refreshing profile.
- Lemon Zest - Amplifies the citrus aroma and flavor, adding depth and a fragrant boost to the filling.
- Powdered Sugar - Used as a finishing touch, it provides a light, sweet dusting that enhances the appearance and adds a touch of elegance.
How To Make Lemon Squares
- Prepare the Shortbread Crust . Preheat your oven to 350°F and grease an 8x8-inch baking pan. Line it with parchment paper for easy removal. In a medium bowl, mix the flour, softened butter, and granulated sugar until crumbly. Press the mixture evenly into the bottom of the prepared pan. Bake the crust for 15-18 minutes or until lightly golden. Let it cool while you prepare the filling.
- Make the Lemon Filling . In a large bowl, whisk the eggs, granulated sugar, lemon juice, and lemon zest until well combined. Sift in the flour and mix until smooth. This will ensure the filling sets beautifully.
- Assemble and Bake . Pour the lemon filling over the cooled crust, spreading it evenly. Bake for 20-25 minutes or until the filling is set and no longer jiggles in the center. Let the bars cool completely before removing them from the pan.
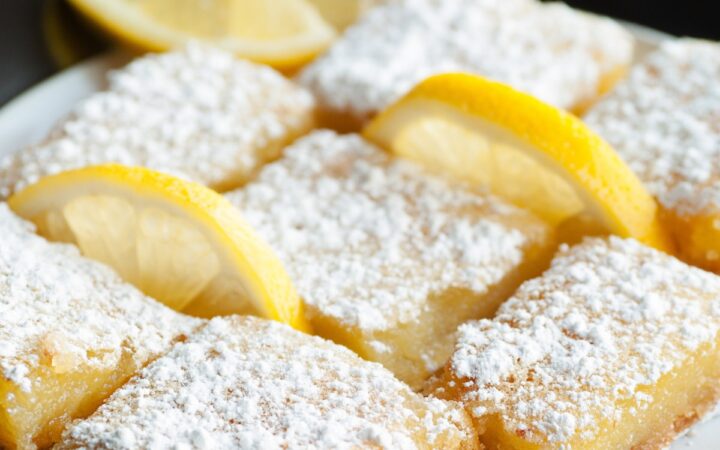
- Garnish and Serve . Dust the cooled lemon squares generously with powdered sugar for a stunning finish. Slice into squares and serve. Enjoy their zesty, sweet perfection!

Tips And Tricks
To create the best lemon squares with a buttery crust and tangy filling, follow these tried-and-true tips and tricks:
- Use Fresh Lemons . Freshly squeezed lemon juice and zest make all the difference in flavor.
- Don’t Skip the Parchment Paper . It makes removing the bars from the pan much easier and keeps them intact.
- Chill Before Cutting . Allow the bars to cool completely in the fridge for cleaner slices.
- Sift Your Powdered Sugar . This ensures an even and smooth dusting on top.
Variations
Lemon squares are a classic dessert, but you can add your own creative twist to customize the flavor and texture. Here are some delicious variations to try:
- Berry- Add a handful of fresh raspberries or blueberries to the lemon filling before baking for a fruity twist.
- Coconut- Mix shredded coconut into the crust for an extra layer of flavor and texture.
- Gluten-Free- Use a gluten-free flour blend in place of the all-purpose flour for a gluten-free version.
- Lavender- Infuse the filling with a touch of dried culinary lavender for a floral twist.
What To Enjoy With Lemon Squares
Lemon squares are a delightful dessert on their own, but pairing them with complementary sides or beverages can elevate the experience. Here are some great options to serve alongside:
- Fresh Fruit - Strawberries, raspberries, or blackberries complement the citrus flavor.
- Whipped Cream - A dollop of whipped cream adds a light, airy touch.
- Coffee or Tea - Pair with a hot cup of coffee or herbal tea for a cozy treat.
How Long Do They Last?
Lemon Squares can be stored in an airtight container in the refrigerator for up to 5 days.
They’re best served chilled but can also be enjoyed at room temperature.
Can You Freeze Them?
You can also freeze them for up to 2 months—just wrap them tightly in plastic wrap and place them in a freezer-safe bag.
Thaw your lemon bars in the fridge overnight before serving.
More Lovely Lemon Dishes
- Lemon Tarts
- Lemon Brownies
- Keto Lemon Pound Cake
- Lemon Chicken Orzo Soup
- Lemon Muffins
- Lemon Curd
Lemon Squares | Old Fashioned Lemon Square Recipe
Ingredients
For The Crust
- ▢ 1 cup All Purpose Flour
- ▢ 1/4 cup Granulated Sugar
- ▢ 1/2 cup Unsalted Butter
Lemon Filling
- ▢ 2 Eggs
- ▢ 3/4 cup Granulated Sugar
- ▢ 2 tbsp All Purpose Flour
- ▢ 1/4 cup Lemon Juice
- ▢ 1 tbsp Lemon Zest
- ▢ powdered sugar , for dusting
Instructions
- Prepare the Shortbread Crust . Preheat your oven to 350°F and grease an 8x8-inch baking pan. Line it with parchment paper for easy removal. In a medium bowl, mix the flour, softened butter, and granulated sugar until crumbly. Press the mixture evenly into the bottom of the prepared pan. Bake the crust for 15-18 minutes or until lightly golden. Let it cool while you prepare the filling.
- Make the Lemon Filling . In a large bowl, whisk the eggs, granulated sugar, lemon juice, and lemon zest until well combined.Sift in the flour and mix until smooth. This will ensure the filling sets beautifully.
- Assemble and Bake . Pour the lemon filling over the cooled crust, spreading it evenly. Bake for 20-25 minutes or until the filling is set and no longer jiggles in the center. Let the bars cool completely before removing them from the pan.
- Garnish and Serve . Dust the cooled lemon squares generously with powdered sugar for a stunning finish. Slice into squares and serve. Enjoy their zesty, sweet perfection!
Get support & connect with our community on Facebook!
Nutrition

If you already signed up, you should have received an email with a password to give you unlimited access to our FREE Printable Library. The password is case sensitive. Enter it below and get printing!
Password:

Lemon Squares | Old Fashioned Lemon Square Recipe
Ingredients
For The Crust
- 1 cup All Purpose Flour
- 1/4 cup Granulated Sugar
- 1/2 cup Unsalted Butter
Lemon Filling
- 2 Eggs
- 3/4 cup Granulated Sugar
- 2 tbsp All Purpose Flour
- 1/4 cup Lemon Juice
- 1 tbsp Lemon Zest
- powdered sugar for dusting
Instructions
- Prepare the Shortbread Crust . Preheat your oven to 350°F and grease an 8x8-inch baking pan. Line it with parchment paper for easy removal. In a medium bowl, mix the flour, softened butter, and granulated sugar until crumbly. Press the mixture evenly into the bottom of the prepared pan. Bake the crust for 15-18 minutes or until lightly golden. Let it cool while you prepare the filling.
- Make the Lemon Filling . In a large bowl, whisk the eggs, granulated sugar, lemon juice, and lemon zest until well combined.Sift in the flour and mix until smooth. This will ensure the filling sets beautifully.
- Assemble and Bake . Pour the lemon filling over the cooled crust, spreading it evenly. Bake for 20-25 minutes or until the filling is set and no longer jiggles in the center. Let the bars cool completely before removing them from the pan.
- Garnish and Serve . Dust the cooled lemon squares generously with powdered sugar for a stunning finish. Slice into squares and serve. Enjoy their zesty, sweet perfection!
Lemon Squares | Old Fashioned Lemon Square Recipe https://twosleevers.com/lemon-squares/
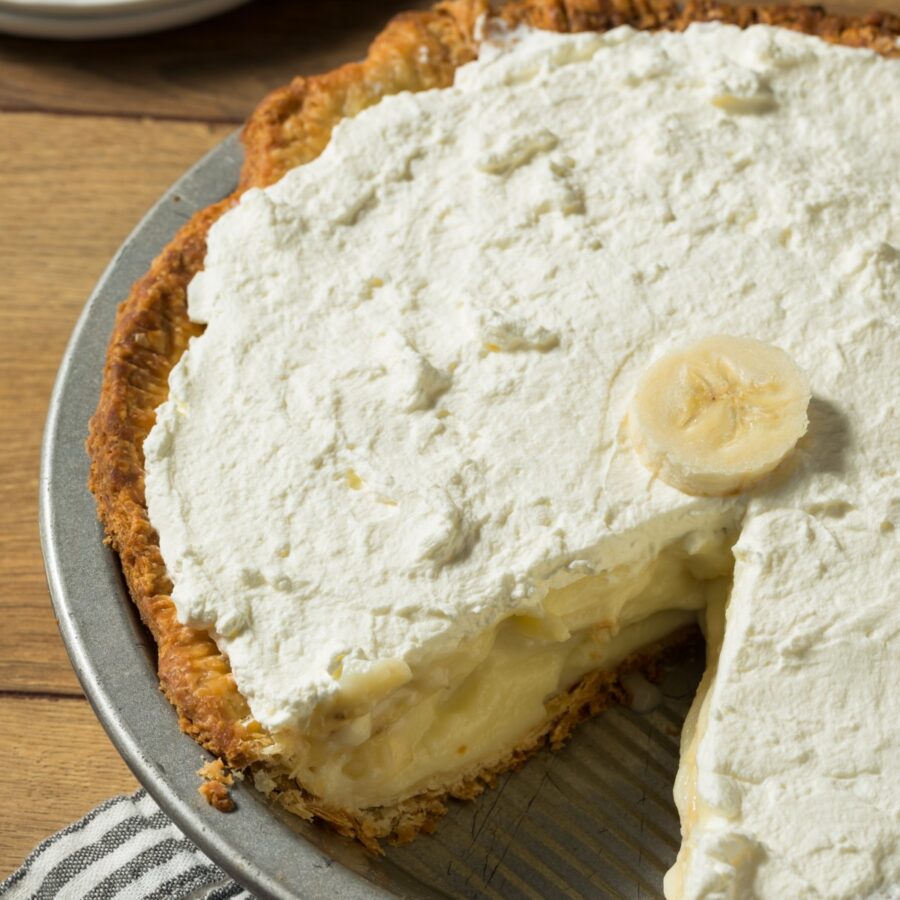
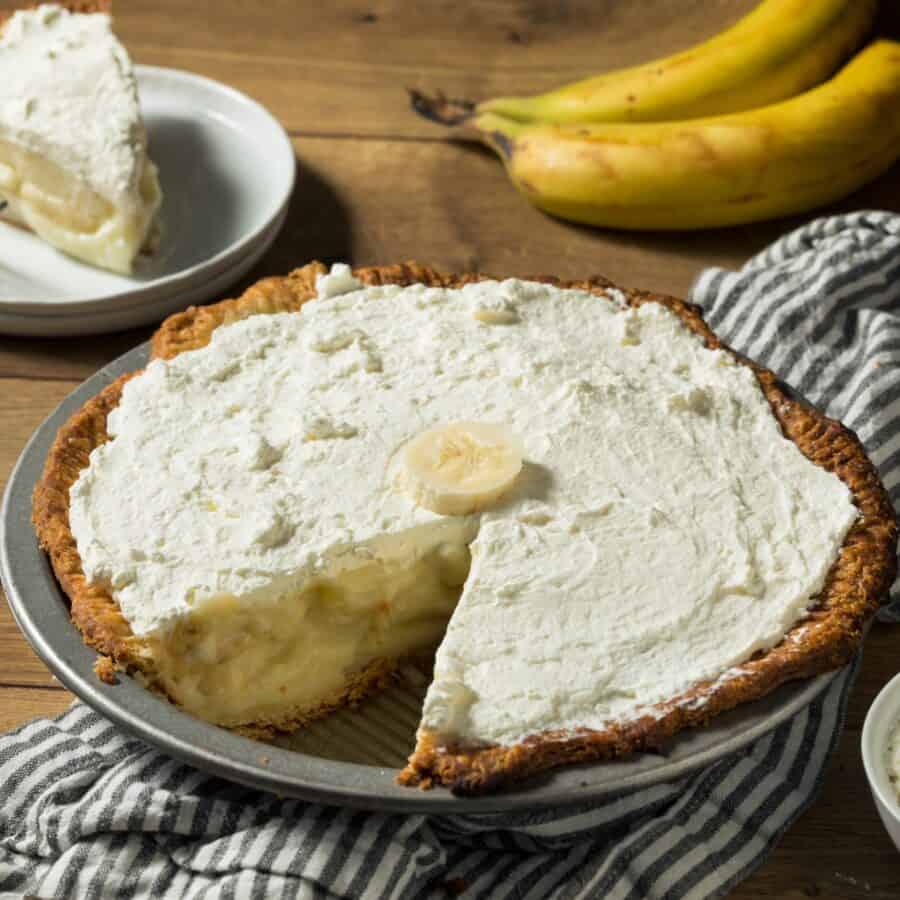
If you love rich, creamy, and perfectly sweet desserts, this Banana Cream Pie is a must-try! It’s made with a buttery crust, luscious banana custard filling, and fluffy whipped cream, creating the perfect balance of textures and flavors. Whether you’re making it for a holiday, family gathering, or just a weekend treat, this classic dessert never disappoints.
Why You’ll Love This Sweet Treat
- Creamy & Dreamy . The silky banana custard filling melts in your mouth!
- Make-Ahead Friendly . Perfect for prepping in advance for parties or gatherings.
- Simple Ingredients . Uses pantry staples for an easy homemade pie.
- No-Bake Option . Can be made with a graham cracker crust if you want to skip baking!
This Banana Cream Pie is smooth, creamy, and bursting with fresh banana flavor. Whether you’re making it for a special occasion or just to satisfy a sweet craving, this pie will quickly become a family favorite!
What Does Banana Cream Pie Taste Like?
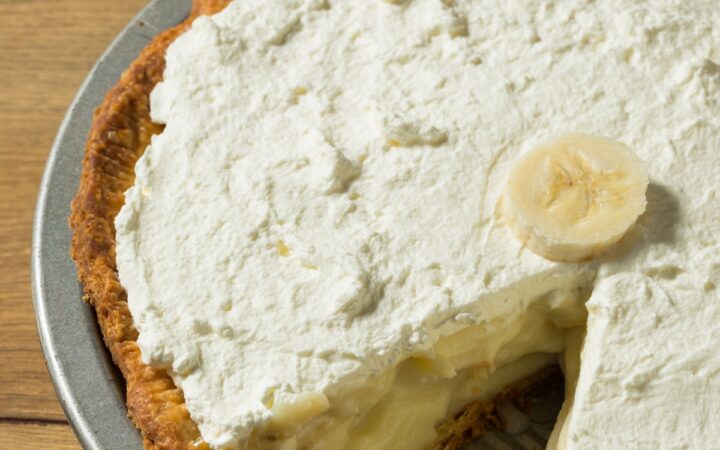
Banana Cream Pie is a classic American dessert featuring a flaky pie crust filled with a rich, homemade banana custard, topped with fresh banana slices and fluffy whipped cream. It’s silky, sweet, and bursting with banana flavor—a favorite for good reason!
While traditional versions use pastry cream, this recipe simplifies things with a thick and creamy homemade banana custard that’s easy to make and absolutely delicious.
How Do You Keep Bananas From Turning Brown In Banana Cream Pie?
Bananas naturally turn brown due to oxidation, which happens when they are exposed to air. While this doesn’t affect their taste, it can make your Banana Cream Pie look less appetizing. Here are some simple and effective ways to keep your bananas fresh and vibrant for as long as possible:
- Use Lemon or Lime Juice. Lightly brush or toss banana slices in lemon or lime juice before layering them in the pie. The natural acidity slows oxidation, keeping them fresh longer.
- Dip in Pineapple or Orange Juice. If you prefer a sweeter alternative, pineapple or orange juice works just as well to prevent browning while adding a subtle fruity taste.
- Use a Light Sugar Glaze. Coating the banana slices with a thin layer of simple syrup (sugar dissolved in water) or honey can create a protective barrier against air exposure.
Ingredients You’ll Need
Crust
- Graham Cracker Crumbs - Serves as the foundation of the pie, providing a crunchy contrast to the smooth custard. The graham cracker crumbs add a subtle sweetness and slight caramelized flavor.
- Granulated sugar - Adds a touch of sweetness to enhance the flavor of the crust and helps bind the crumbs together.
- Unsalted butter - Acts as the binding agent, ensuring the crust holds together while adding a rich, buttery flavor.
Banana Cream Filling
- Whole Milk - The base of the custard, giving it a rich, creamy texture. Whole milk provides the perfect balance of fat for a smooth consistency.
- Granulated Sugar - Sweetens the custard without overpowering the natural banana flavor.
- Cornstarch - A key thickening agent that helps create a firm, sliceable custard that holds together beautifully.
- Egg Yolks - Adds richness, color, and structure to the custard while helping it thicken into a silky, smooth texture.
- Unsalted Butter - Enhances the creaminess and provides a luxurious mouthfeel to the filling.
- Vanilla Extract - Deepens the flavor with a warm, aromatic sweetness that complements the bananas.
- Bananas - The star ingredient, providing natural sweetness and classic banana flavor. Ripe bananas ensure a deep, rich taste with a soft, melt-in-your-mouth texture.
Whipped Cream Topping
- Heavy Whipping Cream - Whips up into a light and fluffy topping, balancing the richness of the custard with an airy texture.
- Powdered Sugar - Sweetens the whipped cream gently without making it too heavy. Powdered sugar dissolves easily, keeping the topping smooth.
- Vanilla Extract - Adds a hint of warm, aromatic flavor, making the whipped cream extra delicious and complementing the banana notes perfectly.
How To Make Banana Cream Pie
- Prepare the Crust . Preheat oven to 350°F. In a bowl, mix graham cracker crumbs, sugar, and melted butter until combined. Press the mixture into a 9-inch pie dish, ensuring an even layer. Bake for 8-10 minutes, then let it cool completely. (For a no-bake option, refrigerate the crust for 30 minutes instead of baking.)
- Make the Banana Custard . In a saucepan over medium heat, whisk together milk, sugar, and cornstarch until smooth. In a separate bowl, beat the egg yolks, then slowly whisk in about ½ cup of the hot milk mixture to temper the eggs. Pour the egg mixture back into the saucepan, whisking constantly, and cook until thickened (about 3-5 minutes). Remove from heat and stir in butter and vanilla extract. Let the custard cool for 10 minutes, then cover with plastic wrap (pressing it against the custard to prevent skin from forming).
- Assemble the Pie . Slice bananas and arrange them in the cooled pie crust. Pour the cooled custard over the bananas, spreading it evenly. Layer on more sliced bananas. Cover and refrigerate for at least 4 hours (or overnight for best results).
- Make the Whipped Cream Topping . Using a mixer, beat heavy whipping cream, powdered sugar, and vanilla extract until stiff peaks form. Spread or pipe the whipped cream over the chilled pie. Garnish with extra banana slices and a sprinkle of crushed graham crackers if desired.
- Serve and Enjoy! Slice and enjoy your homemade Banana Cream Pie!
Tips And Tricks
Making a perfectly creamy, rich, and flavorful Banana Cream Pie requires a few key techniques. Follow these expert tips and tricks to ensure your pie turns out smooth, stable, and absolutely delicious:
- Use Ripe Bananas . The sweeter the bananas, the better the flavor!
- Prevent Browning . Toss banana slices with lemon juice before adding them to the pie.
- Chill for the Best Texture . The longer it sets, the better the custard holds up!
- Press Plastic Wrap on Custard . This prevents a skin from forming while cooling.
- Use a Piping Bag for Whipped Cream . Makes it look extra fancy and elegant!
Variations
If you love classic Banana Cream Pie but want to switch things up, try these fun and creative variations to add a new twist to this beloved dessert. Whether you prefer a chocolatey, nutty, or tropical version, there’s something for everyone:
- Chocolate - Add ½ cup melted chocolate to the custard for a chocolate twist!
- Peanut Butter - Swirl in ¼ cup peanut butter into the custard.
- Coconut - Use coconut milk instead of whole milk and add toasted coconut flakes on top.
- Oreo - Swap graham crackers for crushed Oreos in the crust.
What To Enjoy With Banana Cream Pie
Banana Cream Pie is a rich, creamy, and indulgent dessert, but pairing it with the right sides and drinks can elevate your dining experience. Whether you want a complementary dessert, a refreshing beverage, or a contrasting flavor, here are some perfect pairings:
- Coffee or Espresso - The slight bitterness balances the pie’s sweetness.
- Chocolate Sauce Drizzle - For an extra indulgent touch.
- Caramelized Bananas – A warm, caramelized topping adds depth of flavor.
- Vanilla Ice Cream - Because pie and ice cream are a match made in heaven!
How Long Does It Last?
Banana Cream Pie is best enjoyed fresh but can be stored for up to 3 days in the refrigerator. Since it contains dairy and fresh bananas, proper storage is essential to maintain its texture and flavor. To keep it fresh, cover the pie tightly with plastic wrap or store it in an airtight container.
The bananas may start to brown over time, so to slow this process, lightly brush the banana slices with lemon juice before assembling the pie.
Can You Freeze It?
Freezing is not recommended, as the custard filling can become watery and lose its smooth texture once thawed.
For the best taste and consistency, enjoy your Banana Cream Pie within the first couple of days while the flavors are at their peak!
More Delicious Desserts
- Lemon Squares
- Brownie Mix Cookies
- Oreo Cheesecake
- Black Bean Brownies
- Lemonade Pie
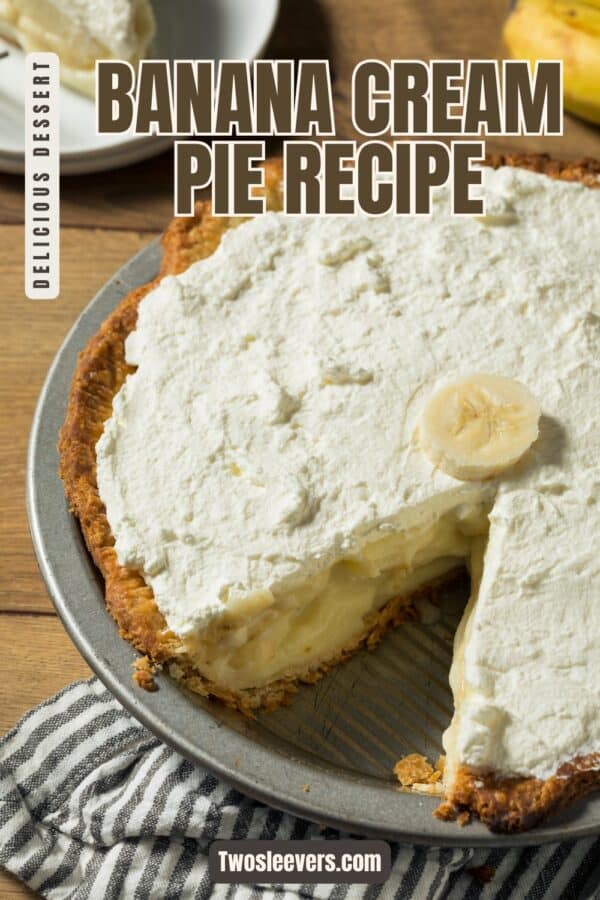
Banana Cream Pie Recipe | Easy Homemade Banana Cream Pie
Ingredients
For The Crust
- ▢ 2 cups Graham Cracker Crumbs , crushed
- ▢ 6 tbsp Unsalted Butter , melted
- ▢ 2 tbsp Granulated Sugar
Filling
- ▢ 1/2 cup Granulated Sugar
- ▢ 1/4 cup Cornstarch
- ▢ 2 cups Whole Milk
- ▢ 3 Egg Yolks
- ▢ 1 1/2 tsp Vanilla Extract
- ▢ 2 tbsp Unsalted Butter
- ▢ 2 Bananas , sliced
For The Topping
- ▢ 1 cup Heavy Whipping Cream
- ▢ 2 tbsp Powdered Sugar
- ▢ 1/2 tsp Vanilla Extract
Instructions
- Prepare the Crust . Preheat oven to 350°F. In a bowl, mix graham cracker crumbs, sugar, and melted butter until combined. Press the mixture into a 9-inch pie dish, ensuring an even layer. Bake for 8-10 minutes, then let it cool completely. (For a no-bake option, refrigerate the crust for 30 minutes instead of baking.)
- Make the Banana Custard . In a saucepan over medium heat, whisk together milk, sugar, and cornstarch until smooth. In a separate bowl, beat the egg yolks, then slowly whisk in about ½ cup of the hot milk mixture to temper the eggs. Pour the egg mixture back into the saucepan, whisking constantly, and cook until thickened (about 3-5 minutes). Remove from heat and stir in butter and vanilla extract. Let the custard cool for 10 minutes, then cover with plastic wrap (pressing it against the custard to prevent skin from forming).
- Assemble the Pie . Slice bananas and arrange them in the cooled pie crust. Pour the cooled custard over the bananas, spreading it evenly. Layer on more sliced bananas. Cover and refrigerate for at least 4 hours (or overnight for best results).
- Make the Whipped Cream Topping . Using a mixer, beat heavy whipping cream, powdered sugar, and vanilla extract until stiff peaks form. Spread or pipe the whipped cream over the chilled pie. Garnish with extra banana slices and a sprinkle of crushed graham crackers if desired.
- Serve and Enjoy! Slice and enjoy your homemade Banana Cream Pie!
