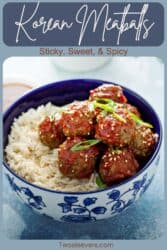
If you’re craving savory, tender meatballs with a hint of sweetness and a spicy kick, these Korean Meatballs are the perfect choice! Discover how to make these flavorful meatballs, cooked to perfection and coated in a sticky, spicy Korean-inspired sauce that will leave you reaching for seconds.
Why You’ll Love These Magnificent Meatballs
- Quick & Easy . Ready in under 30 minutes, perfect for busy weeknights.
- Packed with Flavor . A perfect balance of sweet, savory, and spicy.
- Versatile . Enjoy as an appetizer, main dish, or party favorite!
- Freezer-Friendly . Perfect for meal prep; just make a big batch and freeze.
These Korean meatballs are a crowd-pleaser, perfect for a weeknight dinner or a fun appetizer at gatherings. Juicy, flavorful, and satisfying, they’re bound to become a new family favorite!
What Do Korean Meatballs Taste Like?
Korean meatballs are a fusion of flavors, combining the umami richness of soy sauce, the sweetness of brown sugar, and a touch of spice from Korean chili paste (gochujang). Each bite offers a juicy, well-seasoned meatball that’s sticky on the outside with a soft, tender interior.
What Is The Secret To A Tender Meatball?
The secret to making tender, melt-in-your-mouth meatballs lies in a few key techniques and ingredients:
- Don’t Overmix. Gently mix the ingredients until just combined. Overmixing makes the meat tough and dense, so mix by hand or use a fork to lightly incorporate the ingredients.
- Add a Binder. Ingredients like breadcrumbs, soaked bread, or panko act as a binder to prevent meatballs from becoming dense. Soaking the breadcrumbs or bread in milk before adding them also increases tenderness. This technique, called a panade, adds moisture, keeping the meatballs juicy.
- Incorporate Eggs Sparingly. Eggs help bind the meat, but too many can make meatballs stiff. Use one egg per pound of meat or fewer if using other binders.
- Form Lightly. Avoid packing the meatballs too tightly when shaping them. Gently roll them into shape without squeezing, which allows for more even cooking and tenderness.
Ingredients You’ll Need
- 1 pound Ground Beef - This is the hearty base of the meatballs. Ground beef provides richness, structure, and that tender, juicy bite. It absorbs the Korean-inspired seasonings beautifully, making each meatball flavorful throughout.
- 1/2 cup Panko Bread - Panko works as a binder and moisture-retainer. These airy breadcrumbs help keep the meatballs soft and tender rather than dense, giving them that light, fluffy texture Korean meatballs are known for.
- 1 Egg - The egg binds all the ingredients together, ensuring the meatballs hold their shape during mixing, rolling, and cooking. It also adds richness and moisture.
- 2 Green Onions - Green onions bring freshness and a subtle sharpness. They add brightness to the beef mixture and help balance the sweet, savory, and spicy flavors typical of Korean cuisine.
- 3 cloves Garlic - Garlic adds depth and a bold aromatic kick. It enhances the savory umami flavor profile and pairs perfectly with the ginger and gochujang.
- 1 tbsp Ginger - Ginger adds warmth, zest, and a slightly peppery bite. It cuts through the richness of the beef and complements the flavorful Korean-style sauce.
- 2 tbsp Soy Sauce - Soy sauce provides salty umami flavor and helps season the meatballs thoroughly. It adds moisture and blends with the aromatics to season the beef from the inside out.
- 2 tbsp Gochujang - Gochujang is the star Korean chili paste that brings sweet heat, tang, and a deep fermented depth of flavor. It gives the meatballs their signature spicy-savory finish and a beautiful red tint.
- 1 tbsp Brown Sugar - Brown sugar helps balance the spice and saltiness by adding a touch of sweetness. It also enhances caramelization, helping the meatballs brown more deeply.
- 1 tbsp Sesame Oil - Sesame oil contributes nutty, toasty aroma and richness. Just a tablespoon dramatically enhances the Korean flavor profile and ties all the seasonings together.
- 1 tbsp Sesame Seeds - Sesame seeds are used for texture and garnish. They add a subtle crunch and nutty flavor, making the finished meatballs look polished and authentically Korean.
How To Make Korean Meatballs
- Prepare the Asian Meatball Mixture . In a large bowl, combine the ground beef, panko breadcrumbs, egg, green onions, minced garlic, and grated ginger. Season with salt and pepper, then mix until just combined. Avoid overmixing to keep the meatballs tender.
- Form the Meatballs . Roll the mixture into 1-inch balls. Place them on a baking sheet lined with parchment paper for easy cleanup.
- Cook the Meatballs . Heat a large skillet over medium heat and add a drizzle of sesame oil. Once hot, add the meatballs in batches, browning each side until fully cooked. Transfer cooked meatballs to a plate.
- Make the Sauce . In the same skillet, combine soy sauce, gochujang, brown sugar, and a bit of water. Stir until the sauce thickens slightly and becomes sticky, about 2-3 minutes.
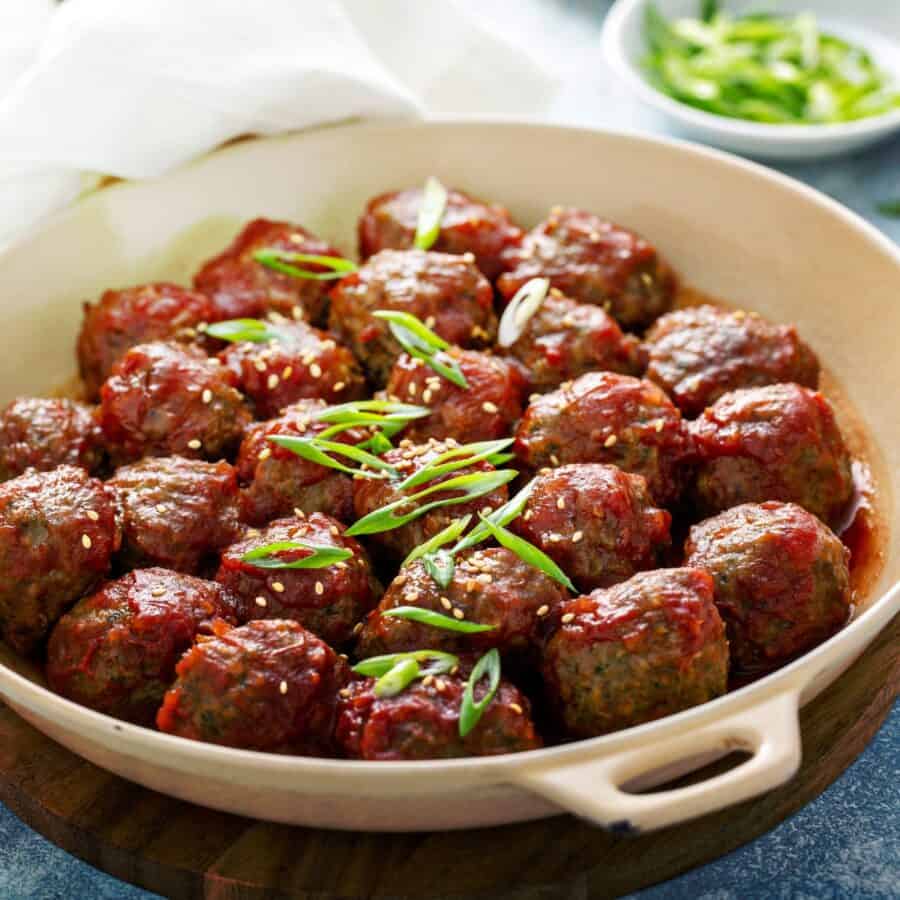
- Coat the Meatballs . Return the meatballs to the skillet, tossing to coat them in the sticky sauce until each meatball is well-glazed.
- Garnish and Serve . Transfer the meatballs to a serving platter, then garnish with sesame seeds and chopped green onions for a burst of color and flavor.
Tips And Tricks
Creating the perfect Korean meatballs is all about balancing flavors and textures. Here are a few tips to help you make the most delicious Korean meatballs:
- Don’t Overmix . When combining ingredients, mix gently to avoid overworking the meat, which can lead to dense meatballs.
- Adjust the Spice . If you prefer a milder flavor, reduce the gochujang or replace it with a small amount of ketchup for sweetness without the heat.
- Brown for Flavor . Make sure to sear the meatballs on all sides to achieve a golden-brown crust, which enhances the flavor.
- Simmer in Sauce . For extra flavor, let the meatballs simmer briefly in the sauce to absorb its taste fully.
Variations
Once you’ve mastered the classic Korean meatball, try these creative twists:
- Spicy - For extra heat, add a teaspoon of red pepper flakes or more gochujang to the sauce.
- Teriyaki-Style - Add a touch of honey and rice vinegar to the sauce for a sweet-and-sour flavor similar to teriyaki.
- Vegetarian - Substitute ground meat with mashed tofu or mushrooms for a vegetarian option that still packs in the flavor.
What To Eat With Korean Meatballs
This Asian meatball recipe is incredibly versatile and can be paired with a variety of sides to complete the meal:
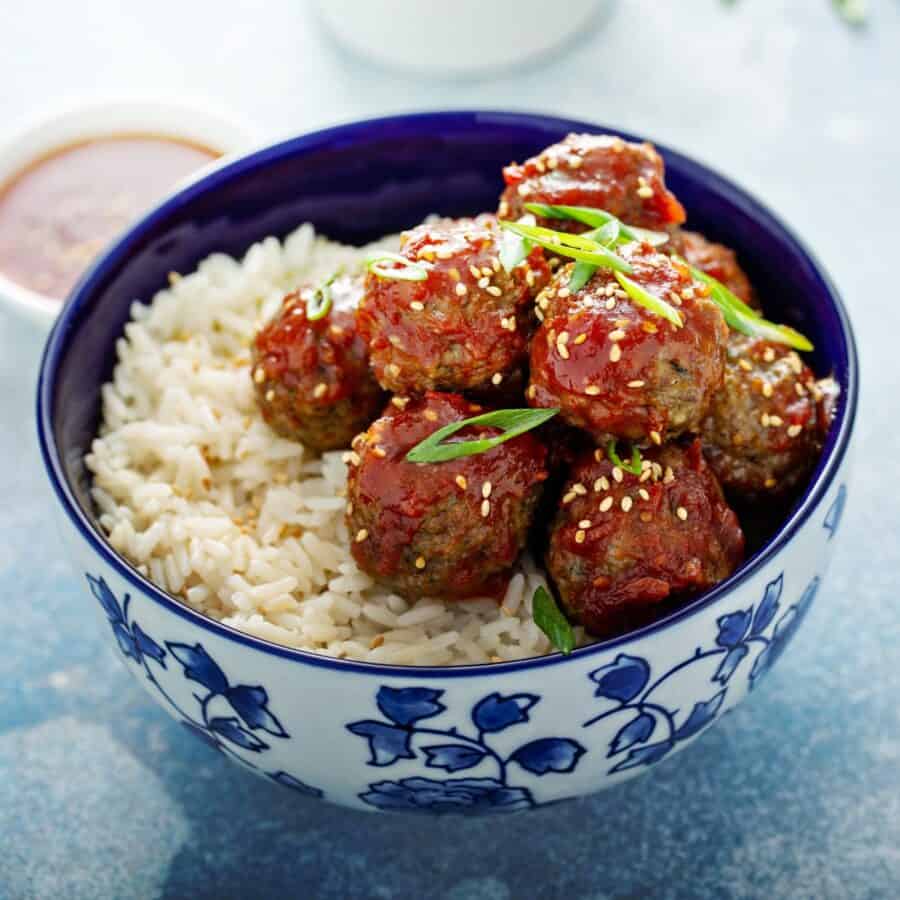
- Rice - Classic and simple, steamed rice is the perfect neutral base to soak up the delicious sauce.
- Kimchi - A traditional Korean fermented side dish that adds a tangy, spicy kick.
- Cucumber Salad - Refreshing and crunchy, cucumber salad balances the rich flavors of the meatballs.
- Lettuce Wraps - Wrap meatballs in lettuce leaves for a fresh, low-carb option with added crunch.
How Long Do They Last?
Store leftover Korean meatballs in an airtight container in the refrigerator for up to 3 to 4 days. Reheat gently in the microwave or on the stovetop, adding a splash of water if the sauce has thickened too much.
Can You Freeze Them?
Yes, these Korean meatballs are freezer-friendly! Place the cooked, cooled meatballs on a baking sheet in a single layer. Freeze until solid, then transfer them to a freezer-safe bag or container.
To reheat, thaw them overnight in the refrigerator, then reheat on the stovetop in a bit of sesame oil until warmed through.
Frozen Korean meatballs will keep for up to 2 months, so you’ll always have a quick, flavorful meal on hand.
More Creative Korean Recipes
- Korean Cucumber Salad
- Beef Bulgogi
- Dak Galbi
- Korean Beef Tacos
- Kimchi Pancake


Korean Meatballs | Asian Meatball Recipe
Ingredients
- ▢ 1 pound Ground Beef
- ▢ 1/2 cup Panko Bread
- ▢ 1 Egg
- ▢ 2 Green Onions , chopped
- ▢ 3 cloves Garlic , minced
- ▢ 1 tbsp Ginger , grated
- ▢ 2 tbsp Soy Sauce
- ▢ 2 tbsp Gochujang
- ▢ 1 tbsp Brown Sugar
- ▢ 1 tbsp Sesame Oil
- ▢ 1 tbsp Sesame Seeds
Instructions
- Prepare the Meatball Mixture . In a large bowl, combine the ground beef, panko breadcrumbs, egg, green onions, minced garlic, and grated ginger. Season with salt and pepper, then mix until just combined. Avoid overmixing to keep the meatballs tender.
- Form the Meatballs . Roll the mixture into 1-inch balls. Place them on a baking sheet lined with parchment paper for easy cleanup.
- Cook the Meatballs . Heat a large skillet over medium heat and add a drizzle of sesame oil. Once hot, add the meatballs in batches, browning each side until fully cooked. Transfer cooked meatballs to a plate.
- Make the Sauce . In the same skillet, combine soy sauce, gochujang, brown sugar, and a bit of water. Stir until the sauce thickens slightly and becomes sticky, about 2-3 minutes.
- Coat the Meatballs . Return the meatballs to the skillet, tossing to coat them in the sticky sauce until each meatball is well-glazed.
- Garnish and Serve . Transfer the meatballs to a serving platter, then garnish with sesame seeds and chopped green onions for a burst of color and flavor.
Get support & connect with our community on Facebook!

If you already signed up, you should have received an email with a password to give you unlimited access to our FREE Printable Library. The password is case sensitive. Enter it below and get printing!
Password:

Korean Meatballs | Asian Meatball Recipe
Ingredients
- 1 pound Ground Beef
- 1/2 cup Panko Bread
- 1 Egg
- 2 Green Onions chopped
- 3 cloves Garlic minced
- 1 tbsp Ginger grated
- 2 tbsp Soy Sauce
- 2 tbsp Gochujang
- 1 tbsp Brown Sugar
- 1 tbsp Sesame Oil
- 1 tbsp Sesame Seeds
Instructions
- Prepare the Meatball Mixture . In a large bowl, combine the ground beef, panko breadcrumbs, egg, green onions, minced garlic, and grated ginger. Season with salt and pepper, then mix until just combined. Avoid overmixing to keep the meatballs tender.
- Form the Meatballs . Roll the mixture into 1-inch balls. Place them on a baking sheet lined with parchment paper for easy cleanup.
- Cook the Meatballs . Heat a large skillet over medium heat and add a drizzle of sesame oil. Once hot, add the meatballs in batches, browning each side until fully cooked. Transfer cooked meatballs to a plate.
- Make the Sauce . In the same skillet, combine soy sauce, gochujang, brown sugar, and a bit of water. Stir until the sauce thickens slightly and becomes sticky, about 2-3 minutes.
- Coat the Meatballs . Return the meatballs to the skillet, tossing to coat them in the sticky sauce until each meatball is well-glazed.
- Garnish and Serve . Transfer the meatballs to a serving platter, then garnish with sesame seeds and chopped green onions for a burst of color and flavor.
Korean Meatballs | Asian Meatball Recipe https://twosleevers.com/korean-meatballs/

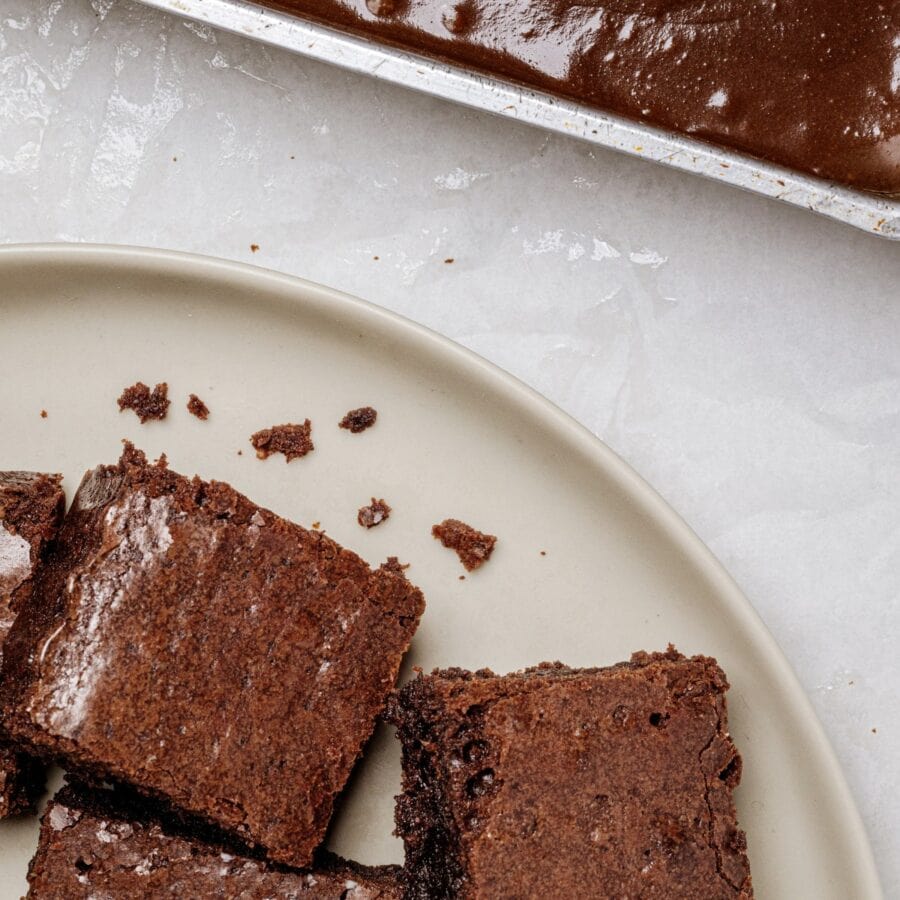
Are you ready to bring back those nostalgic cafeteria brownie vibes? Packed with chocolate flavor, Lunch Lady Brownies are the ultimate treat for chocolate lovers, whether it’s a special occasion or an ordinary afternoon.

Why You’ll Love This Delicious Dessert
- Classic & Nostalgic . With a thick, fudgy center and perfect crackled top, these brownies are just like yFou remember them from school days.
- Easy to Make . With basic pantry ingredients and a simple preparation, you’ll have brownies ready to bake in minutes.
- Irresistible Flavor . They’re packed with chocolatey goodness and topped with a creamy chocolate glaze that takes them to the next level.
Whether you’re enjoying them on their own or with a scoop of vanilla ice cream, these brownies will hit the spot!
Why Are They Called Lunch Lady Brownies?
Lunch Lady Brownies are named after the classic, nostalgic treats served in school cafeterias by “lunch ladies” across America.
Back in the day, these fudgy, gooey brownies were often made in large batches to serve students and were known for their rich chocolate flavor and simple ingredients.
The recipe became widely loved because of its chewy, satisfying texture and easy-to-make glaze, making it a lunchroom favorite that students would look forward to.
Over time, these brownies became associated with school memories and were affectionately named “Lunch Lady Brownies.”
What Do Lunch Lady Brownies Taste Like?
Lunch Lady Brownies have a cult following for a reason. They’re chewy, moist, and incredibly satisfying.
With a combination of melted chocolate and cocoa powder, these brownies have a rich chocolate taste and a smooth, tender texture. Top them with a luscious chocolate glaze, and you have a truly indulgent treat!
Ingredients You’ll Need
For The Brownies
- All-Purpose Flour – Provides the structure for our brownies.
- Granulated Sugar – Adds sweetness and helps create that chewy, fudgy texture.
- Cocoa Powder – Unsweetened cocoa powder gives the brownies their rich chocolate flavor.
- Butter – Adds moisture and richness to the brownies.
- Eggs – The key to a fudgy texture, giving the brownies structure.
- Vanilla Extract – Enhances the chocolate flavor.
- Salt – Balances the sweetness and enhances the chocolate notes.
For The Glaze
- Powdered Sugar – Creates a smooth and sweet glaze.
- Cocoa Powder – Adds chocolatey depth to the glaze.
- Milk – Just enough to thin the glaze for that perfect drizzle.
- Butter – Adds richness and sheen to the glaze.
How To Make Lunch Lady Brownies
- Prepare the Batter . Start by preheating your oven to 350°F and greasing a 9x13 inch baking pan. Melt the butter and mix it with the sugar, cocoa powder, eggs, and vanilla extract until smooth. Gently fold in the flour and salt until just combined. Do not overmix.
- Bake the Brownies . Pour the batter into the prepared baking pan and spread it evenly. Bake for 20-25 minutes or until the edges are set and a toothpick inserted into the center comes out with a few moist crumbs. Cool completely in the pan.
- Make the Glaze . In a mixing bowl, whisk together the powdered sugar, cocoa powder, milk, and melted butter until smooth. Pour the glaze over the cooled brownies and spread it evenly.
- Slice and Serve . Let the glaze set for a few minutes before cutting the brownies into squares. Enjoy your classic lunchroom treat!
Tips And Tricks
Making Lunch Lady Brownies is a breeze, but these tips can ensure you get that perfect fudgy texture every time.
- Use Room Temperature Eggs . This helps the ingredients blend together better, resulting in a smooth batter.
- Don’t Overmix . When adding the flour, gently fold until just combined to keep the brownies tender and fudgy.
- Check Doneness . Bake until a toothpick comes out with a few moist crumbs for that gooey texture. Overbaking can lead to a more cake-like consistency.
Variations
If you’re craving something a little different, try these fun twists on the classic Lunch Lady Brownies:
- Add Walnuts or Pecans . For a bit of crunch, fold in 1/2 cup of chopped nuts into the batter.
- Swirl in Peanut Butter . Drop spoonfuls of peanut butter over the brownie batter before baking and swirl with a knife for a chocolate-peanut butter combo.
- Top with Marshmallows . Sprinkle mini marshmallows over the brownies in the last 5 minutes of baking for a gooey, marshmallow topping.
What To Enjoy With Lunch Lady Brownies
Lunch Lady Brownies are so delicious they can easily stand alone, but if you’re looking to elevate your dessert game, here are some pairing ideas:
- Vanilla Ice Cream - A scoop of ice cream on top adds a creamy, cool contrast to the warm, fudgy brownies.
- Fresh Berries - Add a handful of raspberries or strawberries for a burst of freshness.
- Whipped Cream - Top each brownie square with a dollop of whipped cream for an extra indulgent touch.
How Long Do They Last?
Lunch Lady Brownies can be stored in an airtight container at room temperature for up to 3 days. They’ll stay moist and delicious, perfect for grabbing a quick treat whenever the craving hits.
Can You Freeze Them?
Absolutely! To freeze, let the brownies cool completely, then wrap them tightly in plastic wrap or aluminum foil and place them in a freezer-safe bag. They can be stored in the freezer for up to 2 months.
Thaw the frosted brownies at room temperature and enjoy!
More Brilliant Brownie Recipes
- S’mores Brownies
- Keto Brownies
- Low Carb Cheesecake Brownies
- Lemon Brownies
- Zucchini Brownies
- Edible Brownie Batter


Lunch Lady Brownies Recipe | Easy Brownies With Frosting
Ingredients
For the Brownies
- ▢ 1 1/2 cups All Purpose Flour
- ▢ 1 1/4 cups Granulated Sugar
- ▢ 1/2 cup Cocoa Powder
- ▢ 1/2 cup Unsalted Butter , melted
- ▢ 3 Eggs
- ▢ 2 tsp Vanilla Extract
- ▢ 1/2 tsp Kosher Salt
For The Glaze
- ▢ 1 1/2 cups Powdered Sugar
- ▢ 2 tbsp Cocoa Powder
- ▢ 2 tbsp Milk
- ▢ 2 tbsp Unsalted Butter , melted
Instructions
- Prepare the Batter. Start by preheating your oven to 350°F and greasing a 9x13 inch baking pan. Melt the butter and mix it with the sugar, cocoa powder, eggs, and vanilla extract until smooth. Gently fold in the flour and salt until just combined. Do not overmix.
- Bake the Brownies . Pour the batter into the prepared baking pan and spread it evenly. Bake for 20-25 minutes or until the edges are set and a toothpick inserted into the center comes out with a few moist crumbs. Cool completely in the pan.
- Make the Glaze . In a mixing bowl, whisk together the powdered sugar, cocoa powder, milk, and melted butter until smooth. Pour the glaze over the cooled brownies and spread it evenly.
- Slice and Serve . Let the glaze set for a few minutes before cutting the brownies into squares. Enjoy your classic lunchroom treat!
