


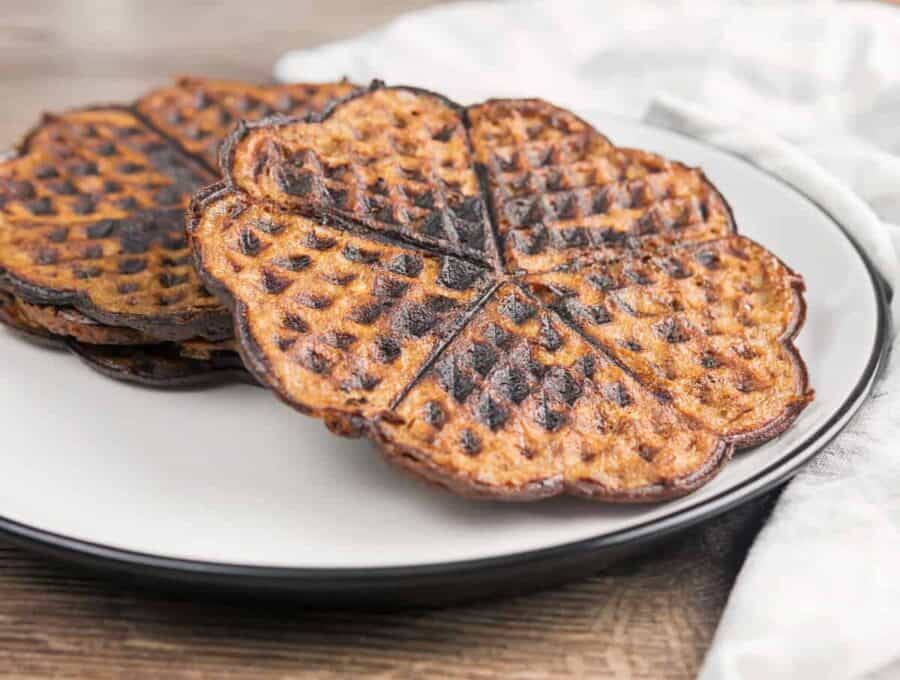
This Keto Chocolate Chaffles recipe is so easy to make! This great 5-ingredient keto waffle recipe is nut-free, keto , low carb , vegetarian , but most importantly, it’s delicious.
Why Should You Make These Chocolate Chaffles?
- Low Carb . Only 6 net carbs per serving.
- Easy. Just mix the ingredients, pour and cook in your Dash Waffle Maker .
- Fast. Ready in under 30 minutes . These only take around 15 minutes to make.
- Delicious. Great for curing that chocolate craving while staying within your macros .
Watch a Video on How to Make This Keto Chocolate Chaffles Recipe
How To Make This Keto Chocolate Chaffle Recipe
- In a microwave safe bowl , melt butter and chocolate for about 1 minute.
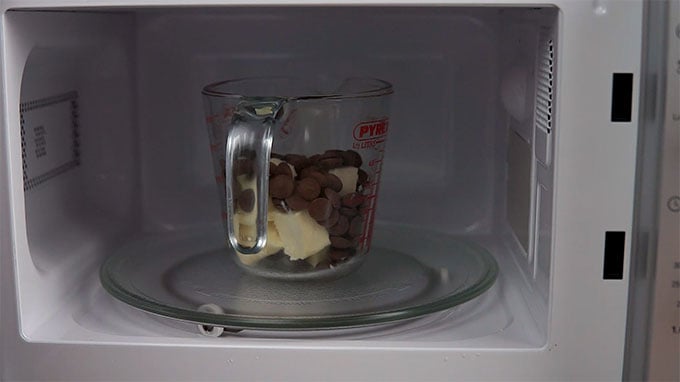
- Remove and stir well. You really want to use the heat within the butter and chocolate to melt the rest of the clumps. If you microwave until it’s all melted, you’ve overcooked the chocolate. So get a spoon and start stirring. Add 10 seconds if needed but stir well before you decide to do that.
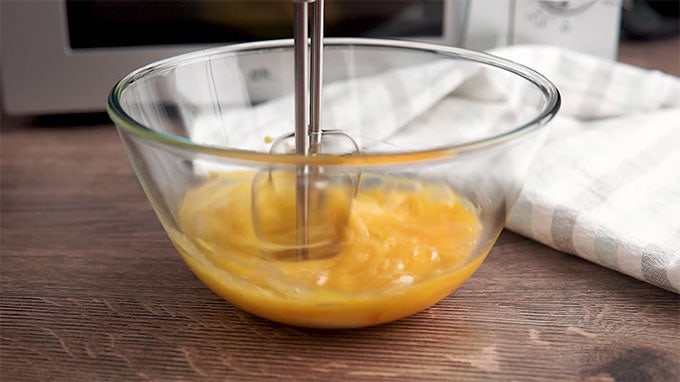
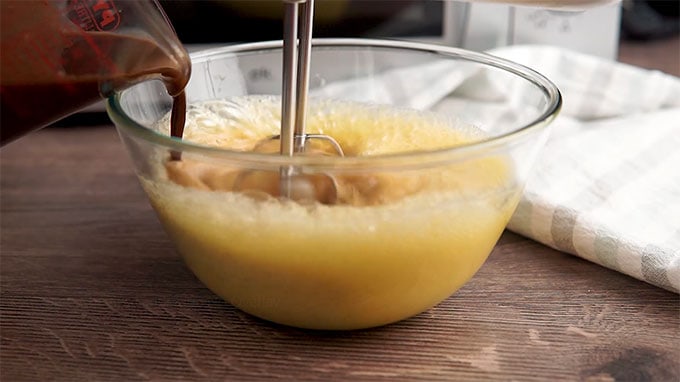
- In a bowl, add eggs, sweetener, and vanilla and blend until light and frothy.
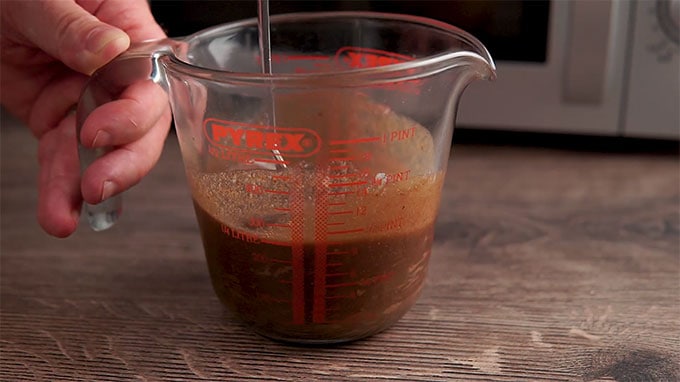
- Pour the melted butter and chocolate into the bowl in a slow stream and beat again until it is well-incorporated.
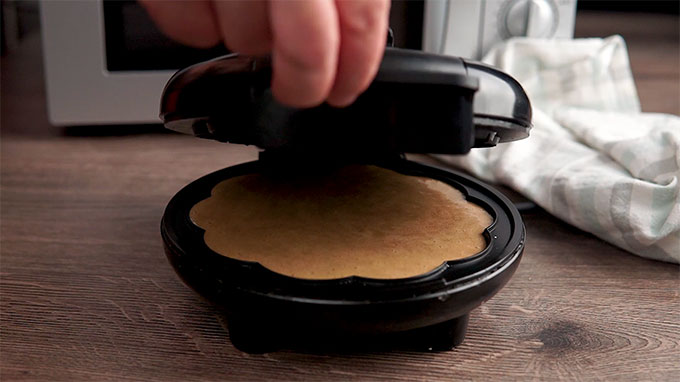
- Pour a fourth of the batter into the small waffle maker and cook for 7-8 minutes, or until crispy.
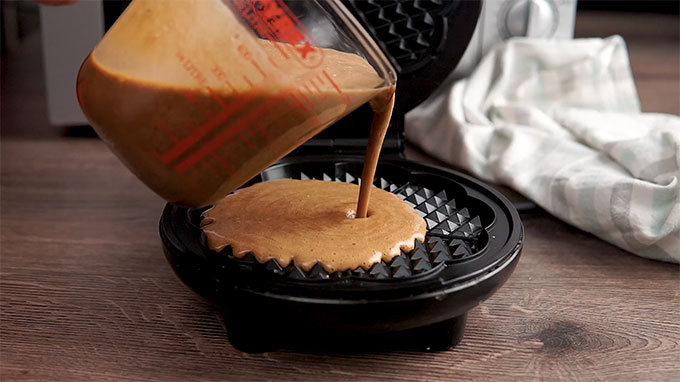
- Makes about 4 full size waffles , with a little batter leftover, or 8-9 mini waffles .
What Is A Chaffle?
It’s a Keto waffle recipe that’s usually made from combining cheese and eggs as the base ingredients. I’ve adapted these chocolate chaffles from my Flourless Brownie recipe , and I love how they turn out! Since there’s only five ingredients, they’re quick to put together!What kind of maker is best for chaffles?
What Kind Of Chaffle Maker Is Best?
I use the Mini Dash Waffle Maker , as it’s the perfect size for using chaffles as bread or buns etc. If you want to use a full size, I recommend this Cuisinart . Belgian-style waffle makers do not work well.
Can You Freeze A Chaffle?
They do! I like to make a big batch of chaffles all at once, and then freeze what we don’t eat for later. They heat well in the air fryer and stay crispy, so I use it to re-heat from frozen.
What Can I Top These With?
Realistically, since these were made using my brownie recipe , they don’t need any toppings. However, if you wanted to add a little something extra, you could drizzle some of the chocolate/butter mixture on top, add some whipped cream, or even use some ChocZero syrup for the full waffle effect!
Looking for some good low carb chocolate chips for this recipe? Check out myKeto Friendly Chocolate Chips Recipe!
TIPS AND TRICKS FOR HOW TO MAKE THE BEST CHOCOLATE CHAFFLES EVER
- Patience . That’s the best tip. They don’t take very long but if you want crisp keto waffles , you are just going to have to be a little patient and let it take the 7-8 minutes that it takes to crisp up. Just when you think it’s done? Give it another minute or two. Don’t rush.
- Shallow chaffles. If you want crispy waffles, the shallower the waffle iron, the easier/faster it is to crisp up the chaffle.
- No overfilling. Overfilled chaffle makers… well, they overflow of course. Which makes a huge mess! So if in doubt, underfill rather than overfill. No more than 1/4 cup of TOTAL ingredients at a time.
- No peeking . I can tell you from LOTS of personal experience, that opening the waffle iron every 30 seconds “just to check” doesn’t help the keto waffles cook any faster. Your best bet is to not even open it for 4-5 minutes.
- No steaming. if you’re using the Dash mini , the little blue light goes out when it’s mostly cooked, but most importantly, the chaffle stops steaming quite so much. That’s a good sign that it’s done.
- Get hot. Wait until the waffle iron is hot before you add ingredients, and they’re a lot less likely to stick, and a lot easier to clean up.
- Mat it. Okay so about that overflow. I do find that it happens to me more often than I would like! One thing that has made cleanup easier for me has been to put a silicone trivet underneath.
- Crispy Cooling. Allow the chaffles to cool before eating. They get crisper as they cool, so try not to stuff the hot chaffle into your mouth right away.
- Make lots . Make enough to share, everyone will want them, no matter whether they’re keto or not.
Want Some More Keto Recipes You’ll Love?
Keto Silver Dollar Pancake
Keto bread
Chocolate Chaffle
Cauiflower Chaffle
Oreo Chaffle
Zucchini Chaffle
Keto Silver Dollar Pancakes - These are SO good and easy to make!
Keto Bread - Makes awesome slicing bread, toast, croutons and more!
Keto Chocolate Waffles . So yummy!
Cauliflower chaffles can also be used for a keto pizza crust.
Oreo Chaffles! Make a double batch of the chocolate chaffles and make oreo chaffles as well.
Zucchini Chaffles are another great savory chaffle option.
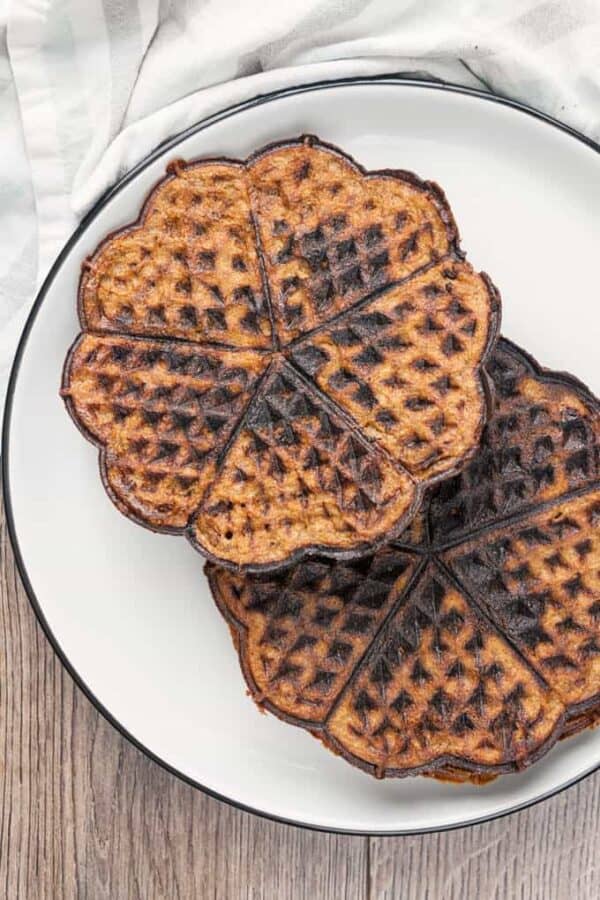
Whether you choose to eat this Keto Chocolate Chaffles recipe for breakfast or dessert (or even as a snack!), I know you’re going to love them! They’re full of crispy, chocolate, deliciousness - what more is there to love?

Keto Chocolate Chaffle Recipe
Equipment
- Dash Mini Waffle Maker
- Mixing Bowl
- PYREX MEASURING CUP SET
- KITCHEN AID HAND MIXER
Ingredients
- ▢ 1/2 cup Sugar-Free Chocolate Chips
- ▢ 1/2 cup Butter
- ▢ 3 Eggs
- ▢ 1/4 cup Truvia , or other sweetener
- ▢ 1 teaspoon Vanilla extract
Instructions
- In a microwave safe bowl, melt butter and chocolate for about 1 minute. Remove and stir well. You really want to use the heat within the butter and chocolate to melt the rest of the clumps. If you microwave until it’s all melted, you’ve overcooked the chocolate. So get a spoon and start stirring. Add 10 seconds if needed but stir well before you decide to do that.
- In a bowl, add eggs, sweetener, and vanilla and blend until light and frothy.
- Pour the melted butter and chocolate into the bowl in a slow stream and beat again until it is well-incorporated.
- Pour about 1/4 of the mixture into a Dash Mini Waffle Maker, and cook for 7-8 minutes, or until crispy.
- Should make 4 waffles, with a little batter left over.
Watch The Video
- Serve these with whipped cream or syrup when they’re warm for best results.
- Don’t over-microwave the chocolate, or it will burn. Only cook and stir until it’s just smooth and melted.
- These freeze well! Make a big batch and save some in the freezer to heat up later.
Get support & connect with our community on Facebook!
Nutrition
Don’t forget to check out my other Ketocookbooks.
Keto Instant Pot, Keto Fat Bombs, Sweets, & Treats , and Easy keto in 30 minutes.


If you already signed up, you should have received an email with a password to give you unlimited access to our FREE Printable Library. The password is case sensitive. Enter it below and get printing!
Password:

Keto Chocolate Chaffle Recipe
Ingredients
- 1/2 cup Sugar-Free Chocolate Chips
- 1/2 cup Butter
- 3 Eggs
- 1/4 cup Truvia or other sweetener
- 1 teaspoon Vanilla extract
Instructions
In a microwave safe bowl, melt butter and chocolate for about 1 minute. Remove and stir well. You really want to use the heat within the butter and chocolate to melt the rest of the clumps. If you microwave until it’s all melted, you’ve overcooked the chocolate. So get a spoon and start stirring. Add 10 seconds if needed but stir well before you decide to do that.
In a bowl, add eggs, sweetener, and vanilla and blend until light and frothy.
Pour the melted butter and chocolate into the bowl in a slow stream and beat again until it is well-incorporated.
Pour about 1/4 of the mixture into a Dash Mini Waffle Maker, and cook for 7-8 minutes, or until crispy.
Should make 4 waffles, with a little batter left over.
Serve these with whipped cream or syrup when they’re warm for best results.
Don’t over-microwave the chocolate, or it will burn. Only cook and stir until it’s just smooth and melted.
These freeze well! Make a big batch and save some in the freezer to heat up later.
Keto Chocolate Chaffle Recipe https://twosleevers.com/keto-chocolate-chaffle-recipe/
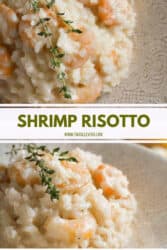
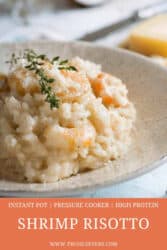
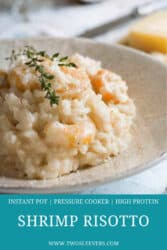
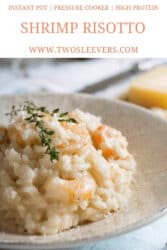
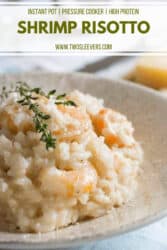
Make a perfect Shrimp Risotto in your Instant Pot in less than 30 minutes from start to finish, with no stirring involved!
Why This Instant Pot Risotto With Shrimp Is So Great
- Fast. Made in less than 30 minutes with the help of your Instant Pot .
- Easy. a simple pour and cook recipe .
- Gluten-Free . Great for families with gluten allergies.
- Delicious. A recipe that will make a seafood lover out of almost anyone.
If you have an Instant Pot , you know it will save you so much time compared to cooking dishes the traditional way. This Instant Pot Shrimp Risotto recipe is one of those dishes that comes out perfect every single time in a fraction of the time of stovetop.
Now, this Shrimp Risotto is clearly not low carb . What it is, however, is delicious. I ended up eating mostly the shrimp and feeding my son most of the rice. It’s really good for a quick supper .
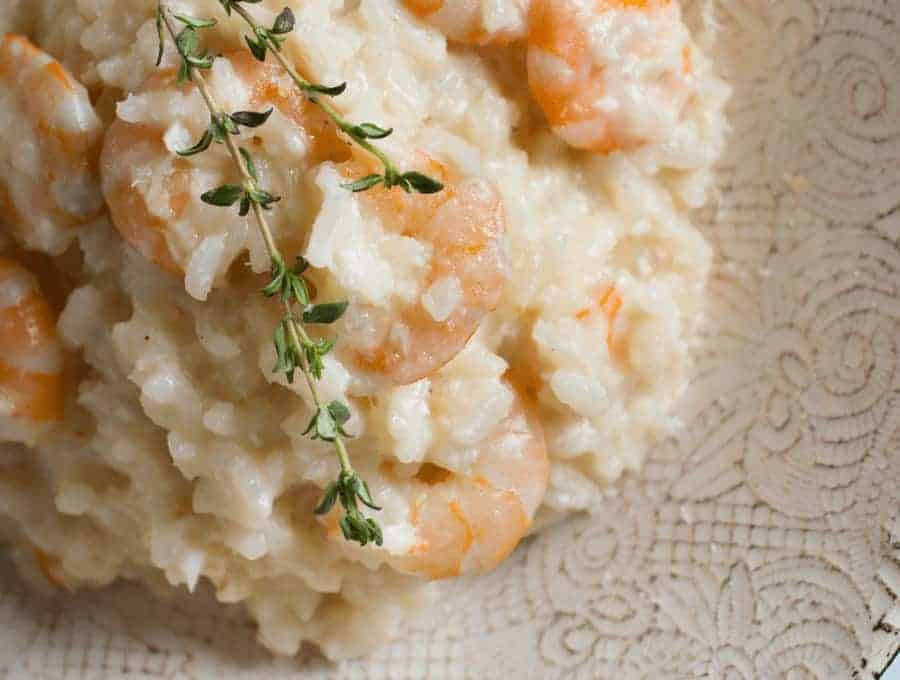
Risotto is not usually something you’d say was a quick meal idea , but Shrimp Risotto in the Instant Pot is truly a game-changer. Usually, Risotto needs to be babysat and stirred over and over to make sure the rice is cooked without being overcooked or undercooked.
Just follow this Shrimp Risotto recipe and it will turn out perfectly.
What Is The Secret To A Good Risotto?
Using the proper type of rice makes all of the difference in a great risotto. For this Instant Pot version, I prefer to use arborio rice. It cooks to the perfect texture. Adding in butter and a high-quality parmesan cheese makes for a rich, creamy risotto.
Ingredients You’ll Need
This is one of those Instant Pot recipes that comes together perfectly with very little effort and just a few ingredients you probably already have in your kitchen.
Here’s what you’ll need to make this delicious Shrimp Risotto in your Instant Pot :
- 1 cup Arborio Rice - Provides the signature creamy risotto texture thanks to its high starch content, which is released during pressure cooking.
- 1.5 cups Water - Supplies the necessary liquid to cook the Arborio rice and helps create the creamy base of the risotto.
- 2 tablespoons Butter - Adds richness, smoothness, and depth of flavor while helping create a silky risotto.
- 1 tablespoon Lemon Juice - Brightens the dish and complements the shrimp with a refreshing citrus note.
- 1/4 cup Frozen Mixed Vegetables - Adds color, texture, sweetness, and nutritional value with minimal prep.
- 1 pound Frozen Raw Shrimp - Serves as the main protein, releasing savory juices into the risotto as it cooks.
- 1/4 cup Shredded Parmesan Cheese - Melts into the rice for salty, nutty richness and helps thicken the final dish.
- Salt - Enhances all the flavors and balances the richness of the risotto.
- Ground Black Pepper - Adds gentle heat and earthy depth that rounds out the creamy, citrusy flavors.
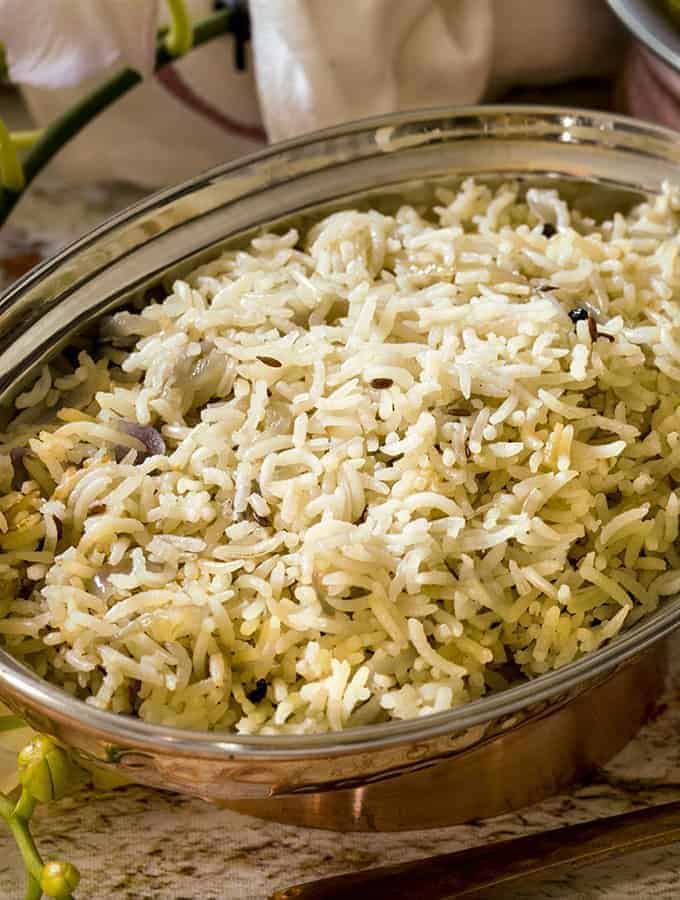
Can You Make Shrimp Risotto With Jasmine Rice?
Why yes, you certainly can use Jasmine rice for this Shrimp Risotto recipe ! Here’s how:
- Use 1 cup of Jasmine rice
- Use 1 cup of water
- Cook at high pressure for 5 minutes
- Release the pressure immediately
How To Make Shrimp Risotto
- Melt. Melt the butter and add the rice, water, lemon juice, salt and pepper.
- Add Shrimp And Veggies. Put frozen shrimp and frozen vegetables on top. For this recipe, you will need to use frozen shrimp and vegetables. This is because it takes the rice 4 minutes to cook, and you don’t want overcooked seafood and mushy veggies. This is also the reason you won’t want to stir the seafood and veggies into the rice. Just lay them on top half-submerged in the water.
- Cook. Cook at High Pressure for 6 minutes, with a quick release.
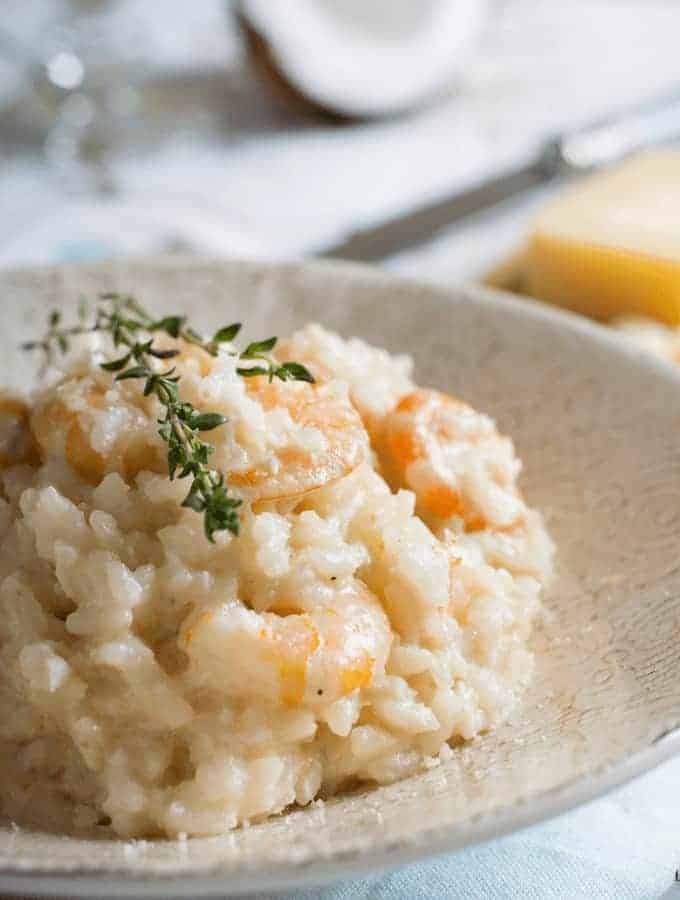
- Mix. Mix, let the water absorb back into rice if needed, and serve with Parmesan cheese.
Can You Make This Shrimp Risotto On The Stovetop?
If you don’t have an Instant Pot, you can make this Instant Pot Risotto With Shrimp on the stovetop . If you’re making this on the stovetop, I suggest you cook the rice and when it’s almost done, add the thawed shrimp and mix it for the last 3-5 minutes until they turn pink.
I mixed some frozen vegetables into mine. I’m going to try it with spinach next time.
Tips And Tricks
Here are some helpful tips and tricks to make your Instant Pot shrimp risotto turn out perfectly creamy, flavorful, and effortless every time.
- Sauté the rice in butter first for extra flavor. Lightly toasting the Arborio rice in butter before pressure cooking helps deepen its nutty flavor and improves the final texture.
- Don’t thaw the shrimp. Frozen shrimp release just the right amount of moisture and prevent overcooking, ensuring they stay tender instead of rubbery.
- Stir in the Parmesan at the end. Adding cheese after cooking prevents it from clumping or sticking to the bottom of the pot.
Variations
Here are some flavorful and creative variations to help you customize your Instant Pot shrimp risotto, whether you prefer something richer, lighter, spicier, or more herb-forward:
- Tuscan- You can add chopped sun-dried tomatoes, spinach, and a splash of cream to create a warm, Italian-inspired version with bold flavor.
- Cajun- You can spice things up by adding 1–2 teaspoons of Cajun seasoning and a pinch of cayenne, giving the risotto a smoky, peppery kick.
- Herb and Pea- You can make the dish fresher by stirring in extra peas, chopped basil, parsley, or dill for a bright, spring-inspired risotto.
What Goes Well With Shrimp Risotto?
This Shrimp Risotto recipe is so delicious you’ll be completely satisfied if it’s the only thing on your table. But if you’re like me, you like to serve a veggie with your main course to keep things balanced.
Here are a few of my favorite things to serve with this Instant Pot Shrimp Risotto :
- Broccoli Salad
- Keto Tabouli
- Brussels Sprouts with Bacon
- Creamed Spinach
How Long Does It Last?
Instant Pot shrimp risotto lasts for about 2–3 days in the refrigerator when stored in an airtight container. Because it contains seafood, it has a shorter shelf life than other risotto recipes, so it’s best enjoyed as soon as possible for optimal texture and freshness.
As it chills, the rice will continue to absorb moisture and thicken, so you may need to stir in a splash of water, broth, or a little lemon juice when reheating to restore its creamy consistency.
Can You Freeze It?
You can freeze shrimp risotto, but it’s not always recommended because both the rice and shrimp can change texture once thawed. Arborio rice becomes much softer after freezing, and shrimp can turn slightly rubbery when reheated.
More Great Rice Recipes
- Basmati Rice Pilau - This Instant Pot recipe is certainly one of my favorite basmati rice recipes
- Jamaican Peas and Rice - Authentic Jamaican Peas and Rice at home in a flash.
- Chicken Biryani - Make an authentic biryani right in your pressure cooker.
- Caldo de Pollo - A warming soup that’s bursting with Mexican flavors!
- Instant Pot Dolma Recipe - A fantastic way to make dolma without having to wrap it.
- Instant Pot Sabzi Polo - Make a perfect Persian Herbed Rice in your pressure cooker.
- Perfect Pressure Cooker Rice - Learn how to make white rice, jasmine rice, black rice, brown rice, and arborio rice in your Instant Pot.
- 6+ Best Healthy Instant Pot Chicken and Rice Recipes - A fantastic collection of healthy chicken and rice recipes.
- 12+ Best Pressure Cooker Rice One Pot Meals - Here’s a whole slew of recipes that use basmati rice for you to enjoy!

Shrimp Risotto | Instant Pot Shrimp Risotto Recipe
Equipment
- Instant Pot
Ingredients
- ▢ 1 cup ( 185 g ) Arborio Rice
- ▢ 1.5 cups ( 250 g ) Water , ,
- ▢ 2 tablespoons ( 2 tablespoons ) Butter
- ▢ 1 tablespoon ( 1 tablespoon ) Lemon Juice
- ▢ 1/4 cup ( 10 g ) Frozen Mixed Vegetables
- ▢ 1 pound ( 453.59 g ) Frozen Raw Shrimp
- ▢ 1/4 cup ( 25 g ) shredded Parmesan cheese
- ▢ Kosher Salt , to taste
- ▢ Ground Black Pepper , to taste
Instructions
- Melt the butter and add the rice, water, lemon juice, salt and pepper.
- Put frozen shrimp and frozen vegetables on top. For this recipe, you will need to use frozen shrimp and vegetables. This is because it takes the rice 4 minutes to cook, and you don’t want overcooked seafood and mushy veggies. This is also the reason you won’t want to stir the seafood and veggies into the rice. Just lay them on top half submerged in the water.
- Cook at High Pressure for 6 minutes, with a quick release.
- Mix, let water absorb back into rice if needed and serve with Parmesan cheese.
