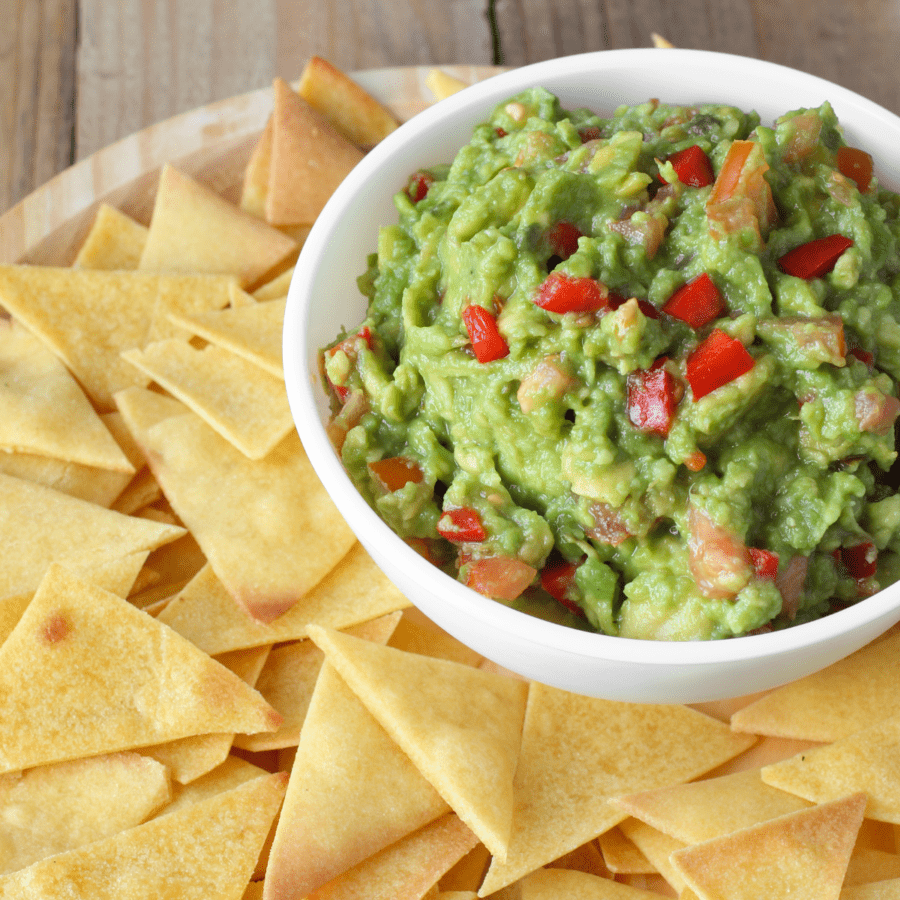
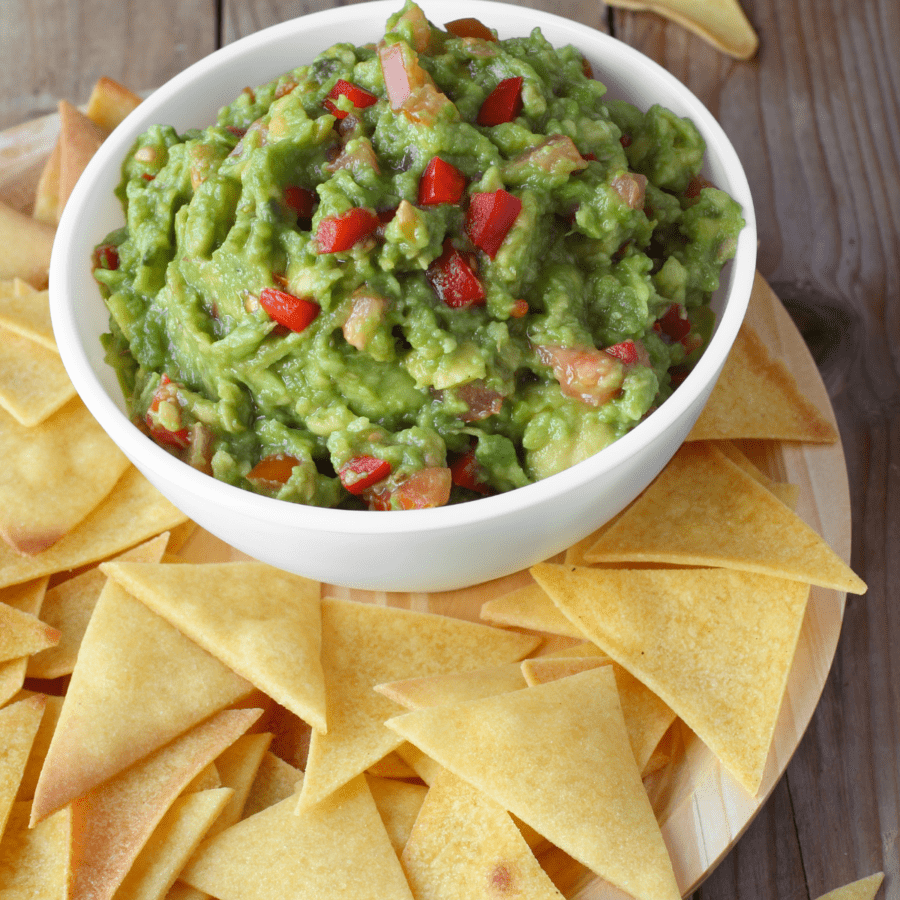
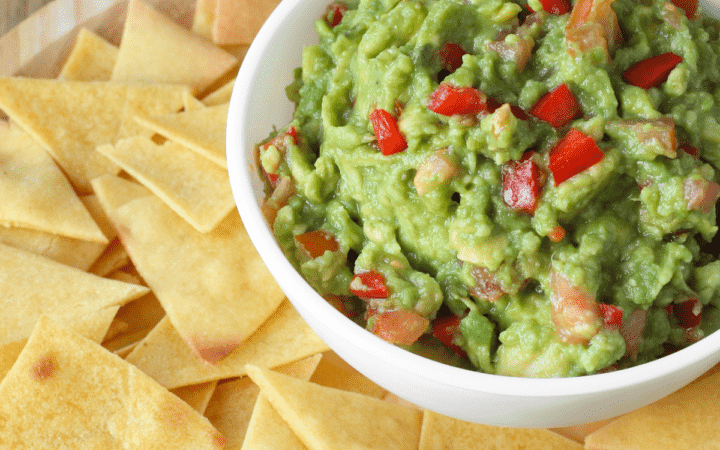
Just because you’re eating low carb doesn’t mean you can’t still indulge in some of your favorite snacks. These Keto Chips are the perfect low carb vessel for a variety of tasty dips and toppings.
Why You’ll Love Making Your Own Keto Chips
- Fast. Make these Keto Chips in under 30 minutes in your oven or air fryer.
- Easy. A simple pour and cook recipe .
- Minimal Ingredients. You’ll need less than five ingredients to make this gluten free chips recipe.
- Low Carb . Only 2 net carbs per serving.
- Gluten Free . A great gluten free option for appetizers or to serve as a side dish for your next main course.
What Chips Are OK On Keto?
If you’re asking about the kind of chips you can grab in the giant bags at the supermarket and overindulge on while bingeing your favorite Netflix show? No. Those are not keto-friendly.
However, that doesn’t mean that you can’t have chips at all if you’re living a low carb lifestyle.
With this incredibly simple Keto Chips recipe, you can still enjoy snacking–just with fewer carbs.
Ingredients You’ll Need
- Almond Flour - This is the ingredient that gives the keto chips the dipping power of a traditional chip. It makes them sturdy without adding too many unnecessary carbs.
- Mozzarella Cheese - The cheese binds the almond flour and spices during the cooking process to form a chip that is just begging to be dunked in your favorite dip.
- Garlic Powder - Gives a little flavor to the gluten free chips while still keeping the flavor versatile enough to be enjoyed with a variety of cuisines and flavor profiles.
- Pepper - Adds just a touch of flavor to give that familiar tortilla chip taste without being too spicy.
How To Make Keto Chips
Who knew making a low carb snack could be so easy? With just a few simple steps, you’ll be back to dipping guilt-free in no time!
Oven Instructions
If you’re a serious snacker and want to double or triple the recipe to make a lot of keto chips at once, the oven method may be a better choice for you.
- In a microwave-safe bowl, warm the shredded cheese for 90 seconds or until it is melted.
- Combine the melted cheese with the almond flour and spices.
- Use your hands to form a ball of dough.
- Spread the dough out extremely thin and use a pizza cutter to cut the dough into chip shapes.
- Place the uncooked chips on a greased baking sheet and bake at 350F for 10-12 minutes, or until the chips are a deep golden brown.
- Remove from the oven and allow them to cool completely before removing them from the baking sheet and serving.
Air Fryer Instructions
If you want to make just enough for one snacking session or are short on time, use these simple air fryer instructions to make your gluten free chips.
- In a microwave-safe bowl, warm the shredded cheese for 90 seconds or until it is melted.
- Combine the melted cheese with the almond flour and spices.
- Use your hands to form a ball of dough.
- Spread the dough out extremely thin and use a pizza cutter to cut the dough into chip shapes.
- Place the uncooked chips in the air fryer basket and cook for 8 minutes at 350F.
- Remove them from the air fryer basket and allow them to cool completely before serving.
Variations
- Make them spicy. While you’re mixing together the ingredients, toss in half a teaspoon of cayenne pepper and cumin for a spicy kick.
- Give them a zing. Use the dry ingredients from my Keto Ranch Dressing to mix in with the almond flour and mozzarella cheese for a tangy taste.
- Switch up the cheese. Mozzarella cheese has a very mild flavor, so it is great to use with a variety of dips. Don’t feel that you need to settle for a mild-flavored chip. Switch it out with sharp cheddar, or even pepper jack cheese for an additional pop of flavor.
How Long Do They Last?
Unlike potato chips you can grab at the grocery store, these keto chips do not last for weeks after they are opened.
For a crispy and delicious bite, store these gluten free chips in an airtight bag at room temperature for up to a week.
What To Serve With Gluten Free Chips
- Queso Fundido
- Keto Enchiladas
- Carne Guisada
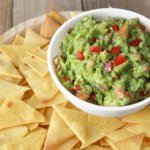
- Guacamole
- Dill Pickle Dip
- Tomatillo Salsa
You can even use these homemade chips to make keto nachos in the air fryer!
More Low Carb Snacks
- Keto Dip
- No Bake Peanut Butter Bars
- Keto Ice Cream
If you love these Keto Chips as much as we do, make sure you share them with your friends on Facebook and Instagram so they can try them too! Don’t forget to Pin them so you can make them again soon.
Keto Chips | Gluten Free Chip Recipe
Ingredients
- ▢ 2 cups shredded mozzarella cheese
- ▢ 1/2 cup Superfine Almond Flour
- ▢ 1/2 tsp Garlic Powder
- ▢ 1/4 tsp Ground Black Pepper
Instructions
- In a microwave-safe bowl, warm the shredded cheese for 90 seconds or until it is melted.
- Combine the melted cheese with the almond flour and spices.
- Use your hands to form a ball of dough.
- Spread the dough out extremely thin and use a pizza cutter to cut the dough into chip shapes.
- Place the uncooked chips in the air fryer basket and cook for 8 minutes at 350F.
- Remove them from the air fryer basket and allow them to cool completely before serving.
Get support & connect with our community on Facebook!
Nutrition
Don’t forget to check out my other Ketocookbooks.
Keto Instant Pot, Keto Fat Bombs, Sweets, & Treats , and Easy keto in 30 minutes.


If you already signed up, you should have received an email with a password to give you unlimited access to our FREE Printable Library. The password is case sensitive. Enter it below and get printing!
Password:
Keto Chips | Gluten Free Chip Recipe
Ingredients
- 2 cups shredded mozzarella cheese
- 1/2 cup Superfine Almond Flour
- 1/2 tsp Garlic Powder
- 1/4 tsp Ground Black Pepper
Instructions
- In a microwave-safe bowl, warm the shredded cheese for 90 seconds or until it is melted.
- Combine the melted cheese with the almond flour and spices.
- Use your hands to form a ball of dough.
- Spread the dough out extremely thin and use a pizza cutter to cut the dough into chip shapes.
- Place the uncooked chips in the air fryer basket and cook for 8 minutes at 350F.
- Remove them from the air fryer basket and allow them to cool completely before serving.
Keto Chips | Gluten Free Chip Recipe https://twosleevers.com/keto-chips/
Instant Pot Hummus is so good, you’re never going to want to make it a different way. Pressure cooking the chickpeas not only changes their texture but cooks them in a fraction of the time that it would take on the stovetop. This is absolutely worth the minimal effort to make it this way.
I posted a hummus recipe from canned chickpeas several years ago, but I like cooking my own chickpeas.
Yesterday I made twice as many chickpeas as I need, and now I have enough to make chana masala or this vegan Chickpea soup recipe . You can use your Instant Pot to make this Pressure Cooker Hummus recipe with ease.
Instant Pot Hummus
This Instant Pot Hummus recipe is much like one I’ve made in the past, except I made the chickpeas in the Instant Pot. Another nice aspect of cooking your own chickpeas because you don’t have to use a whole can if you don’t want to.
Canned chickpeas do not need to be soaked, but I think going through the extra steps of soaking them yourself takes this hummus recipe to the next level.
You can eat canned chickpeas straight out of the can, because they have already been cooked. Dry chickpeas cannot be eaten raw and need to be soaked before consuming.
Preparing Dry Chickpeas For Instant Pot Hummus
I never remember to soak chickpeas the night before. Ever. So I quick-soak, which is done by soaking your beans in boiling water. An hour later, they’re fully soaked and ready to go. I love it. An even faster way to get me quickly enjoying Instant Pot Hummus.
Ingredients You’ll Need
- Dried Chickpeas , dried
- Kosher Salt
- Garlic
- tahini
- Lemon
How To Make Instant Pot Hummus
- Rinse and remove any debris from the chickpeas. Soak in boiling water for one hour.
- Place soaked chickpeas in the Instant Pot with enough hot water to cover. Add salt to taste so it infuses with the chickpeas, and cook with High Pressure for 20 minutes. Use Natural Pressure Release.
- Drain the chickpeas, make sure to save about 1/4 cup of the water.
- Place 1 cup of chickpeas in a blender or food processor, along with reserved water, garlic cloves, tahini, and lemon juice. Blend until smooth.
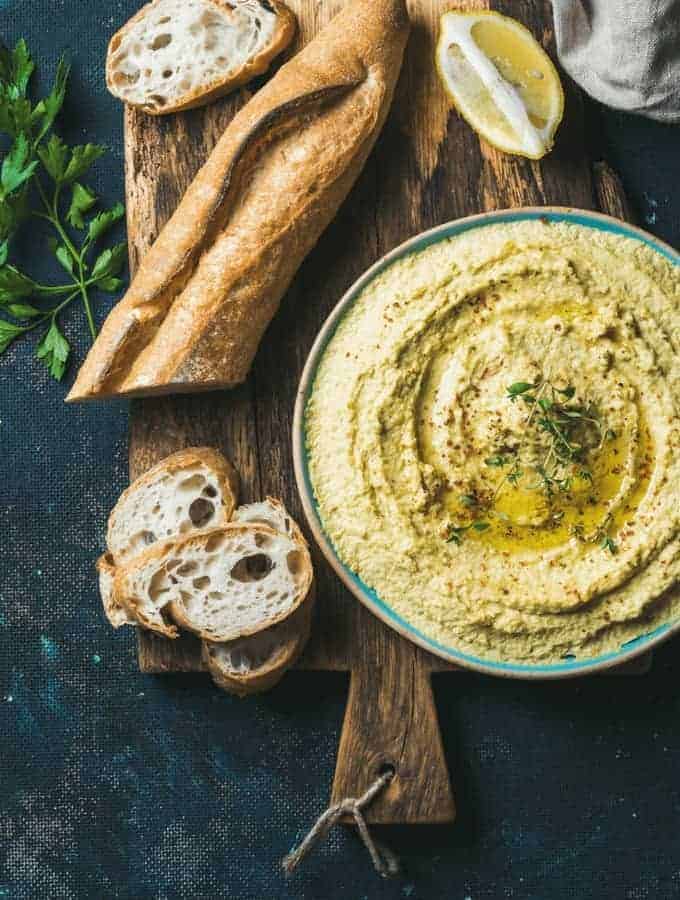
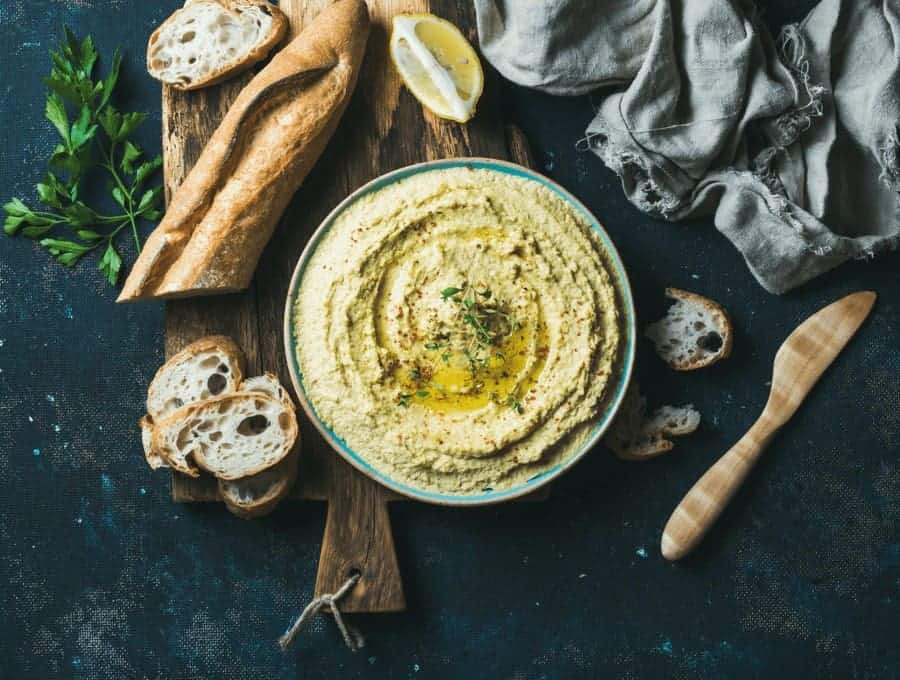
- Pour into a serving bowl and garnish with the olive oil, smoked paprika, and Italian Parsley. Top with toasted pine nuts.
Make Instant Pot Hummus From Chickpeas
This Pressure Cooker Chickpea Hummus recipe is another dump and go recipe. Make the chickpeas in the Instant Pot, dump everything into a blender until smooth, you’re done. Easy peasy. Not to mention this tastes far better than any store-bought hummus you’ve ever eaten.
How Long Does It Last?
Homemade hummus doesn’t last as long as store-bought hummus, but it is still worth making. If you’re not a big snacker, no need to worry. This recipe lasts between 3-4 days in an airtight container in the refrigerator.
Other Dips And Bites To Eat
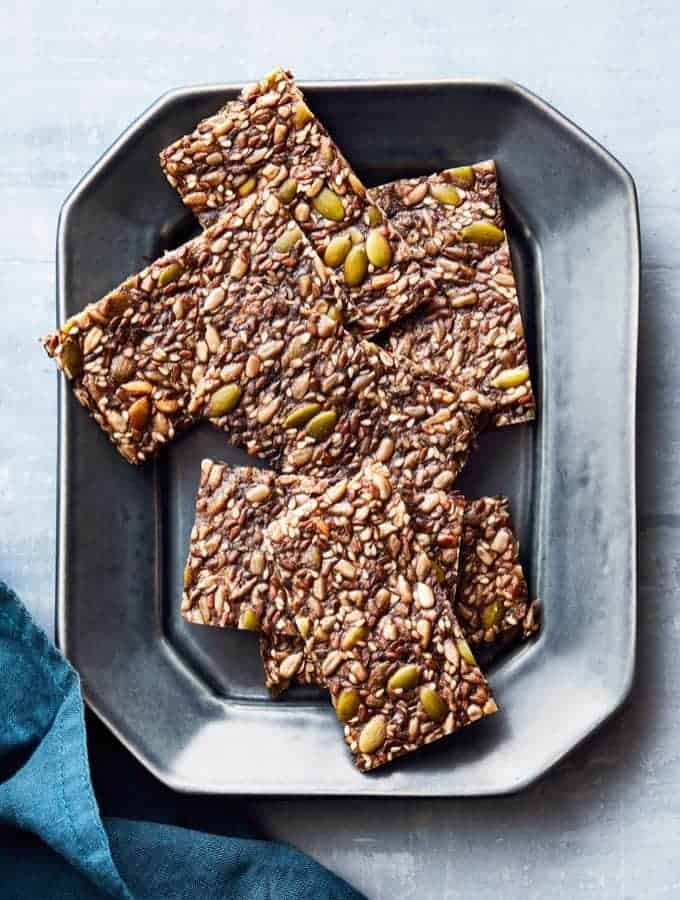
Try out my low carb crackers !
My Instant Pot Baba Ghanoush Dip ! It’s a delightful treat for guests and they won’t know you saved 45 minutes by making it in the Instant Pot rather than the oven!
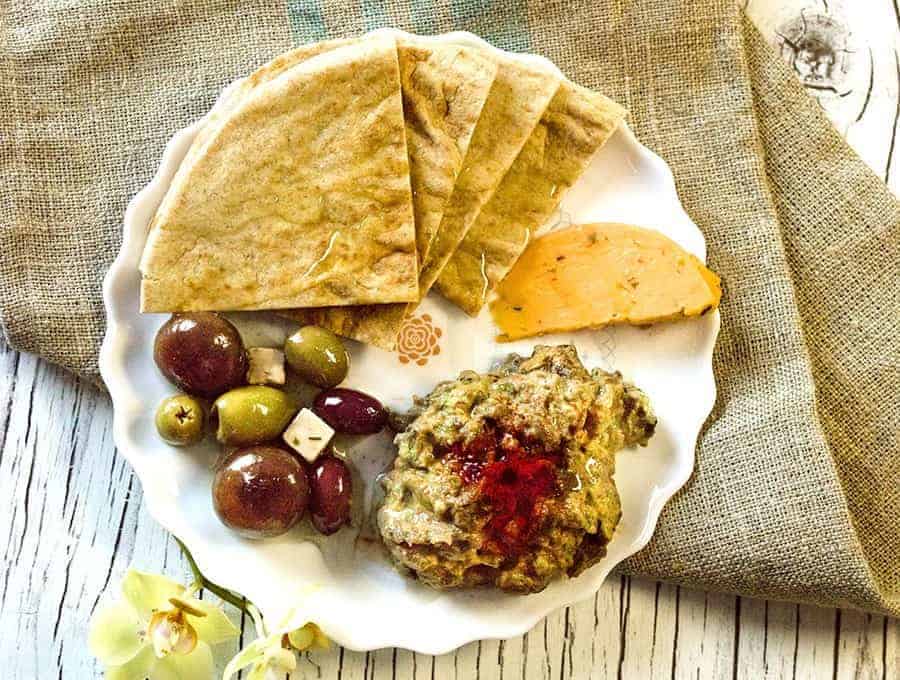
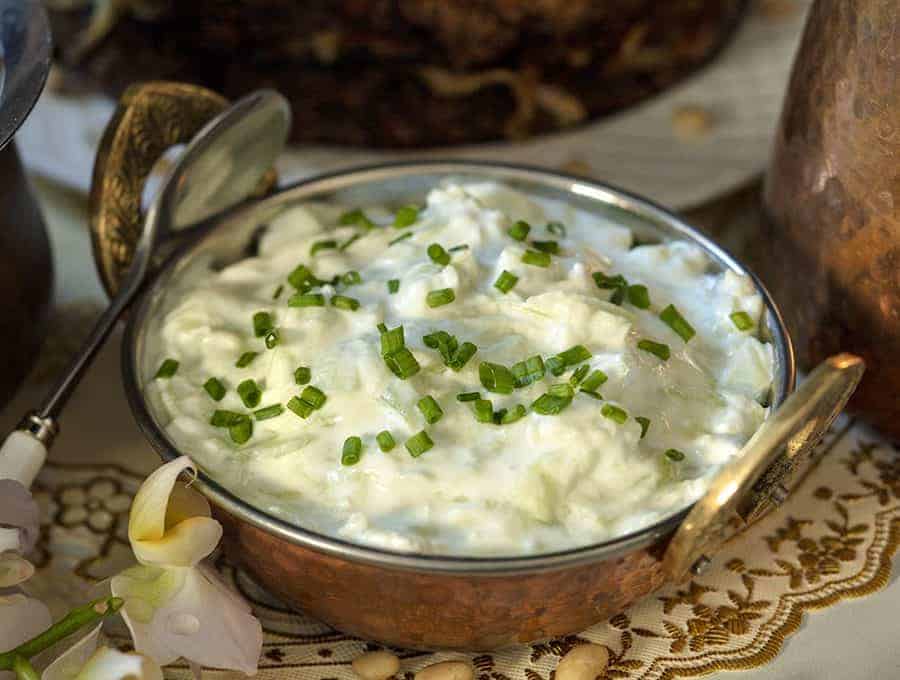
Still can’t get enough Greek recipes? Make my 5 ingredient Tzatikiki Dip that you can eat with pita chips or spoon over Gyros also made in the Instant Pot.
Tips And Tricks For Instant Pot Hummus
- Rinse and remove debris from the dried chickpeas.
- After they have soaked in water, you know they are done when the chickpeas split easily between two fingers.
- Toast whatever nuts you have in your pantry for a depth of flavor and an added crunch to the hummus!
If you like this Instant Pot Hummus recipe as much as we do, make sure you share it with your friends on Facebook and Pinterest so they can try it too.

Instant Pot Hummus
Ingredients
- ▢ 1/2 cup ( 82 g ) Dried Chickpeas , dried
- ▢ hot water, , to cover the chickpeas
- ▢ 1 teaspoon ( 1 teaspoon ) Kosher Salt ,
- ▢ 3-4 cloves ( 3 cloves ) Garlic , peeled
- ▢ 2 tablespoons ( 2 tablespoons ) tahini , (sesame paste)*
- ▢ 1 ( 1 ) Lemon , juiced
Optional Garnish:
- ▢ Smoked Paprika
- ▢ 2 tablespoons ( 2 tablespoons ) Chopped Parsley , chopped
- ▢ 1 tablespoon ( 1 tablespoon ) olive oil
- ▢ 1/4 cup ( 33.75 g ) pine nuts, , toasted (put into a small pan and toast over low-medium heat until they turn light brown)
Instructions
Soak the chickpeas in hot water for 1 hour. Consider doubling the amount you’re making so you will have leftovers for chana masala or other yummy dishes.
Once they’re soaked, place in an Instant Pot with enough water to cover, add a little salt to taste, and pressure cook them for 20 minutes at High Pressure. Use Natural Pressure Release.
Drain the beans and reserve about 1/4 cup of the water. You need about 1 cup of cooked chickpeas.
Place all ingredients except garnish in the bowl of a food processor or blender.
Process until smooth.
Pour into a bowl and decorate with garnish ingredients.
Eat.
Rinse and remove debris from the dried chickpeas.
After they have soaked in water, you know they are done when the chickpeas split easily between two fingers.
Toast whatever nuts you have in your pantry for a depth of flavor and an added crunch to the hummus!
Get support & connect with our community on Facebook!
Nutrition
Don’t forget to check out my otherBest-selling Instant Pot Cookbooks!
Indian Instant Pot , Keto Instant Pot, Instant Pot Fast and Easy , Healthy Instant Pot & Vegetarian Instant Pot .

