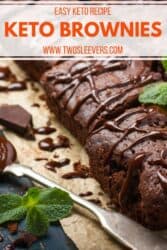
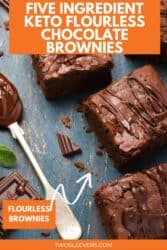
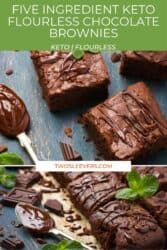
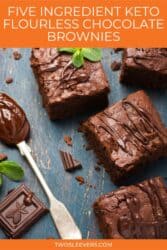
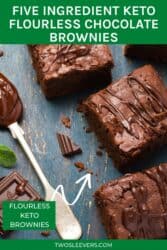
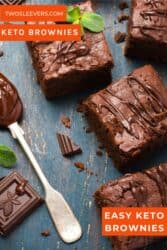
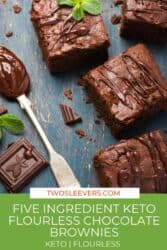
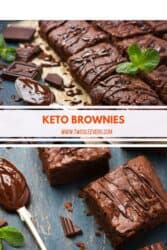
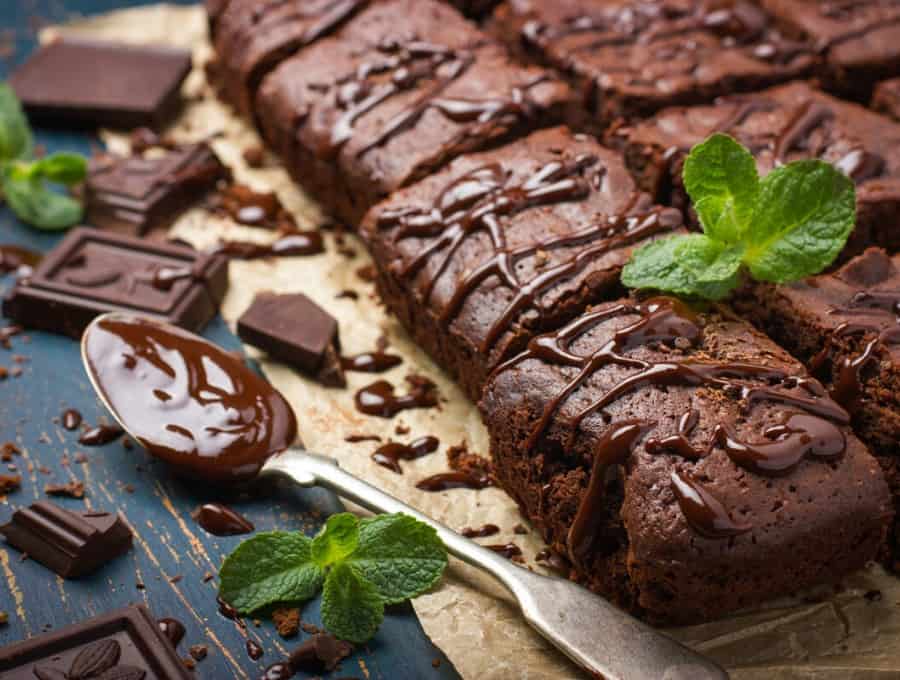
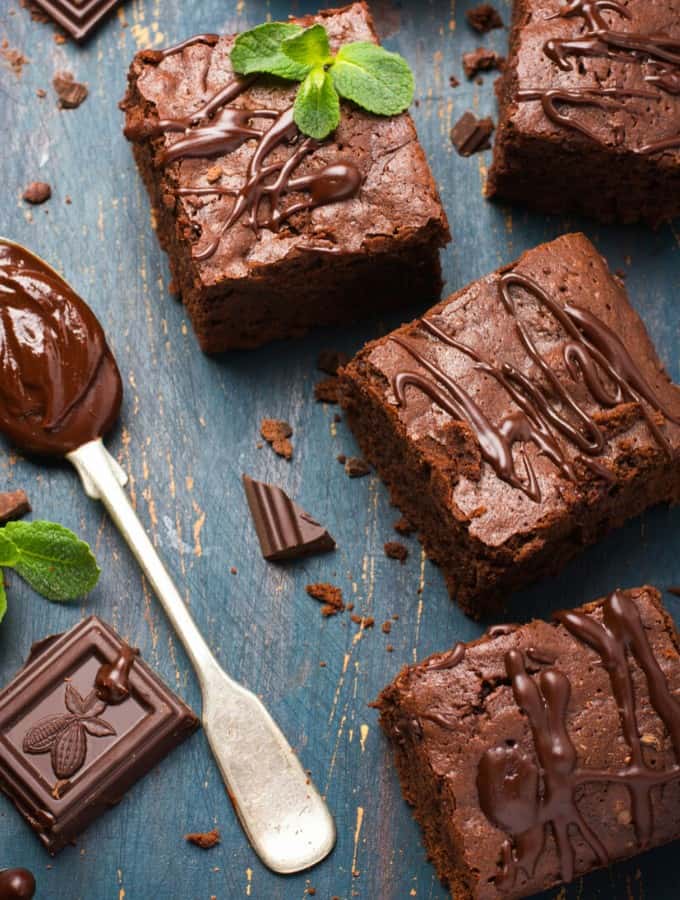
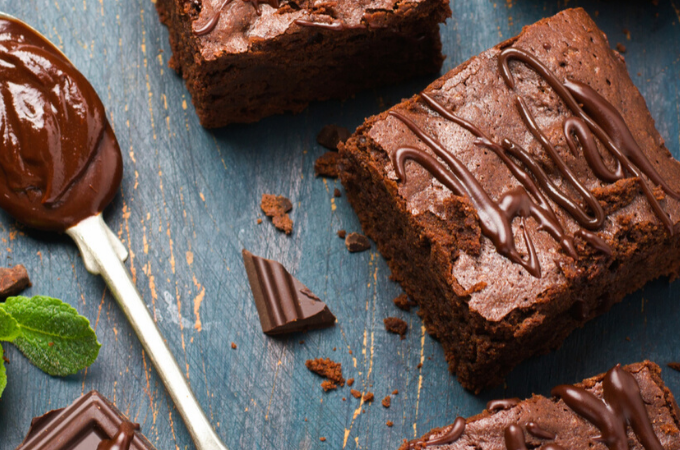
Five Ingredient Keto Flourless Chocolate Brownies are a flourless brownie dessert made with sugar-free chocolate chips, butter, eggs, Truvia or another keto sweetener, and vanilla extract. It’s quick and works well for a keto and low carb chocolate treat when you want something rich with minimal ingredients. Unlike traditional brownies made with flour and sugar, this version keeps the batter simple and gluten-free while still baking up moist and chocolatey with just five pantry staples.
What Makes This Low Carb Dessert Recipe So Great?
- Easy. It’s as simple as melt, mix, and bake.
- Fast. A full-flavored dessert recipe done in under an hour.
- Keto . Only 2 net carbs per serving.
- Crave-worthy. Love chocolate, eat these low carb brownies without the guilt.
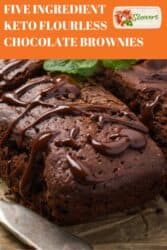
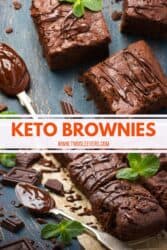
These Five Ingredient Flourless Keto Chocolate Brownies are moist, light, and no one can tell they are baked with something other than sugar, and with no flour.
What Do Flourless Brownies Taste Like?
Okay, this is where I admit I was trying to make a cake, but really, it wanted to be a brownie. Call it a cake, call it a brownie (it’s really more like a brownie) it’s absolutely delicious.
Ingredients You’ll Need
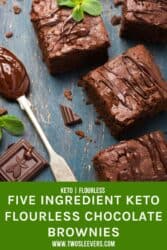
- 1/2 Cup Sugar-Free Chocolate Chips - This is the star of the brownies, providing rich chocolate flavor and a fudgy texture. Sugar-free options keep the recipe low-carb and keto-friendly.
- 1/2 Cup Butter- Butter adds fat, richness, and moisture, which is especially important in flourless brownies to maintain a soft, fudgy texture.
- 3 Eggs - Eggs act as the main structure builder in flourless brownies, providing protein and helping the brownies set. They also contribute to a slightly airy texture, balancing the fudginess.
- 1/4 Cup Truvia - Sweetener provides the sweetness typically contributed by sugar, keeping the brownies keto-compliant.
- 1 tsp Vanilla Extract - Vanilla extract adds depth and aroma, enhancing the chocolate flavor and rounding out the taste of the brownies.
How To Make Easy Keto Brownies
- Melt butter and chocolate chips in the microwave.
- Blend eggs, sweetener, and vanilla in a blender.
- Mix and bake at 350F for 35 minutes or until a knife inserted in the middle emerges clean.
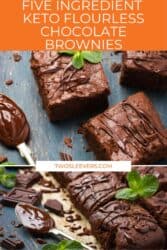
- Drizzle with melted chocolate if desired.
Tips and Tricks
Making the perfect batch of keto brownies can be simple once you know a few key tips to ensure they turn out fudgy, flavorful, and satisfying every time. Here are some tricks to help you get the best results:
- Use kitchen gadgets. I did this the lazy way, using a microwave rather than a double-boiler because really, I’ve seen no differences in how the two work, especially if you’re careful to not overcook the chocolate.
- Keep them airy. I also used my Vitamix to blend the batter to get a lighter texture.
Keto Brownie Variations
Keto brownies are endlessly adaptable, and with just a few tweaks, you can create different flavors and textures to suit your cravings. Here are some tasty variations to try:
- Peanut Butter Swirl - Swirl sugar-free peanut butter into the batter before baking for a decadent nutty twist.
- Mocha Brownies - Add a teaspoon of instant espresso powder to intensify the chocolate flavor and give the brownies a subtle coffee kick.
- Coconut Brownies - Mix in unsweetened shredded coconut or top the brownies with toasted coconut flakes for extra flavor.
How Long Do They Last?
Flourless keto brownies can last for quite a while when stored properly, making them a convenient treat for busy households or meal prepping.
At room temperature, they will generally stay fresh for about 3 to 4 days if kept in an airtight container to prevent them from drying out. For longer storage, keeping them in the refrigerator is ideal; they can last up to 1 week while maintaining their texture.
Can You Freeze Them?
If you want to preserve them even further, flourless keto brownies freeze exceptionally well. Simply wrap them tightly in plastic wrap or aluminum foil and place them in a freezer-safe container or resealable bag.
Properly frozen, they can last for 2 to 3 months without significant loss of flavor or texture. When ready to enjoy, allow them to thaw at room temperature
What To Enjoy With Low Carb Brownies?
Flourless keto brownies are already rich, fudgy, and indulgent, so the best pairings are those that either balance their intensity or enhance their flavor without overpowering them. Here are some excellent options that go beautifully with them:
- Fresh Berries - Raspberries, strawberries, or blueberries add natural sweetness and a tart, refreshing contrast.
- Whipped Cream - Lightly sweetened (with a keto-friendly sweetener) whipped cream adds a creamy, airy balance to the dense brownie.
- Keto Ice Cream - A scoop of vanilla or coffee-flavored keto ice cream pairs wonderfully, creating a classic brownie à la mode.
- Nut Butters - Drizzling almond butter, peanut butter, or hazelnut butter gives a nutty depth and added creaminess.
To store sugar-free keto brownies so they do not dry out, let them cool completely, then wrap the slab tightly or store slices in an airtight container with parchment between layers to prevent sticking. Keep them at cool room temperature for a couple of days if your kitchen is not hot, or refrigerate for longer storage, then bring to room temp before eating so flourless keto brownies stay fudgy instead of firm. For the best long-term option, freeze individual brownie squares wrapped well, then thaw covered so moisture stays trapped, and the brownies do not dry out.
Net carbs per keto brownie depends on the recipe and how big you cut them, but many sugar-free keto brownies land around 2 grams net carbs per brownie when made with sugar-free chocolate chips and sliced into 6 pieces.
For more fudgy keto brownies, a metal pan is usually better because it heats faster and more evenly, which helps the edges set without overbaking the center. Glass pans hold heat longer and can lead to overbaked edges by the time the middle of sugar-free keto brownies is done, which can make them drier and less fudgy. If you only have glass, lower the oven temperature slightly and start checking earlier, then let the brownies cool completely so the fudgy texture sets.
Best Brownie Recipes
- Keto Mint Brownies
- Keto Chocolate Cheesecake Brownies
- Cottage Cheese Brownies
- Zucchini Brownies
- Black Bean Brownies
If you love this Keto Brownie Recipe as much as I do, make sure you share it with your friends on Facebook and Pinterest to make again soon.
Keto Brownies | Easy Flourless Brownies
Equipment
- Gowise Air Fryer
- AIR FRYER ACCESSORY SET
- 7 Inch Springform Pan
- Silicone Tongs
- Measuring Cups
- Measuring Spoons
Ingredients
- ▢ 1/2 cup ( 90 g ) Sugar-Free Chocolate Chips
- ▢ 1/2 cup ( 113.5 g ) Butter
- ▢ 3 ( 3 ) Eggs
- ▢ 1/4 cup ( 0.25 g ) Truvia , or other sweetener
- ▢ 1 tsp ( 1 tsp ) Vanilla extract
Instructions
- In a microwave safe bowl, melt butter and chocolate for about 1 minute. Remove and stir well. You really want to use the heat within the butter and chocolate to melt the rest of the clumps. If you microwave until it’s all melted, you’ve overcooked the chocolate. So get a spoon and start stirring. Add 10 seconds if needed but stir well before you decide to do that.
- In a bowl, add eggs, sweetener, and vanilla and blend until light and frothy.
- Pour the melted butter and chocolate into the bowl in a slow stream and beat again until it is well-incorporated.
- Pour the mixture into greased springform contain er or cake pan and bake at 350F for 30-35 minutes until a knife inserted in the center emerges clean.
- Serve with whipped cream if desired (see note)
Get support & connect with our community on Facebook!
Nutrition
Don’t forget to check out my other Ketocookbooks.
Keto Instant Pot, Keto Fat Bombs, Sweets, & Treats , and Easy keto in 30 minutes.

Five Ingredient Keto Flourless Chocolate Brownies are a flourless brownie dessert made with sugar-free chocolate chips, butter, eggs, Truvia or another keto sweetener, and vanilla extract. It’s quick and works well for a keto and low carb chocolate treat when you want something rich with minimal ingredients. Unlike traditional brownies made with flour and sugar, this version keeps the batter simple and gluten-free while still baking up moist and chocolatey with just five pantry staples.
What Makes This Low Carb Dessert Recipe So Great?
- Easy. It’s as simple as melt, mix, and bake.
- Fast. A full-flavored dessert recipe done in under an hour.
- Keto . Only 2 net carbs per serving.
- Crave-worthy. Love chocolate, eat these low carb brownies without the guilt.
These Five Ingredient Flourless Keto Chocolate Brownies are moist, light, and no one can tell they are baked with something other than sugar, and with no flour.
What Do Flourless Brownies Taste Like?
Okay, this is where I admit I was trying to make a cake, but really, it wanted to be a brownie. Call it a cake, call it a brownie (it’s really more like a brownie) it’s absolutely delicious.
Ingredients You’ll Need
- 1/2 Cup Sugar-Free Chocolate Chips - This is the star of the brownies, providing rich chocolate flavor and a fudgy texture. Sugar-free options keep the recipe low-carb and keto-friendly.
- 1/2 Cup Butter- Butter adds fat, richness, and moisture, which is especially important in flourless brownies to maintain a soft, fudgy texture.
- 3 Eggs - Eggs act as the main structure builder in flourless brownies, providing protein and helping the brownies set. They also contribute to a slightly airy texture, balancing the fudginess.
- 1/4 Cup Truvia - Sweetener provides the sweetness typically contributed by sugar, keeping the brownies keto-compliant.
- 1 tsp Vanilla Extract - Vanilla extract adds depth and aroma, enhancing the chocolate flavor and rounding out the taste of the brownies.
How To Make Easy Keto Brownies
- Melt butter and chocolate chips in the microwave.
- Blend eggs, sweetener, and vanilla in a blender.
- Mix and bake at 350F for 35 minutes or until a knife inserted in the middle emerges clean.
- Drizzle with melted chocolate if desired.
Tips and Tricks
Making the perfect batch of keto brownies can be simple once you know a few key tips to ensure they turn out fudgy, flavorful, and satisfying every time. Here are some tricks to help you get the best results:
- Use kitchen gadgets. I did this the lazy way, using a microwave rather than a double-boiler because really, I’ve seen no differences in how the two work, especially if you’re careful to not overcook the chocolate.
- Keep them airy. I also used my Vitamix to blend the batter to get a lighter texture.
Keto Brownie Variations
Keto brownies are endlessly adaptable, and with just a few tweaks, you can create different flavors and textures to suit your cravings. Here are some tasty variations to try:
- Peanut Butter Swirl - Swirl sugar-free peanut butter into the batter before baking for a decadent nutty twist.
- Mocha Brownies - Add a teaspoon of instant espresso powder to intensify the chocolate flavor and give the brownies a subtle coffee kick.
- Coconut Brownies - Mix in unsweetened shredded coconut or top the brownies with toasted coconut flakes for extra flavor.
How Long Do They Last?
Flourless keto brownies can last for quite a while when stored properly, making them a convenient treat for busy households or meal prepping.
At room temperature, they will generally stay fresh for about 3 to 4 days if kept in an airtight container to prevent them from drying out. For longer storage, keeping them in the refrigerator is ideal; they can last up to 1 week while maintaining their texture.
Can You Freeze Them?
If you want to preserve them even further, flourless keto brownies freeze exceptionally well. Simply wrap them tightly in plastic wrap or aluminum foil and place them in a freezer-safe container or resealable bag.
Properly frozen, they can last for 2 to 3 months without significant loss of flavor or texture. When ready to enjoy, allow them to thaw at room temperature
What To Enjoy With Low Carb Brownies?
Flourless keto brownies are already rich, fudgy, and indulgent, so the best pairings are those that either balance their intensity or enhance their flavor without overpowering them. Here are some excellent options that go beautifully with them:
- Fresh Berries - Raspberries, strawberries, or blueberries add natural sweetness and a tart, refreshing contrast.
- Whipped Cream - Lightly sweetened (with a keto-friendly sweetener) whipped cream adds a creamy, airy balance to the dense brownie.
- Keto Ice Cream - A scoop of vanilla or coffee-flavored keto ice cream pairs wonderfully, creating a classic brownie à la mode.
- Nut Butters - Drizzling almond butter, peanut butter, or hazelnut butter gives a nutty depth and added creaminess.
To store sugar-free keto brownies so they do not dry out, let them cool completely, then wrap the slab tightly or store slices in an airtight container with parchment between layers to prevent sticking. Keep them at cool room temperature for a couple of days if your kitchen is not hot, or refrigerate for longer storage, then bring to room temp before eating so flourless keto brownies stay fudgy instead of firm. For the best long-term option, freeze individual brownie squares wrapped well, then thaw covered so moisture stays trapped, and the brownies do not dry out.
Net carbs per keto brownie depends on the recipe and how big you cut them, but many sugar-free keto brownies land around 2 grams net carbs per brownie when made with sugar-free chocolate chips and sliced into 6 pieces.
For more fudgy keto brownies, a metal pan is usually better because it heats faster and more evenly, which helps the edges set without overbaking the center. Glass pans hold heat longer and can lead to overbaked edges by the time the middle of sugar-free keto brownies is done, which can make them drier and less fudgy. If you only have glass, lower the oven temperature slightly and start checking earlier, then let the brownies cool completely so the fudgy texture sets.
Best Brownie Recipes
- Keto Mint Brownies
- Keto Chocolate Cheesecake Brownies
- Cottage Cheese Brownies
- Zucchini Brownies
- Black Bean Brownies
If you love this Keto Brownie Recipe as much as I do, make sure you share it with your friends on Facebook and Pinterest to make again soon.
Keto Brownies | Easy Flourless Brownies
Equipment
- Gowise Air Fryer
- AIR FRYER ACCESSORY SET
- 7 Inch Springform Pan
- Silicone Tongs
- Measuring Cups
- Measuring Spoons
Ingredients
- ▢ 1/2 cup ( 90 g ) Sugar-Free Chocolate Chips
- ▢ 1/2 cup ( 113.5 g ) Butter
- ▢ 3 ( 3 ) Eggs
- ▢ 1/4 cup ( 0.25 g ) Truvia , or other sweetener
- ▢ 1 tsp ( 1 tsp ) Vanilla extract
Instructions
- In a microwave safe bowl, melt butter and chocolate for about 1 minute. Remove and stir well. You really want to use the heat within the butter and chocolate to melt the rest of the clumps. If you microwave until it’s all melted, you’ve overcooked the chocolate. So get a spoon and start stirring. Add 10 seconds if needed but stir well before you decide to do that.
- In a bowl, add eggs, sweetener, and vanilla and blend until light and frothy.
- Pour the melted butter and chocolate into the bowl in a slow stream and beat again until it is well-incorporated.
- Pour the mixture into greased springform contain er or cake pan and bake at 350F for 30-35 minutes until a knife inserted in the center emerges clean.
- Serve with whipped cream if desired (see note)
Get support & connect with our community on Facebook!
Nutrition
Don’t forget to check out my other Ketocookbooks.
Keto Instant Pot, Keto Fat Bombs, Sweets, & Treats , and Easy keto in 30 minutes.

If you already signed up, you should have received an email with a password to give you unlimited access to our FREE Printable Library. The password is case sensitive. Enter it below and get printing!
Password:
Keto Brownies | Easy Flourless Brownies
Ingredients
- 1/2 cup Sugar-Free Chocolate Chips
- 1/2 cup Butter
- 3 Eggs
- 1/4 cup Truvia or other sweetener
- 1 tsp Vanilla extract
Instructions
- In a microwave safe bowl, melt butter and chocolate for about 1 minute. Remove and stir well. You really want to use the heat within the butter and chocolate to melt the rest of the clumps. If you microwave until it’s all melted, you’ve overcooked the chocolate. So get a spoon and start stirring. Add 10 seconds if needed but stir well before you decide to do that.
- In a bowl, add eggs, sweetener, and vanilla and blend until light and frothy.
- Pour the melted butter and chocolate into the bowl in a slow stream and beat again until it is well-incorporated.
- Pour the mixture into greased springform contain er or cake pan and bake at 350F for 30-35 minutes until a knife inserted in the center emerges clean.
- Serve with whipped cream if desired (see note)
Keto Brownies | Easy Flourless Brownies https://twosleevers.com/five-ingredient-keto-flourless-chocolate-brownies/
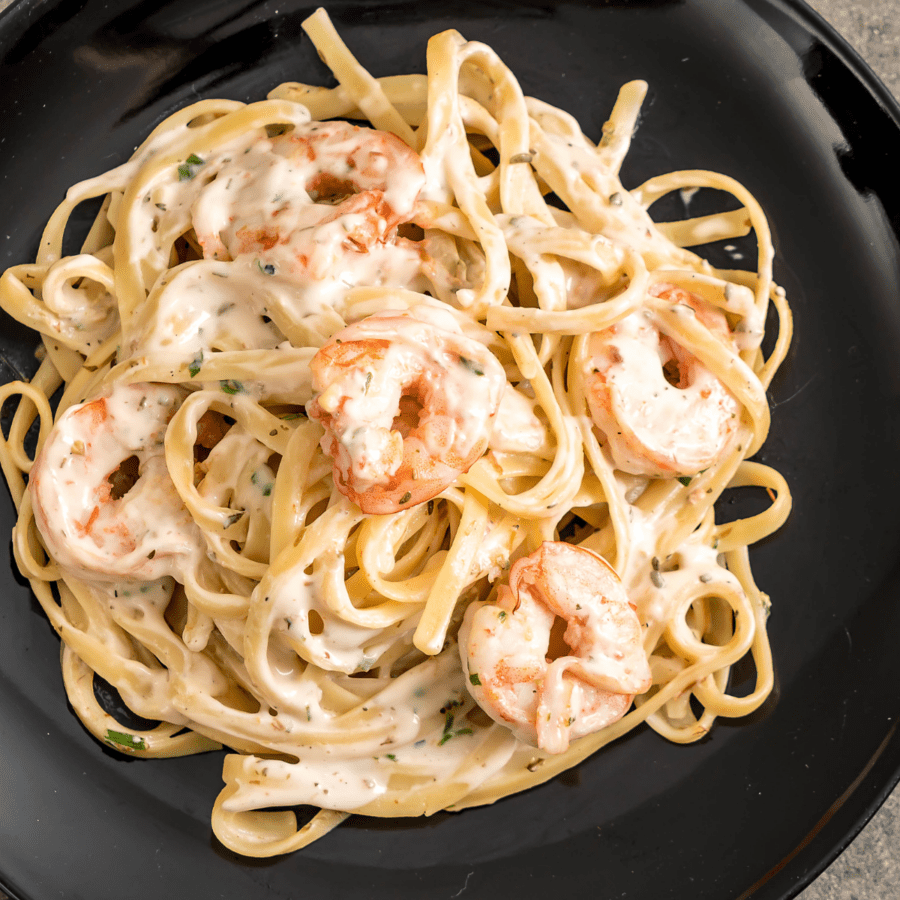
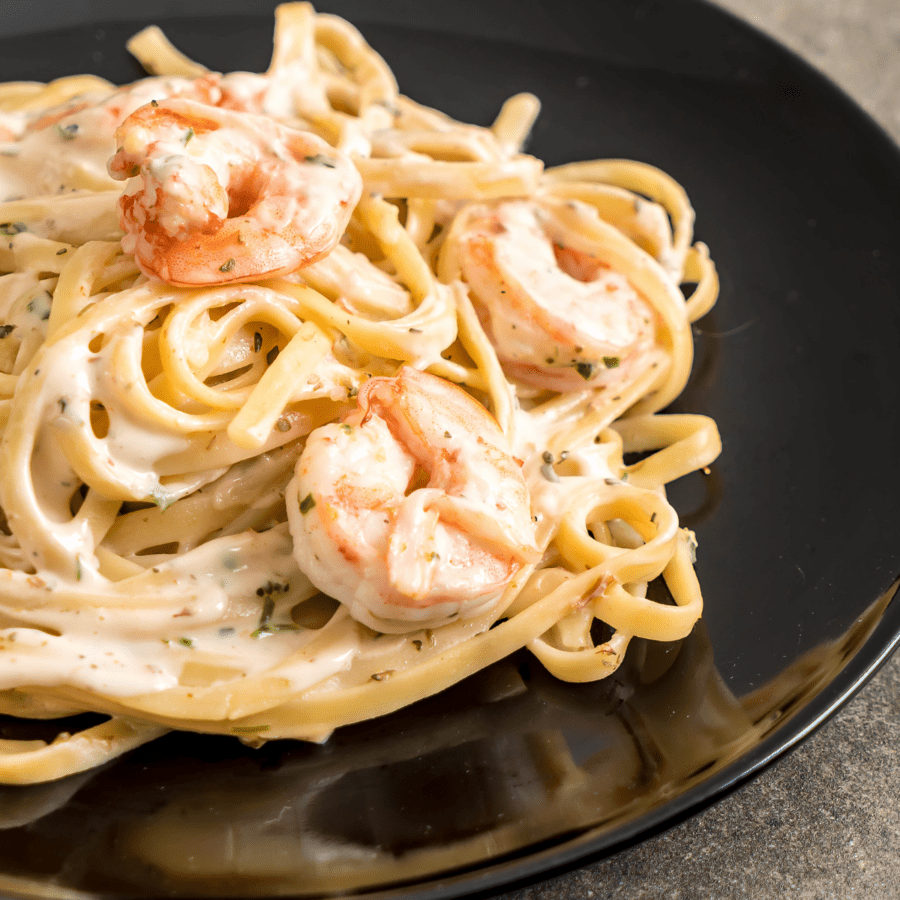
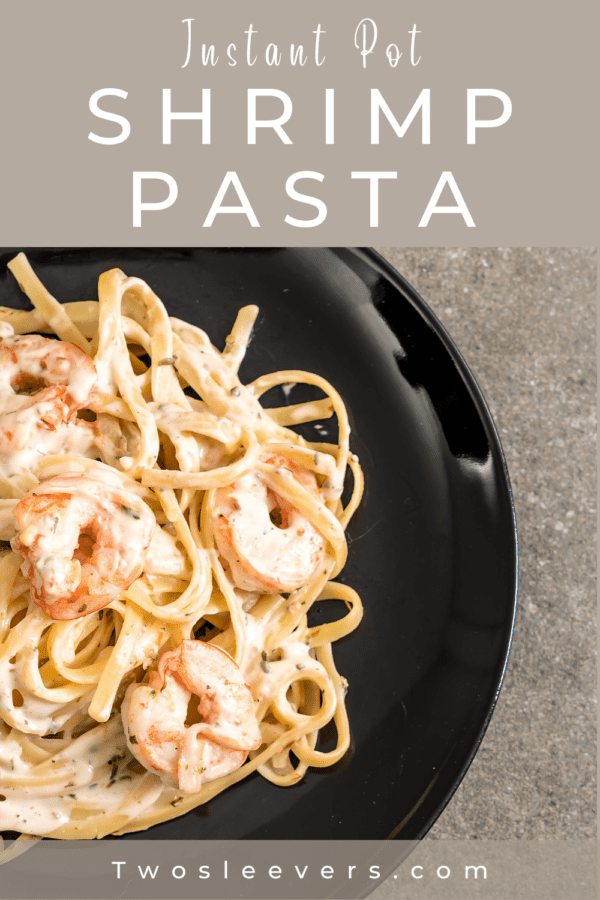
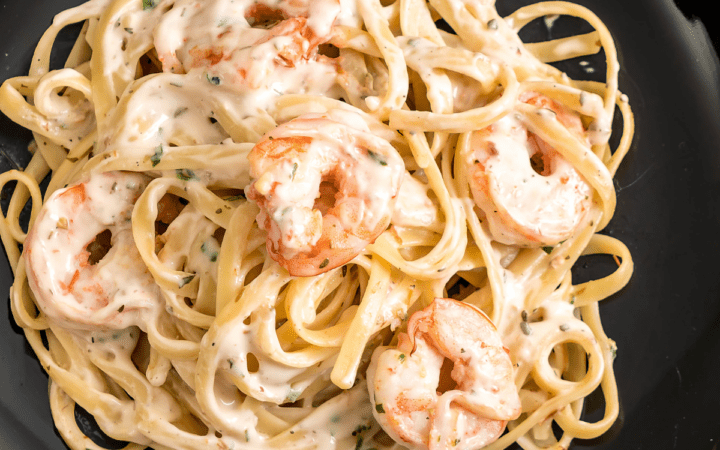
Cajun Shrimp Pasta is a decadently creamy pasta dish that is filling enough to feed a crowd. Make this tasty seafood pasta dish in under 30 minutes with just a few simple ingredients and your Instant Pot!
Why You’ll Love It
- Easy. Cook everything in your Instant Pot liner . What’s better than a one-pot meal?
- Delicious. A rich, creamy seafood pasta with a slight kick of heat that will have your family going back for seconds–or thirds.
- Fast. Make this Creamy Cajun Shrimp Pasta in under 30 minutes with the help of your Instant Pot .
Is Seafood Pasta Healthy?
What may be considered healthy for one person may not necessarily be healthy for another. It is important to know and understand any dietary restrictions you may have before consuming a new food.
That being said, shrimp is high in protein while being low in calories. The heavy cream is rich in calcium and fat, to help keep you fuller, longer. And the pasta? Well, it’s high in carbs so it’s good fuel for your brain and muscles when you’re feeling depleted or just need a little comfort food hug.
Ingredients You’ll Need
- Shrimp - Use raw, peeled, and deveined shrimp for quick and easy preparation.
- Fettuccini Noodles - These will need to be broken in half so they lay flat inside your Instant Pot liner.
- Chicken Broth - This is the base of the shrimp pasta sauce and serves as the liquid to help bring the Instant Pot to pressure.
- Butter - To saute the garlic and make the dish even more flavorful.
- Heavy Cream - You can’t have a delicious cream sauce for your pasta without a little heavy cream.
- Parmesan Cheese - Helps thicken the sauce and lends a wonderfully rich and tangy flavor to the sauce.
- Cajun Spice Mix - Makes the shrimp pasta perfectly seasoned and exciting for your taste buds.
- Salt - To taste. Feel free to omit salt completely, as there is some in the Cajun Spice Mix as well.
- Pepper - Just a touch to help enhance the flavors of the other ingredients in the dish.
- Garlic - I prefer to use minced garlic for a stronger garlic bite. If you don’t have the time or the urge to mince fresh garlic, you can use 1 tsp of garlic powder instead.
- Nutmeg - Provides another layer of flavor that is subtly sweet to help balance the saltiness from the parmesan cheese and cajun seasoning in the dish.
How To Make Cajun Shrimp Pasta
- Turn your Instant Pot to saute. Once it is hot, place the butter in the Instant Pot liner. Once the butter has melted, add the minced garlic and saute until golden brown and fragrant. Turn off your Instant Pot.
- Pour in the chicken broth and use it to deglaze any stuck bits of garlic from the Instant Pot liner.
- Break your alfredo noodles in half and crisis cross them while laying them flat inside the Instant Pot.
- Add heavy cream, salt, pepper, nutmeg, and Cajun spice mix.
- Secure the Instant Pot lid and cook under high pressure for 4 minutes.
- Use a quick pressure release to allow the pressure to escape quickly and remove the lid once it is safe to do so.
- Stir the contents of the Instant Pot and incorporate the parmesan cheese.
- Place the thawed, uncooked shrimp on top of the cooked pasta and sauce and replace the Instant Pot lid. Do not turn the pressure cooker back on.
- After 10 minutes with the lid locked in place, remove the lid again, stir, and enjoy. The heat and moisture from the cooked pasta will cook the shrimp without bringing the Instant Pot back up to pressure.
Tips And Tricks
- Criss-cross your pasta. Avoid placing the pasta inside of the Instant Pot laying it all in one direction or in one clump. Make sure you are laying the pasta in a variety of directions when placing it in the Instant Pot liner to prevent it from sticking to each other while cooking.
- Don’t be afraid to season. The amount of Cajun spice I included in this recipe is adjusted to be family-friendly. If you’re a fan of spice or want to make your shrimp pasta super flavorful, don’t be afraid to sprinkle in a little extra when you’re adding all of the ingredients to the Instant Pot, or even a little to garnish before serving.
- Use the right type of shrimp. Using the correct type of shrimp in this dish is critical to make it a success. Make sure you grab small or medium raw peeled and deveined shrimp. Using cooked shrimp can lead to a rubbery, overcooked bite. Using unpeeled or shrimp that aren’t deveined can cause a lot of extra work and make the prep time for this recipe much longer than listed below.
- Give it a good stir. If you have any experience cooking with dairy in the Instant Pot, you know that cooking it under pressure can cause it to separate or give it a curdled appearance. This may happen with the heavy cream in this dish, but don’t be alarmed. Give it a good stir after it is done cooking and it will be as good as new.
- Defrost your Shrimp. While the pasta is cooking, run your raw frozen shrimp under cool water for approximately 60 seconds. This should defrost them enough to cook in the residual heat.
What Sides Go Good With Shrimp Pasta?
If you’re looking for something to bulk up this Instant Pot pasta dish, try one of these delicious sides to make your dinner spread complete:
- Cauliflower Breadsticks
- Salad
- Cheese Muffins
- Air Fryer Asparagus
- Brussels Sprouts with Bacon
How Long Does It Last?
This recipe makes a large amount of pasta, so if you’re not cooking for a crowd or have a small appetite, expect to have leftovers. For the best bite, store any extra shrimp pasta in an air-tight container in the refrigerator and enjoy it within 3-4 days.
Reheating Instructions
There are two different ways you can go about reheating this Instant Pot Shrimp Alfredo. One is in the microwave, and one is using your Instant Pot again.
To reheat your shrimp pasta in the microwave, place it in a microwave-safe bowl and remove the shrimp. Add a small amount of water (this will vary depending on how much pasta you have left) to the bowl and microwave for 90 seconds, or until the pasta is heated through. Add the shrimp back to the bowl and heat for an additional 30 seconds and enjoy.
To use your Instant Pot, place the shrimp pasta in the Instant Pot liner and add 1/4 cup of water. Press saute and when the Instant Pot is hot, stir frequently until the pasta and shrimp are thoroughly heated.
More Delicious Shrimp Recipes
There is such a variety of ways to enjoy shrimp, there’s no reason to stop experimenting with shrimp pasta! Try one of our other incredibly easy and tasty shrimp recipes:
- Bang Bang Shrimp
- Shrimp Risotto
- Keto Shrimp and Grits
Shrimp Pasta
Ingredients
- ▢ 1 pound Frozen Raw Shrimp
- ▢ 16 oz fettuccini noodles
- ▢ 32 oz Chicken Broth
- ▢ 2 tbsp Butter
- ▢ 1 cup Heavy Cream
- ▢ 1 cup Grated Parmesan Cheese
- ▢ 2 tbsp Cajun Seasoning
- ▢ 1/2 tsp Kosher Salt
- ▢ 1/2 tsp Ground Black Pepper
- ▢ 1 tbsp Minced Garlic
- ▢ 1/2 tsp Ground Nutmeg
Instructions
- Turn your Instant Pot to saute. Once it is hot, place the butter in the Instant Pot liner. Once the butter has melted, add the minced garlic and saute until golden brown and fragrant. Turn off your Instant Pot.
- Pour in the chicken broth and use it to deglaze any stuck bits of garlic from the Instant Pot liner.
- Break your alfredo noodles in half and crisis cross them while laying them flat inside the Instant Pot.
- Add heavy cream, salt, pepper, nutmeg, and Cajun spice mix.Secure the Instant Pot lid and cook under high pressure for 4 minutes.
- Use a quick pressure release to allow the pressure to escape quickly and remove the lid once it is safe to do so.
- Stir the contents of the Instant Pot and incorporate the parmesan cheese.
- Place the uncooked shrimp on top of the cooked pasta and sauce and replace the Instant Pot lid. Do not turn the pressure cooker back on.
- After 10 minutes with the lid locked in place, remove the lid again, stir, and enjoy. The heat and moisture from the cooked pasta will cook the shrimp without bringing the Instant Pot back up to pressure.
Get support & connect with our community on Facebook!
Nutrition
Don’t forget to check out my otherBest-selling Instant Pot Cookbooks!
Indian Instant Pot , Keto Instant Pot, Instant Pot Fast and Easy , Healthy Instant Pot & Vegetarian Instant Pot .

