Not sure when to use Instant Pot NPR or QPR when pressure cooking? This article breaks down the difference between NPR (natural pressure release) and QPR (quick pressure release) and when you should use them . Oh, and QPR alone will not make meat tough.
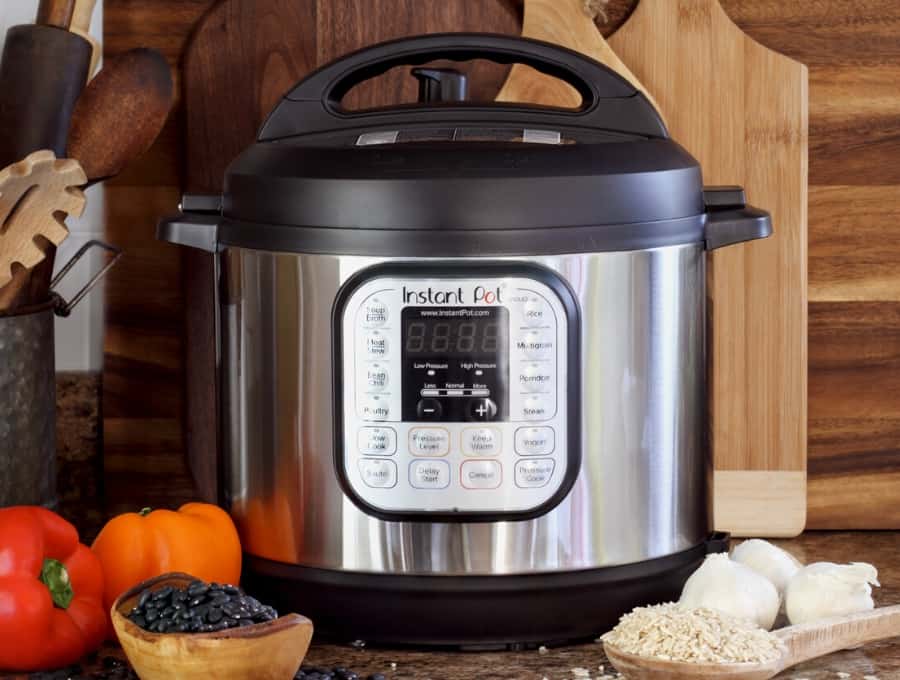
All Electric pressure cookers such as the Instant Pot , the Ninja Foodi , the Fagor , the Crockpot Express , the Mueller UltraPot , and the Cuisinart CPC-600 have the ability to release steam manually.
What do NPR and QPR Mean?
NPR stands for Natural Pressure release. QPR stands for Quick Pressure Release.
But there’s a simpler way to remember all this. NPR means leave it the heck alone. QPR means to terrify the dogs and cats in your house by turning the valve to venting and having that huge hissing sound take over your kitchen.
When a recipe asks you to NPR, it’s basically saying let the pot sit undisturbed. In this case, you will do nothing except exercise patience, and wait until the float valve drops. At that point, you can open the lid safely and eat.
When a recipe asks you to QPR, you are expected to safely and carefully move the valve from SEALING to VENTING, forcing all the pressure out of the pot quickly. I find a long-handled wooden spurtle to be quite handy during this operation.
You definitely want your hands and face away from the steam valve. This is NOT a good time to try to get a facial.
It is also important to keep the steam away from cabinets. One thing that I find quite handy is a steam diverter.
MYTH: Will using QPR (Quick Release) make my Meat Tough?
I see this posted all the time in groups–don’t use QPR because it will make the meat tough.
So the real culprit here isn’t QPR per se. It’s that Natural Pressure Release time counts as cooking time. Those 10 minutes that you let a pot rest without releasing pressure? It is cooking time.
The liquid in the pot is still hot. There’s ambient heat. The food continues to cook during that time.
If you QPR your meat, you’re shortcutting the cooking time. That is what is making the meat tough, not the process of QPR’ing.
I will say this. When you pressure cook, you aren’t boiling the meat as you would in cooking on the stove. You are using super-heated water so to speak.
The video in this post explains this in some detail. I also address this in my Instant Pot Iced Tea post.
So yes, when you suddenly release pressure, the water does come to a boil and your meat may be under a boil for a few minutes.
#trustUrvashi this will not harm the final product.
REALITY: When do I use QPR (Quick Pressure Release) for my Instant Pot or Pressure Cooker?
Here’s when you use Quick Pressure release :
- When you are cooking delicate foods such as seafood or vegetables that will cook very quickly anyway . Allowing the pot to continue to cook the food will make mush out of your veggies and seafood.
- When you are cooking in multiple cycles, as for this beef stew . So you will cook the meat once. Then, you will QPR and add vegetables and cook the meat a second time. Allowing the meat to NRP the first time will lead to–you guessed it–overcooked meat.
- When you would like some of the water to evaporate. You need a certain amount of liquid in the pot for it to come to pressure. But meat and vegetables also release water. Sometimes you want a slightly drier dish. For these recipes, I use quick pressure release to get rid of some of the liquid as steam. I find this a lot better than having to sauté afterward, and also less likely to overcook food.
Reality: When do I use Natural Pressure Release for the Pressure Cooker?
- Use NPR for larger cuts of meat . It takes a little time for the inside of a large roast to get hot. This happens via conduction heat–a layer of meat gives off heat and warmth to the next layer of meat closest to it, until the inside of the roast is hot. If you keep cooking until the inside is hot under pressure, you are likely to overcook the meat. So allowing the pot to rest undisturbed lets conduction occur, without applying additional heat to the outside layer of meat.
- Use NRP when I don’t want the water to boil vigorously when I’m making something like Instant Pot tea . You can read the post I linked to in order to see why I do this.
- Some people believe that allowing your soup to boil vigorously toward the end makes for a cloudy broth . In that case, you will want to avoid QPR.
- NPR is best for foods that foam such as beans, split peas, etc. These tend to spit foam and you’re better off letting the pot rest before trying to release pressure.
- If you have overfilled your pot (naughty naughty! also dangerous, so don’t), or you have a lot of liquid in the pot, it might spit, sputter, and foam as you release pressure. So in that case, NPR is safest for an overfilled pot, or one that has a lot of liquid in it.
How Long does NPR Take?
It depends.
I know, I know, not the answer you want! But it does depend on a variety of things. The primary determinant is how full the pot is, and how much of that fullness is from a liquid.
The more the liquid and/or the fuller the pot, the longer it will take for NPR.
This is why I often ask you to use very little water upfront, even for soups. You can always add water later, but it’s difficult to remove water without overcooking your ingredients on Sauté.
I know I will sound judgmental, but I think recipes that ask you to remove excess water by sautéeing afterward are typically (not always) just not well written. I rarely ask you to do that. It seems so inefficient!
If you’ve been waiting for what seems like forever, you may have something stuck under the valve that is keeping it from dropping.
After 15-20 minutes, use a spoon to gently tap on the float valve. If it drops right away, you will need to thoroughly clean under the valve before using it the next time.
Do I have to turn the pot off when doing a Natural Pressure Release?
Remember when I said above, NPR means leave it the heck alone? Seriously, leave it alone. You don’t need to do anything. Typically once cooking is over, the KEEP WARM setting kicks in.
Pressure is achieved at 240F+ temperatures. Keep Warm is a lot lower than that. So even at the KEEP WARM setting, the temperature will drop enough to let the pressure dissipate.
So what’s the best way to release pressure for most dishes?
Hybrid or Shortened Pressure release
I tend to use this a lot. I usually allow the pot to rest undisturbed for 10 minutes. Then I release all remaining pressure. You will see this method used most often in my pressure cooker recipes.
Many of my recipes ask you to NPR for 10 minutes and then release all remaining pressure. So you leave the pot alone for 10 minutes, and then you turn the valve from sealing to venting and allow the rest of the pressure to be released quickly.
A Quick Recap On NPR And QPR
NPR stands for Natural Pressure release. QPR stands for Quick Pressure Release.
If you QPR your meat, you’re shortcutting the cooking time. That is what is making the meat tough, not the process of QPR’ing.
When you are cooking delicate foods such as seafood or vegetables that will cook very quickly anyway. 2. When you are cooking in multiple cycles. 3. When you would like some of the water to evaporate.
Use NPR for larger cuts of meat. 2. Use NRP when you don’t want the water to boil vigorously. 3. NPR is best for foods that foam such as beans, split peas, etc. 4. NPR is safest for an overfilled pot, or one that has a lot of liquid in it.
The more the liquid and/or the fuller the pot, the longer it will take for NPR.
No. Pressure is achieved at 240F+ temperatures. Keep Warm is a lot lower than that. So even at the KEEP WARM setting, the temperature will drop enough to let the pressure dissipate.
So now that you know how to use Natural pressure release and quick pressure release, it’s time for you to cook! Check out my 250+ Pressure cooker recipes here.
Don’t forget to check out my otherBest-selling Instant Pot Cookbooks!
Indian Instant Pot , Keto Instant Pot, Instant Pot Fast and Easy , Healthy Instant Pot & Vegetarian Instant Pot .

Originally Published December 11, 2019

If you already signed up, you should have received an email with a password to give you unlimited access to our FREE Printable Library. The password is case sensitive. Enter it below and get printing!
Password:
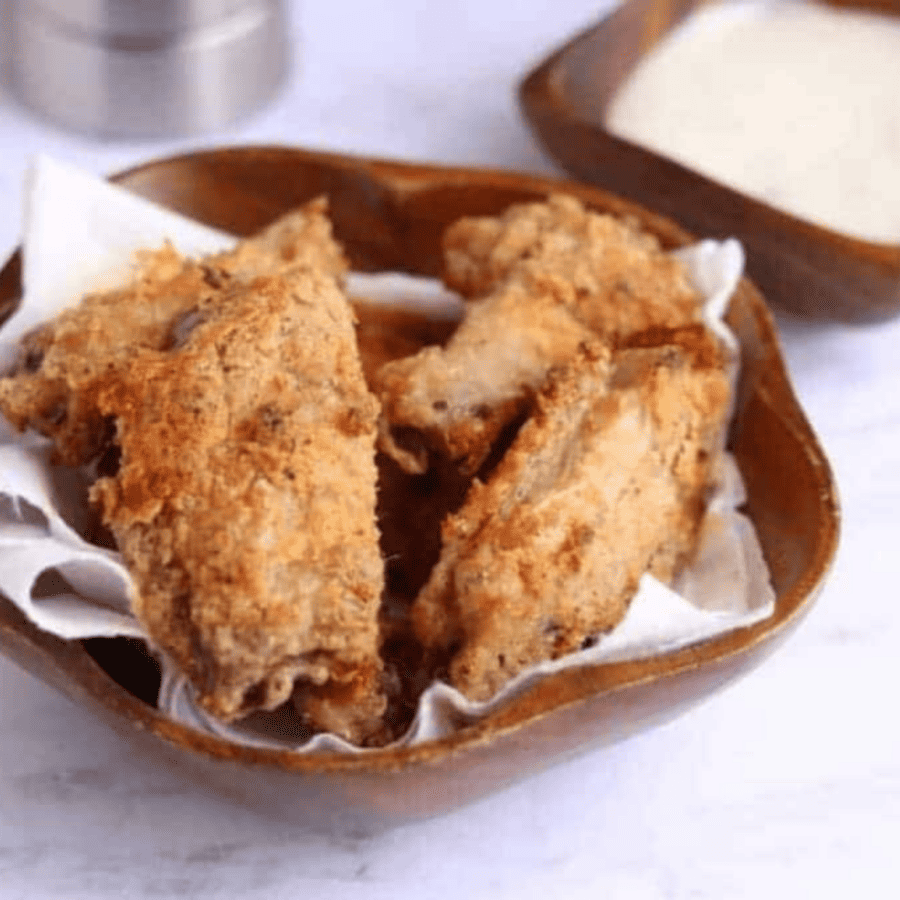
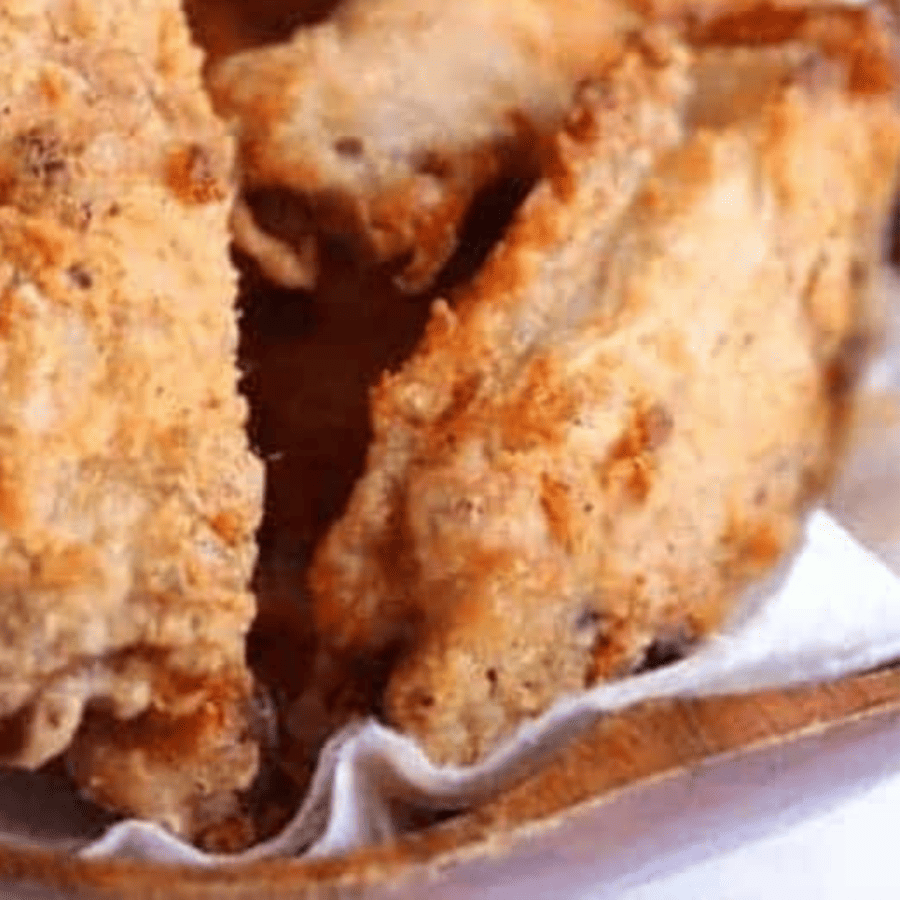
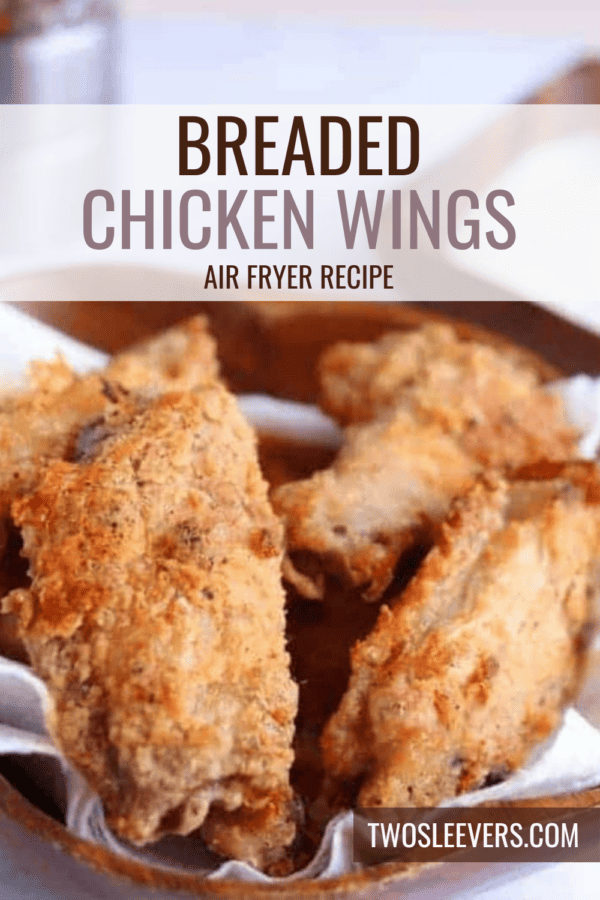
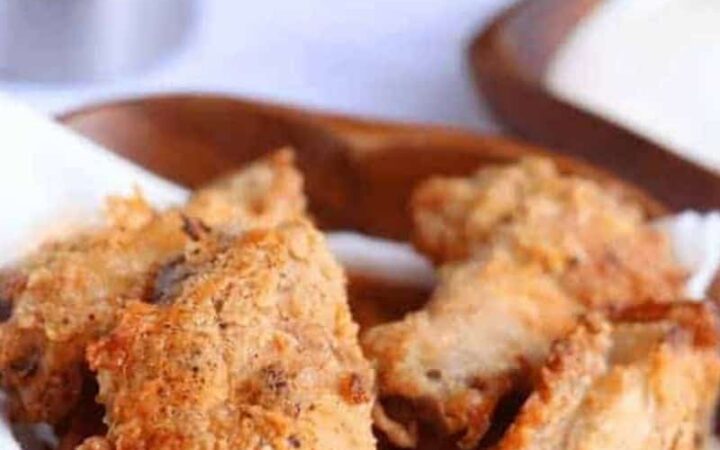
Air Fried Breaded Chicken Wings are a crispy air fryer appetizer made with chicken wings, vegetable oil, all-purpose flour, smoked paprika, garlic powder, kosher salt, and freshly crushed peppercorn. It’s quick and works well for game day or party snacking, especially if you want dairy-free, egg-free wings with a fried-style crunch in under 30 minutes. Unlike deep fried breaded wings or recipes that rely on an egg wash and extra additives, this version uses oil to help a simple seasoned flour coating stick, then air fries at high heat for crispy breaded wings without all the grease.
Why You’ll Love These Breaded Chicken Wings
When it comes to cooking appetizers and party foods with ease, the Air Fryer reigns supreme. It makes finger foods just a crispy as a deep fryer without soaking your food in fattening oils! Equally important, the Air Fryer won’t fill your house with an overbearing deep-fried oil smell. the Air Fryer won’t fill your house with an overbearing deep-fried oil smell.
My Air Fryer Chicken Wings recipe is perfect for your next sports event, party, Netflix binge session , or even as a full-on meal ! It’s great comfort food that is made healthier and easier with your Air Fryer. These breaded chicken wings are ready to eat in less than half an hour and are dairy free , egg-free, and high in protein .
How Do You Get Breading To Stick To Chicken Wings?
The blend I use to make the flour mixture for these chicken wings is a combination of flour, smoked paprika, garlic powder, and salt and pepper .
The smoked paprika gives it such a great flavor paired with the garlic and makes an awesome base for added sauces later.
You can also use lemon pepper seasoning instead, or really any other dry rub that you like.
Note that if you use garlic salt and not garlic powder, adjust the salt accordingly.
Ingredients You’ll Need
- 1 pound Chicken Wings - The star of the dish. Chicken wings are naturally juicy with a great ratio of meat to skin, making them perfect for crisping up in the air fryer.
- 3 tablespoons Vegetable Oil - Coats the wings before breading to help the flour mixture stick and ensures even browning and crispiness in the air fryer without deep frying.
- 1/2 cup All-Purpose Flour - Acts as the breading base, creating a light coating that crisps up beautifully in the air fryer for that classic fried texture.
- 1/2 teaspoon Smoked Paprika - Adds a smoky depth of flavor and a subtle warmth that complements the savory wings. It also gives the breading a touch of color.
- 1/2 teaspoon Garlic Powder - Infuses the coating with a savory, aromatic note, enhancing the overall flavor of the wings.
- 1/2 teaspoon Kosher Salt - Essential for seasoning, it balances and enhances all the flavors while ensuring the chicken isn’t bland.
- 1/2 teaspoon Freshly Crushed Peppercorn - Provides a sharp, slightly spicy bite that rounds out the seasoning and adds a touch of heat.
How To Make Breaded Chicken Wings
Follow these directions to make this delicious air fryer recipe :
- Place chicken wings in a large bowl. Pour in the oil and then toss to coat the wings well.
- In a separate bowl, add dry ingredients and whisk until combined.
- One at a time, place oiled wings in the dry mixture and coat with breading, then place each wing on in the air fryer basket.
- Set your air fryer to 400F and cook for 20 minutes flipping half way through.
- Use a meat thermometer to ensure the chicken wings have reached an internal temperature of 165F , and the breading is brown and crunchy before serving.
Yes! Flipping the wings halfway through the cooking cycle will ensure you get lovely, extra crispy chicken wings . Remember that the inside of the Air Fryer will be hot so use tongs or a fork to flip the wings halfway through. If you do this as directed, you will get such crispy wings, you won’t believe they weren’t deep-fried wings.
It’s best to keep your Air Fryer Chicken Wings in a single layer while cooking them. The way the Air Fryer works means it will need space to circulate the air inside the appliance . So if all the wings are stacked, they won’t get crispy. If you need to, cook the wings in two batches.
One of my favorite things to do when cooking chicken in an Air Fryer is to toss it in hot sauce . But here’s the thing to know.. Take the crispy chicken wings after they are almost all the way cooked , straight from the air fryer, and toss the wings in your sauce of choice, and then put them back into the air fryer to allow the sauce to glaze over them. Do NOT cook the raw wings with hot sauce or on them. You need them dry, so you get crispy chicken wings.
Here are some serving options to consider for your air fried chicken wings. You can use your favorite wing sauce. Make the sauce I use for my Korean Chicken Wings. You can also use the buffalo wing sauce that I used for my spicy cauliflower recipe. Use plain hot sauce with some ranch dressing. A blue cheese dip or just use chunks of blue cheese smashed into some sour cream or ranch dressing Use Barbecue sauce for an easy dipping sauce.
Tips And Tricks
Here are a few things I can tell you that you will NOT need to get the best breaded chicken wings –and I know this because I tried all of them.
I found it entirely useless to use baking powder, baking soda, or corn starch. Air frying dries the wings just fine without them. Similarly, there is zero need for olive oil or any kind of cooking spray. Chicken wings have more than enough fat without all that.
These wings are one of our best air fryer chicken recipes and is perfect to serve as an appetizer with a dip. You can also serve them as a main course along with my rosemary roasted potatoes , apple zucchini salad or with a side of cauliflower rice .
- Place the chicken wings in a single layer in the air fryer basket. Fry them in two batches if needed.
- Be sure to flip the wings during cooking.
- You can reheat leftover wings in the air fryer. Cook them at 360°F for 4 minutes. Turn the heat to 400°F and cook for 5 more minutes.
- Want to make these crispy chicken wings into hot wings? Simply remove from the air fryer, and toss with your favorite hot sauce .
Variations
Air fryer breaded chicken wings are wonderfully crispy and flavorful, and the best part is how easily you can change them up to suit your mood or occasion. Here are some tasty variations to try:
- Classic Buffalo Wings - Toss the crispy wings in a mix of hot sauce and melted butter for that tangy, spicy flavor everyone loves.
- Garlic Parmesan Wings - Coat the cooked wings with melted butter, minced garlic, and grated Parmesan cheese for a rich, savory twist.
- Lemon Pepper Wings - Season the breading with lemon zest and black pepper, then finish the wings with a sprinkle of lemon juice for a zesty punch.
- Spicy Cajun - Add Cajun seasoning to the breading for a bold, smoky, and slightly spicy flavor profile.
Can I Cook Frozen Wings In The Air Fryer?
Can you? Yes.
Are they as good as unfrozen wings? No.
Are they still spectacular? Yes, actually they are.
Here’s the small issue I found. To get the crispiest, fried chicken texture, you need the wings to be as dry as possible.
With frozen wings, they have so much moisture from the ice crystals, that by the time you’ve dried off the moisture, your wings are a teeny bit overcooked.
Of course, frozen wings won’t take any type of breading or dry rub at all, so there’s also that.
But one of the advantages of Air Fryer Wings is that the moisture dissipates faster than in the oven, due to the hot air circulating. So it’s not the worst thing in the world–and it’s a lot better than no chicken wings!
How To Make Chicken Wings From Frozen
If you want to use frozen chicken wings in your air fryer instead of fresh ones, here are a few things to try:
- Let the frozen chicken wings defrost as much as you can. Then, use a paper towel to thoroughly dry them, and then proceed as directed.
- If you have the time and the patience, put the frozen wings in a ziptop bag. Add a few paper towels to soak up moisture. Place the bag in some warm (but NOT hot) water. This way, the wings stay dry, but defrost a little faster.
- You can also defrost them in the microwave but I had very uneven results when I did this, with some hot and cold spots.
- Defrost in the fridge overnight.
- Use an air fryer and don’t worry about it 🙂 As I said above, air fryer chicken wings are pretty spectacular anyway.
How Long Do They Last?
These chicken wings are best enjoyed the day they’re made or the day after. Too far after that, the breading on the outside becomes too soggy, even when reheating the proper way in the air fryer.
If you’re not concerned about the texture of your wings, they can last up to 4 days after they are initially made.
Can You Freeze Them?
Air fried breaded wings will also last about 2–3 months in the freezer. For the best results, reheat them in the oven or air fryer to maintain their crispiness, since microwaving can make the breading soggy.
OurBest Wing Recipes
- Korean Chicken Wings
- Mango Habanero Wings
- Baked Chicken Wings
- Hot Honey Wings
- Sticky Chicken Wings
- Cauliflower Buffalo Wings
Breaded Wings | Air Fried Chicken Wings
Equipment
- PHILLIPS AIR FRYER
- Silicone Tongs
- Meat Thermometer
Ingredients
- ▢ 1 pound ( 453.59 g ) chicken wings
- ▢ 3 tablespoons ( 3 tablespoons ) Vegetable Oil
- ▢ 1/2 cup ( 62.5 g ) All-Purpose Flour
- ▢ 1/2 teaspoon ( 0.5 teaspoon ) Smoked Paprika
- ▢ 1/2 teaspoon ( 0.5 teaspoon ) Garlic Powder
- ▢ 1/2 teaspoon ( 0.5 teaspoon ) Kosher Salt
- ▢ 1/2 teaspoon ( 0.5 teaspoon ) freshly crushed peppercorn
Instructions
Place chicken wings in a large bowl. Pour in the oil and then toss to coat the wings well.
In a separate bowl, add dry ingredients and whisk until combined.
One at a time, place oiled wings in the dry mixture and coat with breading, then place each wing on in the air fryer basket.
Set your airfryer to 400F and cook for 20 minutes flipping half way through.
Use a meat thermometer to ensure the chicken wings have reached an internal temperature of 165F, and the breading is brown and crunchy before serving.
Place the chicken wings in a single layer in the air fryer basket. Fry them in two batches if needed.
Be sure to flip the wings during cooking.
You can reheat leftover wings in the air fryer. Cook them at 360°F for 4 minutes. Turn the heat to 400°F and cook for 5 more minutes.
Want to make these crispy chicken wings into hot wings? Simply remove from the air fryer, and toss with your favorite hot sauce .
Get support & connect with our community on Facebook!
Nutrition
And don’t forget to check out my air fryer cookbooks! Every day easy air fryer , and Air Fryer Revolution .

