
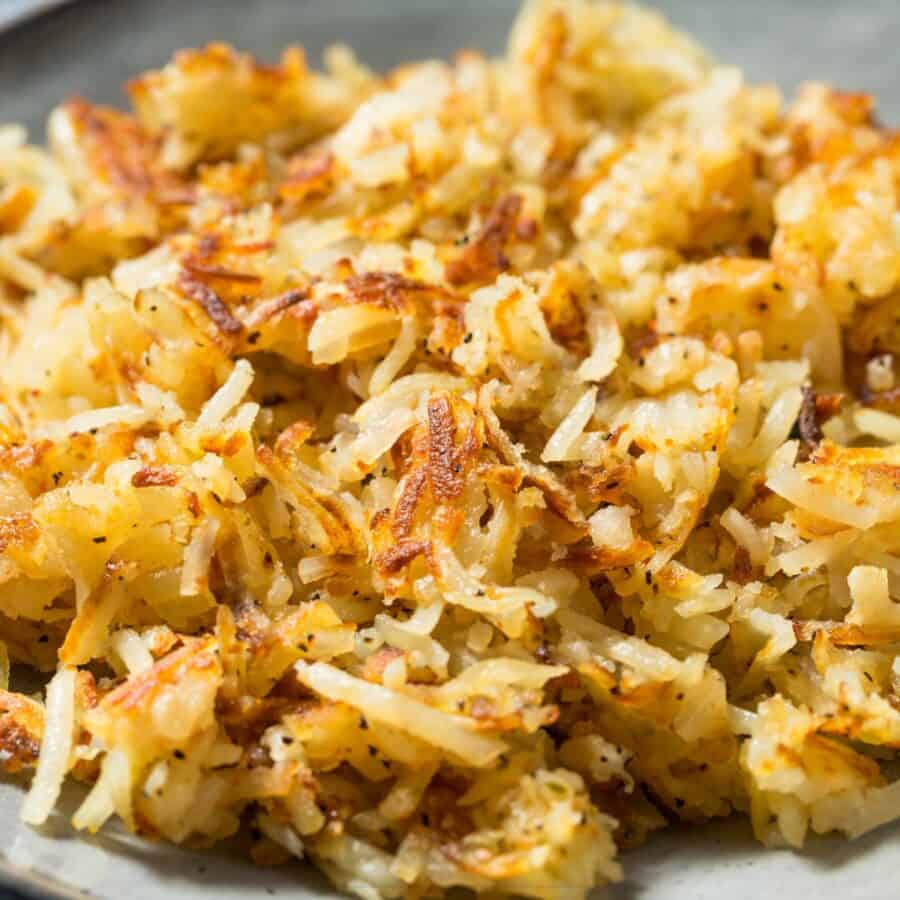
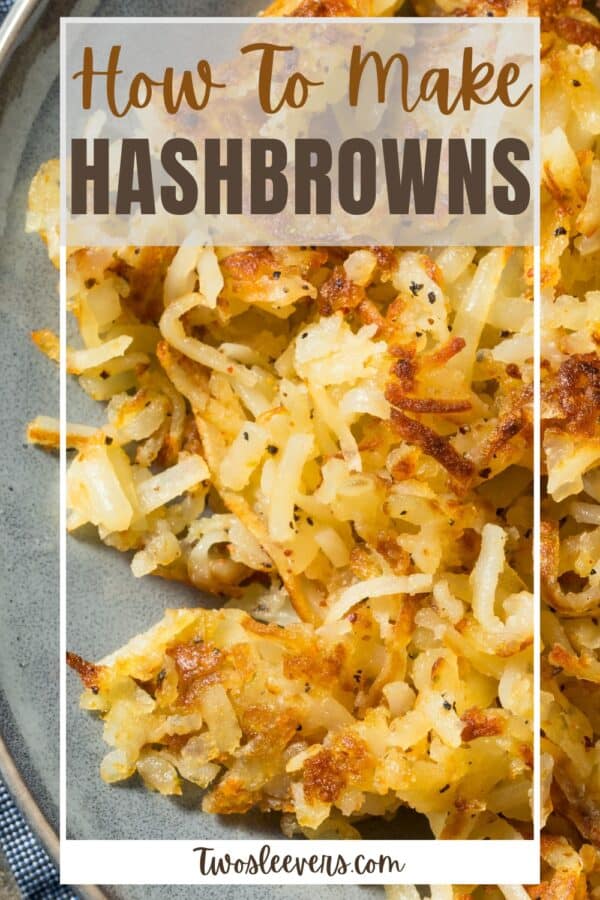
If you dream of creating the perfect, crispy, and golden hash browns at home, your quest ends here! Discover how to make hash browns with this foolproof method. Say goodbye to soggy potatoes and hello to crispy perfection with every bite.

Why You’ll Love Them Homemade
- Fast and Efficient . Achieve golden perfection in under 20 minutes.
- Simple Ingredients . Only a few basic ingredients required.
- Crispy Every Time . No more guesswork for that perfect crunch.
- Versatile . Ideal for breakfast, brunch, or a side dish.
With this easy-to-follow recipe, you’ll impress your friends and family with restaurant-quality hash browns from your kitchen. Whether you’re preparing a leisurely Sunday brunch or looking for a quick breakfast option, these hash browns are sure to be a hit.
What Is The Trick To Cooking Hashbrowns?
The trick to cooking perfect hash browns lies in a few key steps that transform simple grated potatoes into crispy, golden delights. Here’s how to ensure success every time:
- Choose the Right Potatoes . Russet potatoes are ideal for hash browns due to their high starch content, which helps to create a crispy texture.
- Rinse and Dry . After grating the potatoes, rinse them under cold water to remove excess starch, which can make hash browns gummy instead of crispy. Then, dry them thoroughly. The less moisture in the potatoes, the crispier they’ll be. You can use a clean kitchen towel or a salad spinner to get rid of as much water as possible.
- Preheat Your Pan . Use a heavy skillet (cast iron works wonderfully) and heat it with a generous amount of oil or butter over medium-high heat before adding your potatoes. This ensures a nice, even browning.
- The Right Flip . Be patient and wait until the first side is well-browned and crispy before flipping them over to cook the other side. Use a wide spatula for flipping to keep them intact.
How To Dry Shredded Potatoes For Hash Browns
Drying shredded potatoes is a crucial step in making crispy hash browns. Here’s how to ensure your shredded potatoes are perfectly dry before cooking:
- Rinse - After shredding your potatoes, rinse them in cold water to remove excess starch, which can make your hash browns sticky instead of crispy.
- Drain - Pour the rinsed potatoes into a colander to drain. Shake the colander gently to help remove water.
- Dry Thoroughly - Using a Kitchen Towel - Lay out a clean kitchen towel on your countertop. Spread the shredded potatoes evenly over the towel. Roll the towel up with the potatoes inside, then twist and squeeze to remove as much moisture as possible. You might want to do this in batches depending on the quantity of your potatoes. Using a Salad Spinner - If you have a salad spinner, it can be effective in spinning away the water from the potatoes after rinsing. After spinning, you may still want to give them a final dry in a towel for best results.
- Paper Towel Method - For an additional step, spread the shredded potatoes out on a sheet of paper towel and pat them down with another paper towel, pressing firmly to absorb any remaining moisture.
How Do You Bind Hash Browns Together?
Keeping hash browns from falling apart involves ensuring they have enough binding agents and are cooked properly. Here’s how to ensure your hash browns stay together and turn out crispy and delicious:
- Dry the Potatoes Thoroughly . After shredding the potatoes, it’s crucial to remove as much moisture as possible. Excess water will steam the potatoes instead of frying them, making it hard for them to stick together. Use a clean kitchen towel or cheesecloth to squeeze the shredded potatoes dry.
- Press Firmly When Cooking . When you place the hash browns in the skillet, use a spatula to press them down firmly. This helps the shreds stick to each other.
- Don’t Flip Too Early . Wait until one side of the hash browns is golden and crispy before flipping. Flipping them too early can cause them to fall apart. A good crust will help keep them intact.
- Use Enough Oil . Make sure your skillet is well-coated with oil or butter. This not only helps in achieving a crispy texture but also prevents the hash browns from sticking and breaking apart when you try to flip them.
Ingredients You’ll Need
- Potatoes . The star of the show. Russet potatoes work best for their starch content and texture.
- Salt and Pepper . Essential for seasoning.
- Butter and Olive Oil . For frying to crispy perfection.
How To Make Hash Browns
- Prep the Potatoes . Start by grating your potatoes. For extra crispy hash browns, rinse the grated potatoes under cold water to remove excess starch, then squeeze out as much moisture as possible using a kitchen towel.
- Season . Toss the dried, grated potatoes in a bowl with salt and pepper.
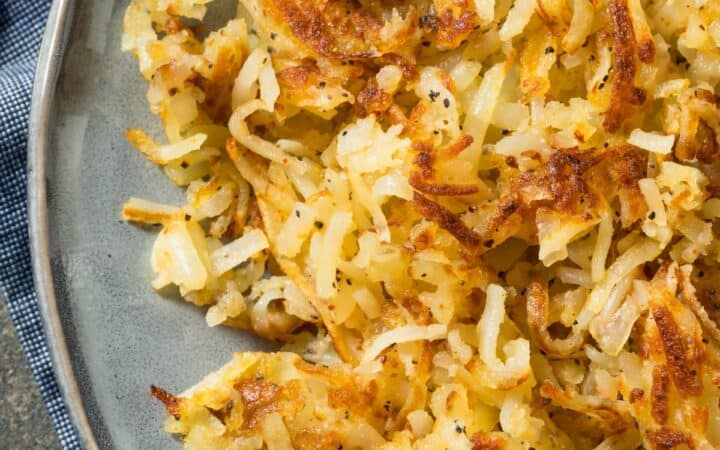
- Cook to Perfection . Heat a mixture of butter and olive oil in a skillet over medium-high heat. Spread the potatoes in a thin layer, pressing down lightly. Cook until the underside is golden brown and crispy, then flip and repeat.
- Serve and Enjoy . Transfer your crispy hash browns to a plate. For an extra touch, sprinkle with fresh herbs like parsley or chives.
Tips And Tricks
Making perfect homemade hash browns can be a satisfying culinary achievement. Here are some tips and tricks to get crispy, golden hash browns every time:
- Preheat the Pan. Ensure your pan is hot before adding the potatoes. A cast-iron skillet is ideal for even heat distribution and achieving a crispy exterior.
- Press Down. After adding the potatoes to the pan, press them down firmly to create a flat, even layer. This helps in forming a crust that holds the hash browns together.
- Flip Carefully. Wait until the bottom is golden brown and crispy before flipping. Use a wide spatula to flip the hash browns in sections to prevent breaking.
Variations
There are numerous variations for homemade hashbrowns depending on personal preferences and dietary restrictions. Here are some ideas:
- Sweet Potato- Substitute regular potatoes with sweet potatoes for a sweeter flavor and extra nutrients. Follow the same steps as classic hashbrowns.
- Cheesy- Mix grated potatoes with shredded cheese (cheddar, mozzarella, or your favorite melting cheese). Cook as per the classic hashbrown method until the cheese is melted and bubbly.
- Spicy- Add diced jalapeños, red pepper flakes, or a dash of hot sauce to the grated potatoes for a kick.
What To Serve With Homemade Hash browns
Hash browns are incredibly versatile and can accompany a wide range of dishes:
- Breakfast Classics - Serve alongside eggs, bacon, and toast for a complete breakfast.
- Brunch Specials - Pair with avocado toast, smoked salmon, or hollandaise sauce for a brunch feast.
- Dinner Sides - Complement with grilled meats or a fresh salad for a satisfying dinner.
How Long Do They Last?
Store cooked leftover hash browns in an airtight container for up to 3 days. For the best results, reheat in a skillet over medium heat until warm and crispy.
Can You Freeze Them?
Absolutely! Freeze cooled hashbrowns on a baking sheet before transferring to a freezer-safe bag. Reheat them directly from frozen for a quick and crispy side.
More Perfect Potato Recipes
- Cheesy Potatoes
- Potato Skins
- Instant Pot Mashed Potatoes
- Ham and Potato Casserole
- Southern Potato Salad
- Hashbrown Casserole
How To Make Hash Browns | Homemade Hashbrown Recipe
Ingredients
- ▢ 4 Russet Potatoes
- ▢ 2 tbsp Unsalted Butter
- ▢ 2 tbsp Olive Oil
- ▢ 1 tsp Kosher Salt
- ▢ 1/2 tsp Ground Black Pepper
Instructions
- Prep the Potatoes . Start by grating your potatoes. For extra crispy hash browns, rinse the grated potatoes under cold water to remove excess starch, then squeeze out as much moisture as possible using a kitchen towel.
- Season . Toss the dried, grated potatoes in a bowl with salt and pepper.
- Cook to Perfection . Heat a mixture of butter and olive oil in a skillet over medium-high heat. Spread the potatoes in a thin layer, pressing down lightly. Cook until the underside is golden brown and crispy for 5-6 minutes, then flip and repeat.
- Serve and Enjoy . Transfer your crispy hash browns to a plate. For an extra touch, sprinkle with fresh herbs like parsley or chives.
Get support & connect with our community on Facebook!

If you already signed up, you should have received an email with a password to give you unlimited access to our FREE Printable Library. The password is case sensitive. Enter it below and get printing!
Password:

How To Make Hash Browns | Homemade Hashbrown Recipe
Ingredients
- 4 Russet Potatoes
- 2 tbsp Unsalted Butter
- 2 tbsp Olive Oil
- 1 tsp Kosher Salt
- 1/2 tsp Ground Black Pepper
Instructions
- Prep the Potatoes . Start by grating your potatoes. For extra crispy hash browns, rinse the grated potatoes under cold water to remove excess starch, then squeeze out as much moisture as possible using a kitchen towel.
- Season . Toss the dried, grated potatoes in a bowl with salt and pepper.
- Cook to Perfection . Heat a mixture of butter and olive oil in a skillet over medium-high heat. Spread the potatoes in a thin layer, pressing down lightly. Cook until the underside is golden brown and crispy for 5-6 minutes, then flip and repeat.
- Serve and Enjoy . Transfer your crispy hash browns to a plate. For an extra touch, sprinkle with fresh herbs like parsley or chives.
How To Make Hash Browns | Homemade Hashbrown Recipe https://twosleevers.com/how-to-make-hash-browns/

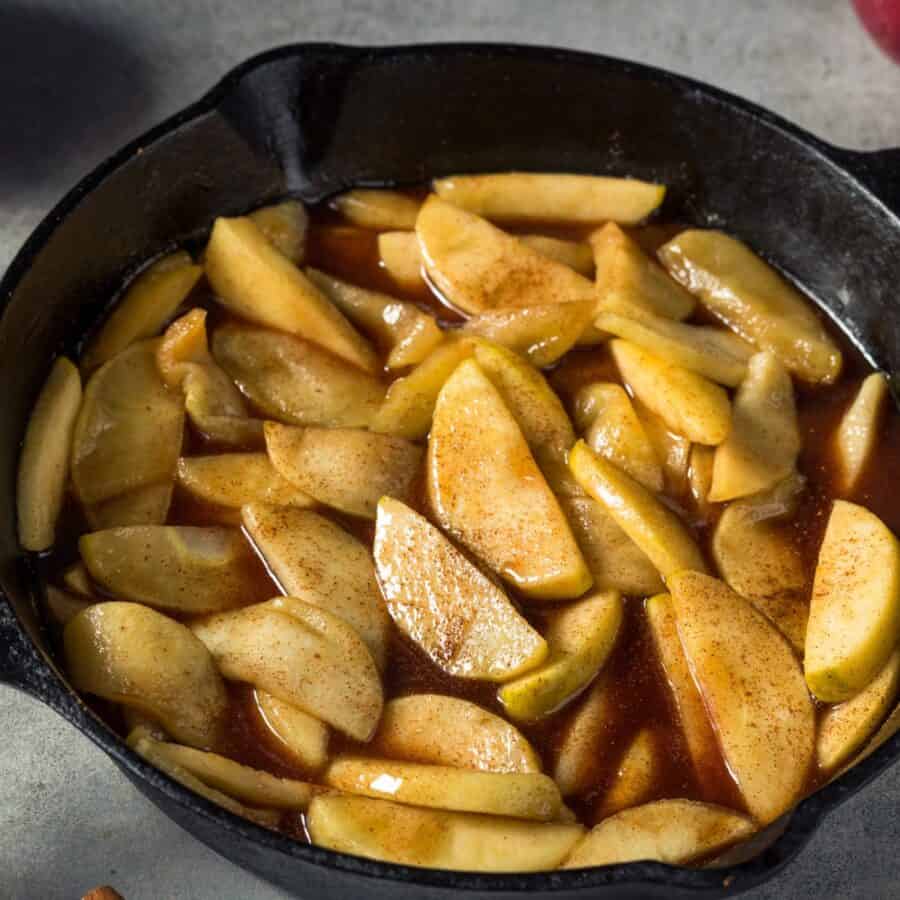
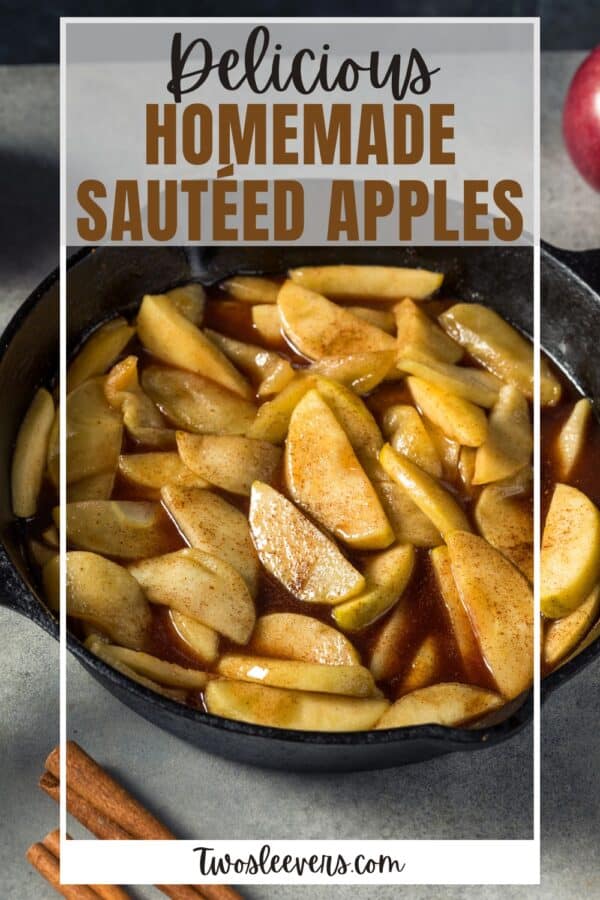
Indulge in the comforting flavors of fall with our delicious sautéed apples recipe. Whether you’re topping off your morning oatmeal, serving them alongside a savory pork dish, or simply enjoying them as a sweet treat, these caramelized apples are sure to become a favorite in your kitchen.

Why You’ll Love Making Apples This Way
- Quick & Easy . Ready in under 15 minutes, making them the perfect addition to any meal.
- Versatile . Serve them as a topping, side dish, or dessert – the possibilities are endless.
- Naturally Sweet . No need for added sugars; the natural sweetness of the apples shines through.
- Warm & Comforting . A cozy dish that brings warmth to your kitchen and comfort to your taste buds.
With just a few simple ingredients and minimal prep time, you can create a delightful dish that celebrates the flavors of the season.
What Are The Best Apples For Cooking?
When it comes to cooking, some apple varieties are better suited than others due to their flavor, texture, and ability to hold up during the cooking process. Here are some of the best apples for cooking:
- Granny Smith - Granny Smith apples are a popular choice for cooking due to their tart flavor and firm texture. They hold their shape well when cooked, making them ideal for pies, crisps, and baked desserts.
- Honeycrisp - Honeycrisp apples are known for their sweet flavor and crisp texture. They work well in cooked dishes like applesauce, as they break down easily and have a naturally sweet taste.
- Jonagold - Jonagold apples have a balanced sweet-tart flavor and a firm texture that holds up well when cooked. They are excellent for baking, as they add sweetness and juiciness to pies, tarts, and crisps.
What Is The Best Way To Cook Apples?
The best way to cook apples depends on the dish you’re making and the texture you want to achieve. Here are some popular methods for cooking apples:
- Baking - Baking apples is a classic method that brings out their natural sweetness and flavor. Core and slice the apples, then bake them in the oven with a little sugar, cinnamon, and butter until they are tender and caramelized. Baked apples are delicious on their own or served with ice cream or whipped cream.
- Stewing - Stewing apples involves cooking them slowly in a liquid, such as water, apple juice, or cider, until they are soft and tender. Stewed apples can be sweetened with sugar or honey and flavored with spices like cinnamon, nutmeg, and cloves. They are perfect for making applesauce or apple pie filling.
- Sautéing - Sautéing apples in butter or oil over medium heat is a quick and easy way to cook them. Slice the apples and cook them in the skillet until they are golden brown and softened. Sautéed apples are delicious served as a side dish, topping for oatmeal or pancakes, or filling for crepes.
Ingredients You’ll Need
- Apples- Choose firm, tart apples like Granny Smith or Honeycrisp for the best results.
- Butter - Adds richness and depth of flavor to the dish.
- Brown Sugar - Enhances the natural sweetness of the apples and contributes to caramelization.
- Cinnamon - Infuses the apples with warm, cozy flavor.
- Nutmeg - Adds a subtle nuttiness and complexity to the dish.
- Vanilla Extract - Rounds out the flavors and adds a hint of sweetness.
How To Make Sautéed Apples
- Prepare the Apples . Wash, peel (optional), and core the apples. Cut them into slices or wedges, depending on your preference.
- Sauté the Apples . In a skillet, melt the butter over medium heat. Add the apple slices to the skillet, spreading them out in an even layer. Cook for 2-3 minutes until the apples begin to soften slightly.
- Add the Spices . Sprinkle the brown sugar, cinnamon, and nutmeg over the apples. Stir gently to coat the apples evenly with the spices.
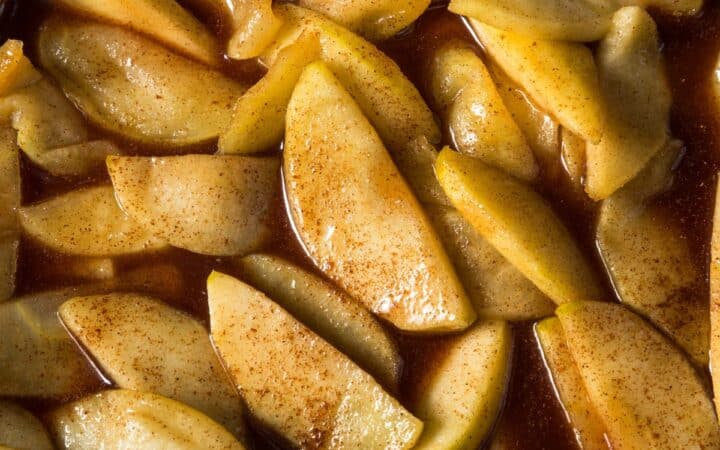
- Cook Until Caramelized . Continue cooking the apples, stirring occasionally, until they are tender and caramelized, about 5-7 minutes. Adjust the heat as needed to prevent burning.
- Finish with Vanilla . Remove the skillet from the heat and stir in the vanilla extract. This will add a final layer of flavor and aroma to the dish.
- Serve Warm . Transfer the sautéed apples to a serving dish and serve them warm. They can be enjoyed on their own or paired with your favorite dishes.
Tips And Tricks
Making sautéed apples is a simple yet delightful process that can elevate many dishes or stand on its own as a delicious treat. Here are some tips and tricks to ensure your apples turn out perfectly:
- Use High Heat . Heat your skillet or pan over medium-high heat before adding the apples. This allows the apples to cook quickly and caramelize without becoming mushy. Use a wide skillet or pan to ensure the apples are in a single layer and have enough space to cook evenly.
- Don’t Crowd the Pan . Avoid overcrowding the pan with too many apples, as this can cause them to steam instead of sauté. Cook the apples in batches if necessary, ensuring there is enough space between the slices for proper browning.
- Keep an Eye on Them . Sautéed apples cook relatively quickly, so keep an eye on them and stir frequently to prevent burning. Cook the apples until they are tender but still slightly firm, with a golden-brown color on the edges.
Variations
Sautéed apples are incredibly versatile and lend themselves well to various flavor combinations and serving options. Here are some delicious variations to try:
- Maple Glazed Apples - Instead of sugar, drizzle pure maple syrup over the apples as they cook. The maple syrup adds a delightful sweetness and depth of flavor to the dish.
- Savory Sautéed Apples - Experiment with savory ingredients like shallots, garlic, thyme, or rosemary to create a savory twist on sautéed apples. These savory apples pair well with pork dishes or served alongside roasted vegetables.
- Boozy Apples - For a decadent treat, deglaze the skillet with a splash of brandy, bourbon, or rum after cooking the apples. Allow the alcohol to cook off, leaving behind a subtle boozy flavor that complements the sweetness of the apples.
What To Enjoy With Sautéed Apples
Sautéed apples are a versatile dish that can be enjoyed in various ways. Here are some delicious ways to enjoy them:
- As a Topping for Breakfast . Serve sautéed apples over pancakes , waffles, French toast, or oatmeal for a delicious and comforting breakfast. The sweet and tangy flavor of the apples pairs perfectly with the warm, fluffy texture of these breakfast staples.
- With Pork Dishes . Sautéed apples make a fantastic accompaniment to pork dishes, such as pork chops or roasted pork loin . The natural sweetness of the apples complements the savory flavors of the pork, creating a perfect balance of tastes.
- As a Dessert Topping. Use sautéed apples as a topping for vanilla ice cream , yogurt , or pound cake for a simple yet satisfying dessert. The warm, caramelized apples add a burst of flavor and a touch of sweetness to your favorite desserts.
How Long Do They Last?
Sautéed apples are best enjoyed fresh but can be stored in an airtight container in the refrigerator for up to 3 days. Reheat them gently in the microwave or on the stovetop before serving.
Can You Freeze Them?
While sautéed apples can be frozen, their texture may change upon thawing, becoming slightly mushy. If you plan to freeze them, store them in an airtight container or freezer bag for up to 3 months. Thaw them overnight in the refrigerator before reheating.
More Apple Recipes
- Apple Cake
- German Apple Pancakes
- Apple Cinnamon Muffins
- Instant Pot Applesauce
- Apple Galette
Sautéed Apples Recipe | Cooked Cinnamon Apples
Ingredients
- ▢ 4 Honeycrisp Apples , or any variety of your choice
- ▢ 3 tbsp Unsalted Butter
- ▢ 3 tbsp Brown Sugar
- ▢ 1 tsp Ground Cinnamon
- ▢ 1/4 tsp Ground Nutmeg
- ▢ 1 tsp Vanilla Extract
Instructions
- Prepare the Apples . Wash, peel (optional), and core the apples. Cut them into slices or wedges, depending on your preference.
- Sauté the Apples . In a skillet, melt the butter over medium heat. Add the apple slices to the skillet, spreading them out in an even layer. Cook for 2-3 minutes until the apples begin to soften slightly.
- Add the Spices . Sprinkle the brown sugar, cinnamon, and nutmeg over the apples. Stir gently to coat the apples evenly with the spices.
- Cook Until Caramelized . Continue cooking the apples, stirring occasionally, until they are tender and caramelized, about 5-7 minutes. Adjust the heat as needed to prevent burning.
- Finish with Vanilla . Remove the skillet from the heat and stir in the vanilla extract. This will add a final layer of flavor and aroma to the dish.
- Serve Warm . Transfer the sautéed apples to a serving dish and serve them warm. They can be enjoyed on their own or paired with your favorite dishes.
