Craving a classic holiday drink? Indulge in the creamy, spiced, and festive flavors of Homemade Eggnog. This rich and velvety beverage is the ultimate way to celebrate the season. Whether you’re hosting a holiday party or cozying up by the fire, this easy-to-make eggnog will be your go-to treat.
Why You’ll Love This Festive Favorite
- Rich and Creamy . Made with fresh ingredients, this eggnog has a luxurious texture.
- Customizable . Adjust the sweetness, spice, and even add a splash of your favorite spirit for a boozy version.
- Simple to Make . A few pantry staples and a little whisking are all you need.
- Perfectly Spiced . Nutmeg, cinnamon, and vanilla combine for that classic holiday flavor.
Bring the magic of the season to your home with this delightful homemade eggnog. It’s the perfect drink to make memories with family and friends!
What Is Eggnog?
Eggnog is a traditional holiday beverage made from milk, cream, sugar, and eggs, flavored with warm spices like nutmeg and cinnamon. Often served chilled, it can be enjoyed as a non-alcoholic treat or spiked with rum, brandy, or bourbon for festive gatherings.
This homemade version elevates the store-bought option with its fresh, customizable ingredients and unbeatable flavor.
How Safe Is Homemade Eggnog?
Homemade eggnog can be perfectly safe to consume when prepared properly. The main safety concern arises from the use of raw eggs, which can pose a risk of salmonella if not handled or cooked correctly.
Here’s a detailed breakdown of how to ensure your homemade eggnog is safe while still being delicious:
- Cooked Eggnog is the Safest Option . To eliminate the risk of salmonella, use a cooked eggnog recipe. This involves tempering the eggs and cooking the mixture over low heat until it reaches 160°F, the temperature at which harmful bacteria are killed. Use a food thermometer to confirm.
- Consider Pasteurized Eggs . If you prefer traditional, uncooked eggnog, opt for pasteurized eggs . These are heat-treated to kill bacteria without cooking the egg, making them safe to use raw.
- Alcohol Can Help . Adding alcohol like rum, bourbon, or brandy to your eggnog can act as a preservative and may kill some bacteria. However, alcohol alone is not enough to guarantee safety unless the eggnog is cooked or pasteurized eggs are used.
What Liquor Is Homemade Eggnog Made With?
Homemade eggnog is a versatile beverage that pairs beautifully with various liquors. Traditionally, eggnog is made with rich, warming spirits that enhance its creamy texture and spice-forward flavor. Here are the most common liquors used in homemade eggnog and what they bring to the table:
- Bourbon - Bourbon adds a warm, slightly sweet kick that complements the creaminess of eggnog and the spices like cinnamon and nutmeg.
- Rum - Rum is a traditional choice for eggnog, especially in tropical or Caribbean-inspired recipes. Dark or spiced rum adds depth, while light rum keeps the flavors mellow.
- Brandy - Brandy adds a sophisticated sweetness that pairs wonderfully with the rich custard-like base of eggnog.
- Whiskey - Whiskey gives eggnog a robust, sharp flavor that balances the sweetness and creaminess. Irish whiskey is a particularly smooth option.
Ingredients You’ll Need
For the Eggnog
- Egg Yolks - Adds richness and creates the creamy base.
- Granulated Sugar - Sweetens the eggnog perfectly.
- Whole Milk - The foundation of the drink, providing body.
- Heavy Cream - Adds richness and luxurious texture.
- Vanilla Extract - Rounds out the flavor with a sweet, aromatic touch.
- Ground Nutmeg - For warm, holiday spice.
- Ground Cinnamon - A classic pairing with nutmeg for extra depth.
Optional Additions
- Rum, Bourbon, or Brandy - For a festive, boozy kick.
- Whipped Cream - Garnish for extra indulgence.
How To Make Homemade Eggnog
- Whisk the Egg Yolks and Sugar . In a medium bowl, whisk the egg yolks and sugar together until the mixture is pale and creamy.
- Heat the Milk and Cream . In a saucepan, combine the milk, heavy cream, nutmeg, and cinnamon. Heat over medium heat until steaming, but not boiling.
- Temper the Egg Yolks . Slowly pour a small amount of the hot milk mixture into the whisked egg yolks, stirring constantly. This prevents the eggs from scrambling. Gradually add the tempered yolks back into the saucepan.
- Cook the Eggnog . Cook the mixture over low heat, stirring constantly, until it thickens slightly and coats the back of a spoon. Be careful not to let it boil.
- Add Vanilla and Chill . Remove from heat and stir in vanilla extract. Let the eggnog cool before transferring it to the refrigerator. Chill for at least 2 hours.
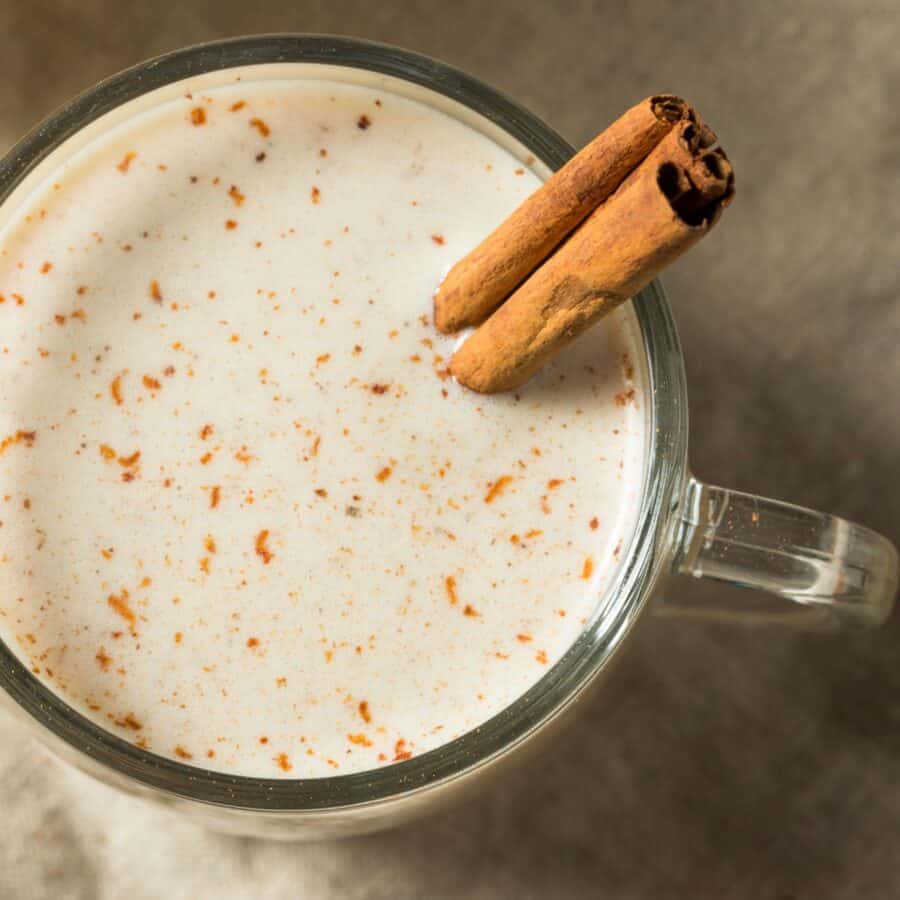
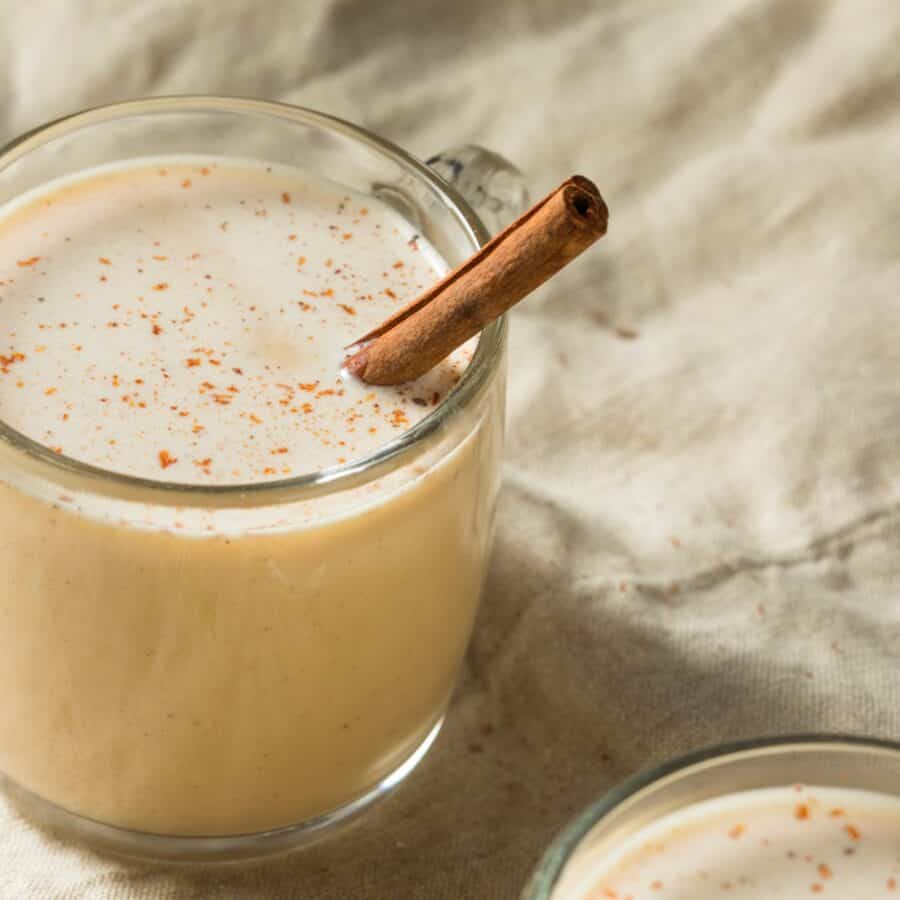
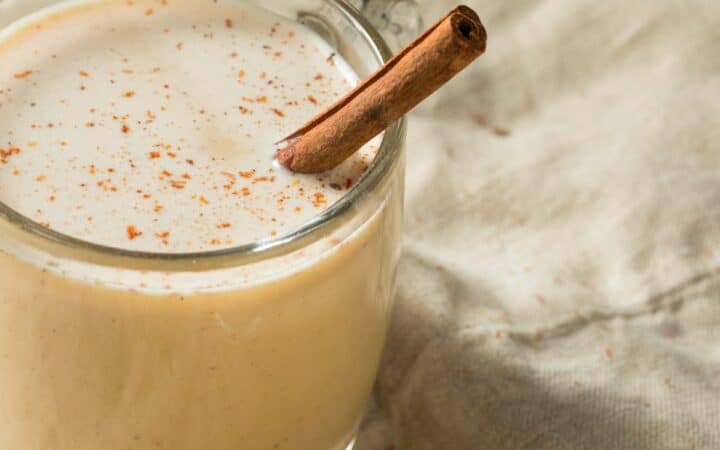
- Serve and Garnish . Pour the eggnog into glasses, sprinkle with nutmeg, and garnish with cinnamon sticks or whipped cream. Enjoy chilled!
Tips And Tricks
Crafting the perfect homemade eggnog is a rewarding process, but a few insider tips and tricks can elevate your recipe to the next level. Follow these guidelines for a smooth, creamy, and perfectly spiced drink:
- Use Fresh Ingredients . High-quality milk, cream, and eggs make all the difference.
- Don’t Boil . Keep the mixture at a low temperature to avoid curdling.
- Adjust Sweetness . Taste and add more sugar if desired.
- Make Ahead . Eggnog tastes even better after a day in the fridge, allowing the flavors to meld.
Variations
Here are some creative variations for homemade eggnog to suit different tastes and occasions:
- Boozy - Stir in your favorite spirit for a holiday cocktail.
- Spiced - Add a pinch of cloves or allspice for extra warmth.
- Dairy-Free Option - Substitute almond milk or coconut milk for a lactose-free version.
- Coffee - Add a splash of espresso for a latte-like twist.
What To Enjoy With Homemade Eggnog
Homemade eggnog is a versatile and indulgent holiday treat that pairs beautifully with a variety of foods. Here are some delicious ideas to complement your creamy, spiced beverage:
- Ginger Cookies - Spiced cookies complement the creamy drink.
- Pecan Bars - A rich dessert to match the indulgence of eggnog.
- Cheese Board - Savory bites balance the sweetness.
- Cinnamon Rolls - A cozy breakfast or dessert pairing.
How Long Does It Last?
Store homemade eggnog in an airtight container in the refrigerator for up to 3 days. Stir before serving, as spices may settle at the bottom.
Can You Freeze It?
Yes, you can freeze eggnog! Transfer it to a freezer-safe container and freeze for up to 2 months.
Thaw the frozen eggnog overnight in the refrigerator and whisk before serving.
More Delicious Drinks
- Spiced Apple Cider
- Pink Drink
- Iced Caramel Macchiato
- Mango Lassi
- Slow Cooker Hot Chocolate

Homemade Eggnog Recipe | Easy Creamy Eggnog
Ingredients
- ▢ 6 Egg Yolks
- ▢ 1/2 cup Granulated Sugar
- ▢ 2 cups Whole Milk
- ▢ 1 cup Heavy Cream
- ▢ 1 tsp Vanilla Extract
- ▢ 1/2 tsp Ground Nutmeg
- ▢ 1/4 tsp Ground Cinnamon
- ▢ 1/2 cup Rum , optional
Instructions
- Whisk the Egg Yolks and Sugar . In a medium bowl, whisk the egg yolks and sugar together until the mixture is pale and creamy.
- Heat the Milk and Cream . In a saucepan, combine the milk, heavy cream, nutmeg, and cinnamon. Heat over medium heat until steaming, but not boiling.
- Temper the Egg Yolks . Slowly pour a small amount of the hot milk mixture into the whisked egg yolks, stirring constantly. This prevents the eggs from scrambling. Gradually add the tempered yolks back into the saucepan.
- Cook the Eggnog . Cook the mixture over low heat, stirring constantly, until it thickens slightly and coats the back of a spoon. Be careful not to let it boil.
- Add Vanilla and Chill . Remove from heat and stir in vanilla extract. Let the eggnog cool before transferring it to the refrigerator. Chill for at least 2 hours.
- Serve and Garnish . Pour the eggnog into glasses, sprinkle with nutmeg, and garnish with cinnamon sticks or whipped cream. Enjoy chilled!
Get support & connect with our community on Facebook!
Nutrition

If you already signed up, you should have received an email with a password to give you unlimited access to our FREE Printable Library. The password is case sensitive. Enter it below and get printing!
Password:

Homemade Eggnog Recipe | Easy Creamy Eggnog
Ingredients
- 6 Egg Yolks
- 1/2 cup Granulated Sugar
- 2 cups Whole Milk
- 1 cup Heavy Cream
- 1 tsp Vanilla Extract
- 1/2 tsp Ground Nutmeg
- 1/4 tsp Ground Cinnamon
- 1/2 cup Rum optional
Instructions
- Whisk the Egg Yolks and Sugar . In a medium bowl, whisk the egg yolks and sugar together until the mixture is pale and creamy.
- Heat the Milk and Cream . In a saucepan, combine the milk, heavy cream, nutmeg, and cinnamon. Heat over medium heat until steaming, but not boiling.
- Temper the Egg Yolks . Slowly pour a small amount of the hot milk mixture into the whisked egg yolks, stirring constantly. This prevents the eggs from scrambling. Gradually add the tempered yolks back into the saucepan.
- Cook the Eggnog . Cook the mixture over low heat, stirring constantly, until it thickens slightly and coats the back of a spoon. Be careful not to let it boil.
- Add Vanilla and Chill . Remove from heat and stir in vanilla extract. Let the eggnog cool before transferring it to the refrigerator. Chill for at least 2 hours.
- Serve and Garnish . Pour the eggnog into glasses, sprinkle with nutmeg, and garnish with cinnamon sticks or whipped cream. Enjoy chilled!
Homemade Eggnog Recipe | Easy Creamy Eggnog https://twosleevers.com/homemade-eggnog-recipe/

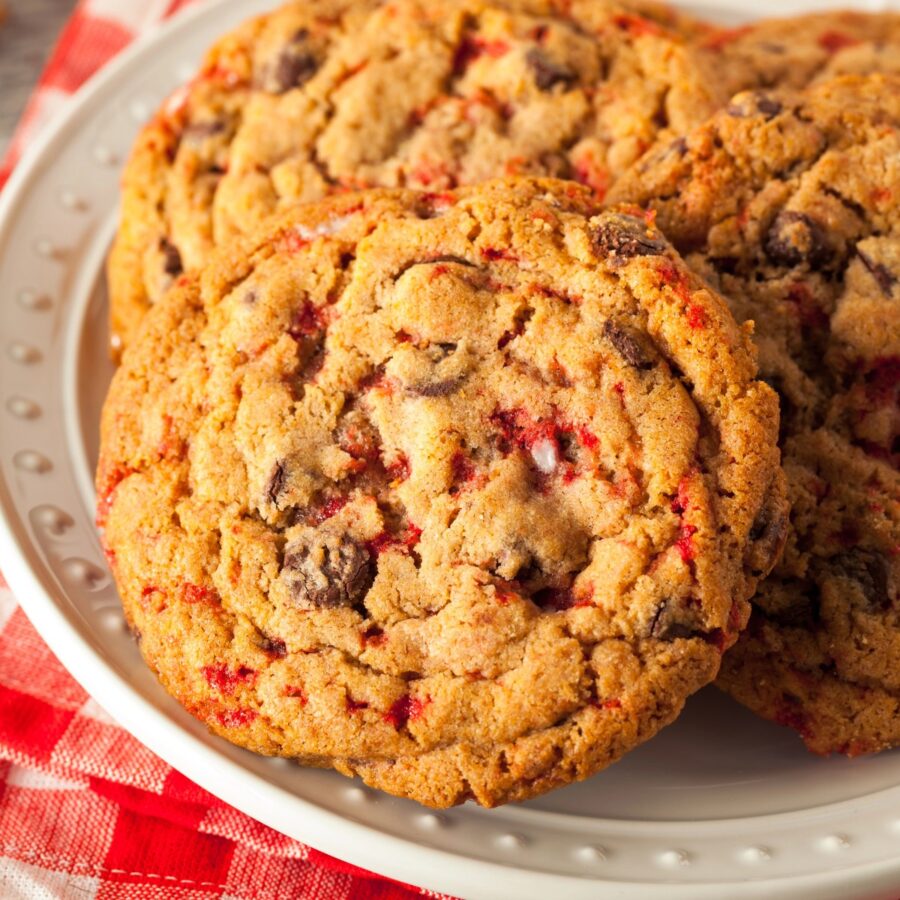
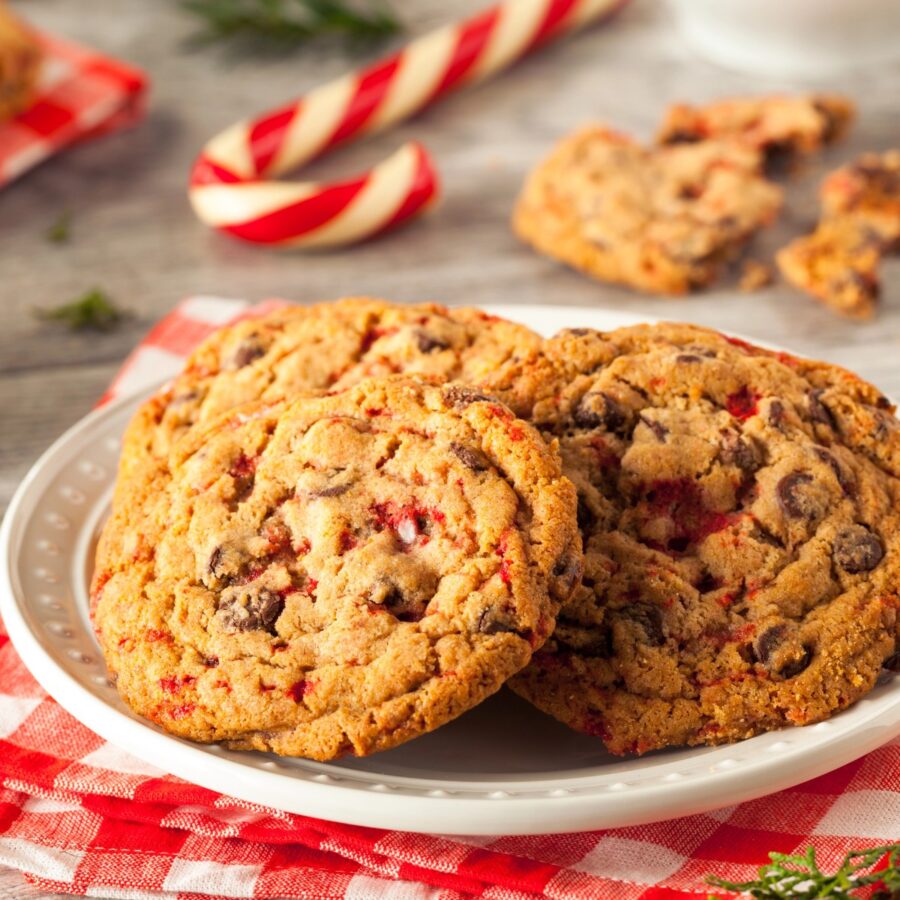
If you’re looking for the ultimate holiday cookie, Chocolate Chip Peppermint Cookies are a must-try! With their soft, buttery texture, sweet white chocolate chips, and refreshing peppermint crunch, these cookies will be the star of your holiday dessert spread. Perfectly festive and incredibly easy to make, they’re a delightful treat for cookie swaps, holiday parties, or simply enjoying with a cozy cup of hot cocoa.
Why You’ll Love These Craveable Cookies
- Festive Flavors. The combination of chocolate and peppermint screams holiday cheer!
- Soft and Chewy Texture. These cookies are perfectly tender with just the right amount of crispness at the edges.
- Easy to Make. Minimal prep time and simple ingredients make this dessert recipe beginner-friendly.
- Crowd-Pleasing. They’re a hit with kids and adults alike, making them perfect for gatherings.
Whether you’re baking for loved ones or whipping up a batch to gift, these cookies will become a holiday favorite in no time.
What Do White Chocolate Peppermint Cookies Taste Like?
These cookies offer a delightful balance of sweet and minty flavors. The buttery dough is complemented by creamy white chocolate and crunchy peppermint bits, creating a harmonious blend that’s impossible to resist.
What Makes Cookies More Chewy?
To make cookies more chewy , follow these tips and tricks focused on ingredients, baking techniques, and storage:
- Use More Brown Sugar . Brown sugar contains more moisture than granulated sugar due to its molasses content. This moisture helps retain softness and chewiness in the cookies. A higher ratio of brown sugar to granulated sugar makes cookies softer and chewier.
- Add an Extra Egg Yolk . Egg yolks are rich in fat and help create a denser, chewier texture. Replace one whole egg with two egg yolks or add an additional yolk to the recipe for extra richness.
- Choose Bread Flour . Bread flour has a higher protein content than all-purpose flour, which creates more gluten and contributes to a chewier texture. Substitute part or all of the all-purpose flour with bread flour for chewier cookies.
If you’re looking for perfectly chewy cookies, check out my Soft Sugar Cookies , Brownie Mix Cookies , or even Applesauce Cookies .
Ingredients You’ll Need
- All-Purpose Flour- The base for soft, tender cookies.
- Baking Soda and Baking Powder- Ensures the cookies rise perfectly.
- Salt- Balances the sweetness.
- Unsalted Butter- Softened to create a rich, buttery flavor.
- Granulated Sugar and Brown Sugar- For sweetness and moisture.
- Eggs- Provide structure and help the cookies bind.
- Vanilla Extract- Enhances the overall flavor.
- Peppermint Extract- Adds that iconic holiday flavor.
- Chocolate Chips - The creamy counterpart to the minty crunch.
- Crushed Candy Canes- Add a festive and slightly crunchy finish.
How To Make Peppermint Cookies
- Prepare the Dough . In a medium bowl, whisk together flour, baking soda, baking powder, and salt. In a large bowl, beat softened butter, granulated sugar, and brown sugar until creamy. Add eggs, vanilla extract, and peppermint extract, and mix until smooth. Gradually add the dry ingredients, mixing until just combined. Fold in chocolate chips and crushed candy canes.
- Chill the Dough . Cover the bowl with plastic wrap and refrigerate the dough for 30 minutes to prevent spreading.
- Shape the Cookies . Preheat your oven to 350°F and line baking sheets with parchment paper. Scoop out 1.5-tablespoon portions of dough, roll into balls, and place them 2 inches apart on the baking sheets.
- Bake to Perfection . Bake for 10-12 minutes, or until the edges are golden and the centers look slightly underbaked. Allow cookies to cool on the baking sheet for 5 minutes before transferring them to a wire rack.
- Optional Garnish . While the cookies are still warm, sprinkle additional crushed candy canes on top for extra crunch and festive flair.
Tips And Tricks
Here are some creative variations for Chocolate Chip Peppermint Cookies to make them uniquely yours:
- Don’t Overbake. Keep an eye on the cookies. Slightly underbaking them ensures a soft, chewy texture.
- Crush Candy Canes Easily. Place candy canes in a zip-top bag and gently crush them with a rolling pin.
- Chill the Dough. Chilling helps the cookies hold their shape and prevents them from spreading too much during baking.
- Use Fresh Ingredients. Fresh baking soda, baking powder, and peppermint extract ensure the best flavor and texture.
These variations allow you to customize your cookies to suit different tastes or occasions, making them perfect for holiday gatherings, cookie swaps, or simply indulging at home!
Variations
Here are some creative variations for Chocolate Chip Peppermint Cookies to make them uniquely yours:
- Dark Chocolate- Replace white chocolate chips with dark chocolate for a richer flavor.
- Add Nuts- Fold in chopped pecans or walnuts for added crunch.
- Drizzle with Chocolate- Once cooled, drizzle cookies with melted white or dark chocolate for an elegant finish.
- Gluten-Free Option- Use a 1:1 gluten-free flour blend for a celiac-friendly treat.
What To Enjoy With Peppermint Cookies
These cookies are delightful on their own, but pairing them with a cozy beverage elevates the experience. Here are some ideas:
- Hot Cocoa - The ultimate holiday pairing.
- Peppermint Mocha - Double down on the peppermint flavor.
- Eggnog - A creamy, festive complement.
- Vanilla Ice Cream - Turn your cookies into an indulgent dessert by sandwiching them with ice cream.
- Cookie Platter - Use a variety of cookies from our list of Best Cookie Recipes to create the ultimate holiday gift.
How Long Do They Last?
Store the cookies in an airtight container for 5-7 days to prevent them from drying out or becoming stale. Keep them in a cool, dry place away from direct sunlight or heat sources.
For longer storage, place the cookies in an airtight container or a resealable plastic bag. Put them in the coldest part of your refrigerator for 2-3 weeks.
Refrigeration helps preserve freshness longer, but it may slightly alter the texture (making them firmer). Let them come to room temperature before serving.
Can You Freeze Them?
Place the peppermint cookies in a freezer-safe container or wrap them individually in plastic wrap and store them in a freezer bag for 2-3 months.
To enjoy, thaw cookies at room temperature for 20–30 minutes or warm them slightly in the microwave or oven for a freshly baked feel.
More Festive Foods
- Christmas Charcuterie Board
- Keto Ginger Cookies
- Eggnog French Toast
- Christmas Punch
- Molasses Cookies
- Peppermint Fudge


Peppermint Cookies | Chocolate Chip Peppermint Cookie Recipe
Ingredients
- ▢ 2 1/2 cups All Purpose Flour
- ▢ 1/2 tsp Baking Soda
- ▢ 1 tsp Baking Powder
- ▢ 1/2 tsp Kosher Salt
- ▢ 1 cup Unsalted Butter , softened
- ▢ 3/4 cup Granulated Sugar
- ▢ 3/4 cup Brown Sugar
- ▢ 2 Eggs
- ▢ 1 tsp Vanilla Extract
- ▢ 1 1/2 tsp Vanilla Extract
- ▢ 2 cups Chocolate Chips
- ▢ 1/2 cup Crushed Candy Canes
Instructions
- Prepare the Dough . In a medium bowl, whisk together flour, baking soda, baking powder, and salt. In a large bowl, beat softened butter, granulated sugar, and brown sugar until creamy. Add eggs, vanilla extract, and peppermint extract, and mix until smooth. Gradually add the dry ingredients, mixing until just combined. Fold in chocolate chips and crushed candy canes.
- Chill the Dough . Cover the bowl with plastic wrap and refrigerate the dough for 30 minutes to prevent spreading.
- Shape the Cookies . Preheat your oven to 350°F and line baking sheets with parchment paper. Scoop out 1.5-tablespoon portions of dough, roll into balls, and place them 2 inches apart on the baking sheets.
- Bake to Perfection . Bake for 10-12 minutes, or until the edges are golden and the centers look slightly underbaked. Allow cookies to cool on the baking sheet for 5 minutes before transferring them to a wire rack.
- Optional Garnish . While the cookies are still warm, sprinkle additional crushed candy canes on top for extra crunch and festive flair.
