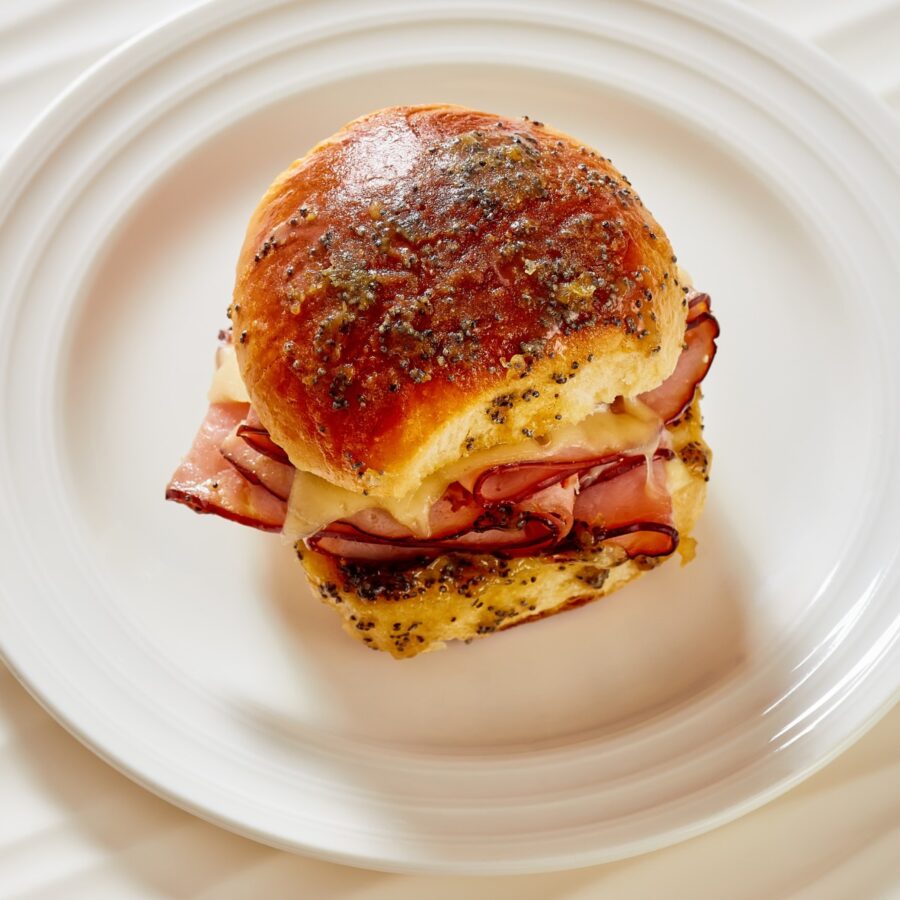
If you’re a fan of delightful party bites that combine the sweetness of Hawaiian rolls with the savory goodness of ham and cheese, you’re in for a treat! Learn how to make the easiest Hawaiian Roll Sliders that will leave your guests craving more.
Why These Are The Ultimate Family-Friendly Meal
- Quick and Easy . A main course ready in under 30 minutes, these sliders are perfect for any gathering.
- Versatile . Customize the filling with your favorite deli meats and cheeses.
- Crowd-Pleaser . The sweet and savory combination appeals to guests of all ages.
- Perfectly Portioned . Individual sliders make serving and enjoying a breeze.
With the convenience of Hawaiian rolls, you’ve elevated the classic ham and cheese sandwich into a party-ready delight. Whether you’re hosting a game day party, family gathering, or simply treating yourself to a tasty snack, these sliders are guaranteed to be a hit.
Are Hawaiian Rolls Good For Sandwiches?
Yes, Hawaiian rolls are excellent for sandwiches! Hawaiian rolls are known for their slightly sweet and soft texture, which adds a unique and delightful element to sandwiches. The sweet flavor of the rolls can complement a variety of sandwich fillings, including both savory and sweet options.
Why Are My Sliders Soggy At The Bottom?
If your sliders are turning out soggy at the bottom, there are a few potential reasons for this issue. Here are some common factors that can contribute to sliders becoming soggy:
- Too Much Sauce or Moisture . If you’re using condiments, sauces, or ingredients with high moisture content, they can contribute to sogginess. Consider reducing the amount of sauce or using ingredients that are less watery.
- Not Prepping the Rolls Properly . If you’re assembling sliders with sauce or moist ingredients, it’s essential to prepare the rolls properly. Toasting the rolls slightly or adding a layer (like cheese) between the rolls and wet ingredients can create a barrier and prevent excessive moisture from making the bottoms soggy.
- Leaving Assembled Sliders Sitting Too Long . If you assemble sliders in advance and let them sit for an extended period before baking, the bottoms of the rolls may absorb moisture from the fillings. Try assembling and baking immediately to maintain the desired texture.
Ingredients You’ll Need
- Hawaiian Sweet Rolls- The sweet rolls serve as the base or bun for the sliders. Hawaiian sweet rolls are known for their slightly sweet and soft texture, which adds a unique and delightful flavor to the sliders.
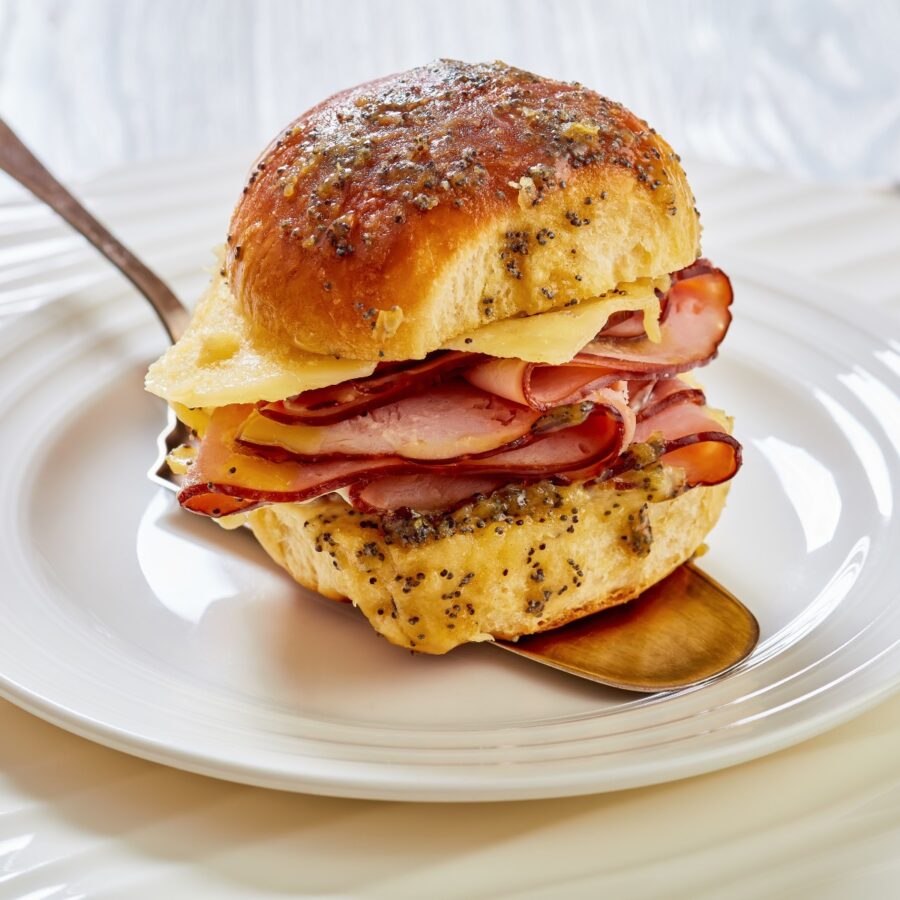
- Ham- Provides the main protein element for the sliders. It contributes a savory and salty flavor, complementing the sweetness of the rolls. Thinly sliced ham ensures that each bite has a balanced combination of bread and meat.
- Swiss Cheese- Adds a creamy and nutty flavor to the sliders. It also helps bind the ham to the rolls when melted, creating a cohesive and flavorful filling.
- Unsalted Butter- This is typically brushed over the tops of the rolls before baking. This adds richness and a golden brown color to the sliders while enhancing the overall flavor.
- Dijon Mustard- Contributes a tangy and slightly spicy flavor to the sliders. It complements the sweetness of the rolls and the richness of the cheese and ham, providing a well-rounded taste.
- Worcestershire Sauce- Adds depth and umami to the sliders. Its savory and complex flavor enhances the overall taste of the dish.
- Poppy Seeds- Not only add a subtle crunch but also contribute a nutty flavor to the sliders.
- Dried Minced Onion- Adds a savory and aromatic element to the sliders. It provides a hint of onion flavor without the need for fresh onions.
- Salt and Pepper- Essential for seasoning, ensuring that all components of the sliders have a balanced and well-seasoned taste.
How To Make Hawaiian Roll Sliders
- Prepare the Sliders . Preheat your oven to 350°F. Slice the Hawaiian rolls in half horizontally, keeping them connected. Place the bottom half of the rolls in a baking dish.
- Layer the Filling. Layer the thinly sliced ham evenly over the rolls. Add a layer of Swiss cheese over the ham.
- Assemble the Top Layer . Place the top half of the rolls over the cheese, resealing the connected rolls.
- Prepare the Glaze . In a bowl, whisk together melted butter, Dijon mustard, Worcestershire sauce, poppy seeds, dried minced onion, salt, and pepper.
- Apply the Glaze . Generously brush the glaze over the tops and sides of the sliders.
- Bake to Perfection . Cover the baking dish with aluminum foil and bake in the preheated oven for 15-20 minutes or until the cheese is melted and the sliders are heated through. Uncover and bake for an additional 5 minutes or until the tops are golden brown.
- Serve and Enjoy . Remove from the oven, let them cool for a few minutes, then slice along the original roll lines.
Tips And Tricks
Making Hawaiian Roll Sliders is a delightful endeavor, and a few tips and tricks can help you achieve the best possible results:
- Fresh Rolls - Opt for fresh Hawaiian rolls for the best taste and texture.
- Even Layering - Ensure an even layer of ham and cheese for consistent flavor in each bite.
- Generous Glazing - Don’t skimp on the glaze; it adds a deliciously savory touch to the sliders.
- Serve Warm - These sliders are best enjoyed warm from the oven, so plan your serving accordingly.
Variations
If you’re a fan of Hawaiian Roll Sliders and want to try some creative variations, here are a few delicious ideas to explore:
- Turkey and Cheddar - Substitute ham and Swiss with turkey and cheddar for a different flavor profile.
- Italian Sliders - Use salami, pepperoni, and provolone cheese with Italian seasonings for a zesty twist.
- Vegetarian Option - Load the sliders with grilled vegetables and your favorite melting cheese for a veggie delight.
What To Eat With Hawaiian Roll Sliders
Hawaiian Roll Sliders are a versatile dish that pairs well with various sides and accompaniments. Here are some delicious options to consider serving alongside them:
- Chips and Dip - Classic potato chips or tortilla chips with a side of your favorite dip.
- Fresh Fruit Platter - A selection of fresh fruits adds a refreshing contrast to the savory sliders.
- Crudité with Dip - Fresh vegetable sticks with a creamy dip make for a crunchy and satisfying accompaniment.
- Side Salad - A simple green salad or coleslaw provides a crisp and light option.
How Long Do They Last?
While these sliders are best enjoyed fresh, you can store any leftovers in an airtight container in the refrigerator for up to 2-3 days. Reheat in the oven or microwave for a warm and gooey treat.
Can You Freeze Them?
Freezing is a great way to preserve the sliders, and it allows you to have a convenient snack or meal on hand whenever you need it.
Place the wrapped or packaged sliders in the freezer. Lay them flat if possible to prevent any toppings or fillings from getting squished. For the best taste and texture, try to consume the frozen sliders within 2-3 months.
When you’re ready to enjoy the sliders, you can reheat them directly from the freezer. Preheat your oven to 350°F, unwrap the sliders, and place them in the oven for about 15-20 minutes or until heated through. Alternatively, you can use a microwave for a quicker thawing and heating process.
More Of Our Best Sandwich Recipes
- Pinwheel Sandwiches
- Cuban Sandwich
- Italian Beef Sandwich
- Chopped Cheese
- Hot Honey Chicken Sandwich


Hawaiian Roll Sliders Recipe | Ham And Cheese Sliders
Ingredients
- ▢ 12 Hawaiian Sweet Rolls
- ▢ 3/4 Pound Sliced Ham
- ▢ 6 slices Swiss Cheese
- ▢ 4 tbsp Unsalted Butter
- ▢ 1 tbsp Dijon Mustard
- ▢ 1 tsp Worcestershire Sauce
- ▢ 1 tsp Poppyseeds
- ▢ 1 tsp Dried Minced Onions
- ▢ 1/2 tsp Kosher Salt
- ▢ 1/4 tsp Ground Black Pepper
Instructions
- Prepare the Sliders . Preheat your oven to 350°F. Slice the Hawaiian rolls in half horizontally, keeping them connected. Place the bottom half of the rolls in a baking dish.
- Layer the Filling. Layer the thinly sliced ham evenly over the rolls. Add a layer of Swiss cheese over the ham.
- Assemble the Top Layer . Place the top half of the rolls over the cheese, resealing the connected rolls.
- Prepare the Glaze . In a bowl, whisk together melted butter, Dijon mustard, Worcestershire sauce, poppy seeds, dried minced onion, salt, and pepper.
- Apply the Glaze . Generously brush the glaze over the tops and sides of the sliders.
- Bake to Perfection . Cover the baking dish with aluminum foil and bake in the preheated oven for 15-20 minutes or until the cheese is melted and the sliders are heated through. Uncover and bake for an additional 5 minutes or until the tops are golden brown.
- Serve and Enjoy . Remove from the oven, let them cool for a few minutes, then slice along the original roll lines.
Get support & connect with our community on Facebook!
Nutrition

If you already signed up, you should have received an email with a password to give you unlimited access to our FREE Printable Library. The password is case sensitive. Enter it below and get printing!
Password:

Hawaiian Roll Sliders Recipe | Ham And Cheese Sliders
Ingredients
- 12 Hawaiian Sweet Rolls
- 3/4 Pound Sliced Ham
- 6 slices Swiss Cheese
- 4 tbsp Unsalted Butter
- 1 tbsp Dijon Mustard
- 1 tsp Worcestershire Sauce
- 1 tsp Poppyseeds
- 1 tsp Dried Minced Onions
- 1/2 tsp Kosher Salt
- 1/4 tsp Ground Black Pepper
Instructions
- Prepare the Sliders . Preheat your oven to 350°F. Slice the Hawaiian rolls in half horizontally, keeping them connected. Place the bottom half of the rolls in a baking dish.
- Layer the Filling. Layer the thinly sliced ham evenly over the rolls. Add a layer of Swiss cheese over the ham.
- Assemble the Top Layer . Place the top half of the rolls over the cheese, resealing the connected rolls.
- Prepare the Glaze . In a bowl, whisk together melted butter, Dijon mustard, Worcestershire sauce, poppy seeds, dried minced onion, salt, and pepper.
- Apply the Glaze . Generously brush the glaze over the tops and sides of the sliders.
- Bake to Perfection . Cover the baking dish with aluminum foil and bake in the preheated oven for 15-20 minutes or until the cheese is melted and the sliders are heated through. Uncover and bake for an additional 5 minutes or until the tops are golden brown.
- Serve and Enjoy . Remove from the oven, let them cool for a few minutes, then slice along the original roll lines.
Hawaiian Roll Sliders Recipe | Ham And Cheese Sliders https://twosleevers.com/hawaiian-roll-sliders-recipe/

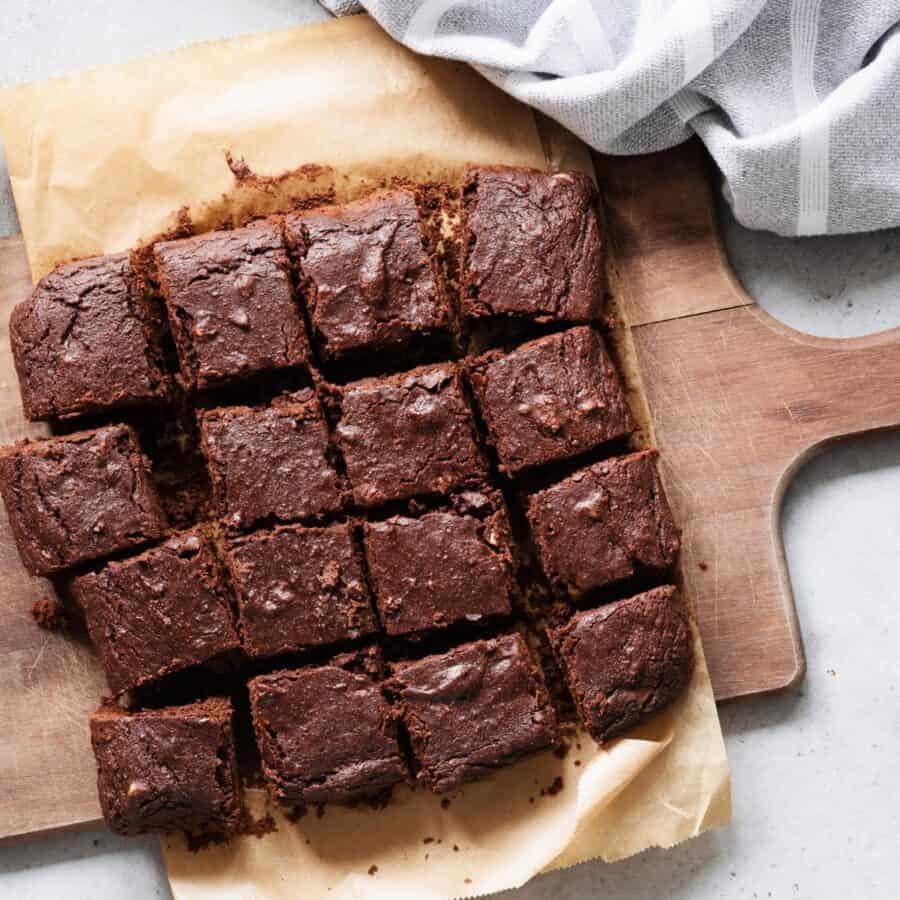
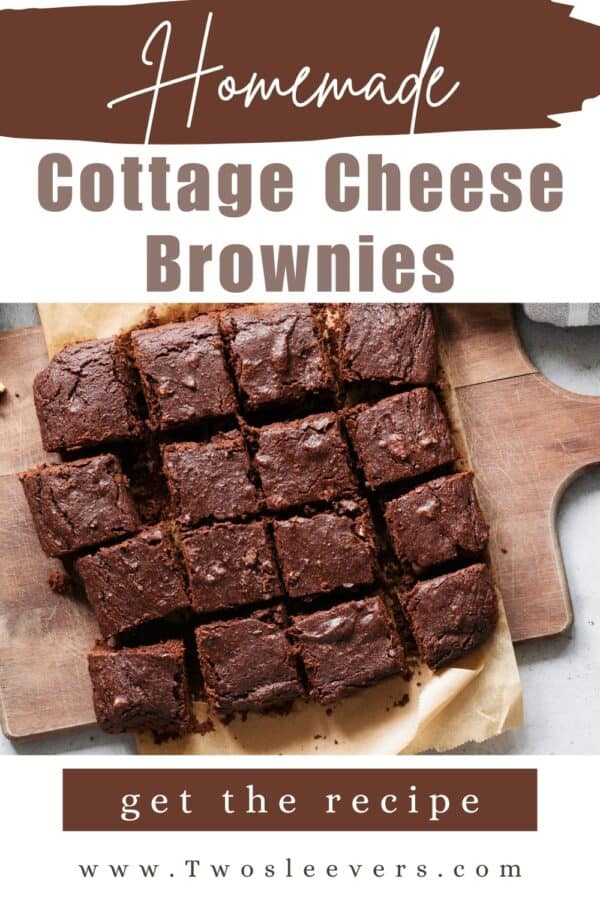
If you’re looking for a way to make brownies healthier while keeping them ultra-fudgy and delicious, you’re in for a treat! These Cottage Cheese Brownies are packed with protein, have a rich chocolatey flavor, and are an easy way to sneak in extra protein without compromising taste.
Why You’ll Love This Delicious Dessert
- Protein-Packed . Cottage cheese adds a boost of protein while making the brownies extra moist.
- Lower in Fat . No need for heavy cream or excessive butter—cottage cheese does the trick!
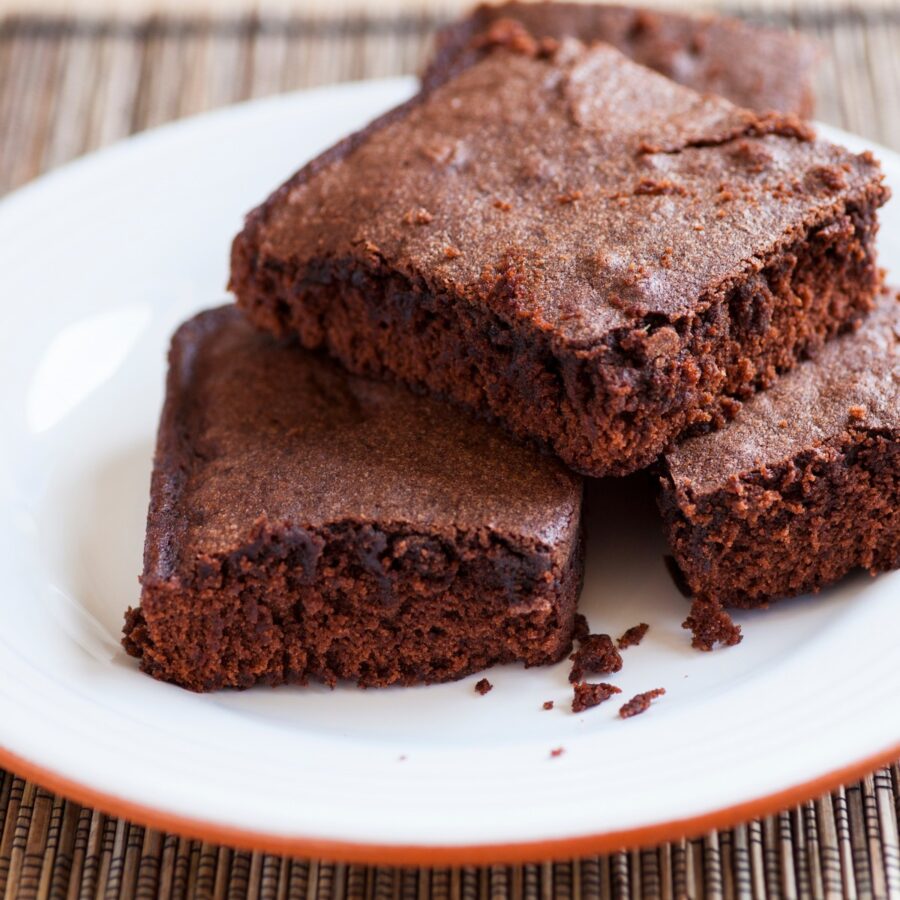
- Super Fudgy . You won’t even realize these brownies have a secret ingredient because they are rich, gooey, and chocolate-filled.
- Easy to Make . Just blend, mix, and bake for a simple, no-fuss dessert!
With simple ingredients and a creamy texture, these brownies are bound to become a favorite in your household.
Why Put Cottage Cheese In Brownies?
Cottage cheese is a fantastic addition to brownies because it adds moisture without making them greasy. It blends perfectly into the batter, creating a smooth and velvety texture.
Plus, its mild flavor is completely masked by the rich cocoa and chocolate, making these protein brownies just as indulgent as any traditional recipe.
Ingredients You’ll Need
- 3/4 cup Cottage Cheese - Blended cottage cheese adds moisture, richness, and protein to the brownies without making them heavy. It helps create a creamy, fudgy texture while reducing the need for additional fat like butter or oil.
- 1/2 cup Cocoa Powder - Provides deep chocolate flavor and contributes to the brownie’s structure. Cocoa powder gives the brownies their classic richness and dark color.
- 3/4 cup Dark Chocolate Chips - Adds melty chocolate pockets throughout the brownies and enhances overall sweetness and richness. When melted into the batter, they deepen the chocolate flavor even more.
- 2 Eggs - Act as the binding agent, helping the brownies hold their shape. Eggs also add moisture and contribute to the fudgy, tender texture.
- 3/4 cup Granulated Sugar - Sweetens the brownies and balances the bitterness of the cocoa powder and dark chocolate. Sugar also helps create a soft crumb and shiny brownie top.
- 1/2 cup All Purpose Flour - Provides structure and stability, allowing the brownies to set properly. The small amount keeps them dense and fudgy rather than cakey.
- 1/2 tsp Baking Powder - Adds light lift so the brownies aren’t too dense. This helps them bake evenly and prevents an overly heavy texture.
- 1 tsp Vanilla Extract - Enhances the chocolate flavor and adds warmth and depth. Vanilla rounds out the overall sweetness and makes the brownies taste more balanced.
- 1/4 tsp Salt - Brings out and enhances the chocolate flavors while keeping the brownies from tasting too sweet. Salt adds balance and depth to every bite.
These ingredients work harmoniously to create moist, fudgy, and deeply chocolatey Cottage Cheese Brownies. The cottage cheese keeps them rich, the cocoa powder and dark chocolate intensify the flavor, and the right balance of sugar, flour, eggs, and leavening ensures a perfect texture.
How To Make Cottage Cheese Brownies
- Blend the Cottage Cheese . Start by blending the cottage cheese in a food processor or blender until completely smooth. This ensures there are no lumps, creating a rich and creamy brownie batter.
- Melt the Chocolate . In a microwave-safe bowl, melt the dark chocolate chips in 30-second intervals, stirring between each, until smooth. Let cool slightly.
- Mix the Wet Ingredients . In a large bowl, whisk together the blended cottage cheese, eggs, sugar, and vanilla extract. Stir in the melted chocolate until well combined.
- Add the Dry Ingredients . Sift in the cocoa powder, flour, baking powder, and salt. Gently fold everything together until no streaks remain, being careful not to overmix.
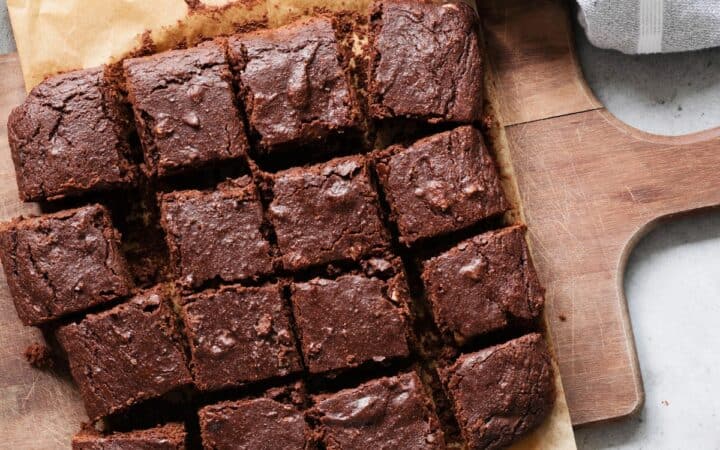
- Bake the Brownies . Preheat your oven to 350°F. Grease or line an 8x8-inch baking pan with parchment paper. Pour the batter into the pan and spread evenly. Bake for 25-30 minutes, or until a toothpick inserted in the center comes out with moist crumbs.
- Cool and Serve . Let the brownies cool completely in the pan before slicing. This helps them set and become extra fudgy!
Tips And Tricks
Cottage cheese might not be the first ingredient that comes to mind when making brownies, but it creates an ultra-fudgy, rich, and slightly tangy treat that’s lower in fat and packed with protein! Follow these expert tips and tricks to ensure they turn out absolutely perfect every time:
- Blend the cottage cheese well . This is key to a smooth, lump-free brownie batter.
- Don’t overmix the batter . Stir just until the ingredients are combined to keep the brownies tender.
- Use high-quality cocoa powder . This will give your brownies the best flavor.
- Let them cool before slicing . Brownies continue to set as they cool, making them even fudgier.
Variations
Cottage Cheese Brownies are already a fantastic balance of rich, fudgy chocolate and creamy texture, but you can customize them in so many delicious ways! Here are some creative variations to take your brownies to the next level:
- Nutty Brownies - Stir in chopped walnuts or pecans for added crunch.
- Peanut Butter Swirl - Swirl in melted peanut butter before baking for a chocolate-peanut butter combo.
- Extra Chocolatey - Add more chocolate chips to the batter for a double chocolate effect.
- Gluten-Free - Swap the all-purpose flour for almond flour or a gluten-free blend.
What To Enjoy With Cottage Cheese Brownies
Cottage Cheese Brownies are rich, fudgy, and slightly lighter than traditional brownies, making them a perfect dessert for pairing with complementary flavors and textures. Here are some delicious ideas for what to enjoy with them:
- A scoop of vanilla ice cream - The ultimate indulgence.
- Fresh berries - Strawberries or raspberries add a nice tart contrast.
- Whipped cream - A light and airy topping that complements the richness of the brownies.
- A drizzle of caramel sauce - Because why not?
How Long Do They Last?
Store leftover brownies in an airtight container at room temperature for up to 3 days or in the refrigerator for up to 1 week.
Can You Freeze Them?
Yes! These protein brownies freeze beautifully. Once cooled, cut them into squares and store them in an airtight container or freezer-safe bag for up to 3 months.
When you’re ready to enjoy them, let them thaw at room temperature or warm them slightly in the microwave for a gooey treat.
More Tasty Treats
- French Silk Pudding
- Brownie Mix Cookies
- Mango Cheesecake
- Lemon Brownies
- Crockpot Peach Cobbler
- Brownie Ice Cream
Cottage Cheese Brownies | Protein Brownies Recipe
Ingredients
- ▢ 3/4 cup Cottage Cheese , blended
- ▢ 1/2 cup Cocoa Powder
- ▢ 3/4 cup Dark Chocolate Chips
- ▢ 2 Eggs
- ▢ 3/4 cup Granulated Sugar
- ▢ 1/2 cup All Purpose Flour
- ▢ 1/2 tsp Baking Powder
- ▢ 1 tsp Vanilla Extract
- ▢ 1/4 tsp Kosher Salt
Instructions
- Blend the Cottage Cheese . Start by blending the cottage cheese in a food processor or blender until completely smooth. This ensures there are no lumps, creating a rich and creamy brownie batter.
- Melt the Chocolate . In a microwave-safe bowl, melt the dark chocolate chips in 30-second intervals, stirring between each, until smooth. Let cool slightly.
- Mix the Wet Ingredients . In a large bowl, whisk together the blended cottage cheese, eggs, sugar, and vanilla extract. Stir in the melted chocolate until well combined.
- Add the Dry Ingredients . Sift in the cocoa powder, flour, baking powder, and salt. Gently fold everything together until no streaks remain, being careful not to overmix.
- Bake the Brownies . Preheat your oven to 350°F. Grease or line an 8x8-inch baking pan with parchment paper. Pour the batter into the pan and spread evenly. Bake for 25-30 minutes, or until a toothpick inserted in the center comes out with moist crumbs.
- Cool and Serve . Let the brownies cool completely in the pan before slicing. This helps them set and become extra fudgy!
