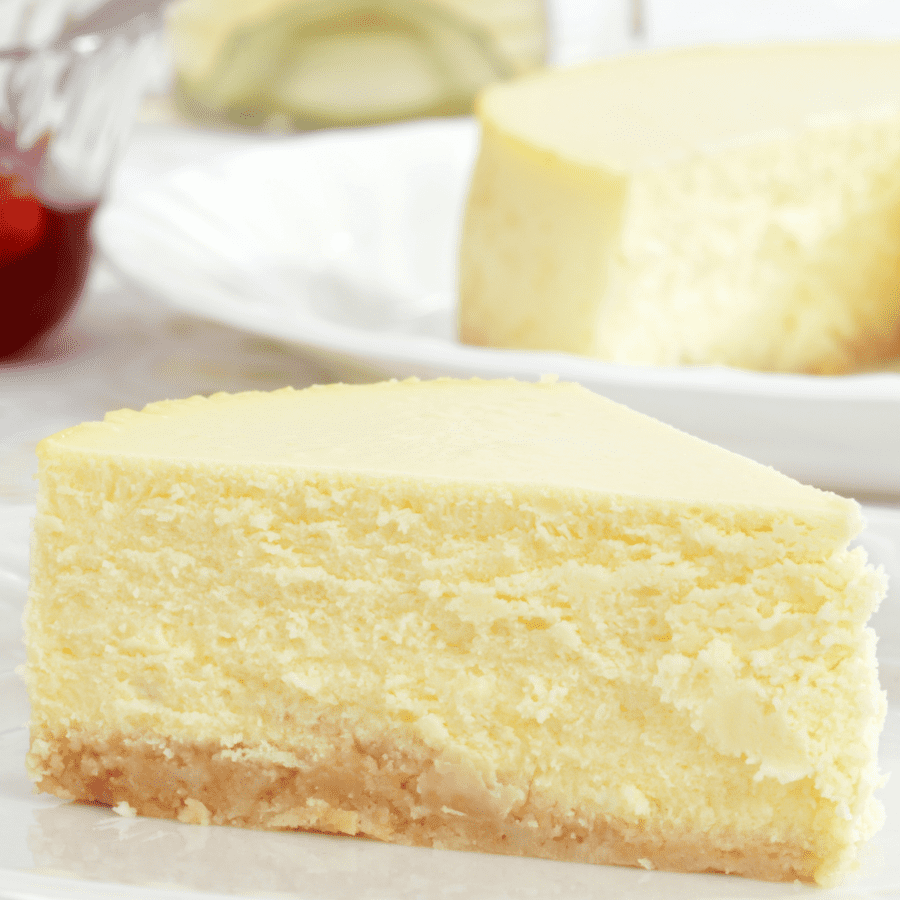
Gluten Free Cheesecake is a great way to have your cake and eat it too if your lifestyle has you skipping gluten. A rich, traditional cheesecake made with gluten free ingredients will have your tastebuds singing for one more bite.
Why Gluten Free Is Just As Yummy As The Original
- Easy. Make the gluten free crust, blend the filling, cook, chill, and enjoy. Just follow a few simple steps!
- Delicious. Full of tasty traditional cheesecake flavors.
- Gluten Free. Finding premade gluten-free options can be difficult at times. Skip the struggle by making your own.
Ingredients You’ll Need
For The Crust
- Gluten-Free Graham Cracker Crumbs - These crumbs are the foundation of the crust. These crumbs give the crust its classic graham cracker flavor and texture without the use of gluten.
- Granulated Sugar - Sugar is added to the crust to provide sweetness and a hint of caramelization during baking.
- Unsalted Butter, Melted - The melted butter is used to bind the graham cracker crumbs and sugar together. It creates a cohesive and slightly firm texture for the crust.
- Ground Cinnamon (Optional) - Adds a warm and slightly spicy note to the crust, providing depth to the overall taste.
For the Cheesecake Filling
- Cream Cheese - Cream cheese is the star ingredient in the cheesecake filling. When softened to room temperature, it blends smoothly with other ingredients to create the creamy, rich, and velvety texture of the cheesecake.
- Granulated Sugar - Sugar sweetens the cheesecake filling. It balances the tanginess of the cream cheese and contributes to the dessert’s overall sweetness.
- Pure Vanilla Extract - Vanilla extract enhances the flavor profile of the cheesecake, providing a warm and aromatic background note that complements the cream cheese.
- Eggs - Eggs serve as a binding and stabilizing agent in the cheesecake filling. They help set the structure and texture of the dessert and provide moisture.
- Sour Cream - Sour cream adds creaminess and a touch of tanginess to the cheesecake’s flavor and texture. It contributes moisture and helps balance the sweetness of the sugar.
- Gluten-Free All-Purpose Flour - Gluten-free flour serves as a thickening agent in the cheesecake filling. It helps achieve a slightly firmer texture and prevents the filling from being too runny.
- Milk - Milk is added to provide additional moisture and creaminess to the cheesecake. It ensures that the filling is smooth, even, and has the right consistency.
How To Make Gluten Free Cheesecake
- Preheat the Oven . Preheat your oven to 325°F. Position the rack in the center.
- Prepare the Springform Pan . Grease a 9-inch springform pan with butter or cooking spray.
- Make the Gluten-Free Crust . In a mixing bowl, combine the gluten-free graham cracker crumbs, sugar, melted butter, and ground cinnamon (if desired). Stir until all ingredients are well combined and the mixture has a consistency like wet sand. Press the crumb mixture firmly into the bottom of the prepared springform pan, ensuring it’s evenly distributed. Place the pan in the refrigerator to set while you prepare the filling.
- Prepare the Cheesecake Filling . In a large mixing bowl, beat the softened cream cheese until smooth and creamy. Add the granulated sugar and vanilla extract, then continue to beat until the mixture is well combined. Add the eggs one at a time, mixing well after each addition. Incorporate the sour cream, gluten-free all-purpose flour, and milk. Mix until the filling is silky and without lumps.
- Assemble and Bake . Pour the cheesecake filling onto the chilled crust in the springform pan. Tap the pan gently on the countertop to release any air bubbles. Place the pan on a baking sheet to catch any potential drips. Bake the cheesecake in the preheated oven for about 50-60 minutes. The edges should be set, but the center might still jiggle slightly when the pan is gently shaken.
- Allow to Cool . Turn off the oven, crack the oven door open, and allow the cheesecake to cool inside the oven for about an hour. This gradual cooling helps prevent cracks. Remove the cheesecake from the oven and refrigerate it for at least 4 hours or overnight to ensure it’s fully set.
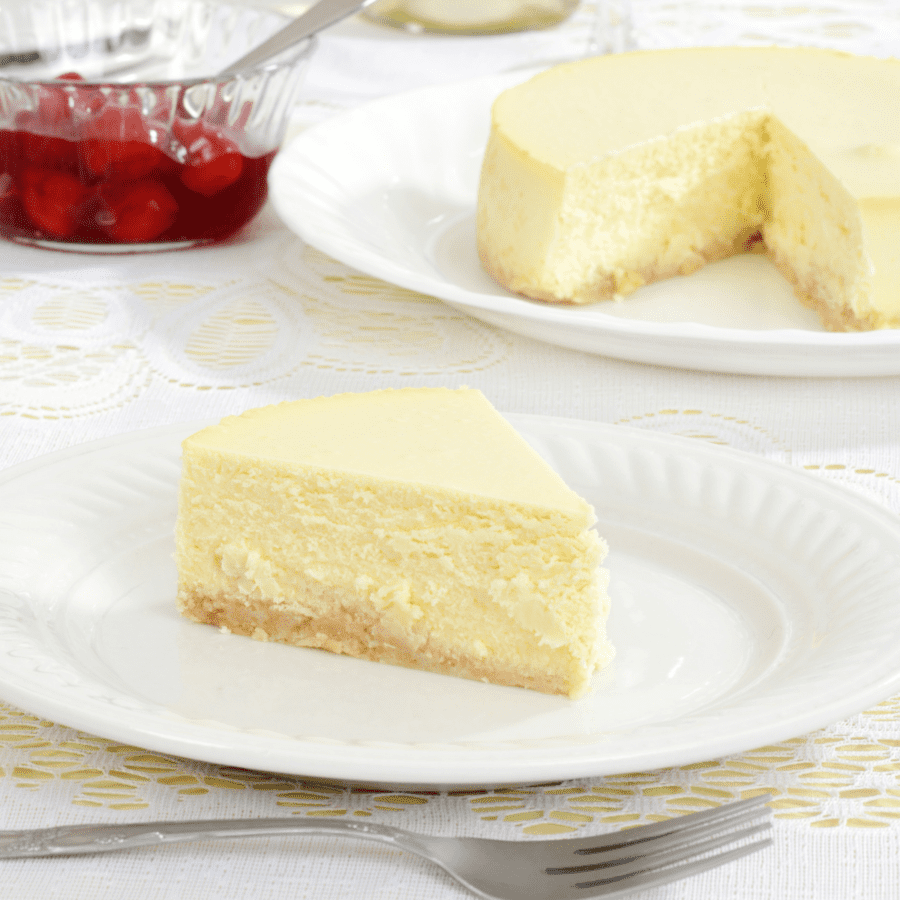
- Serve and Enjoy . Carefully remove the cheesecake from the springform pan and place it on a serving platter. Slice and serve your gluten-free cheesecake plain or with your favorite toppings, such as fresh berries, chocolate sauce, or whipped cream.
Tips And Tricks
- Use parchment paper. While this step isn’t totally necessary, it will help prevent the cheesecake from sticking to the springform pan and keep the edges looking nice and crisp.
- Don’t overbeat the eggs. Ensure you are mixing your eggs as little as possible, while still making sure they are well incorporated so that your cheesecake doesn’t become lumpy or eggy tasting after it is cooked.
- Add toppings. Add a little extra flair to your slice of cheesecake by using some of my serving suggestions below.
- Give it a tap. Before cooking your cheesecake, gently tap your pan against the counter to eliminate any air bubbles that may have formed in the blending or pouring process.
- Let it cool. Trust me, you’ll want to dig in as soon as the timer goes off–but don’t! To get a true traditional cheesecake flavor that isn’t eggy, you’ll want to wait for it to cool completely.
How Long Does It Last?
For the best results, I would suggest enjoying this Gluten-Free Cheesecake within 3-5 days of making it to prevent the filling from separating and the crust from becoming soggy.
Great Toppings For Cheesecake
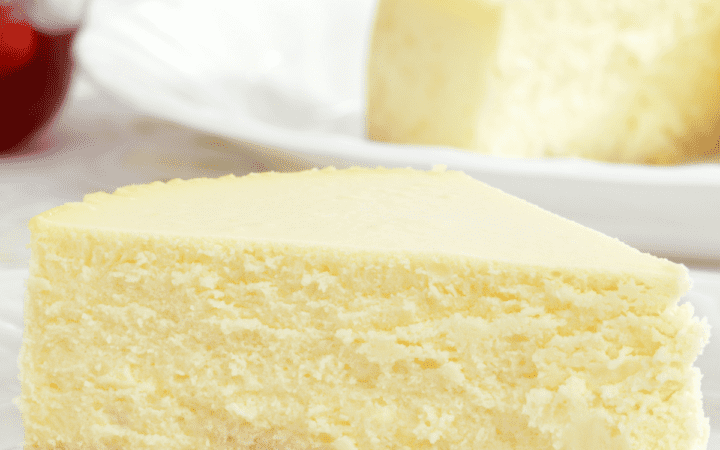
Don’t misunderstand my suggestion to add toppings as a way of saying that this Gluten Free Cheesecake isn’t flavorful. It is abundantly rich and tastes just as good as a traditional cheesecake.
If you’re looking for a way to add a little variety to a classic, here are some of my favorite additions:
- Strawberries - Finely dice these so you get a little brightness in each bite.
- Chocolate Chips - A little sprinkle of mini chocolate chips gives just the right of chocolate to this recipe. You can even make your own Sugar Free Chocolate Chips if you’re watching your sugar intake.
- Raspberry Syrup - A tart touch to balance the sweetness of the cheesecake is always a welcome touch.
- Whipped Topping - Just a little swirl of whipped topping helps make any dessert seem extra special.
- Caramel Drizzle - One of my favorite toppings for any cheesecake is a little caramel drizzle. The sweetness helps balance the tanginess of the cream cheese base.
Remember if you’re wanting to keep it gluten-free, always check the ingredients on any toppings you may be adding in addition to the original recipe.
More Gluten Free Desserts
- Gluten Free Chocolate Cake
- Keto Short Bread
- Gluten Free Carrot Cake
- Keto Pie Crust
- Almond Flour Cake
Gluten Free Cheesecake | Easy Cheesecake Recipe
Ingredients
- ▢ 1 1/2 cups Gluten Free Graham Crackers
- ▢ 1/4 cup Granulated Sugar
- ▢ 1/2 cup Unsalted Butter
- ▢ 1/2 tsp Ground Cinnamon
- ▢ 24 oz Cream Cheese
- ▢ 1 cup Granulated Sugar
- ▢ 1 tsp Vanilla Extract
- ▢ 3 Eggs
- ▢ 1 cup Sour Cream
- ▢ 1/2 cup Gluten Free All Purpose Flour
- ▢ 1/4 cup Milk
Instructions
- Preheat the Oven . Preheat your oven to 325°F. Position the rack in the center.
- Prepare the Springform Pan . Grease a 9-inch springform pan with butter or cooking spray.
- Make the Gluten-Free Crust . In a mixing bowl, combine the gluten-free graham cracker crumbs, sugar, melted butter, and ground cinnamon (if desired). Stir until all ingredients are well combined and the mixture has a consistency like wet sand. Press the crumb mixture firmly into the bottom of the prepared springform pan, ensuring it’s evenly distributed. Place the pan in the refrigerator to set while you prepare the filling.
- Prepare the Cheesecake Filling . In a large mixing bowl, beat the softened cream cheese until smooth and creamy. Add the granulated sugar and vanilla extract, then continue to beat until the mixture is well combined. Add the eggs one at a time, mixing well after each addition. Incorporate the sour cream, gluten-free all-purpose flour, and milk. Mix until the filling is silky and without lumps.
- Assemble and Bake . Pour the cheesecake filling onto the chilled crust in the springform pan. Tap the pan gently on the countertop to release any air bubbles. Place the pan on a baking sheet to catch any potential drips. Bake the cheesecake in the preheated oven for about 50-60 minutes. The edges should be set, but the center might still jiggle slightly when the pan is gently shaken.
- Allow to Cool . Turn off the oven, crack the oven door open, and allow the cheesecake to cool inside the oven for about an hour. This gradual cooling helps prevent cracks. Remove the cheesecake from the oven and refrigerate it for at least 4 hours or overnight to ensure it’s fully set.
- Serve and Enjoy . Carefully remove the cheesecake from the springform pan and place it on a serving platter. Slice and serve your gluten-free cheesecake plain or with your favorite toppings, such as fresh berries, chocolate sauce, or whipped cream.
Get support & connect with our community on Facebook!
Nutrition

If you already signed up, you should have received an email with a password to give you unlimited access to our FREE Printable Library. The password is case sensitive. Enter it below and get printing!
Password:

Gluten Free Cheesecake | Easy Cheesecake Recipe
Ingredients
- 1 1/2 cups Gluten Free Graham Crackers
- 1/4 cup Granulated Sugar
- 1/2 cup Unsalted Butter
- 1/2 tsp Ground Cinnamon
- 24 oz Cream Cheese
- 1 cup Granulated Sugar
- 1 tsp Vanilla Extract
- 3 Eggs
- 1 cup Sour Cream
- 1/2 cup Gluten Free All Purpose Flour
- 1/4 cup Milk
Instructions
- Preheat the Oven . Preheat your oven to 325°F. Position the rack in the center.
- Prepare the Springform Pan . Grease a 9-inch springform pan with butter or cooking spray.
- Make the Gluten-Free Crust . In a mixing bowl, combine the gluten-free graham cracker crumbs, sugar, melted butter, and ground cinnamon (if desired). Stir until all ingredients are well combined and the mixture has a consistency like wet sand. Press the crumb mixture firmly into the bottom of the prepared springform pan, ensuring it’s evenly distributed. Place the pan in the refrigerator to set while you prepare the filling.
- Prepare the Cheesecake Filling . In a large mixing bowl, beat the softened cream cheese until smooth and creamy. Add the granulated sugar and vanilla extract, then continue to beat until the mixture is well combined. Add the eggs one at a time, mixing well after each addition. Incorporate the sour cream, gluten-free all-purpose flour, and milk. Mix until the filling is silky and without lumps.
- Assemble and Bake . Pour the cheesecake filling onto the chilled crust in the springform pan. Tap the pan gently on the countertop to release any air bubbles. Place the pan on a baking sheet to catch any potential drips. Bake the cheesecake in the preheated oven for about 50-60 minutes. The edges should be set, but the center might still jiggle slightly when the pan is gently shaken.
- Allow to Cool . Turn off the oven, crack the oven door open, and allow the cheesecake to cool inside the oven for about an hour. This gradual cooling helps prevent cracks. Remove the cheesecake from the oven and refrigerate it for at least 4 hours or overnight to ensure it’s fully set.
- Serve and Enjoy . Carefully remove the cheesecake from the springform pan and place it on a serving platter. Slice and serve your gluten-free cheesecake plain or with your favorite toppings, such as fresh berries, chocolate sauce, or whipped cream.
Gluten Free Cheesecake | Easy Cheesecake Recipe https://twosleevers.com/gluten-free-cheesecake/
Not only are these air fryer steak bites quick and hassle-free, but they also pack a flavorful punch that will leave your taste buds in awe. Whether you’re a seasoned home cook or just starting your culinary journey, our step-by-step instructions and pro tips will ensure that your air fryer steak bites turn out impeccably every time.
What Makes Them So Great?
- Fast. These flavorful steak bites are ready in under 30 minutes with the help of your air fryer.
- Easy. Season, touch them with a bit of oil, and air fry. That’s it.
- Tasty. The natural flavor punch of beef with a sprinkle of the right herbs and spices is all you need for a bite everyone will love.
What Kind Of Steak Should You Use?
There are several different cuts of meat that you can use for these air fryer steak bites, but here are some of the most tender and flavorful cuts you can use:
- Ribeye
- Tenderloin
- Sirloin
- New York Strip
Ingredients You’ll Need
The list of ingredients for this recipe is extremely short, but the flavor is over-the-top delicious.
Here’s what you’ll need to get started:
- Steak - The star of the dish, steak provides the meaty and hearty element. You’ll cut the steak into bite-sized pieces, ensuring they cook quickly and evenly in the air fryer. The choice of steak, such as sirloin, ribeye, or filet, can impact the flavor and tenderness of the final dish.
- Oil - Oil is used to coat the steak bites before air frying. It helps the seasonings adhere to the steak and promotes browning and crispiness during cooking.
- Salt and Pepper - Salt and pepper are essential seasonings to enhance the flavor of the steak bites.
- Worcestershire Sauce - Worcestershire sauce adds a depth of umami, savory, and slightly tangy flavor to the steak. It also acts as a tenderizing agent, helping to keep the steak moist and flavorful during cooking.
- Minced Garlic - Minced garlic contributes aromatic and garlicky notes to the steak. It infuses the meat with a rich flavor that complements the beefy taste of the steak.
- Lime Juice - Lime juice adds a zesty and citrusy element to the steak bites. It brightens up the dish and provides a fresh contrast to the richness of the steak and other seasonings.
- Cilantro (optional for garnish) - Cilantro is an optional garnish used to add freshness and a burst of herbaceous flavor to the finished steak bites.
How To Make Air Fryer Steak Bites
- Cut the steak into small 1" pieces.
- Place the bite-sized pieces of steak in a zip-top bag along with the oil, spices, lime juice, and Worcestershire sauce.
- Allow the steak bites to marinate in the refrigerator for 30 minutes to help tenderize the beef and optimize the flavor.
- Place the steak bites on a skewer (if using) and place them in the bottom of your air fryer basket.
- Air fry the steak bites, flipping halfway through the cooking cycle.
- Remove the air fryer steak bites from the basket. Garnish with a sprinkle of fresh lime juice and cilantro.
Tips And Tricks
Making air fryer steak bites is a quick and convenient way to enjoy tender, flavorful pieces of steak. Here are some tips and tricks to help you achieve the best results:
- Cut it small. To keep them a tasty, flavorful finger food make sure you cut the steak bites small enough that you don’t need to bring a knife into the mix.
- Season it heavily. Don’t be afraid to use a heavy hand with the spices. While you want the beef flavor to be the forward flavor in this recipe, use the spices to accentuate it.
- Don’t forget the oil. Without the oil added during the cooking process, the beef can become dried out and tough.
Variations
Air fryer steak bites are incredibly versatile and can be customized with various flavors and ingredients. Here are some variations to try:
- Garlic Butter Steak Bites - Toss the cooked steak bites in a garlic butter sauce made with minced garlic, melted butter, and fresh herbs like parsley or thyme.
- Teriyaki Steak Bites - Marinate the steak bites in a teriyaki sauce (soy sauce, sugar, ginger, garlic) before air frying. After cooking, drizzle with extra teriyaki sauce and sesame seeds.
- Cajun Steak Bites - Season the steak bites with Cajun seasoning for a spicy kick. Serve with a creamy Cajun dipping sauce made with mayonnaise and Cajun spices.
What To Serve With Air Fryer Steak Bites
These little air fryer steak bites are so yummy I could make an entire meal out of just them. But, for a well-rounded dinner experience, you may want to make something else to add to your plate.
Here are some of my favorite things to eat with these steak bites:
- Cheesy Potatoes
- Air Fryer Asparagus
- Butternut Squash Risotto
How Long Do They Last?
For the best bite, I would suggest eating any leftovers you may have (we rarely have any) within 3-5 days of preparing them. This allows the best flavor and texture to come through even days after making them.
Can You Freeze Them?
Yes, you can freeze air fryer steak bites for future use. Freezing them can be a convenient way to have a quick and delicious meal on hand. While the specific time can vary, air-fried steak bites are best when used within 2-3 months to maintain their quality. They may still be safe to eat after that, but the texture and flavor could degrade over time.
When you’re ready to enjoy the frozen steak bites, simply thaw them in the refrigerator overnight. Once thawed, you can reheat them in the air fryer for a few minutes until they’re hot and crispy again.
More Easy Air Fryer Recipes
- Air Fryer Zucchini
- Air Fryer Corn on the Cob
- How To Make Baked Potatoes in Your Air Fryer
If you love these Air Fryer Steak Bites as much as I do, make sure you share them on Facebook and Instagram so your friends can try them too. Don’t forget to Pin them so you can make them again soon!
Air Fryer Steak Bites
Ingredients
- ▢ 1 pound Ribeye Steak
- ▢ 2 tbsp Olive Oil
- ▢ 1 tsp Salt
- ▢ 1/2 tsp Black Pepper
- ▢ 2 tbsp Worchestershire Sauce
- ▢ 2 cloves Garlic , minced
- ▢ 1 tbsp lime juice
- ▢ Cilantro , for garnish
Instructions
- Cut the steak into small 1" pieces.
- Place the bite-sized pieces of steak in a zip-top bag along with the oil, spices, lime juice, and Worcestershire sauce.
- Allow the steak bites to marinate in the refrigerator for 30 minutes to help tenderize the beef and optimize the flavor.
- Place the steak bites on a skewer (if using) and place them in the bottom of your air fryer basket.
- Air fry the steak bites, flipping halfway through the cooking cycle.
- Remove the air fryer steak bites from the basket. Garnish with a sprinkle of fresh lime juice and cilantro.
Get support & connect with our community on Facebook!
Nutrition
And don’t forget to check out my air fryer cookbooks! Every day easy air fryer , and Air Fryer Revolution .

