
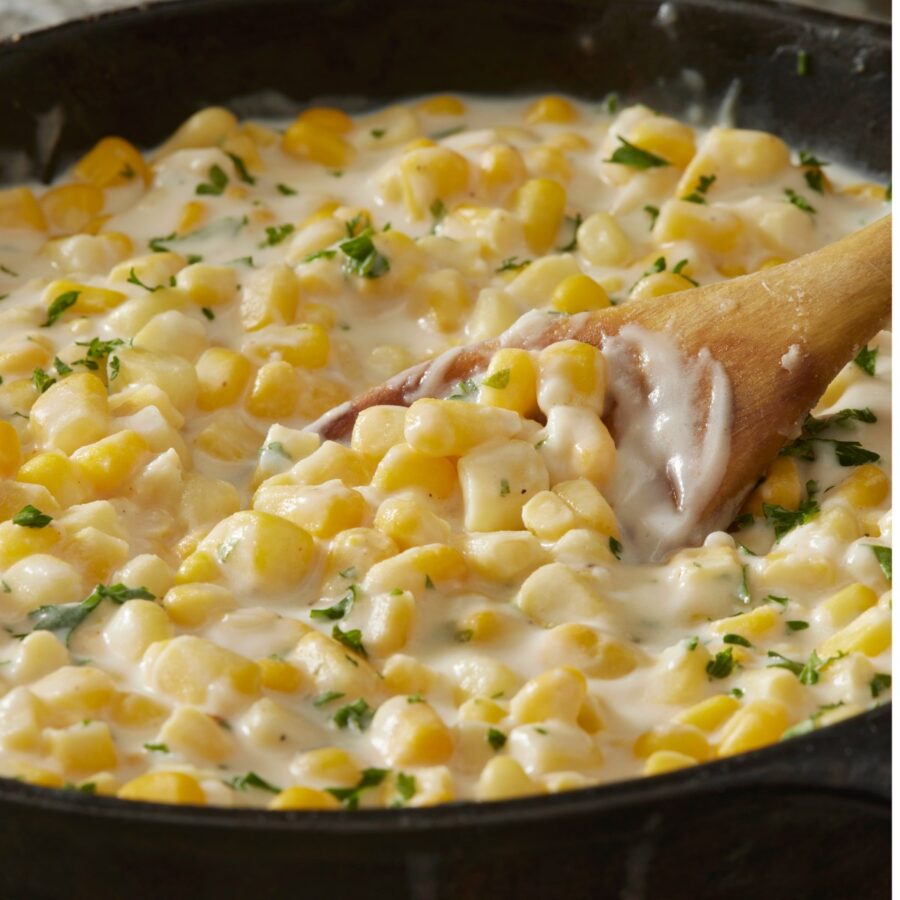
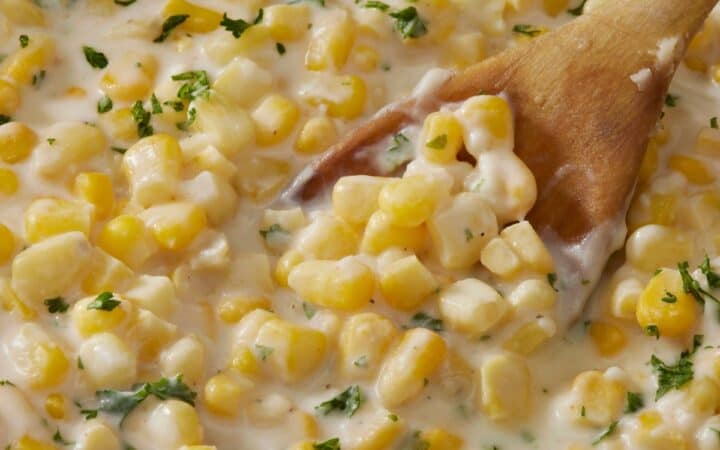
Creamed corn is a classic and comforting dish that brings together the sweetness of corn and the creaminess of a rich sauce. It’s a versatile side dish that pairs well with various main courses, making it a popular choice for family gatherings and holiday meals.
Why This Will Be Your New Favorite Side Dish
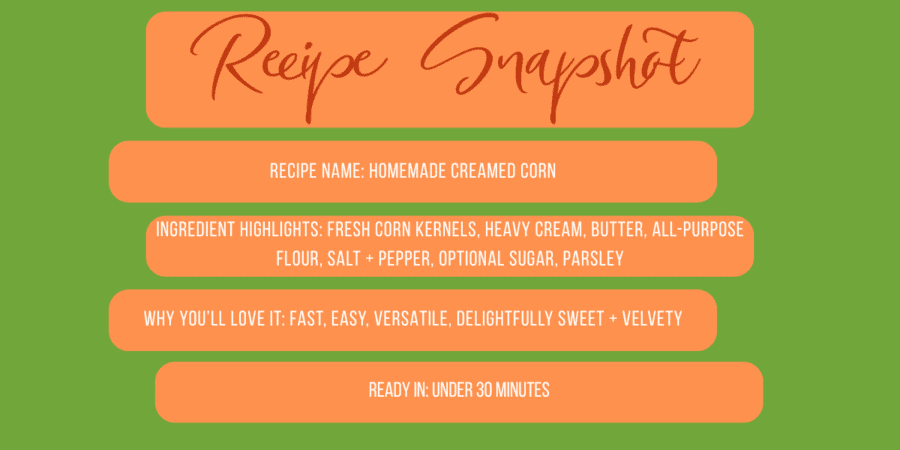
- Fast. A quick dish that is ready in under 30 minutes .
- Easy. let a few flavorful ingredients simmer on the stovetop until deliciously creamy and tender.
- Versatile. Use some of my suggestions below to make this the perfect side dish for your next meal.
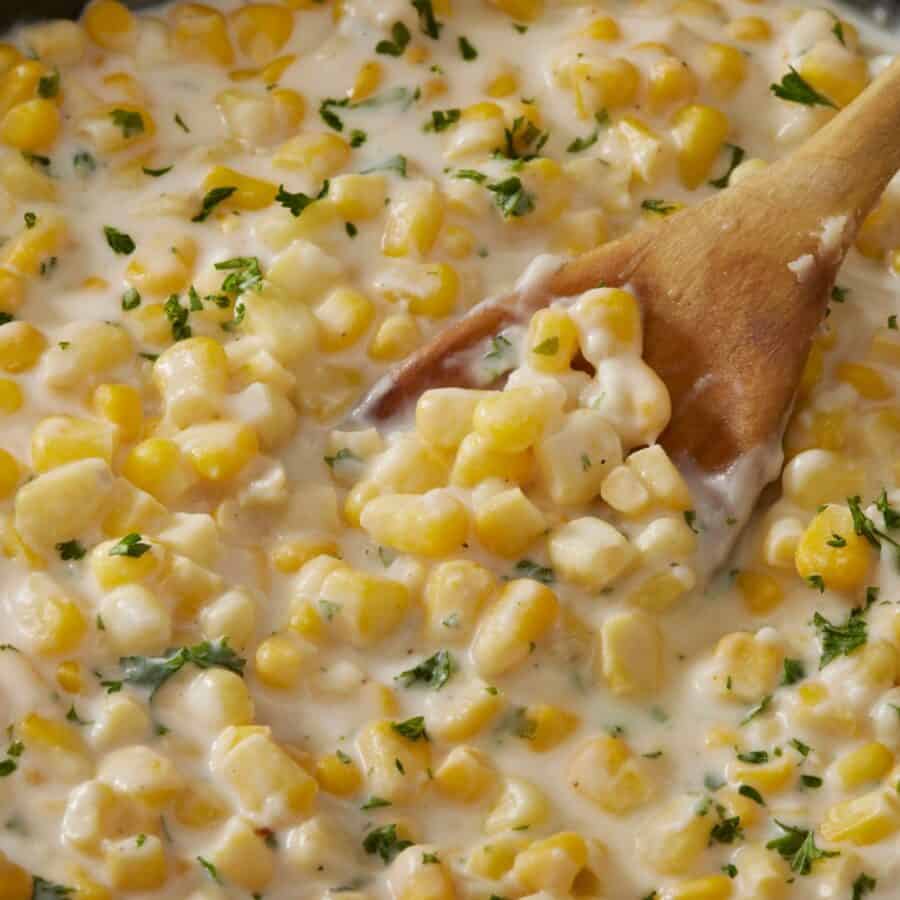
- Delicious. A delightfully sweet flavor and a velvety texture that is sure to take your next meal to another level.
What Is The Difference Between Creamed Corn And Sweet Corn?
Creamed corn and sweet corn are both made from corn, but they differ in their preparation and consistency:
- Sweet corn - Sweet corn refers to fresh, immature ears of corn that are harvested before they fully mature. The kernels are tender, juicy, and naturally sweet. Sweet corn is commonly boiled, steamed, grilled, or roasted. It retains its distinct kernel shape and texture.
- Creamed corn - Creamed corn, on the other hand, is a dish made by removing the kernels from the cob and cooking them in a creamy sauce. It has a smooth and velvety texture, and the kernels are usually more broken down and less defined compared to whole sweet corn kernels.
Is Creamed Corn Good For You?
Creamed corn, like most other foods, can be good for you in moderation. I would say that it is definitely more of a comfort dish than it is a health food.
If you’re looking for ways to adjust the ingredients to make it a healthier side dish option with your next meal, consider some of the suggestions below.
You can make it healthier by incorporating modifications such as using low-fat milk instead of heavy cream, reducing the amount of butter, and increasing the proportion of corn to creamy ingredients.
Ingredients You’ll Need
- Fresh corn kernels- You can also use canned if you don’t have fresh corn available.
- Heavy cream - Adds a wonderfully creamy element to the recipe.
- Butter - Salty and rich that combines with the flour to thicken the cream base.
- All-purpose flour - Is used as a thickener in the recipe.
- Sugar (optional for sweetness) - If you have fresh corn available, the natural sugars aren’t always necessary. Taste as you go and add a tiny bit at a time until it’s perfect.
- Salt and pepper - Just a bit of each to help accentuate the natural flavors of the corn and dairy.
- Parsley - Gives a pop of freshness and color to the dish.
How To Make Creamed Corn
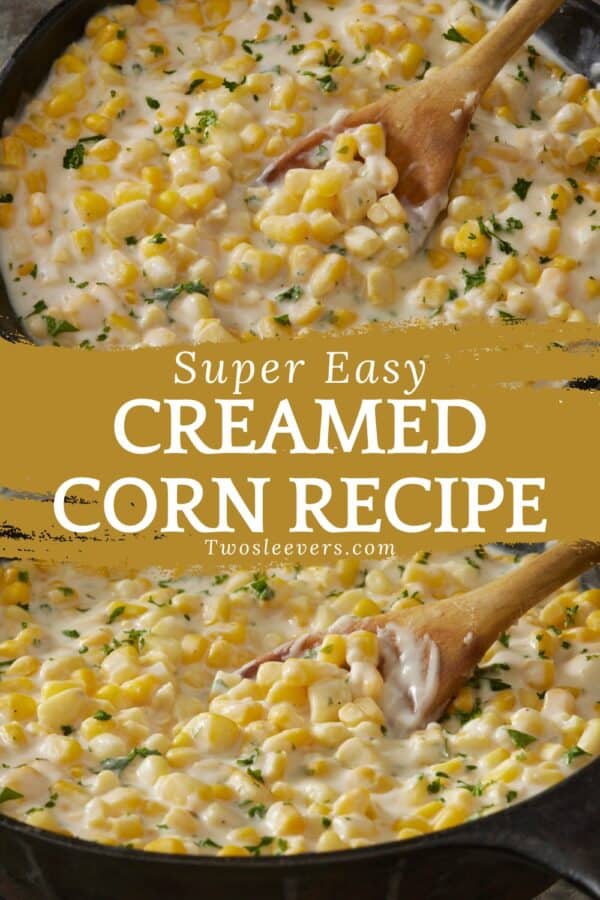
When you realize how simple this recipe for creamed corn is to make, you’ll wonder why you’ve been settling for the canned stuff all of your life! Follow the steps below for a creamy and flavorful dish that will turn out perfect every time!
- In a large skillet or saucepan, melt the butter over medium heat.
- Add the corn kernels to the pan and sauté them for about 5 minutes, stirring occasionally, until they become tender.
- Sprinkle the flour over the corn and stir well to coat the kernels evenly. Cook for another minute to cook out the raw flour taste.
- Slowly pour in the heavy cream while stirring continuously to combine it with the corn and flour mixture. Stir until the mixture thickens slightly, usually around 3-4 minutes.
- Reduce the heat to low and let the corn simmer for 5-10 minutes, stirring occasionally until it reaches your desired consistency. If you prefer a creamier texture, you can use a potato masher or the back of a spoon to mash some of the corn kernels gently.
- Season the creamed corn with salt, pepper, and sugar (if desired), adjusting the amounts to taste.
- Once the creamed corn is ready, remove it from the heat and transfer it to a serving dish.
- Garnish with fresh herbs like parsley or chives, if desired, for added freshness and presentation.
Tips And Tricks
- Use fresh corn. Whenever possible, opt for fresh corn kernels rather than canned or frozen. The natural sweetness and crisp texture of fresh corn will enhance the flavor and overall quality of your corn dish.
- Scraping the cobs. After cutting off the kernels, use the back of the knife or a spoon to scrape the cobs. This will release some of the corn’s natural starches, which will help thicken it.
- Adjust the creaminess. If you prefer a thicker and creamier texture, increase the amount of flour in the recipe or add a small amount of cornstarch dissolved in water. Conversely, if you prefer a lighter and less creamy consistency, reduce the amount of cream or replace some of it with milk.
- Season carefully. Taste as you go and adjust the seasoning accordingly. Salt and pepper are essential, but you can also experiment with other herbs and spices to suit your taste preferences.
Creamed Corn Variations
- Crumble in some bacon - Cook some bacon until crispy, then crumble it and mix it into the creamed corn along with shredded cheddar cheese. The smoky bacon and cheesy goodness add a delicious savory twist to the dish.
- Have some fun with herbs - Add a fresh and aromatic touch to your creamed corn by incorporating herbs. Stir in chopped fresh herbs like thyme, rosemary, or parsley to enhance the flavor profile.
- Make it spicy - For those who enjoy a little heat, add diced jalapeños, red pepper flakes, or a sprinkle of cayenne pepper to the creamed corn. These spicy elements will provide a fiery kick and elevate the dish.
- Try a Southwest-Style - Give your creamed corn a Southwestern flair by adding ingredients like diced green chilies, cumin, and a squeeze of lime juice. This variation pairs well with Tex-Mex or Mexican-inspired dishes.
- Parmesan and Garlic Creamed Corn - Stir in grated Parmesan cheese and minced garlic to infuse the creamed corn with a rich and savory flavor. The nutty Parmesan and aromatic garlic create a delightful combination.
Feel free to experiment with these variations or combine different elements to create your own unique version of creamed corn. The possibilities are endless, and you can tailor the flavors to your preferences for a delicious and personalized dish.
What To Serve It With
Creamed corn pairs well with a variety of main dishes and other side dishes. Here are a few ideas for what you can serve with it:
- Grilled meats - It goes well with grilled meats such as steak, chicken, or pork. The creamy and slightly sweet flavor of the corn complements the smoky char of the grilled meat.
- BBQ dishes - Creamed corn is a popular side dish for barbecued meats like ribs , pulled pork , or smoked brisket . The creaminess helps balance out the richness and adds a touch of sweetness to the meal.
- Southern-inspired dishes - It is a classic side dish in Southern cuisine. Serve it alongside dishes like fried chicken , biscuits , or collard greens for a comforting and soulful meal.
How Long Does It Last?
Creamed corn can typically be stored in the refrigerator for up to 3-4 days when stored in an airtight container.
If you have leftovers, let the creamed corn cool down to room temperature, then transfer it to a container with a tight-fitting lid or cover it tightly with plastic wrap before refrigerating.
When reheating creamed corn, it’s best to do so on the stovetop over low to medium heat, stirring occasionally until heated through. You may need to add a little extra cream or milk to maintain a creamy consistency as the corn can thicken when refrigerated.
Can You Freeze It?
Yes, creamed corn can be frozen for longer-term storage. However, you should note that the texture of the creamed corn may change slightly when thawed. It may not be as creamy as when it was freshly made.
More Easy Corn Recipes
- Air Fryer Corn on the Cob
- Instant Pot Corn on the Cob
- Elote
- Chipotle Corn Salsa
- Corn Dip
Creamed Corn | Homestyle Creamed Corn Recipe
Ingredients
- ▢ 30 ounces Canned Corn , drained
- ▢ 3 tbsp Unsalted Butter
- ▢ 3 tbsp All Purpose Flour
- ▢ 1 1/2 cups Heavy Cream
- ▢ 1/2 tsp Kosher Salt
- ▢ 1/4 tsp Ground Black pepper
- ▢ 2 tsp Granulated Suagr
- ▢ Parsley , for garnish
Instructions
- In a large skillet or saucepan, melt the butter over medium heat.
- Add the corn kernels to the pan and sauté them for about 5 minutes, stirring occasionally, until they become tender.
- Sprinkle the flour over the corn and stir well to coat the kernels evenly. Cook for another minute to cook out the raw flour taste.
- Slowly pour in the heavy cream while stirring continuously to combine it with the corn and flour mixture. Stir until the mixture thickens slightly, usually around 3-4 minutes.
- Reduce the heat to low and let the corn simmer for 5-10 minutes, stirring occasionally until it reaches your desired consistency. If you prefer a creamier texture, you can use a potato masher or the back of a spoon to mash some of the corn kernels gently.
- Season the creamed corn with salt, pepper, and sugar (if desired), adjusting the amounts to taste.
- Once the creamed corn is ready, remove it from the heat and transfer it to a serving dish.
- Garnish with fresh herbs like parsley or chives, if desired, for added freshness and presentation.
Get support & connect with our community on Facebook!

If you already signed up, you should have received an email with a password to give you unlimited access to our FREE Printable Library. The password is case sensitive. Enter it below and get printing!
Password:

Creamed Corn | Homestyle Creamed Corn Recipe
Ingredients
- 30 ounces Canned Corn drained
- 3 tbsp Unsalted Butter
- 3 tbsp All Purpose Flour
- 1 1/2 cups Heavy Cream
- 1/2 tsp Kosher Salt
- 1/4 tsp Ground Black pepper
- 2 tsp Granulated Suagr
- Parsley for garnish
Instructions
- In a large skillet or saucepan, melt the butter over medium heat.
- Add the corn kernels to the pan and sauté them for about 5 minutes, stirring occasionally, until they become tender.
- Sprinkle the flour over the corn and stir well to coat the kernels evenly. Cook for another minute to cook out the raw flour taste.
- Slowly pour in the heavy cream while stirring continuously to combine it with the corn and flour mixture. Stir until the mixture thickens slightly, usually around 3-4 minutes.
- Reduce the heat to low and let the corn simmer for 5-10 minutes, stirring occasionally until it reaches your desired consistency. If you prefer a creamier texture, you can use a potato masher or the back of a spoon to mash some of the corn kernels gently.
- Season the creamed corn with salt, pepper, and sugar (if desired), adjusting the amounts to taste.
- Once the creamed corn is ready, remove it from the heat and transfer it to a serving dish.
- Garnish with fresh herbs like parsley or chives, if desired, for added freshness and presentation.
Creamed Corn | Homestyle Creamed Corn Recipe https://twosleevers.com/creamed-corn/
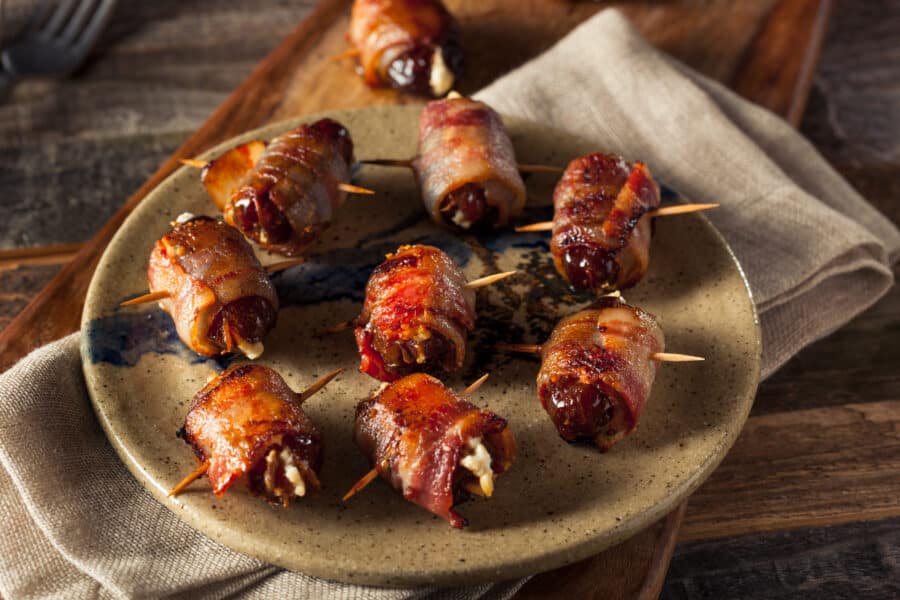
Are you looking for the perfect appetizer or quick weekend brunch addition? This Bacon Wrapped Dates recipe is a dish that will check all of the boxes for a tasty and indulgent treat.
What Makes This The Perfect Appetizer?
- Sweet-salty magic . Naturally sweet dates and savory bacon are an instant crowd-pleaser
- Perfect texture combo . Crispy bacon outside, soft and caramel-y date inside
- Big flavor with minimal ingredients . A short list delivers “wow” results
- Quick to prep and bake . They’re ideal for last-minute hosting
- Fits lots of menus . works for holidays, game day, cocktail parties, and dinner parties
Bacon wrapped dates are the perfect appetizer because they’re effortless to make, irresistibly sweet-and-salty, and feel fancy while staying totally finger-food simple.
What Do They Taste Like?
Bacon wrapped dates taste like a perfect sweet-and-salty bite: the date turns warm and almost caramel-like, with a rich toffee sweetness and a soft, chewy center, while the bacon gets crisp and smoky around the outside.
Together, you get the super satisfying contrast of sticky-sweet fruitiness balanced by savory, salty bacon fat, so it feels both indulgent and oddly elegant.
What Are The Best Dates To Use For Bacon Wrapped Dates?
Use Medjool dates if you can. They’re larger, softer, and naturally caramel-like once warmed.
If your dates feel a little dry, you can revive them by soaking them in warm water for 5–10 minutes, then patting the outsides dry really well. A dry exterior makes for crispier bacon.
Ingredients You’ll Need
- Medjool dates - These are the sweet, chewy center of the appetizer. When baked, they soften and turn almost caramel-like, balancing the salty bacon and giving that signature sweet-and-savory bite.
- Smoked bacon - This wraps the dates, adds a smoky, salty flavor, and turns crisp as it cooks. It also provides the “shell” that holds everything together and creates that irresistible crunchy-outside and soft-inside texture.
- Goat Cheese (optional)- It adds a rich, smooth texture that makes each bite feel more “fancy,” and it helps turn the appetizer into a true sweet-salty-tangy flavor bomb.
How To Make Bacon Wrapped Dates
- Preheat the oven . Set the oven to 400°F. Line a baking sheet with foil for easy cleanup, and set a rack on top if you have one. This helps the bacon crisp evenly.
- Prep dates . If they aren’t already pitted, slice lengthwise and remove pits. If using goat cheese, fill the sliced dates at this time.
- Wrap . Cut bacon strips in half, or thirds if bacon is thick or long. Wrap one piece around each date.
- Secure . Use a toothpick through the seam to hold the bacon in place.
- Bake . Arrange seam-side down. Bake 18–25 minutes, flipping once halfway through, until bacon is browned and crisp.
- Serve . Let them cool for 5 minutes to allow the centers to cool, then serve them warm.

Tips and Tricks
Bacon wrapped dates are super simple, but a few small moves make them next-level crispy, gooey, and party-perfect:
- Use Medjool dates. They’re bigger, softer, and taste more caramel-like than smaller varieties.
- Pat the dates dry . Moisture leads to steaming, which leads to floppy bacon, so dry dates help bacon crisp.
- Choose the right bacon . Regular-cut bacon wraps easily and crisps well; thick-cut takes longer and can stay chewy.
- Cut bacon to fit . Halve slices for Medjools (or thirds if bacon is long) so you get a neat wrap without overlap overload.
Variations
Bacon-wrapped dates are basically a blank canvas for sweet, salty, tangy, crunchy upgrades. Here are some delicious variations to mix things up:
- Goat Cheese Stuffed - Creamy and tangy. They’re also great with a honey drizzle.
- Blue Cheese Stuffed - Bold, salty, and super “wine night” friendly
- Cream Cheese Stuffed - Mild, classic, and kid-approved
- Almond-Stuffed - Crunchy, nutty, and simple. No cheese needed.
They help keep bacon tight while cooking. If your bacon stays wrapped seam-side down and you use a rack, you can sometimes skip them, but toothpicks make life easier.
You can, but it won’t crisp the same way. Turkey bacon often needs a slightly lower temp and careful flipping to prevent drying out.
Common culprits are that dates are too wet, bacon is too thick, overcrowding, or baking without enough airflow. Use a rack, don’t crowd, and finish under the broiler if needed.
What To Serve With Bacon Wrapped Dates
Bacon-wrapped dates are rich, sweet-salty, and a little sticky, so they pair best with crisp, fresh, tangy, and bubbly sides:
- Cheese board staples - manchego, goat cheese, brie, or blue cheese + crackers
- Charcuterie add-ons - prosciutto, salami, olives, cornichons, roasted nuts
- Fresh fruit - grapes, apple slices, pears, figs, pomegranate arils
- Crunchy veggies - cucumber, endive leaves, bell pepper strips
- Bacon Wrapped Shrimp - Makes another great appetizer to serve at any party!
How Long Do They Last?
I’m going to be honest, these are best eaten right when they’re made. I prefer most of my recipes to work for people with small appetites or to be used as leftovers, but this one just doesn’t fit that bill. If you let them sit for too long, the dates get a little chewy, and the bacon doesn’t stay quite as tight on the toothpicks, so reheating is hard.
If you’re not worried about texture issues, these are safe for quite a long time (5-7 days) after preparing them, but they will not be quite as tasty as the first day you make them.
Other EasyAppetizer Recipes
- Cranberry Brie Bites
- Pizza Balls
- Crock Pot Spinach Artichoke Dip
- Chili Cheese Dip
- Potato Skins


Bacon Wrapped Dates | Stuffed Bacon Wrapped Date Recipe
Ingredients
- ▢ 12 Medjool Dates
- ▢ 6 slices Bacon
- ▢ 4 ounces Goat Cheese
Instructions
- Preheat the oven . Set the oven to 400°F. Line a baking sheet with foil for easy cleanup, and set a rack on top if you have one. This helps the bacon crisp evenly.
- Prep dates . If they aren’t already pitted, slice lengthwise and remove pits. If using goat cheese, fill the sliced dates at this time.
- Wrap . Cut bacon strips in half, or thirds if bacon is thick or long. Wrap one piece around each date.
- Secure . Use a toothpick through the seam to hold the bacon in place.
- Bake . Arrange seam-side down. Bake 18–25 minutes, flipping once halfway through, until bacon is browned and crisp.
- Serve . Let them cool for 5 minutes to allow the centers to cool, then serve them warm.
