


A complete guide to making Instant Pot Yogurt using the Cold Start Method, or No-Boil Method. Step by step directions to use your electric pressure cooker for yogurt, greek yogurt, sweetened yogurt, yogurt tubes, as well as a section on troubleshooting homemade yogurt.

WHY MAKE YOGURT AT HOME?
When you can buy yogurt at the store for very little money, why bother making your own? Here are a few reasons why people like home-made yogurt.
- No additives . No need to add sugar, gum, gelatin, or other additives. Milk. Yogurt starter. Done.
- Choice of milk. Whole milk, 2% milk, skim milk, goat milk, sheeps milk, or even yogurt made with half and half–all of this is possible with Homemade Yogurt.
- Non-dairy milk yogurt. With a little know-how, you can make almond milk yogurt, soy milk yogurt, or coconut milk yogurt. If you want a dairy-free yogurt, making it at home is a fine way to do it.
- Mild or Tart. The longer you let it incubate, the more tart your yogurt. Usually, it sets in about 8 hours. If you let it keep incubating for 12 hours, you will have a very tart yogurt. So you have some control over the final product.
- Flavorings and sweetness of choice. Some of us like plain yogurt. Some of us like cardamom yogurt, or Vietnamese sweet yogurt. Some want to use a keto sweetener. Making yogurt at home lets you make any variation you prefer. You can also add vanilla extract or oddly enough, Crystal Light if you want to keep it low sugar yogurt.
- Sense of accomplishment. Honestly, this alone is reason enough to do it. It’s easy. It’s fun. Your kids will love doing it with you.
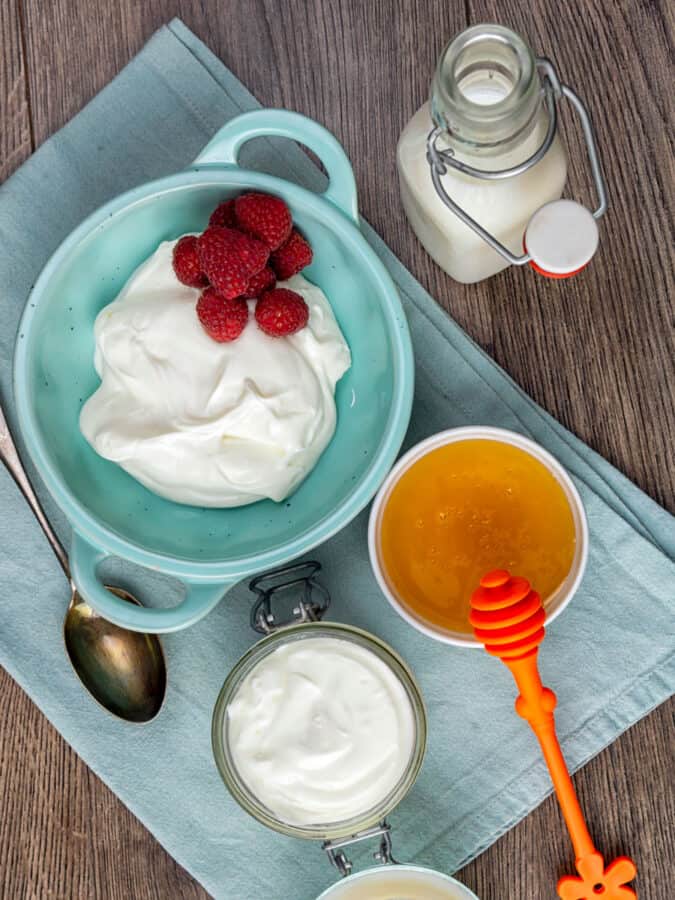
The creamy consistency of homemade Greek yogurt can be used in a variety of recipes , or you can simply add it to your morning smoothie or enjoy it by itself with some fruit , coconut and nuts garnished on top.
What is Cold Start Yogurt?
This is the perfect way to make your yogurt if you do not want to deal with boiling milk or straining
Cold Start Yogurt is when you start with room temperature milk and place it in the Instant Pot . You skip the whole first step of heating the milk, then cooling the milk, so it also referred to as the No-Boil Method.
Does it work? Absolutely it does. When I first shared my cold start method with Fairlife milk 3 years ago, I got a lot of push back on the safety of this method. Since Indians have been making it in this way for centuries, I wasn’t that worried 🙂
How to Make Cold Start Instant Pot Yogurt
- Pour the milk. Pour 1/2 gallon milk into the Instant Pot liner. Place the lid and set your valve to VENTING or use a glass lid .
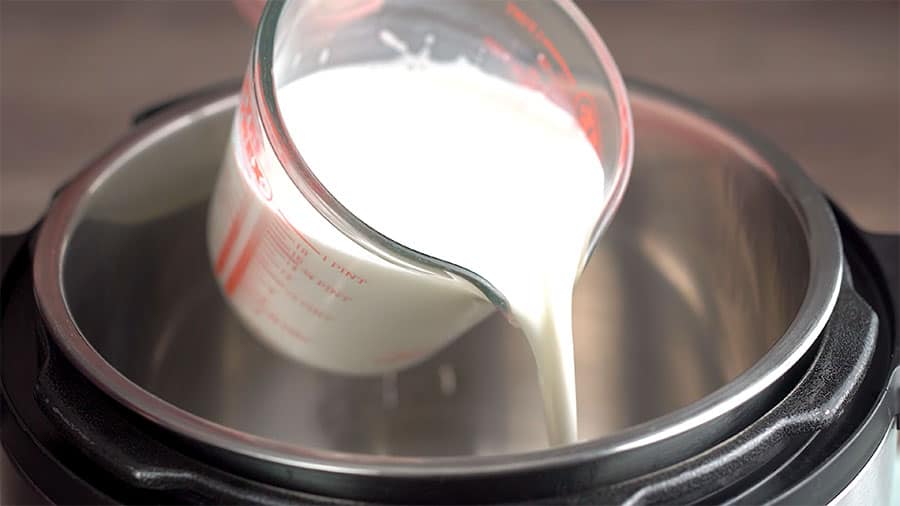
Pour cold milk into Instant Pot Po
- Mix Starter. Using a whisk, blend together the milk and about 2 tablespoons of full-fat plain Greek yogurt with active, live cultures such as Lactobacillus bulgaricus . Do NOT use sweetened yogurt.
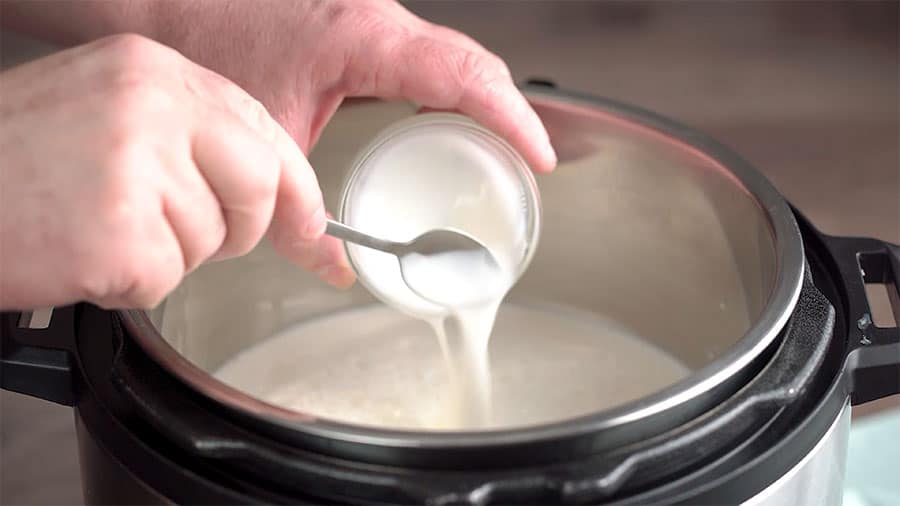
Add starter yogurt
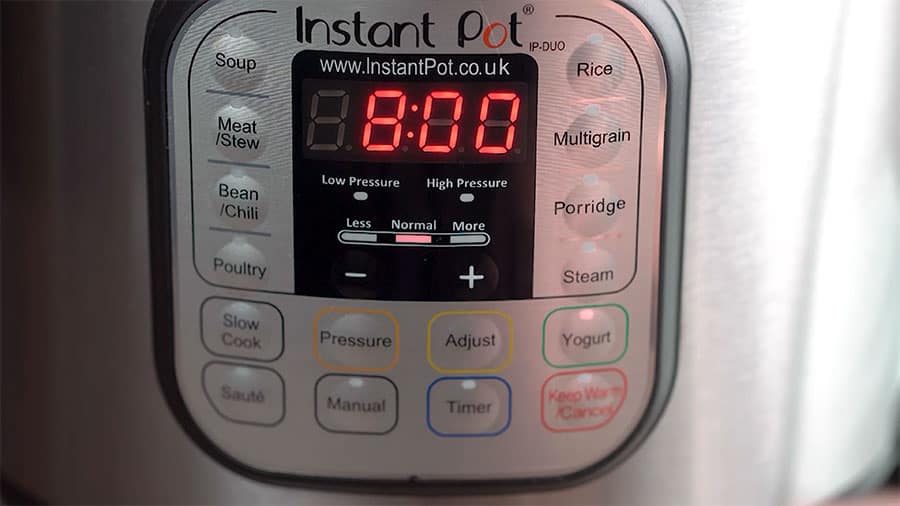
- Incubate . Press YOGURT and set it for 8 hours. Place the lid and set your valve to VENTING or use a glass lid .
- Chill . Place the yogurt in the fridge overnight. This helps the yogurt set properly without getting tart, and it gets thicker.

- Drain . Once the yogurt is set, you want to strain out the whey if you want Greek Yogurt, or you can eat it as it is.
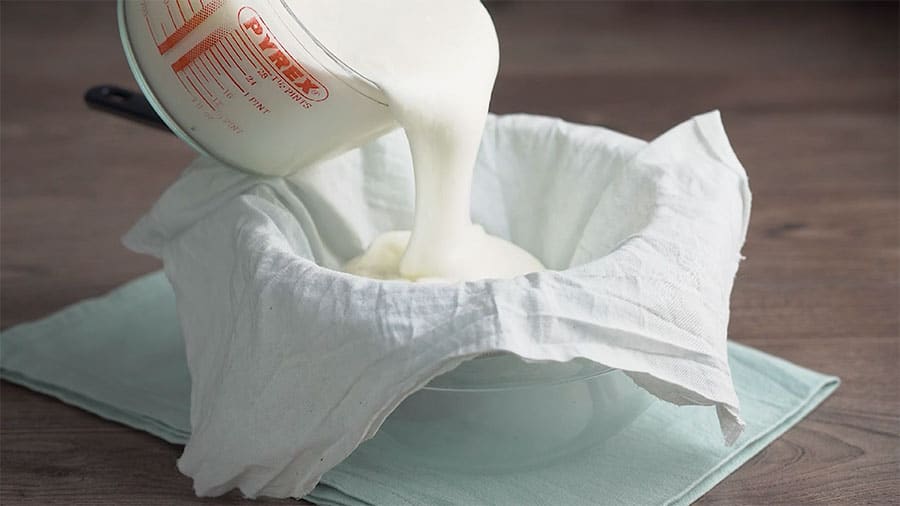
You can use cheesecloth or a large coffee filter in a large stainless strainer, place the strainer over a bowl and let it drip in the fridge overnight.
Alternatively, you can buy a Cuispro Donvier yogurt maker which is easier to clean up. For larger quantities of yogurt, a Eurocuisine Greek Yogurt Maker works better.
Sweeten or flavor. I find it best to sweeten the yogurt after it is drained so you’re not draining your lovely honey down the drain. You can use honey, agave, or a keto-friendly sweetener. You could also consider adding sugar-free syrups .
Store . Place into individual yogurt jars and refrigerate for up to a week.
Find the directions and video for how to make Instant Pot Hot Start Yogurt here.
Tips & Tricks for Perfect Instant Pot Yogurt
- Use HTC milk, Ultra-filtred milk or high protein milk like Fairlife for thick, yogurt especially for cold start yogurt.
- Do not use sweetened flavored yogurt.
- Use yogurt with live cultures .
- Use greek yogurt as your starter. Since extra whey has been drained out, it has more live cultures per tablespoon.
- Save 2-4 tablespoons of your yogurt as a starter before your family devours all of that deliciousness.
- If you intend to use it within a week, the starter will do fine in the fridge. Any longer than that, and you will want to freeze the starter .
- You can also make the yogurt in jars rather than the Instant Pot liner, as I did with this Vietnamese Yogurt recipe.
No Instant Pot? No Problem! Find directions for how to make homemade greek yogurt in your slow cooker, oven, or on countertop here.
Troubleshooting Instant Pot Yogurt
People in the Instant Pot Community WAY overthink yogurt. However, it’s not complicated!
But if you’ve never made it before, you may have a few questions. So here’s your troubleshooting guide with the most commonly asked questions about making yogurt.
Your starter was no good or weak. 2. Your milk was too hot. 3. You need to let it ferment longer. You can always add more starter to your milk/yogurt mixture and allow it to ferment again.
It hasn’t yet set. 2. You need to let it chill in the refrigerator. 3. The milk you used was thin. 4. You need to drain it using te methods described above.
You let the yogurt ferment too long. 2. The temperature around the yogurt was too warm, allowing the fermentation to proceed faster than anticipated. 3. Simply add some delicious sweeteners such as agave nectar, sugar or honey! 4. One way to stop yogurt from fermenting as quickly is to break up the curd. Using a spoon, stir up the yogurt. Usually, this stops it from fermenting as fast.
It is not. Ancient cultures have been making yogurt for centuries without access to refrigeration. It was in fact, a way to preserve milk without refrigeration. As long as it’s not too tart, and has no mold on it, it’s good to go.
It smells sour, and there’s a lot of extra liquid on top. Sometimes you see a visible bubbling and active fermenting. Throw it out.
Homemade yogurt usually lasts for 5-7 days with no issues. Since it’s not sealed in a plastic container, and since it doesn’t contain preservatives, it doesn’t last quite as long as commercially prepared yogurt.
Yup! Blend together 1 cup yogurt, 1 cup fresh berries or other fruit, a tablespoon or two of honey, and about 1/4 cup of milk. Make it a nice pouring consistency, and put into these refillable tubes.
LOOKING FOR DELICIOUS YOGURT RECIPES? LOOK NO FURTHER!
- Indian Lassi
- Indian Yogurt Soup | Instant Pot Gluten-Free Indian Kadhi
- Borani Persian Yogurt Spinach Dip
- Instant Pot Indian Chicken Curry with Spinach & Yogurt
- Labneh Dip
- Cardamom Yogurt (Noosa style)
- Vietnamese Yogurt
- Mango Frozen Yogurt
- Saffron Scented Yogurt
- Homemade Greek Yogurt
- Hot Start Yogurt

Instant Pot Yogurt | Cold Start Method
Equipment
- Instant Pot
Ingredients
- ▢ 1/2 gallon Whole Milk
- ▢ 2 tablespoons Full-Fat Greek Yogurt , plain, full fat
Instructions
Instant Pot Cold Start Yogurt
- Pour 1/2 gallon room temperature milk into the Instant Pot liner.
- Using a whisk , blend together the milk and about 2 tablespoons of full-fat plain Greek yogurt with active, live cultures. Do NOT use sweetened yogurt.
- Press YOGURT and set it for 8 hours. Place the lid and set your valve to VENTING or use a glass lid .
- Place the yogurt in the fridge overnight. This helps the yogurt set properly without getting tart, and it gets thicker.
- Once the yogurt is set, you want to strain out the whey if you want Greek Yogurt, or you can eat it as it is. You can use cheesecloth or a large coffee filter in a large stainless strainer, place the strainer over a bowl and let it drip in the fridge overnight. Alternatively, you can buy a Cuispro Donvier yogurt maker which is easier to clean up. For larger quantities of yogurt, a Eurocuisine Greek Yogurt Maker works better.
- I find it best to sweeten the yogurt after it is drained so you’re not draining your lovely honey down the drain. You can use honey, agave, or a keto-friendly sweetener. You could also consider adding sugar-free syrups .
- Place into individual yogurt jars and refrigerate for up to a week.
Watch The Video
Tips & Tricks for Perfect Instant Pot Yogurt
- Use HTC milk, Ultra-filtred milk or high protein milk like Fairlife for thick, yogurt especially for cold start yogurt.
- Do not use sweetened flavored yogurt.
- Use yogurt with live cultures .
- Use greek yogurt as your starter. Since extra whey has been drained out, it has more live cultures per tablespoon.
- Save 2-4 tablespoons of your yogurt as a starter before your family devours all of that deliciousness.
- If you intend to use it within a week, the starter will do fine in the fridge. Any longer than that, and you will want to freeze the starter .
- You can also make the yogurt in jars rather than the Instant Pot liner, as I did with this Vietnamese Yogurt recipe.
Get support & connect with our community on Facebook!
Nutrition

If you already signed up, you should have received an email with a password to give you unlimited access to our FREE Printable Library. The password is case sensitive. Enter it below and get printing!
Password:

Instant Pot Yogurt | Cold Start Method
Ingredients
- 1/2 gallon Whole Milk
- 2 tablespoons Full-Fat Greek Yogurt plain, full fat
Instructions
Instant Pot Cold Start Yogurt
- Pour 1/2 gallon room temperature milk into the Instant Pot liner.
- Using a whisk , blend together the milk and about 2 tablespoons of full-fat plain Greek yogurt with active, live cultures. Do NOT use sweetened yogurt.
- Press YOGURT and set it for 8 hours. Place the lid and set your valve to VENTING or use a glass lid .
- Place the yogurt in the fridge overnight. This helps the yogurt set properly without getting tart, and it gets thicker.
- Once the yogurt is set, you want to strain out the whey if you want Greek Yogurt, or you can eat it as it is. You can use cheesecloth or a large coffee filter in a large stainless strainer, place the strainer over a bowl and let it drip in the fridge overnight. Alternatively, you can buy a Cuispro Donvier yogurt maker which is easier to clean up. For larger quantities of yogurt, a Eurocuisine Greek Yogurt Maker works better.
- I find it best to sweeten the yogurt after it is drained so you’re not draining your lovely honey down the drain. You can use honey, agave, or a keto-friendly sweetener. You could also consider adding sugar-free syrups .
- Place into individual yogurt jars and refrigerate for up to a week.
Tips & Tricks for Perfect Instant Pot Yogurt
- Use HTC milk, Ultra-filtred milk or high protein milk like Fairlife for thick, yogurt especially for cold start yogurt.
- Do not use sweetened flavored yogurt.
- Use yogurt with live cultures .
- Use greek yogurt as your starter. Since extra whey has been drained out, it has more live cultures per tablespoon.
- Save 2-4 tablespoons of your yogurt as a starter before your family devours all of that deliciousness.
- If you intend to use it within a week, the starter will do fine in the fridge. Any longer than that, and you will want to freeze the starter .
- You can also make the yogurt in jars rather than the Instant Pot liner, as I did with this Vietnamese Yogurt recipe.
Instant Pot Yogurt | Cold Start Method https://twosleevers.com/cold-start-instant-pot-yogurt/
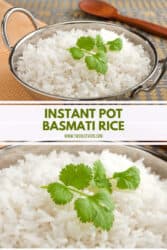
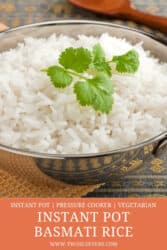
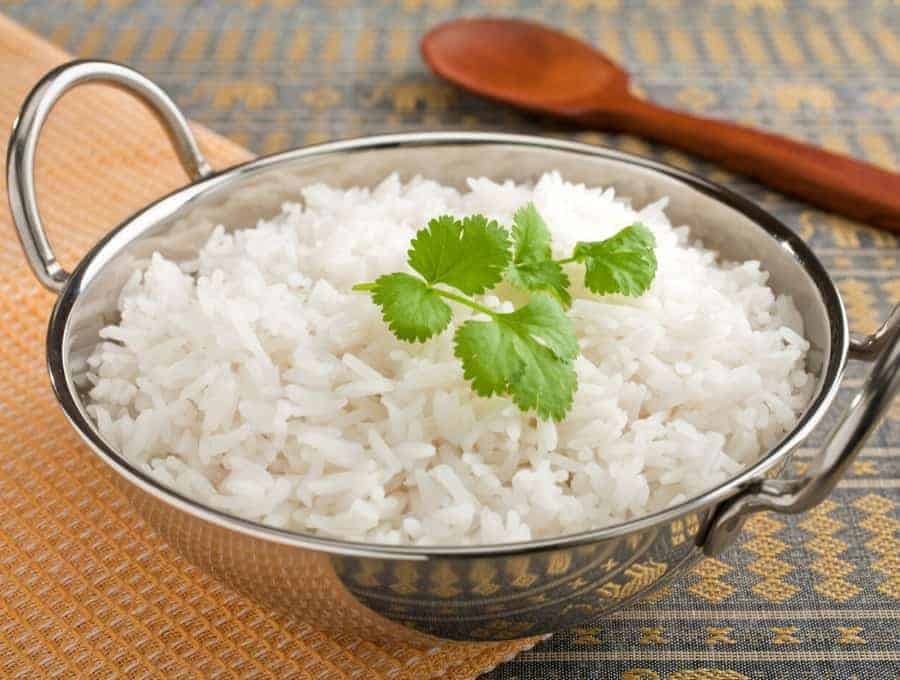
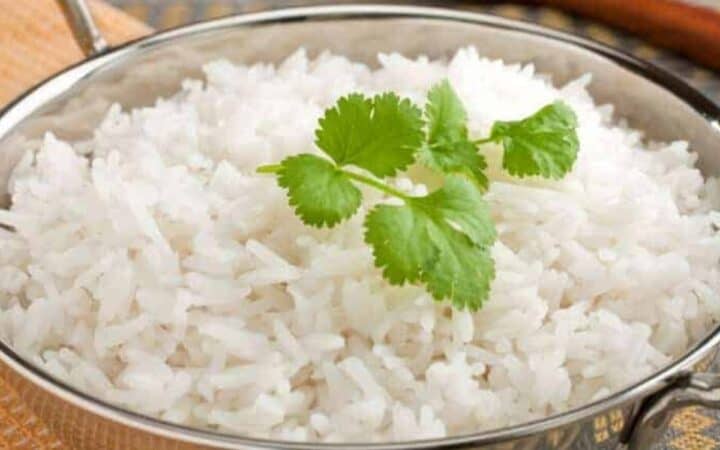
If you’re looking for the perfect method to make Instant Pot Basmati Rice, you’ve come to the right place. Learn how to make basmati rice quickly, easily and with less effort than other methods!

Tired of trying to get the water to rice ratio and cooking times just right to make Instant Pot Basmati Rice ? This guide covers everything you need to know in order to make basmati rice perfectly right in your Instant Pot !
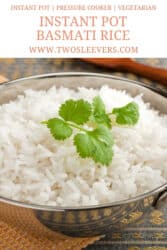
How To Make Instant Pot Basmati Rice
- Rinse the rice. This removes excess starch and keeps the rice from sticking together.
- Add both the rice and the water to the inner pot of the Instant Pot .
- Cook the rice on High Pressure for 4 minutes.
- NPR . Allow the pot to Natural Pressure Release for 10 minutes.
- Serve and enjoy!
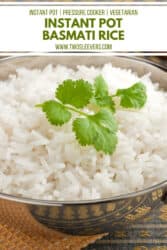
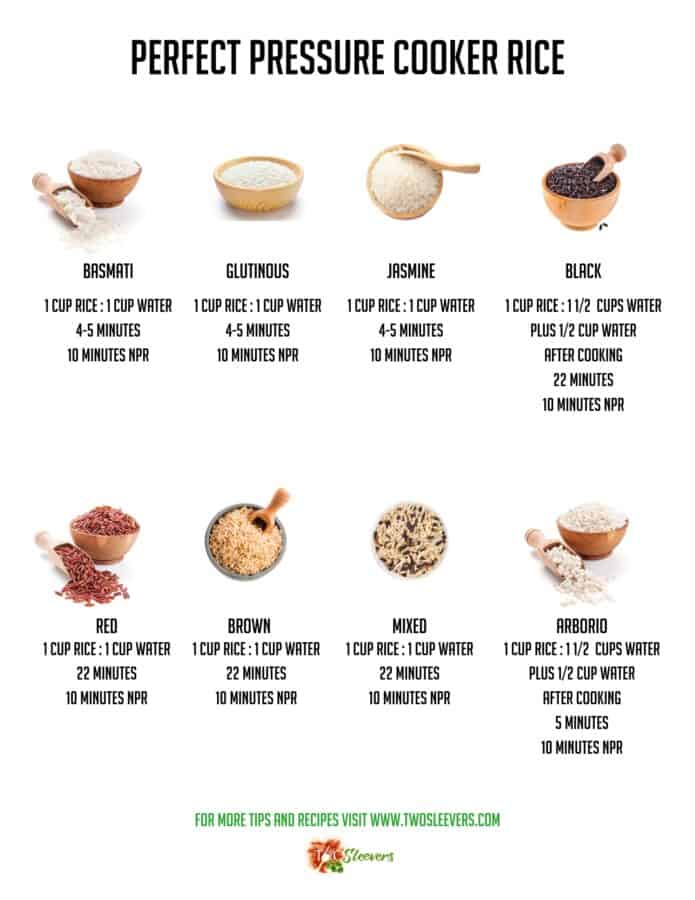
Water to Rice Ratio for Instant Pot Rice
For basmati & Jasmine Rice, 1c water + 1 cup rice. 4 mins HP, 10 mins NPR
1 cup brown rice + 1 cup water: 22 mins HP, 10 mins NPR
1 cup arborio rice + 1.5 cups water: 5 mins HP, 10 mins NPR minutes + more liquid after cooking
1 cup sushi rice , 1.25 cups water, 10 mins HP, 10 mins NPR.
1 cup black rice + 1.5 cups water: 22 mins HP, 10 mins NPR + more liquid after cooking
1 cup red rice + 1 cup water: 22 mins HP, 10 mins NPR
1 cup glutinous rice + 4 cup water: 20 mins HP, 10 mins NPR
1 cup Wild Rice Blend + 1 cup water: 22 mins HP, 10 mins NPR
It may surprise you to know that for all rice (other than Black and Arborio) the ratio of water to rice is 1:1. That makes it a pretty straight forward process, even when cooking basmati rice in the Instant Pot.
PRINT A HANDY ONE-SHEET THAT GIVES YOU ALL THE COOK TIMES AND INSTRUCTIONS HERE!
What Types Of Dishes Are Best Made With Instant Pot Basmati Rice?
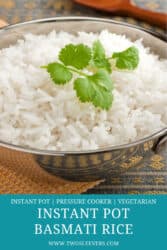
Basmati is rice that doesn’t get fatter as it cooks, it gets thinner and longer. It’s a long and skinny rice that contains the starch Amylose which doesn’t bind or stick together when you cook it. It’s perfect for rice dishes where you don’t want the rice sticking together.
Not only is basmati rice a great rice as a side dish for a meal, but it’s particularly good for a lot of Indian cuisine . It’s really good for recipes like my Basmati Rice Pilau or Chicken Biryani . This Indian peas and carrots pilau is a good idea as well.
But you would NOT want to use basmati to make a risotto or a rice pudding for example. Similarly, it is not suitable for Congees or other sticky rice recipes.
Can You Freeze Basmati Rice?
Yes, you absolutely can freeze Instant Pot Basmati Rice ! However, the sooner you freeze the rice after you’ve prepared it the better. Here’s how I do it:
- Cool . Let it cool to room temperature.
- Portion . Separate the rice to your preferred serving size.
- Pack . Place in a freezer-safe baggie , pushing as much air out as possible.
- Lay flat . Place the bags of rice in your freezer flat so they can defrost faster.
Once frozen, the rice should keep in the freezer for about a month. Any longer than that and the rice will begin to lose its flavor and moisture.
How Do I Reheat Basmati Rice?
Reheating Instant Pot Rice is as simple as adding a tablespoon of water per to the rice and reheating it in the microwave .
Microwaving time can vary depending on how much you’re reheating, so just reheat it in 30-60 intervals until it’s heated through.
Do I Need To Soak Before Cooking Basmati Rice?
That’s actually the great thing about Instant Pot Basmati Rice. There is no need to soak the rice before pressure cooking it .
The steam and the heat of the pressure cooker will help the rice grains cook up very well without any presoaking, even with congees and other rice that typically gets soaked.
Just a quick rinse to get rid of the excess starch and your Instapot rice is ready to cook.
PRINT A HANDY ONE-SHEET THAT GIVES YOU ALL THE COOK TIMES AND INSTRUCTIONS HERE!
Can I Make Basmati Rice In A Rice Cooker?
Yes, you most certainly can.
- I like to use my Zojirushi or my Instant Zest when I’m not using making pressure cooker rice .
- You can watch my Instant Zest video on Youtube for a completely unbiased review and overview of the product.
- You might also like this Nonstick Instant Pot Liner for rice.
- This is my favorite Basmati Rice.
Want More Great Instant Pot Basmati Rice Recipes?
- Basmati Rice Pilau - This Instant Pot recipe is certainly one of my favorite basmati rice recipes.
- Chicken Biryani - Make an authentic biryani right in your pressure cooker.
- Instant Pot Dolma Recipe - A fantastic way to make dolma without having to wrap it.
- Indian Pilau - Peas and carrots with Instant Pot white rice have never tasted so good!
- Kheema Pulao - A simple yet delicious Indian dish .
- Vegetarian Paneer Biryani - Enjoy all the flavors of a traditional biryani in this vegetarian dish.
- Instant Pot Sabzi Polo - Make a perfect Persian Herbed Rice in your pressure cooker.
- 12+ Best Pressure Cooker Rice One Pot Meals - Here’s a whole slew of recipes that use basmati rice for you to enjoy!
Instant Pot Basmati Rice
Equipment
- Instant Pot
- ZOJIRUSHI MICOM RICE COOKER
- Instant Pot Zest
- Non Stick Liner For Instant pot
Ingredients
- ▢ 1 cup Basmati Rice
- ▢ 1 cup Water
- ▢ 1 tablespoon ghee
- ▢ 1 teaspoon Kosher Salt
Instructions
- Rinse the rice. This removes excess starch and keeps the rice from sticking together.
- Add rice, water, ghee, and salt to inner pot of the Instant Pot .
- Cook the rice on High Pressure for 4 minutes.
- Allow the pot to Natural Pressure Release for 10 minutes.
- Serve and enjoy!
Get support & connect with our community on Facebook!
Nutrition
Don’t forget to check out my otherBest-selling Instant Pot Cookbooks!
Indian Instant Pot , Keto Instant Pot, Instant Pot Fast and Easy , Healthy Instant Pot & Vegetarian Instant Pot .

