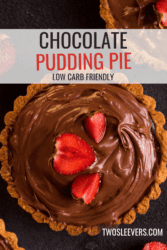
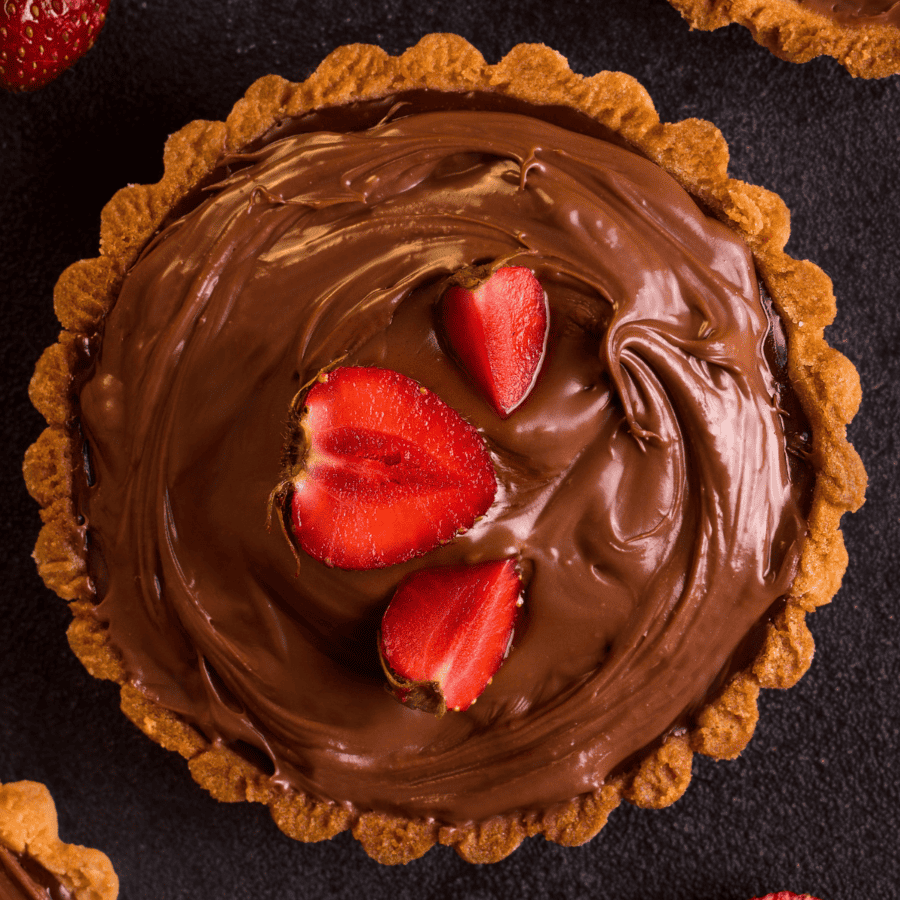
Craving a luscious dessert without derailing your low-carb lifestyle? Look no further than our recipe for a mouthwatering low carb Chocolate Pudding Pie. This rich and creamy dessert is the perfect way to satisfy your sweet tooth while staying on track with your dietary goals.
Why You’ll Love This Low Carb Dessert
- Easy.
- Delicious.
- Low Carb.
- Versatile.
Indulging in a luscious slice of chocolate pudding pie doesn’t have to derail your low-carb journey. With our easy-to-follow recipe, you can create a sumptuous low carb chocolate pudding pie that satisfies your sweet cravings while keeping your carb intake in check.
How Do You Make Pudding Thicker For Pie Filling?
There are a variety of ways you can choose to thicken your pie filling, unfortunately, not all of them are low in carbs.
For this low carb Chocolate Pudding Pie recipe, I created a custard-like chocolatey filling that I thickened even more with the addition of Xanthan Gum. It is naturally low in carbs and works just as well as cornstarch or flour to thicken pie filling.
Ingredients You’ll Need
For TheKeto Pie Crust
- Superfine Almond Flour
- Powdered Swerve
- Coconut Oil
For The Filling
- Heavy Cream
- Cocoa Powder
- Low Carb Sweetener
- Vanilla Extract
- Salt
- Egg Yolks
How To Make Chocolate Pudding Pie
- Prepare The Crust. Preheat your oven to 375F. In a mixing bowl, combine almond flour, coconut oil, and powdered swerve. Mix until it resembles coarse crumbs. Press the mixture firmly into a pie dish, covering the bottom and sides evenly.
- Bake The Pie Dough. Bake the crust for about 10 minutes or until it’s lightly golden. Allow it to cool completely.
- Begin The Filling . In a saucepan, combine heavy cream, cocoa powder, sweetener, vanilla extract, and salt.
- Cook The Filling . Heat the mixture over medium heat, stirring constantly until it’s well combined and heated through. Be careful not to let it boil. Whisk together the egg yolks and slowly pour the warm cream mixture over the top of them. Return the mixture to the saucepan and cook on low to medium heat until thickened.
- Thicken It Up. Allow to cool and add in the Xanthan gum. Remove the saucepan from the heat and let the mixture cool.
- Assemble the Pie . Pour the chocolate filling into the cooled pie crust. Gently tap the pie dish to remove any air bubbles. Place the pie in the refrigerator and let it set for at least 2-3 hours or until the filling is firm.
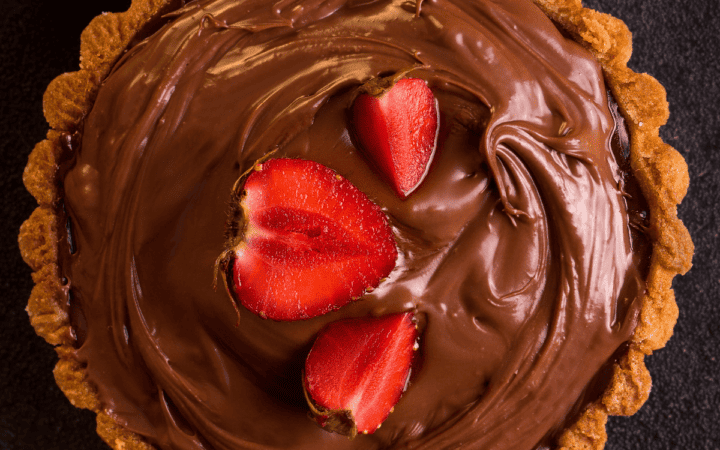
- Serve and Enjoy ! Once the pie is set, slice it into pieces and serve.
Why Is My Chocolate Pudding Pie Runny?
A runny chocolate pudding pie can be disappointing, but there are a few common reasons why this might happen. Here are some of the potential causes and solutions:
- Insufficient Thickening Agent - Pudding relies on a thickening agent to achieve the desired consistency. If you didn’t use enough of the Xanthan gum, the pudding may not have thickened adequately. To fix this, you can try adding a bit more and whisk until it is fully incorporated and thickened.
- Not Chilled Long Enough - Pudding pies need time to set and firm up in the refrigerator. If you didn’t allow the pie enough time to chill and set, it might still be runny when you try to slice it. Make sure to follow the recommended chilling time in your recipe, usually a few hours or more.
- Recipe Ratios - The ratios of liquid to thickening agent in your recipe might be off, leading to a runny filling. Make sure to follow the recommended measurements and proportions accurately.
Variations
Creating variations of your low-carb chocolate pudding pie can be a fun way to experiment with flavors and textures while still staying within your dietary goals. Here are some creative variations to consider:
- Peanut Butter- Swirl natural peanut butter into the chocolate pudding before pouring it into the crust. Top with a layer of whipped cream and chopped peanuts for added crunch.
- Mint- Add a few drops of peppermint extract to the pudding mixture for a refreshing minty twist. Top with whipped cream and a sprinkle of chopped sugar-free chocolate or cacao nibs.
- Raspberry- Layer fresh raspberries on the bottom of the crust before adding the chocolate pudding. The tartness of the raspberries complements the sweetness of the chocolate.
What To Serve With It
Pairing your low carb chocolate pudding pie with complementary accompaniments can enhance your dessert experience. Here are some ideas for what to serve with it:
- Whipped Cream- A classic choice, a dollop of freshly whipped heavy cream adds a creamy and luxurious element that balances the richness of the chocolate pudding pie.
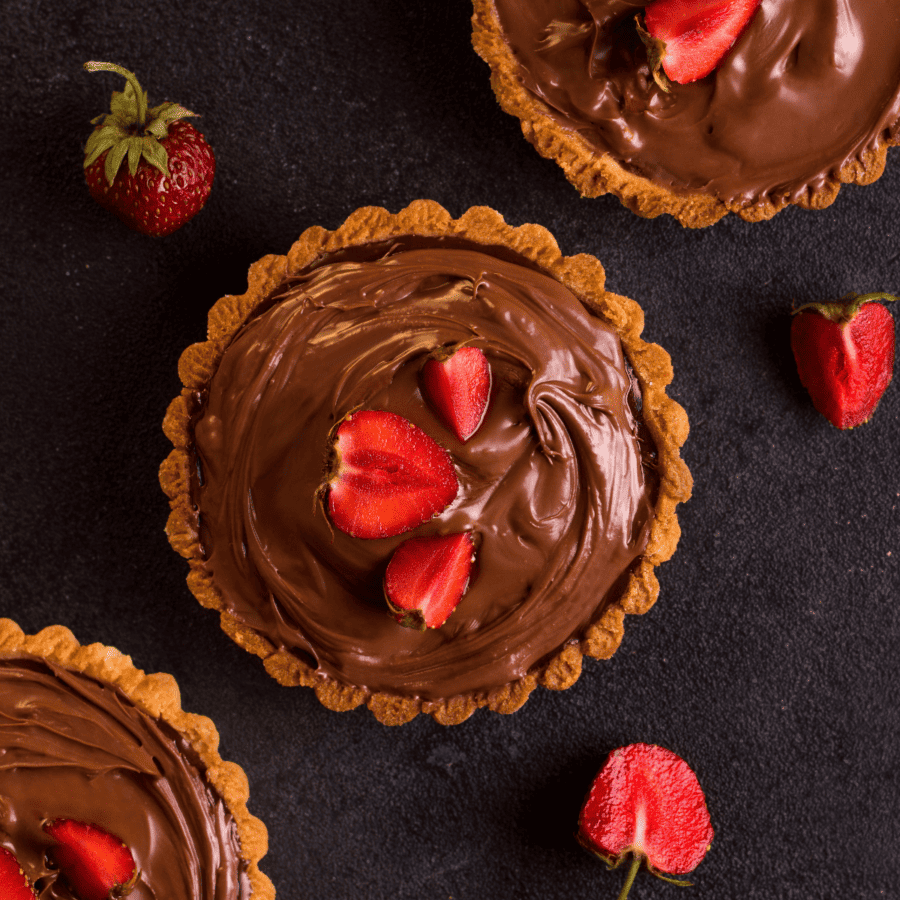
- Berries - Fresh berries like strawberries, raspberries, or blueberries are excellent low-carb options that add a burst of natural sweetness and a refreshing contrast to the richness of the pie.
- Nuts - A handful of chopped nuts, such as almonds, pecans, or walnuts, provides a satisfying crunch and texture that complements the smooth pudding.
- Keto Ice Cream - If you’re looking to indulge further, consider serving a small scoop of low-carb vanilla or chocolate ice cream alongside the pie for a delightful combination of flavors and textures.
Does Chocolate Pudding Pie Need To Be Refrigerated?
Yes, chocolate pudding pie needs to be refrigerated. Because chocolate pudding pie contains dairy and other perishable ingredients, it is important to store it in the refrigerator to prevent bacterial growth and maintain its freshness and safety.
This delicious low carb pie recipe can last for 2-3 days when stored in the refrigerator in an air-tight container.
Can You Freeze It?
If you have leftovers or want to store the pie for a longer period, you can freeze it.
Wrap the pie tightly in plastic wrap and then aluminum foil to prevent freezer burn. Label it with the date to keep track of its freshness. Frozen chocolate pudding pie can be stored for several weeks.
More Chocolatey Desserts
- Keto Chocolate Chip Cookies
- No Bake Peanut Butter Chocolate Bars
- Gluten Free Chocolate Cake
- Keto Brownies
- Keto Hot Chocolate

Chocolate Pudding Pie | Low Carb Pudding Pie Recipe
Ingredients
For The Keto Pie Crust
- ▢ 1 cup Almond Flour
- ▢ 2 tbsp Powdered Swerve
- ▢ 1/4 cup Coconut Oil , melted
For The Chocolate Pudding Pie Filling
- ▢ 1 cup Heavy Cream
- ▢ 5 Egg Yolks
- ▢ 1/2 cup Cocoa Powder
- ▢ 1/2 cup Swerve
- ▢ 1 tsp Vanilla
- ▢ 1/4 tsp Salt
- ▢ 1 tsp Xanthan Gum
Instructions
- Prepare The Crust. Preheat your oven to 375F. In a mixing bowl, combine almond flour, coconut oil, and powdered swerve. Mix until it resembles coarse crumbs. Press the mixture firmly into a pie dish, covering the bottom and sides evenly.
- Bake The Pie Dough. Bake the crust for about 10 minutes or until it’s lightly golden. Allow it to cool completely.
- Begin The Filling . In a saucepan, combine heavy cream, cocoa powder, sweetener, vanilla extract, and salt.
- Cook The Filling . Heat the mixture over medium heat, stirring constantly until it’s well combined and heated through. Be careful not to let it boil. Whisk together the egg yolks and slowly pour the warm cream mixture over the top of them. Return the mixture to the saucepan and cook on low to medium heat until thickened.
- Thicken It Up. Allow to cool and add in the Xanthan gum. Remove the saucepan from the heat and let the mixture cool.
- Assemble the Pie . Pour the chocolate filling into the cooled pie crust. Gently tap the pie dish to remove any air bubbles. Place the pie in the refrigerator and let it set for at least 2-3 hours or until the filling is firm.
- Serve and Enjoy ! Once the pie is set, slice it into pieces and serve.
Get support & connect with our community on Facebook!
Nutrition
Don’t forget to check out my other Ketocookbooks.
Keto Instant Pot, Keto Fat Bombs, Sweets, & Treats , and Easy keto in 30 minutes.


If you already signed up, you should have received an email with a password to give you unlimited access to our FREE Printable Library. The password is case sensitive. Enter it below and get printing!
Password:

Chocolate Pudding Pie | Low Carb Pudding Pie Recipe
Ingredients
For The Keto Pie Crust
- 1 cup Almond Flour
- 2 tbsp Powdered Swerve
- 1/4 cup Coconut Oil melted
For The Chocolate Pudding Pie Filling
- 1 cup Heavy Cream
- 5 Egg Yolks
- 1/2 cup Cocoa Powder
- 1/2 cup Swerve
- 1 tsp Vanilla
- 1/4 tsp Salt
- 1 tsp Xanthan Gum
Instructions
- Prepare The Crust. Preheat your oven to 375F. In a mixing bowl, combine almond flour, coconut oil, and powdered swerve. Mix until it resembles coarse crumbs. Press the mixture firmly into a pie dish, covering the bottom and sides evenly.
- Bake The Pie Dough. Bake the crust for about 10 minutes or until it’s lightly golden. Allow it to cool completely.
- Begin The Filling . In a saucepan, combine heavy cream, cocoa powder, sweetener, vanilla extract, and salt.
- Cook The Filling . Heat the mixture over medium heat, stirring constantly until it’s well combined and heated through. Be careful not to let it boil. Whisk together the egg yolks and slowly pour the warm cream mixture over the top of them. Return the mixture to the saucepan and cook on low to medium heat until thickened.
- Thicken It Up. Allow to cool and add in the Xanthan gum. Remove the saucepan from the heat and let the mixture cool.
- Assemble the Pie . Pour the chocolate filling into the cooled pie crust. Gently tap the pie dish to remove any air bubbles. Place the pie in the refrigerator and let it set for at least 2-3 hours or until the filling is firm.
- Serve and Enjoy ! Once the pie is set, slice it into pieces and serve.
Chocolate Pudding Pie | Low Carb Pudding Pie Recipe https://twosleevers.com/chocolate-pudding-pie/

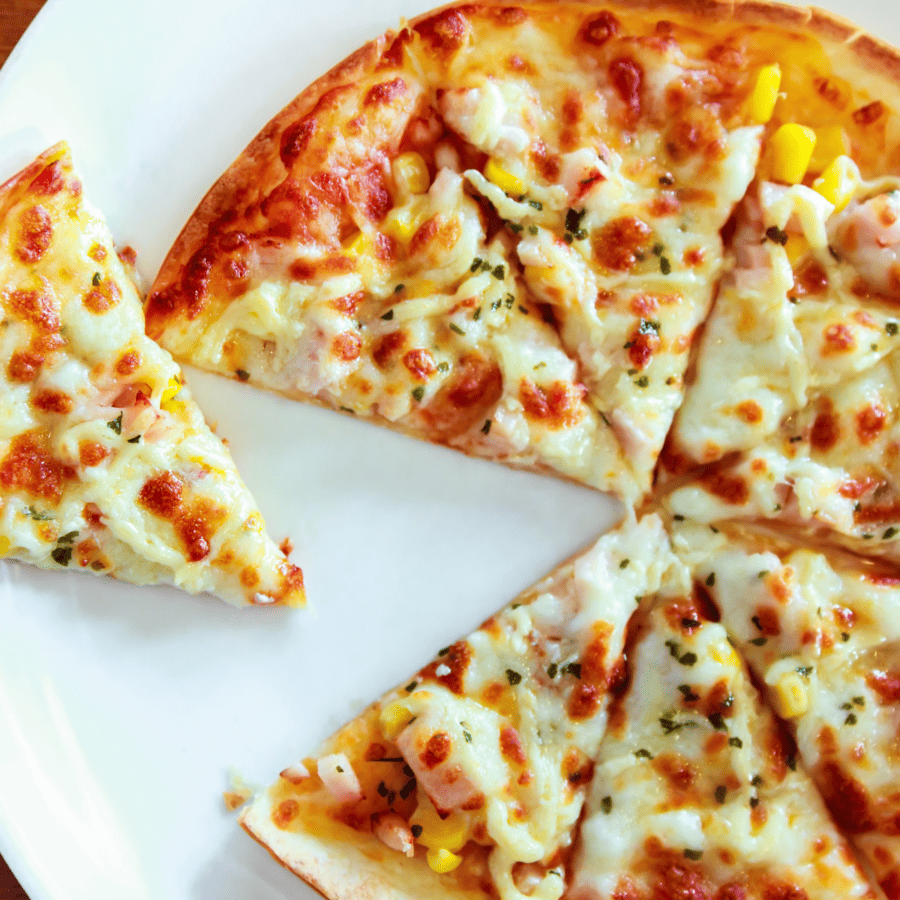
Craving pizza but short on time? Look no further than the air fryer for a speedy and satisfying solution! Create mouthwatering Air Fryer Tortilla Pizzas that are perfect for a quick lunch, a snack, or even a fun meal.
Why You’ll Love Pizza This Way
- Fast.
- Easy.
- Customizable.
- Delicious.
Air Fryer Tortilla Pizzas are a game-changer when you’re craving pizza but need something quick and fuss-free. With their golden and crispy crust, gooey cheese, and endless topping possibilities, these personal-sized delights are sure to become a go-to option for satisfying your pizza cravings.
What Is Tortilla Pizza Made Of?
The beauty of these personal pizzas is that they can be customized with your favorite toppings just like any other traditional pizza!
Here is a generic outline of how to assemble a tortilla pizza, but feel free to customize the ingredients.
- Flour Tortillas- Use full-sized tortillas or soft taco sized, whichever fits more conveniently in your air fryer.
- Pizza Sauce - You can enjoy these with premade pizza sauce or whip up some of my low carb marinara ahead of time.
- Shredded Mozzarella Cheese - Any blend of shredded melting cheese will work, but mozzarella is the most popular choice.
- Toppings -pepperoni, sliced bell peppers, mushrooms, olives, etc.
- Olive Oil - Drizzly over the toppings for extra decadence.
- Dried Oregano and Red Pepper Flakes - Sprinkled over the top to finish for an extra pop of flavor.
Can I Substitute Tomato Sauce For Pizza Sauce?
Yes, you can substitute tomato sauce for pizza sauce in your recipes, including when making an Air Fryer Tortilla Pizza.
Pizza sauce is typically thicker and more concentrated in flavor compared to regular tomato sauce. If you’re using tomato sauce as a substitute, you might want to reduce it slightly to achieve a thicker consistency similar to pizza sauce.
Pizza sauce is often seasoned with various herbs and spices to enhance its pizza-specific flavor profile. If you’re using plain tomato sauce, consider adding a pinch of dried oregano, basil, garlic powder, or other pizza-friendly seasonings to capture the traditional pizza taste.
How To Make Tortilla Pizza
- Prepare the Tortilla Base . Preheat your air fryer to 375°F for 5 minutes. While it is preheating, place a flour tortilla on a clean surface. This will be the base of your tortilla pizza.
- Assemble Your Pizza . Spread a thin layer of pizza sauce over the tortilla, leaving a small border around the edges for the crust. Sprinkle a generous amount of shredded mozzarella cheese over the sauce. Add your favorite toppings. Get creative and mix and match to customize each pizza to your liking.
- Air Fry the Tortilla Pizza . Gently transfer the assembled pizza to the preheated air fryer basket. Air fry the pizza for 5-7 minutes or until the cheese is melted and bubbly, and the tortilla edges are golden and crispy.
- Season and Serve. Carefully remove the air-fried tortilla pizza from the basket using tongs or a spatula. If desired, drizzle a touch of olive oil over the pizza for added flavor and shine. Sprinkle dried oregano and red pepper flakes over the top to enhance the flavors. Slice the tortilla pizza into wedges and serve immediately.
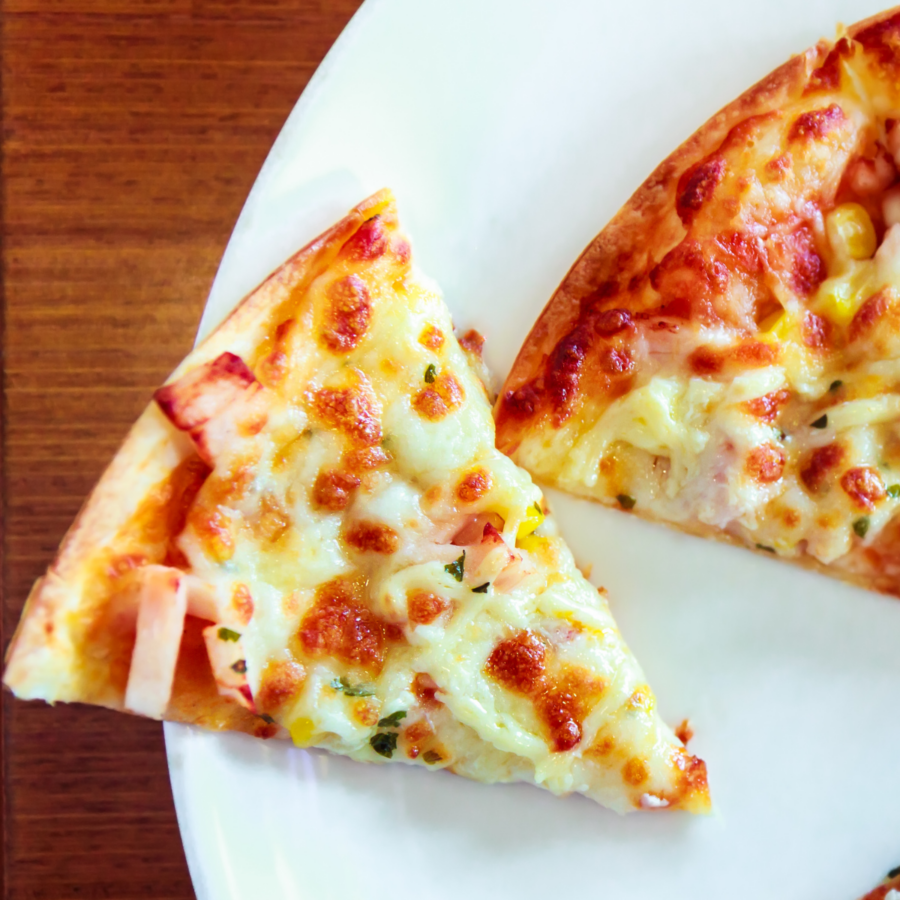
- Enjoy Your Air Fryer Tortilla Pizza . Indulge in your crispy and delicious creation! The tortilla crust provides a satisfying crunch, while the combination of melted cheese and toppings delights your taste buds.
Tips And Tricks
Making delicious and perfectly crispy Air Fryer Tortilla Pizzas is a breeze with these tips and tricks:
- Choose the Right Tortillas . Opt for smaller-sized tortillas (6-8 inches) to ensure they fit comfortably in your air fryer basket. Flour tortillas work best for a crispy crust.
- Preheat the Air Fryer . Preheating the air fryer for a few minutes ensures that the tortilla pizzas start cooking immediately when placed inside, leading to a crispier crust.
- Don’t Overload with Toppings . Less is more when it comes to toppings. Overloading the tortilla with toppings can lead to a soggy crust. Keep the toppings light and evenly distributed.
Variations
Air Fryer Tortilla Pizzas are a blank canvas for your culinary creativity. You can customize them with a wide range of sauces, cheeses, meats, vegetables, and seasonings. Here are some delicious variations to try:
- Margherita Pizza Sauce: Tomato sauce or crushed tomatoes Cheese: Fresh mozzarella slices Toppings: Fresh basil leaves, sliced tomatoes Seasoning: Freshly ground black pepper, a drizzle of olive oil
- BBQ Chicken Pizza Sauce: BBQ sauce Cheese: Shredded smoked Gouda or cheddar cheese Toppings: Cooked shredded chicken (precook before adding), red onion slices, chopped cilantro
- Pepperoni and Olive Pizza Sauce: Tomato sauce Cheese: Shredded mozzarella cheese Toppings: Pepperoni slices, sliced black olives, diced bell peppers
- Mediterranean Pizza Sauce: Hummus or olive tapenade Cheese: Crumbled feta cheese Toppings: Sliced cherry tomatoes, diced cucumber, red onion slices, kalamata olives, fresh parsley
What To Serve Tortilla Pizza With
Tortilla Pizzas are versatile and can be served as a quick and satisfying meal or as a delightful appetizer. Here are some options for what you can serve with them:
- Side Salad - A fresh side salad complements the crispy and cheesy tortilla pizzas nicely. Choose a simple garden salad with mixed greens, tomatoes, cucumbers, and your favorite dressing.
- Coleslaw - Creamy coleslaw adds a cool and crunchy element to balance the warm and crispy tortilla pizzas.
- Potato Wedges - Enjoy a casual meal by serving your tortilla pizzas with a side of crispy French fries or potato wedges.
How Long Does It Last?
Tortilla Pizzas are best enjoyed fresh, as their thin and crispy nature doesn’t lend itself well to prolonged storage. If you have leftover tortilla pizzas you can store them in an airtight container in the refrigerator for up to 2-3 days.
Can You Freeze It?
While tortilla pizzas are not ideal candidates for freezing due to their thin crust, you can freeze them for short-term storage.
Place the cooled pizzas in a single layer on a baking sheet and freeze until firm. Then, transfer them to a freezer-safe container or resealable plastic bag. They can be frozen for up to 1-2 weeks.
To reheat refrigerated or frozen tortilla pizzas, you can use the air fryer again to maintain their crispy texture. Preheat the air fryer to around 375°F and cook the pizzas for a few minutes until they are heated through and the crust is crisp again.
Best Pizza Recipes
- Pizza Fries
- Air Fryer Pizza
- Puff Pastry Pizza
- Butter Chicken Pizza
- Mexican Pizza
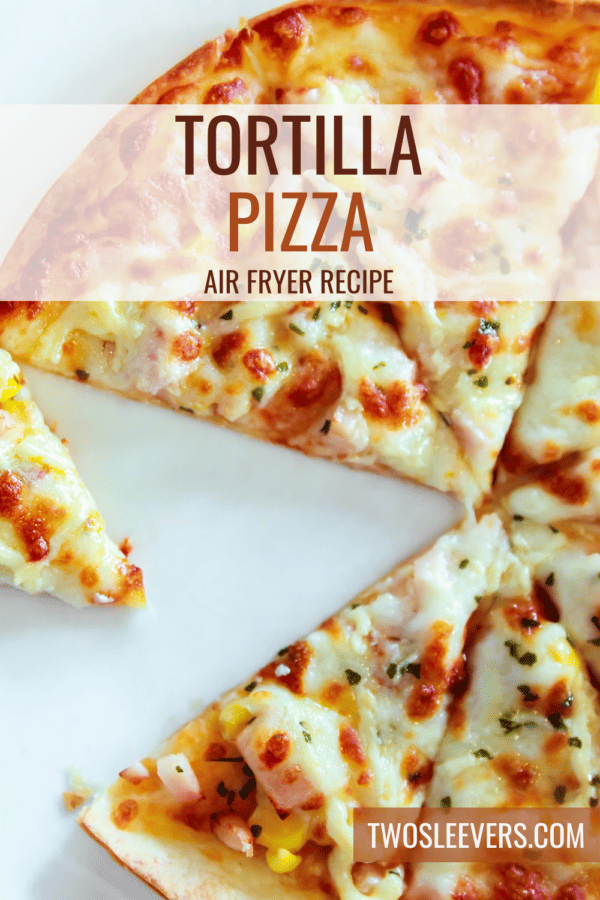
Tortilla Pizza | Easy Tortilla Pizza Recipe
Ingredients
- ▢ 1 flour tortilla
- ▢ 1/4 cup pizza sauce
- ▢ 1/2 cup shredded mozzarella cheese
- ▢ 1/4 cup pineapple
- ▢ 1/4 cup diced ham
- ▢ 1 tsp olive oil
- ▢ 1/4 tsp oregano
- ▢ 1/4 tsp red pepper flakes
Instructions
- Prepare the Tortilla Base . Preheat your air fryer to 375°F for 5 minutes. While it is preheating, place a flour tortilla on a clean surface. This will be the base of your tortilla pizza.
- Assemble Your Pizza . Spread a thin layer of pizza sauce over the tortilla, leaving a small border around the edges for the crust. Sprinkle a generous amount of shredded mozzarella cheese over the sauce. Add your favorite toppings. Get creative and mix and match to customize each pizza to your liking.
- Air Fry the Tortilla Pizza . Gently transfer the assembled pizza to the preheated air fryer basket. Air fry the pizza for 5-7 minutes or until the cheese is melted and bubbly, and the tortilla edges are golden and crispy.
- Season and Serve. Carefully remove the air-fried tortilla pizza from the basket using tongs or a spatula. If desired, drizzle a touch of olive oil over the pizza for added flavor and shine. Sprinkle dried oregano and red pepper flakes over the top to enhance the flavors. Slice the tortilla pizza into wedges and serve immediately.
- Enjoy Your Air Fryer Tortilla Pizza . Indulge in your crispy and delicious creation! The tortilla crust provides a satisfying crunch, while the combination of melted cheese and toppings delights your taste buds.
Get support & connect with our community on Facebook!
Nutrition
And don’t forget to check out my air fryer cookbooks! Every day easy air fryer , and Air Fryer Revolution .

