
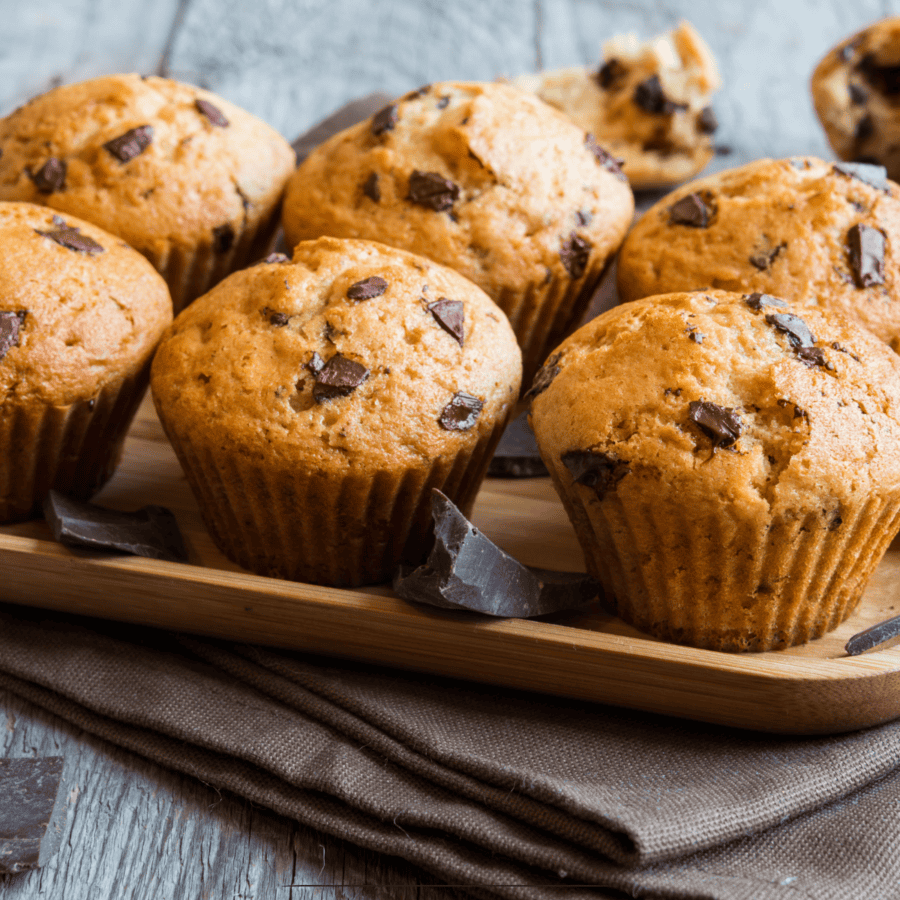
If you’re a fan of indulgent breakfast treats, get ready to fall in love with this homemade Chocolate Chip Muffin recipe. With a moist crumb and bursts of melty chocolate in every bite, these muffins are sure to become a family favorite.
Why You’ll Love This Perfectly Sweet Breakfast
- Quick and Easy . Ready in under 30 minutes, these muffins are perfect for busy mornings or impromptu baking sessions.
- Versatile . Customize your muffins by adding nuts, berries, or even a swirl of Nutella for extra indulgence.
- Kid-Friendly . With their irresistible chocolatey goodness, these muffins are a hit with kids and adults alike.
- Freezer-Friendly . Make a batch ahead of time and freeze for convenient grab-and-go breakfasts or snacks.
With just a few simple ingredients and minimal prep, you can whip up a batch of these muffins in no time. Let’s dive into the recipe!
Are Chocolate Chip Muffins Good?
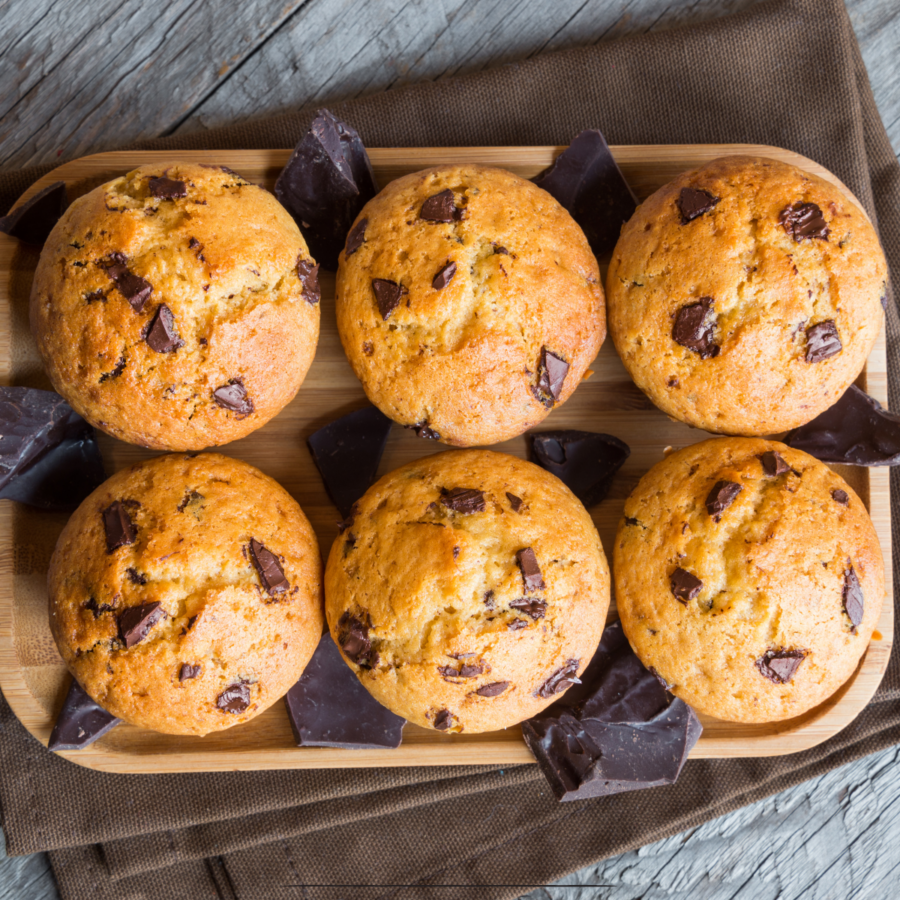
Yes, Chocolate Chip Muffins are a classic baked treat loved by many for their soft, tender crumb and rich chocolate flavor. Whether enjoyed warm out of the oven or at room temperature, these muffins are sure to satisfy any sweet craving.
The combination of moist batter and melty chocolate chips creates a deliciously indulgent treat that’s perfect for breakfast, brunch, or dessert.
Ingredients You’ll Need
- All-purpose Flour - Provides the structure and bulk of the muffin batter.
- Granulated Sugar - Adds sweetness and helps to tenderize the muffins.
- Baking Powder - Acts as a leavening agent, helping the muffins rise and become light and fluffy.
- Salt - Enhances the flavor of the muffins and balances the sweetness.
- Milk - Adds moisture and richness to the batter.
- Vegetable Oil - Keeps the muffins moist and tender.
- Egg - Binds the ingredients together and adds richness to the batter.
- Vanilla Extract - Adds flavor and aroma to the muffins.
- Chocolate Chips - Use your favorite type of chocolate chips for a burst of chocolate in every bite.
How To Make Chocolate Chip Muffins
- Preheat Oven . Preheat your oven to 375°F and line a muffin tin with paper liners.
- Mix Dry Ingredients . In a large mixing bowl, whisk together the flour, sugar, baking powder, and salt until well combined.
- Combine Wet Ingredients . In a separate bowl, whisk together the milk, vegetable oil, egg, and vanilla extract until smooth.
- Combine Wet and Dry Ingredients . Pour the wet ingredients into the dry ingredients and gently mix until just combined. Be careful not to overmix, as this can result in tough muffins.
- Add Chocolate Chips . Gently fold in the chocolate chips until evenly distributed throughout the batter.
- Fill Muffin Cups . Divide the batter evenly among the prepared muffin cups, filling each about two-thirds full.
- Bake . Bake in the preheated oven for 18-20 minutes, or until a toothpick inserted into the center of a muffin comes out clean.
- Cool and Enjoy . Allow the muffins to cool in the tin for a few minutes before transferring them to a wire rack to cool completely. Serve warm or at room temperature.
Tips And Tricks
Baking the perfect batch of chocolate chip muffins is a delightful endeavor. Here are some tried-and-true tips and tricks to ensure your muffins turn out moist, fluffy, and packed with chocolatey goodness:
- Room Temperature Ingredients . Bring your eggs, milk, and butter to room temperature before starting. Room temperature ingredients blend more easily, resulting in a smoother batter and better incorporation of air for a lighter texture.
- Proper Mixing Technique . Mix the wet and dry ingredients together until they are just combined. Overmixing can lead to tough, dense muffins. It’s okay if there are a few lumps in the batter; they will disappear during baking.
- Fold in Chocolate Chips Gently . When adding chocolate chips to the batter, fold them in gently using a spatula. This prevents overmixing and ensures that the chocolate chips are evenly distributed throughout the batter.
- Proper Filling of Muffin Cups . Fill each muffin cup about two-thirds full with batter. Using an ice cream scoop or a spoon helps ensure uniform muffin sizes and prevents overfilling, which can lead to uneven baking.
Variations
Variety is the spice of life, and chocolate chip muffins offer endless opportunities for delicious variations. Here are some creative ideas to elevate them:
- Double Chocolate Chip - Increase the chocolatey goodness by adding cocoa powder to the batter along with the chocolate chips. You can also sprinkle some extra chocolate chips on top of the muffins before baking for a decadent touch.
- Nutty Delight - Add chopped nuts such as walnuts, pecans, or almonds to the batter for added crunch and flavor. Toasting the nuts beforehand enhances their nuttiness and provides a delightful contrast to the chocolate.
- Banana Chocolate Chip - Mash ripe bananas and fold them into the batter along with the chocolate chips. The bananas add natural sweetness and moisture, resulting in incredibly moist and flavorful muffins.
What To Enjoy With This Chocolate Chip Muffin Recipe
These delicious Chocolate Chip Muffins pair perfectly with a variety of accompaniments, enhancing your breakfast or snack experience. Here are some delightful options to enjoy alongside your freshly baked muffins:
- Coffee or Tea - A warm cup of coffee or tea is the perfect companion to a freshly baked chocolate chip muffin. The combination of rich flavors is sure to awaken your taste buds and provide a comforting start to your day.
- Fresh Fruit - Serve your chocolate chip muffins with a side of fresh fruit for a refreshing and nutritious addition to your breakfast or snack. Sliced strawberries, bananas, or raspberries complement the sweetness of the muffins and add a burst of natural flavor.
- Whipped Cream or Ice Cream - Turn your chocolate chip muffins into a decadent dessert by topping them with a dollop of whipped cream or a scoop of vanilla ice cream. The creamy texture and cool temperature create a delightful contrast to the warm muffins, making for a truly indulgent treat.
How Long Do They Last?
Chocolate chip muffins can typically last for about 2 to 3 days when stored properly at room temperature in an airtight container or wrapped tightly in plastic wrap.
For longer storage, you can refrigerate chocolate chip muffins in an airtight container for up to 1 week. Before serving, you can warm them in the microwave for a few seconds to restore their soft texture and enhance their flavor.
Can You Freeze Them?
If you need to extend their shelf life further, you can freeze chocolate chip muffins for up to 3 months. To freeze, individually wrap the muffins in plastic wrap or aluminum foil, then place them in a freezer-safe bag or container.
Thaw frozen muffins in the refrigerator overnight or reheat them in the microwave or oven before serving.
More Of Our Best Breakfast Recipes
- Keto Breakfast Casserole
- Strata Recipe
- Ham and Cheese Frittata
- Keto Pancakes
- Breakfast Tacos
- Banana Oatmeal Muffins
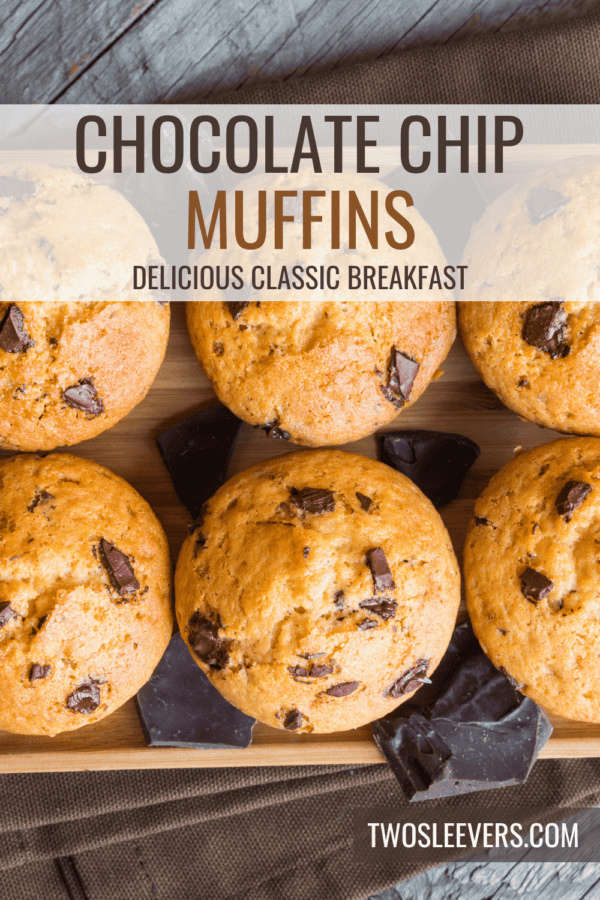

Chocolate Chip Muffin Recipe | Easy Chocolate Chip Muffins
Ingredients
- ▢ 2 cups All Purpose Flour
- ▢ 3/4 cup Granulated Sugar
- ▢ 2 tsp Baking Powder
- ▢ 1/2 tsp Salt
- ▢ 1 cup Milk
- ▢ 1/2 cup Vegetable Oil
- ▢ 2 Eggs
- ▢ 1 tsp Vanilla Extract
- ▢ 1 cup Chocolate Chips
Instructions
- Preheat Oven . Preheat your oven to 375°F and line a muffin tin with paper liners.
- Mix Dry Ingredients . In a large mixing bowl, whisk together the flour, sugar, baking powder, and salt until well combined.
- Combine Wet Ingredients . In a separate bowl, whisk together the milk, vegetable oil, egg, and vanilla extract until smooth.
- Combine Wet and Dry Ingredients . Pour the wet ingredients into the dry ingredients and gently mix until just combined. Be careful not to overmix, as this can result in tough muffins.
- Add Chocolate Chips . Gently fold in the chocolate chips until evenly distributed throughout the batter.
- Fill Muffin Cups . Divide the batter evenly among the prepared muffin cups, filling each about two-thirds full.
- Bake . Bake in the preheated oven for 18-20 minutes, or until a toothpick inserted into the center of a muffin comes out clean.
- Cool and Enjoy . Allow the muffins to cool in the tin for a few minutes before transferring them to a wire rack to cool completely. Serve warm or at room temperature.
Get support & connect with our community on Facebook!
Nutrition

If you already signed up, you should have received an email with a password to give you unlimited access to our FREE Printable Library. The password is case sensitive. Enter it below and get printing!
Password:

Chocolate Chip Muffin Recipe | Easy Chocolate Chip Muffins
Ingredients
- 2 cups All Purpose Flour
- 3/4 cup Granulated Sugar
- 2 tsp Baking Powder
- 1/2 tsp Salt
- 1 cup Milk
- 1/2 cup Vegetable Oil
- 2 Eggs
- 1 tsp Vanilla Extract
- 1 cup Chocolate Chips
Instructions
- Preheat Oven . Preheat your oven to 375°F and line a muffin tin with paper liners.
- Mix Dry Ingredients . In a large mixing bowl, whisk together the flour, sugar, baking powder, and salt until well combined.
- Combine Wet Ingredients . In a separate bowl, whisk together the milk, vegetable oil, egg, and vanilla extract until smooth.
- Combine Wet and Dry Ingredients . Pour the wet ingredients into the dry ingredients and gently mix until just combined. Be careful not to overmix, as this can result in tough muffins.
- Add Chocolate Chips . Gently fold in the chocolate chips until evenly distributed throughout the batter.
- Fill Muffin Cups . Divide the batter evenly among the prepared muffin cups, filling each about two-thirds full.
- Bake . Bake in the preheated oven for 18-20 minutes, or until a toothpick inserted into the center of a muffin comes out clean.
- Cool and Enjoy . Allow the muffins to cool in the tin for a few minutes before transferring them to a wire rack to cool completely. Serve warm or at room temperature.
Chocolate Chip Muffin Recipe | Easy Chocolate Chip Muffins https://twosleevers.com/chocolate-chip-muffin-recipe/

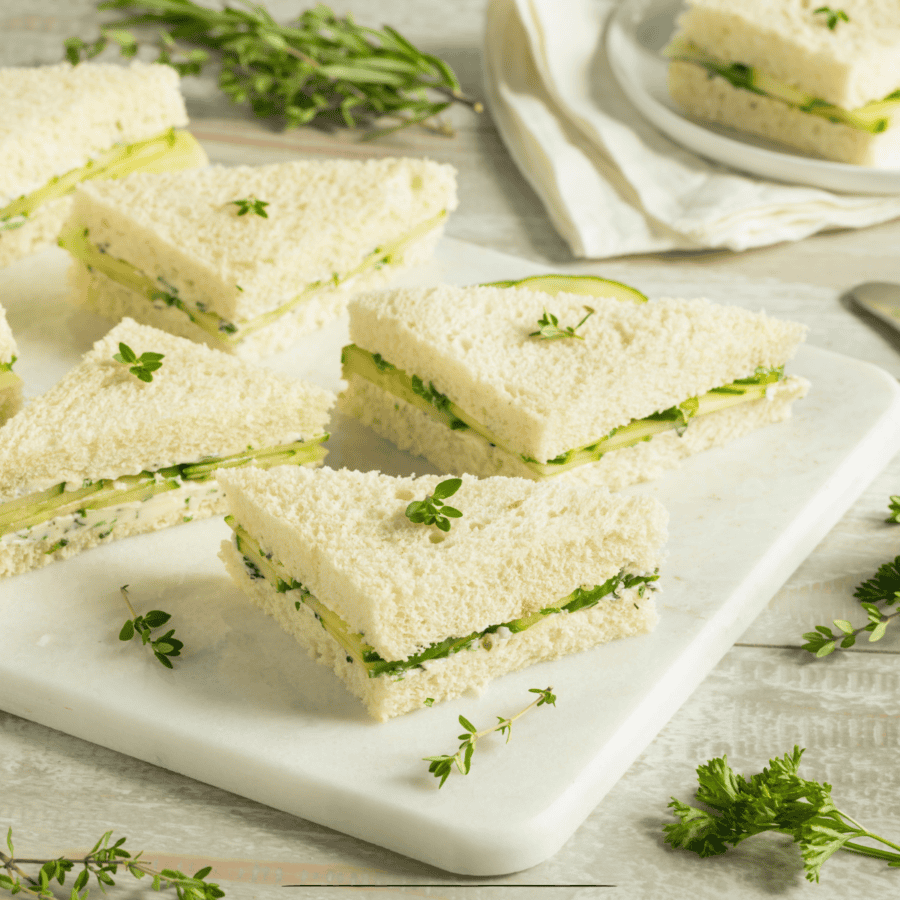
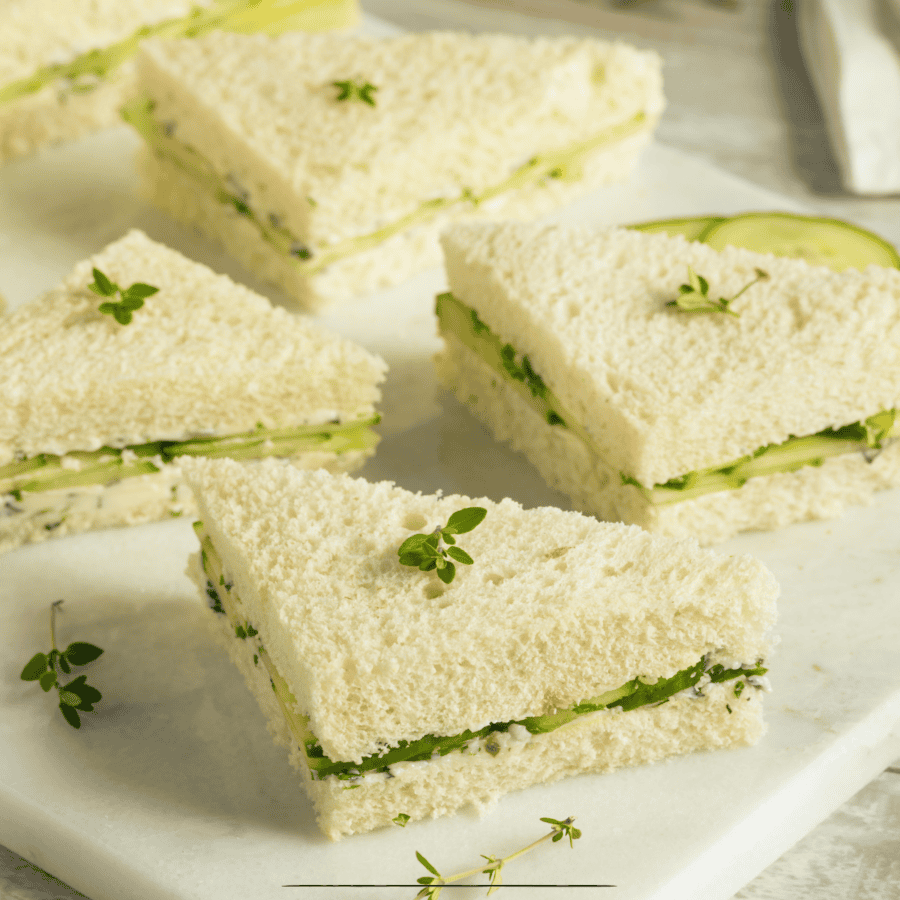
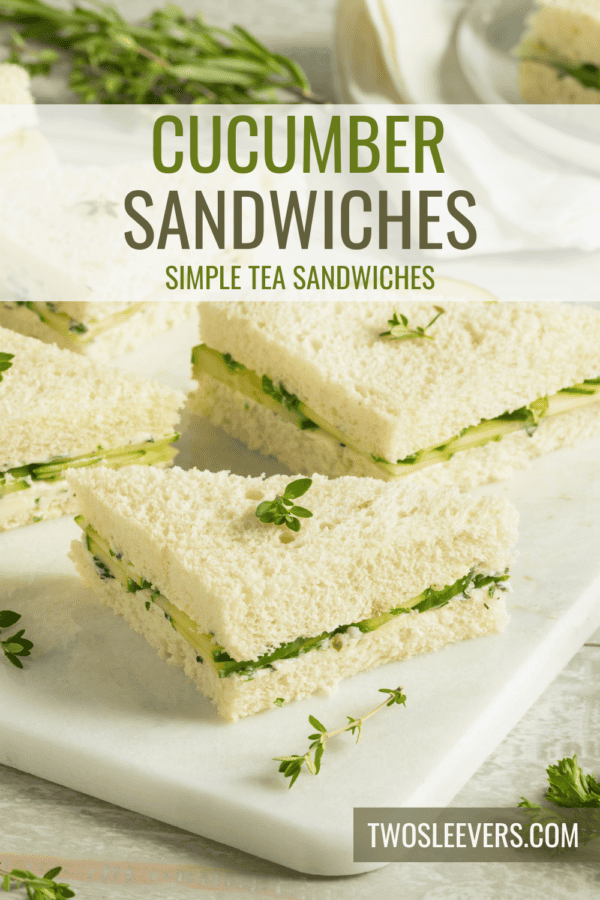
If you’re looking for a light and elegant snack perfect for tea time, gatherings, or a healthy snack, our recipe for Cucumber Sandwiches is just the delight you need. These sandwiches combine the crisp freshness of cucumber with the softness of bread, making them an ideal choice for an afternoon refreshment.
What Is Special About Cucumber Sandwiches?
- Light and Refreshing . The fresh cucumbers provide a crisp and hydrating bite, perfect for warm days.
- Simple and Easy to Prepare . With minimal ingredients and effort, these sandwiches are a breeze to put together.
- Versatile for Any Occasion . Whether it’s a high tea, picnic, or a light lunch, cucumber sandwiches are a delicious vegetarian main course or appetizer .
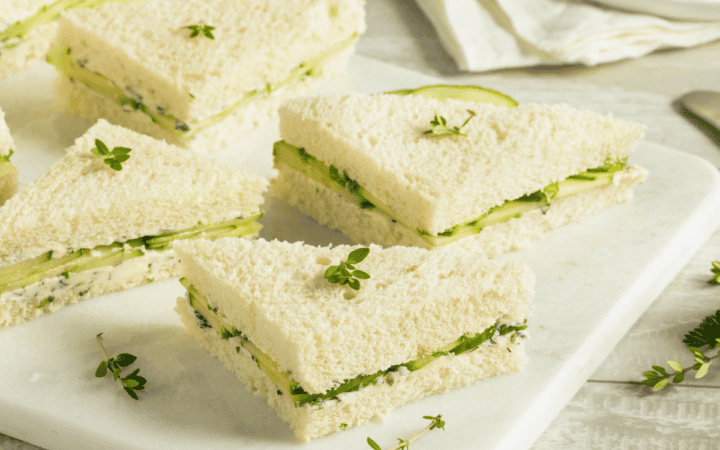
- Elegant Presentation . They look sophisticated and are sure to impress guests.
This recipe for Cucumber Sandwiches is a timeless classic that offers a refreshing twist to your snack time.
How Do You Cut Cucumbers For Sandwiches?
The key to sandwich-friendly cucumber slices is to cut them thin enough so they are easy to bite through but not so thin that they lose their crispness. Use a sharp knife or a mandoline slicer for consistent, even slices. Aim for about 1/16 to 1/8 inch thickness.
How Do You Keep Cucumber Sandwiches From Getting Soggy?
Cutting cucumbers for sandwiches involves a few simple steps to ensure they are thin, even, and appealing for your sandwich. Here’s how to do it:
- Choose the Right Cucumbers . For sandwiches, it’s best to use English cucumbers or Persian cucumbers because they have thin skin, fewer seeds, and a mild flavor. They also tend to be less watery than regular cucumbers.
- Slice Thinly . The key to sandwich-friendly cucumber slices is to cut them thin enough so they are easy to bite through but not so thin that they lose their crispness. Use a sharp knife or a mandoline slicer for consistent, even slices. Aim for about 1/16 to 1/8 inch thickness.
- Remove Excess Moisture . After slicing, lay the cucumber slices on a paper towel and gently pat them dry. This step helps to remove excess moisture that could make your sandwich bread soggy.
Ingredients
- Bread- The bread acts as the foundation of the sandwich. Soft white bread is traditional, providing a delicate, mild flavor and texture that doesn’t overpower the cucumber.
- Cucumbers- The star of this sandwich. They provide a fresh, crisp, and hydrating element. Thinly slicing them ensures they are easy to bite into and allows their subtle, cool flavor to complement, rather than dominate, the other ingredients.
- Cream Cheese- Adds a creamy texture and slightly tangy flavor that pairs well with the cucumber. It also helps to hold the sandwich together.
- Salt and Pepper- A light seasoning of salt and pepper is used to enhance the natural flavor of the cucumbers. Salt helps to bring out the cucumber’s crispness, while pepper adds a slight depth of flavor.
- Optional Add-Ins (Fresh Dill, Lemon Zest, Chives) - These add-ins can be mixed into the cream cheese or sprinkled over the cucumbers to elevate the overall flavor profile of the sandwiches.
Together, these ingredients create a simple yet elegant cucumber sandwich, perfect for tea time, snacks, or light meals.
How To Make Cucumber Sandwiches
- Prepare the Cucumbers . Thinly slice the cucumbers and season them lightly with salt and pepper.
- Prep the Bread . Cut the crusts off the bread for a traditional look and softer texture.
- Spread the Base . Spread a thin layer of cream cheese or softened butter on each slice of bread.
- Assemble the Sandwiches . Arrange the cucumber slices on half of the bread slices. If desired, add herbs like dill or chives.
- Top and Cut . Place the remaining bread slices on top and press down gently. Cut the sandwiches into small triangles or rectangles.
- Serve . Serve immediately or cover with a damp cloth and refrigerate until serving.
Tips And Tricks
Making cucumber sandwiches, a staple of tea time and light luncheons, can be an art in itself. Here are some tips and tricks to ensure your cucumber sandwiches are as delightful to eat as they are elegant to serve:
- Thinly Slice the Cucumbers . Use a mandoline slicer or a sharp knife to get evenly thin slices of cucumber. Thin slices ensure a delicate texture that doesn’t overpower the sandwich.
- Remove Excess Moisture . After slicing, lay the cucumber slices on a paper towel and gently pat them to remove any excess moisture. This helps to prevent the sandwiches from becoming soggy.
- Spread Evenly . Spread the cream cheese evenly to the edges of each slice of bread. This acts as a sealant to keep moisture out and also ensures every bite has a balanced flavor.
- Season the Cucumbers . A light sprinkle of salt and pepper on the cucumber slices can enhance their flavor. Be cautious with the amount of salt, as it can draw out more moisture from the cucumbers.
Variations
Cucumber sandwiches, known for their simplicity and elegance, can be varied in numerous ways to suit different tastes and occasions. Here are some creative variations to try:
- Herbed Cream Cheese - Mix herbs like dill, chives, or mint into your cream cheese for an added layer of flavor.
- Avocado Cucumber Sandwiches - Add thin slices of avocado for a creamy texture and a boost of healthy fats.
- Cucumber and Smoked Salmon - Top your cucumber with smoked salmon, a touch of cream cheese, and dill for a luxurious treat.
- Cucumber and Radish - Add thinly sliced radishes along with cucumber for a peppery crunch.
What To Serve With Cucumber Sandwiches
Cucumber sandwiches are a classic choice for afternoon tea, light lunches, or elegant gatherings. To complement their delicate flavor and texture, consider serving them with the following items:
- Assorted Teas - Offer a selection of teas such as Earl Grey, English Breakfast, herbal infusions, or green tea. Tea is a traditional and refreshing pairing with cucumber sandwiches.
- Scones with Clotted Cream and Jam - This classic British tea-time treat pairs wonderfully with cucumber sandwiches. Serve plain or fruit scones with clotted cream and strawberry or raspberry jam.
- Fresh Fruit Salad or Fruit Platter - A light and refreshing side, like a fruit salad or a beautifully arranged platter of seasonal fruits, adds color and freshness to the table.
- Mini Pastries and Cakes - Small pastries, petit fours, or mini cupcakes offer a sweet balance to the savory sandwiches. Choose light and delicate flavors to keep with the theme.
Can You Make Cucumber Sandwiches The Night Before?
Yes, you can make cucumber sandwiches the night before, but it requires careful preparation to ensure they remain fresh and don’t become soggy. Here are some steps to follow:
- Choose the Right Bread . Use a dense, less porous bread that is less likely to become soggy.
- Dry the Cucumber Slices . After slicing the cucumbers, lay them out on paper towels and gently pat them dry. This step is crucial to remove excess moisture that could make the bread soggy.
- Season Just Before Serving . If you’re adding salt to your cucumber sandwiches, it’s better to do so just before serving as salt can draw out moisture from the cucumbers.
- Store Properly . Once assembled, place the sandwiches in an airtight container. To keep them fresh, you can put a layer of parchment paper or a clean, dry paper towel at the bottom and top of the container to absorb any excess moisture.
- Refrigerate . Keep the sandwiches in the refrigerator until you’re ready to serve them.
How Long Do They Last?
Cucumber sandwiches can be stored in the refrigerator for about 1 day. Beyond this, the bread may start to become too moist or soggy due to the water content of the cucumbers, and the overall texture and flavor may diminish.
Can You Freeze Them?
It’s not recommended to freeze cucumber sandwiches. The texture of cucumbers changes when frozen and thawed, becoming watery and mushy, which would not be appealing in a sandwich.
More Of Our Best Sandwich Recipes
- Pinwheel Sandwiches
- Cuban Sandwich
- Chopped Cheese
- Hot Honey Chicken Sandwich
- Italian Beef Sandwich
- Hawaiian Roll Sliders
Cucumber Sandwiches | Cucumber Tea Sandwich Recipe
Ingredients
- ▢ 16 slices White bread
- ▢ 4 Cucumbers , sliced
- ▢ 8 oz Cream Cheese , softened
- ▢ 1/2 tsp Kosher Salt
- ▢ 1/4 tsp Pepper
- ▢ 1 tsp Dill , chopped
Instructions
- Prepare the Cucumbers . Thinly slice the cucumbers and season them lightly with salt and pepper.
- Prep the Bread . Cut the crusts off the bread for a traditional look and softer texture.
- Spread the Base . Spread a thin layer of cream cheese or softened butter on each slice of bread.
- Assemble the Sandwiches . Arrange the cucumber slices on half of the bread slices. If desired, add herbs like dill or chives.
- Top and Cut . Place the remaining bread slices on top and press down gently. Cut the sandwiches into small triangles or rectangles.
- Serve . Serve immediately or cover with a damp cloth and refrigerate until serving.
