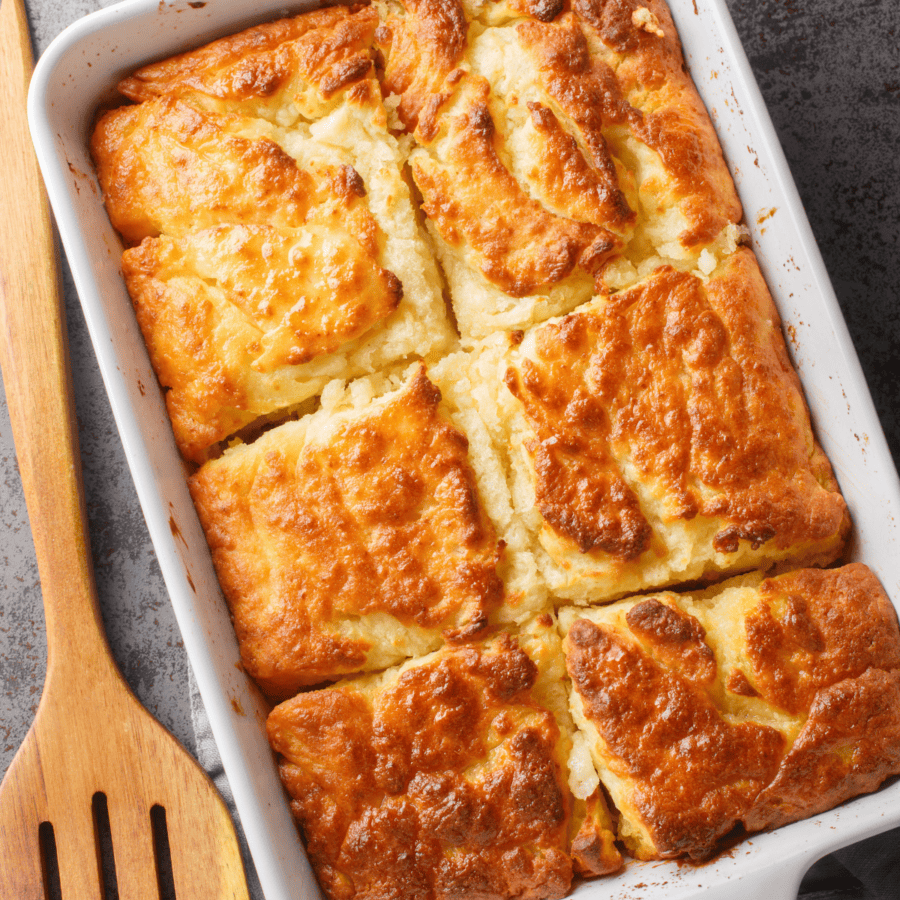
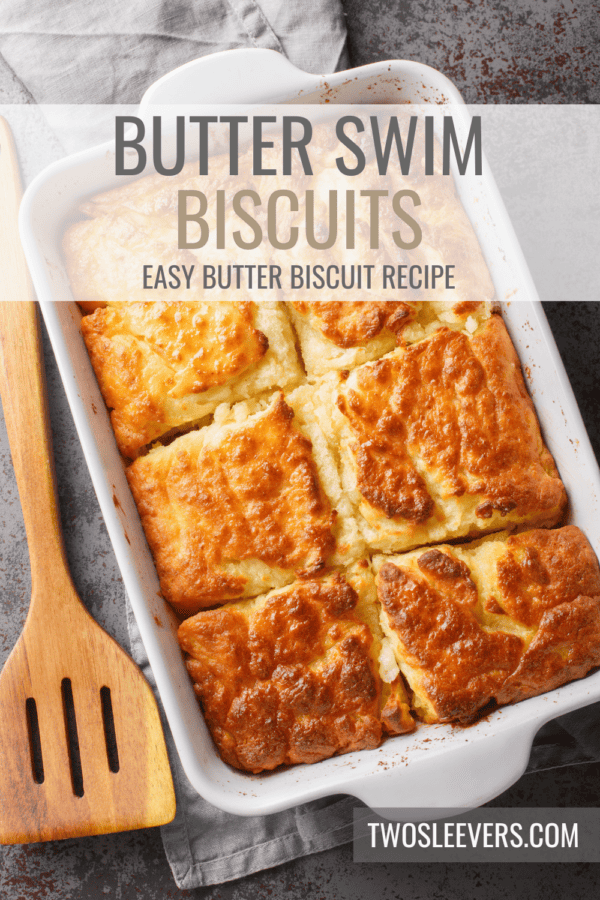
Craving the ultimate indulgence in the form of heavenly, flaky biscuits that practically melt in your mouth? Fall in love with the most comforting side dish with our Butter Swim Biscuits recipe!
Why You’ll Want These On Your Dinner Table
- Quick and Easy . Ready in under 30 minutes, these biscuits are a hassle-free delight, perfect for busy mornings or impromptu gatherings.
- Minimal Ingredients . With just a handful of pantry staples, you can create a batch of biscuits that will leave you and your guests craving more.
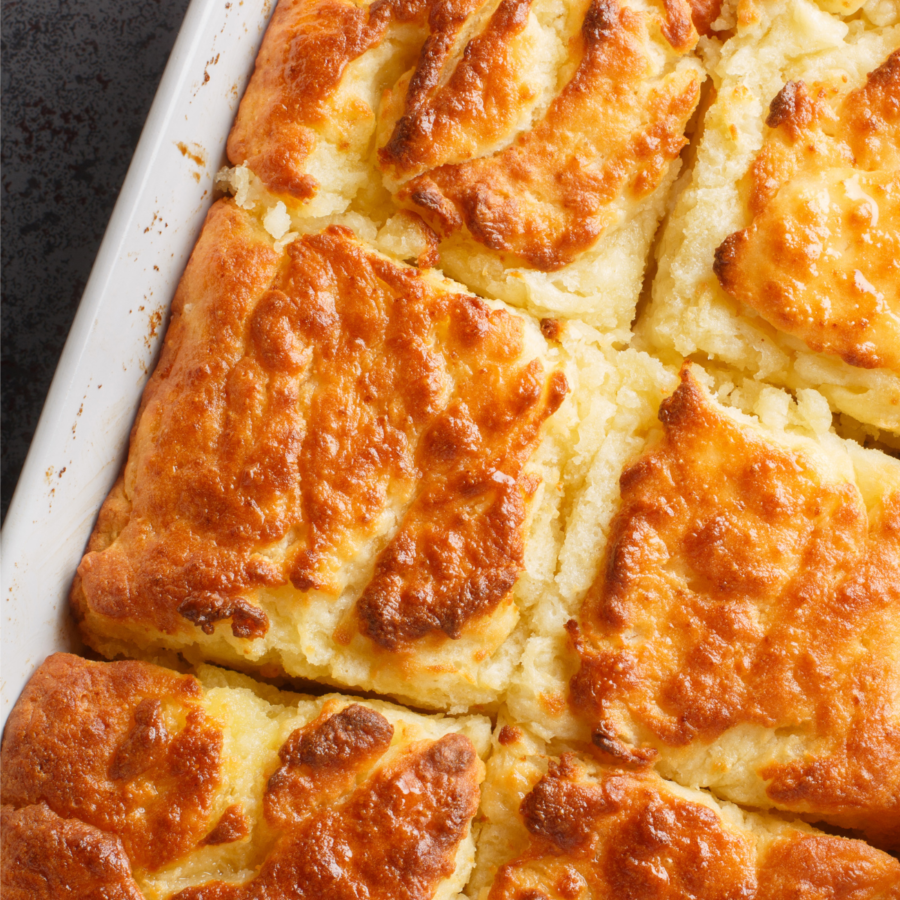
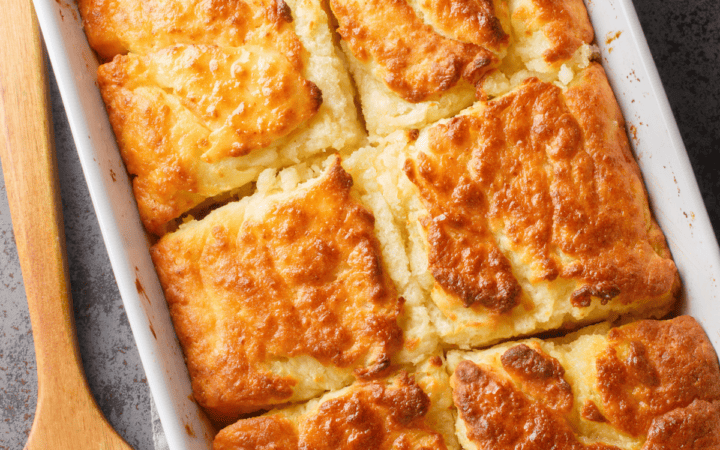
- Buttery Goodness . The secret to these biscuits lies in the “butter swim,” a technique that bathes each biscuit in a pool of melted butter during baking, ensuring a rich, buttery flavor and an unbelievably tender texture.
- Versatile . Whether you’re serving them as a side for breakfast, brunch, or dinner, or enjoying them on their own, these biscuits are a versatile treat for any occasion.
Capturing the essence of simplicity and deliciousness, these Butter Swim Biscuits are a game-changer in the world of biscuit-making. Your kitchen is about to become the go-to spot for the best biscuits in town!
Are Butter Swim Biscuits Worth The Hype?
Absolutely! Butter Swim Biscuits are a revelation in the world of baking. The combination of minimal effort, basic ingredients, and the ingenious “butter swim” technique results in biscuits that are unbelievably tender and boast a rich, buttery flavor that sets them apart from the rest.
Picture this: a warm, flaky biscuit that practically dissolves on your tongue, leaving behind a trail of buttery bliss. Whether you enjoy them as part of a comforting breakfast or as a delightful side for a savory dinner, these biscuits are an experience unto themselves.
Does Butter Have To Be Cold For Biscuits?
Yhen making biscuits, it’s generally recommended to use cold butter. The cold butter is a crucial factor in achieving the desired texture of biscuits, which is typically flaky and tender.
However, with these biscuits, you’ll want your butter MELTED! I know that seems odd, but in this recipe, the buttermilk is what does the work to make these biscuits tender.
The melted butter is what your biscuits will swim in as they bake to create that irresistible buttery flavor.
Ingredients You’ll Need
- All-Purpose Flour- Provides structure to the biscuits and gives them their texture and shape.
- Baking Powder- Helps the biscuits rise and become light and fluffy.
- Sugar- A small amount of sugar enhances the overall flavor profile. It also aids in browning during baking.
- Salt- Balances the sweetness and enhances the other flavors in the biscuits.
- Cold Buttermilk- The cold buttermilk helps keep the butter in the dough solid until baking. As the biscuits bake, the butter melts, creating pockets of steam, which contribute to the biscuits’ flakiness.
- Unsalted Butter- Butter is a key ingredient in creating the flaky layers of the biscuits.
How To Make Butter Swim Biscuits
- Preheat and Prepare . Preheat your oven to 450°F. While the oven is heating, grab a baking dish and melt the unsalted butter in it.
- Mix Dry Ingredients . In a mixing bowl, combine the all-purpose flour, baking powder, sugar, and salt. Mix well.
- Add Buttermilk . Pour in the cold buttermilk and stir until just combined. Be careful not to overmix; a slightly shaggy dough is what you’re aiming for.
- Form Biscuits . Turn the dough out onto a floured surface and gently pat it into a rectangle. Fold the dough over itself in thirds, similar to folding a letter. Repeat this process two more times.
- Cut Biscuits . Roll the dough to about 1/2-inch thickness and cut the biscuits into rectangles. Place the cut biscuits into the melted butter in the baking dish.
- Bake . Bake in the preheated oven for about 15-20 minutes or until the biscuits are golden brown and cooked through.
- Butter Swim Magic . Witness the magic as the biscuits swim in the melted butter, soaking up all that rich flavor during the last few minutes of baking.
- Serve and Enjoy . Once out of the oven, let the biscuits cool for a moment before serving. They’re best enjoyed warm.
Tips And Tricks
Making these Butter Swim Biscuits is a delightful journey, and a few tips can ensure you achieve biscuit perfection:
- Cold Ingredients . Use cold buttermilk and keep your butter chilled. The contrast in temperatures contributes to the biscuits’ flakiness.
- Gentle Mixing . When combining the wet and dry ingredients, a gentle hand is key. Overmixing can result in dense biscuits rather than the desired flakiness.
- Fold and Pat Technique . The folding and patting technique creates layers in the dough, leading to those beautiful flaky layers in the finished biscuits.
Variations
While Butter Swim Biscuits are a classic delight on their own, you can always add your creative twist:
- Cheesy Biscuits - Fold in your favorite cheese into the dough for a savory and cheesy variation.
- Herb-Infused - Add a sprinkle of fresh herbs like thyme or rosemary to the dough for a fragrant and flavorful kick.
- Sweet Delight - Incorporate a touch more sugar into the dough and serve these biscuits with whipped cream and berries for a sweet treat.
What To Serve With Butter Swim Biscuits
These biscuits pair wonderfully with various dishes. Here are a few serving ideas:
- Breakfast Bliss - Serve them alongside scrambled eggs, bacon , and fresh fruit for a hearty breakfast.
- Southern Comfort - Make it a classic Southern meal by pairing them with fried chicken , collard greens , and mashed potatoes .
- Soup’s Best Friend - These biscuits are an excellent companion to your favorite soups and stews .
How Long Do They Last?
While these biscuits are best enjoyed fresh out of the oven, you can store any leftovers in an airtight container at room temperature for up to 2-3 days. To reheat, simply warm them in the oven for a few minutes.
Can You Freeze Them?
Absolutely! Freeze unbaked biscuits on a baking sheet until solid, then transfer them to a freezer-safe bag. When ready to enjoy, bake them from frozen, adding a few extra minutes to the baking time.
More Delicious Side Dishes
- Creamy Cucumber Salad
- Air Fryer Broccoli
- Cauliflower Mac And Cheese
- Instant Pot Green Beans
- Creamed Spinach
Butter Swim Biscuits | Easy Butter Swim Biscuit Recipes
Ingredients
- ▢ 2 cups All Purpose Flour
- ▢ 1 tbsp Baking Powder
- ▢ 1 tsp Sugar
- ▢ 1 tsp Salt
- ▢ 1 cup Buttermilk
- ▢ 1/2 cup Unsalted Butter
Instructions
- Preheat and Prepare . Preheat your oven to 450°F. While the oven is heating, grab a baking dish and melt the unsalted butter in it.
- Mix Dry Ingredients . In a mixing bowl, combine the all-purpose flour, baking powder, sugar, and salt. Mix well.
- Add Buttermilk . Pour in the cold buttermilk and stir until just combined. Be careful not to overmix; a slightly shaggy dough is what you’re aiming for.
- Form Biscuits . Turn the dough out onto a floured surface and gently pat it into a rectangle. Fold the dough over itself in thirds, similar to folding a letter. Repeat this process two more times.
- Cut Biscuits . Roll the dough to about 1/2-inch thickness and cut the biscuits into rectangles. Place the cut biscuits into the melted butter in the baking dish.
- Bake . Bake in the preheated oven for about 15-20 minutes or until the biscuits are golden brown and cooked through.
- Butter Swim Magic . Witness the magic as the biscuits swim in the melted butter, soaking up all that rich flavor during the last few minutes of baking.
- Serve and Enjoy . Once out of the oven, let the biscuits cool for a moment before serving. They’re best enjoyed warm.
Get support & connect with our community on Facebook!
Nutrition

If you already signed up, you should have received an email with a password to give you unlimited access to our FREE Printable Library. The password is case sensitive. Enter it below and get printing!
Password:

Butter Swim Biscuits | Easy Butter Swim Biscuit Recipes
Ingredients
- 2 cups All Purpose Flour
- 1 tbsp Baking Powder
- 1 tsp Sugar
- 1 tsp Salt
- 1 cup Buttermilk
- 1/2 cup Unsalted Butter
Instructions
- Preheat and Prepare . Preheat your oven to 450°F. While the oven is heating, grab a baking dish and melt the unsalted butter in it.
- Mix Dry Ingredients . In a mixing bowl, combine the all-purpose flour, baking powder, sugar, and salt. Mix well.
- Add Buttermilk . Pour in the cold buttermilk and stir until just combined. Be careful not to overmix; a slightly shaggy dough is what you’re aiming for.
- Form Biscuits . Turn the dough out onto a floured surface and gently pat it into a rectangle. Fold the dough over itself in thirds, similar to folding a letter. Repeat this process two more times.
- Cut Biscuits . Roll the dough to about 1/2-inch thickness and cut the biscuits into rectangles. Place the cut biscuits into the melted butter in the baking dish.
- Bake . Bake in the preheated oven for about 15-20 minutes or until the biscuits are golden brown and cooked through.
- Butter Swim Magic . Witness the magic as the biscuits swim in the melted butter, soaking up all that rich flavor during the last few minutes of baking.
- Serve and Enjoy . Once out of the oven, let the biscuits cool for a moment before serving. They’re best enjoyed warm.
Butter Swim Biscuits | Easy Butter Swim Biscuit Recipes https://twosleevers.com/butter-swim-biscuits/
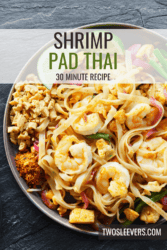
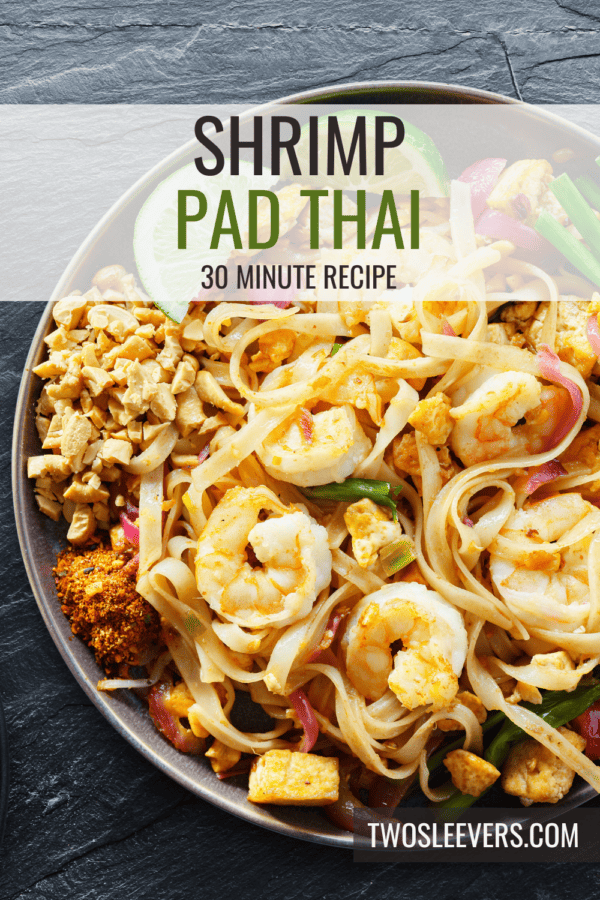
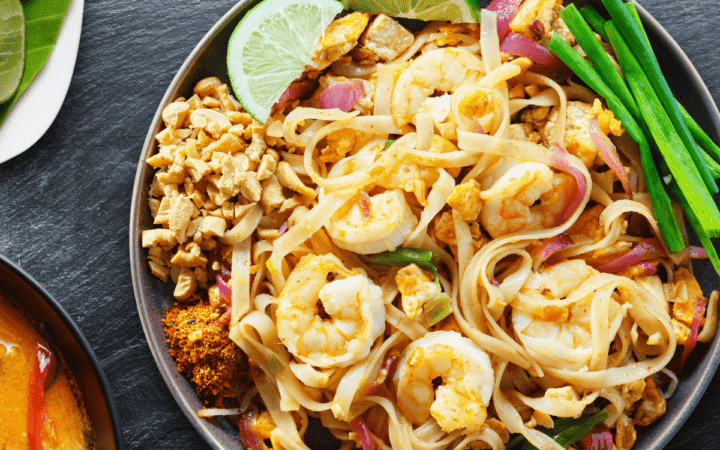
Unveil the secret to a quick yet authentic Shrimp Pad Thai made right in your Instant Pot. This classic Thai noodle dish, known for its perfect balance of sweet, sour, and savory flavors, is now effortlessly achievable at home.
Why You’ll Love This Excuse To Cook With Shrimp
- Quick & Simple. Ready in minutes with the help of your Instant Pot.
- Flavor Explosion . A delightful mix of tamarind, fish sauce, and lime, bringing authentic Thai flavors to your kitchen.
- Versatile . Easily adjustable to suit your taste preferences.
- Crowd-Pleaser . A guaranteed hit with family and friends.
Embrace the flavors of Thailand with this easy-to-make, delicious Shrimp Pad Thai.
Why Does Pad Thai Taste So Good?
Pad Thai is renowned for its delicious taste, largely due to its unique combination of flavors and textures that create a harmonious balance on the palate. Here’s why Pad Thai tastes so good:
- Complex Flavor Profile . Traditional Pad Thai is a perfect example of the Thai cooking principle of balancing sour, sweet, salty, and savory flavors. The sourness from tamarind, the sweetness from sugar, the saltiness from fish sauce, and the savoriness from ingredients like shrimp or tofu create a complex and satisfying taste experience.
- Textural Variety . Pad Thai offers an appealing mix of textures - the softness of the noodles, the crunch from the peanuts and bean sprouts, the tenderness of the shrimp or other proteins, and the slight chewiness of the egg. This combination ensures that each bite is interesting and enjoyable.
- Fresh Ingredients . The use of fresh and aromatic ingredients like garlic, lime, cilantro, and green onions contributes to the overall freshness of the dish, making it vibrant and appetizing.
- Umami Factor . Ingredients like fish sauce and tamarind not only provide their unique flavors but also contribute to the umami quality of the dish. Umami, often described as a savory or meaty taste, adds depth and richness.
Why Is Pad Thai So Healthy?
Pad Thai can be considered a healthy dish for several reasons, depending on its ingredients and preparation methods:
- Balanced Macronutrients - A well-prepared Pad Thai offers a good balance of macronutrients. It typically includes carbohydrates (from the noodles), protein (from tofu, shrimp, chicken, or eggs), and healthy fats (from peanuts and oils). This combination can provide sustained energy and satiety.
- Vegetable Inclusions - Traditional Pad Thai includes a variety of vegetables like bean sprouts, garlic, shallots, and sometimes carrots, bell peppers, or green onions. These add vitamins, minerals, fiber, and antioxidants to the dish, which are essential for a healthy diet.
- Lean Proteins - Options like tofu, shrimp, or chicken are lean protein sources that are lower in calories and fats compared to red meats, making them a healthier choice for maintaining muscle mass and overall health.
It’s important to note that while Pad Thai has these healthy aspects, restaurant versions can sometimes be high in calories, sodium, and sugar due to larger portion sizes and added sweeteners or oils. Making Pad Thai at home allows for better control over these elements, enabling a healthier version of the dish.
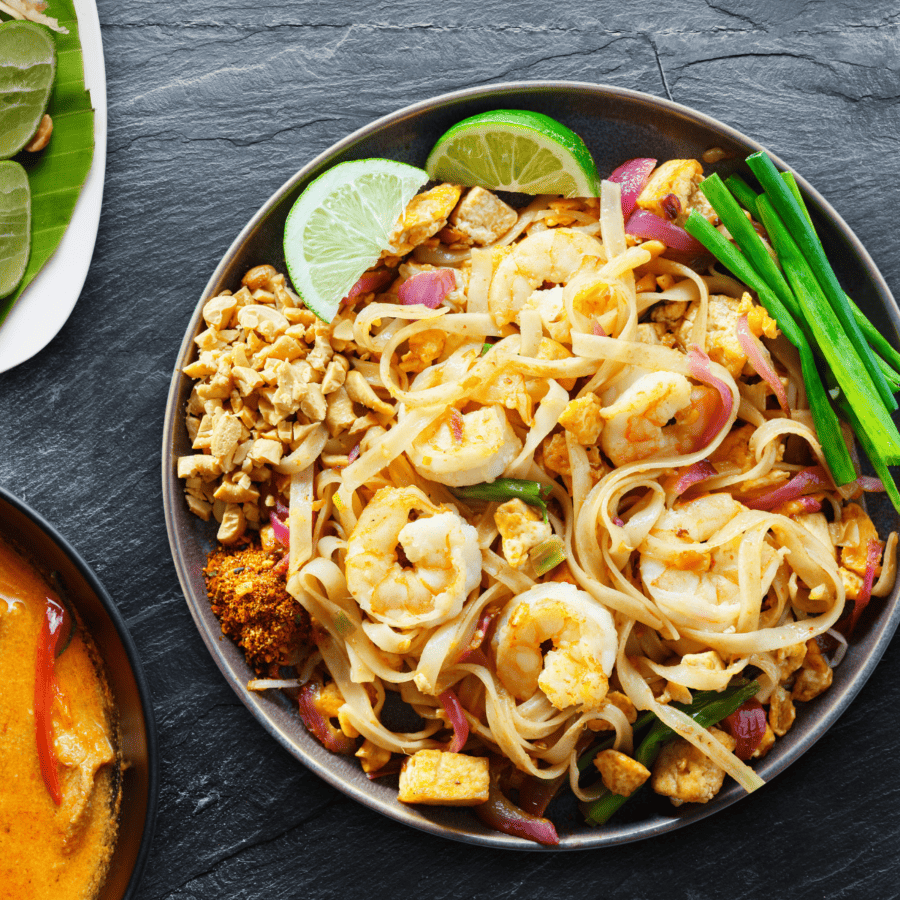
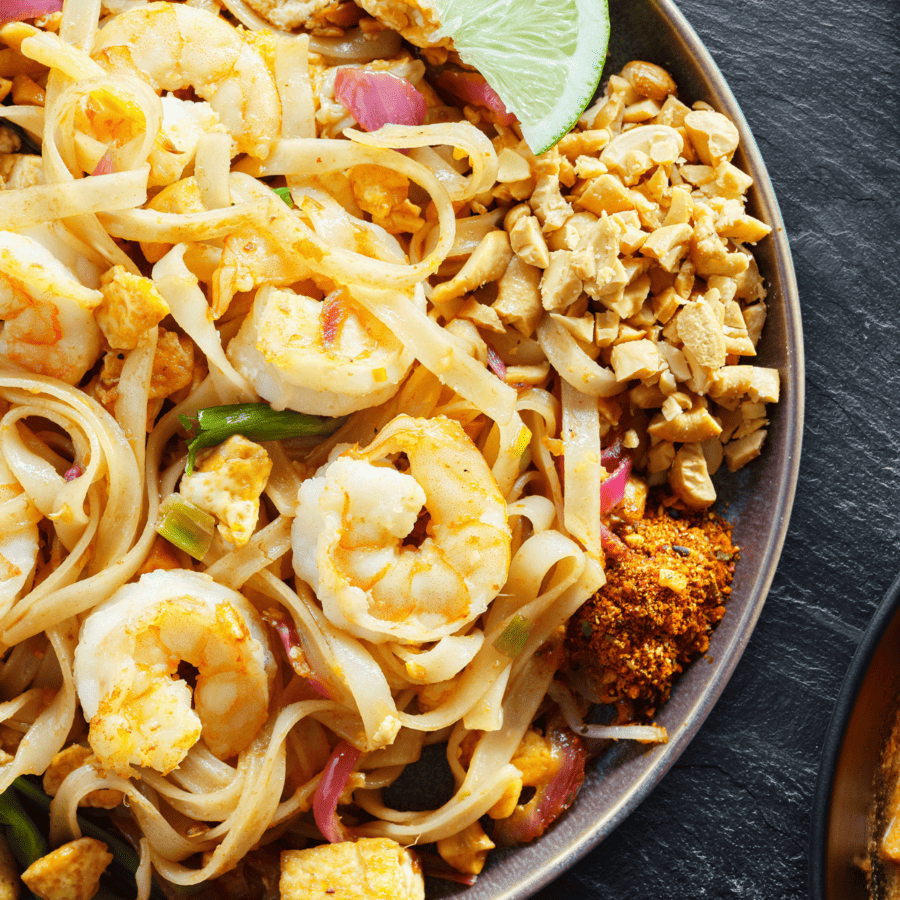
What Is Shrimp Pad Thai Made Of?
In the preparation of Instant Pot Shrimp Pad Thai, each ingredient plays a specific role to create a harmonious and authentic Thai flavor experience:
- Rice Noodles - These are the base of the dish. Traditional Pad Thai noodles provide the perfect texture and are excellent at absorbing the flavors of the sauce and other ingredients.
- Fresh Shrimp - Serve as the primary protein in the dish. Shrimp add a delicate, sweet flavor that contrasts nicely with the other savory and tangy components. Using peeled and deveined shrimp ensures they are easy to eat and well-prepared.
- Tamarind Paste - This is key to achieving the authentic sour flavor characteristic of Pad Thai. Tamarind paste adds a tangy depth that is essential to the dish’s flavor profile.
- Fish Sauce - Provides umami depth, adding a rich, savory element to the dish. Fish sauce is a staple in Thai cooking and contributes to the unique taste of Pad Thai.
- Brown Sugar - Used to balance the sourness of the tamarind and the saltiness of the fish sauce. It adds a subtle sweetness, creating a well-rounded flavor profile.
- Eggs - Lightly beaten eggs are usually scrambled in the dish, adding texture and richness. They also help to bind the ingredients together.
- Bean Sprouts - Add a fresh and crunchy texture to Pad Thai. They bring a lightness and are often added towards the end of cooking to maintain their crispness.
- Garlic - Minced garlic is used for its aroma and flavor. It’s a foundational ingredient that is sautéed initially to infuse the oil and other components with its fragrant quality.
- Peanuts - Crushed peanuts are typically used as a garnish. They add a nutty flavor and a crunchy texture, enhancing the overall sensory experience of the dish.
- Green Onions and Cilantro - They add a burst of color, freshness, and an herby aroma that complements the other flavors in the dish.
- Lime Wedges - The lime juice adds a bright, acidic element that can enhance and elevate the flavors of the Pad Thai.
How Long Does Shrimp Pad Thai Last?
- Prepare Noodles . Soak rice noodles in warm water until they’re soft.
- Sauté Shrimp . Using the sauté function, cook the shrimp until they turn pink, then set aside.
- Cook the Aromatic . Sauté garlic, then add tamarind paste, fish sauce, and brown sugar, stirring until well combined.
- Combine Ingredients . Add the softened noodles and cooked shrimp to the pot. Pour in a small amount of water and let everything simmer.
- Finish with Eggs and Garnishes . Push the noodles to one side, pour in the beaten eggs, and scramble. Toss everything together and finish with bean sprouts, peanuts, green onions, and cilantro.
Tips And Tricks
Making Shrimp Pad Thai in an Instant Pot can be a convenient and quick way to enjoy this classic Thai dish. Here are some tips and tricks to help you get the best results:
- Prepare the Pad Thai sauce in advance. A traditional sauce usually includes tamarind paste, fish sauce, sugar, and lime juice. Adjust the ingredients to suit your taste – more sugar for sweetness, lime juice for tanginess, or fish sauce for saltiness.
- Sauté the shrimp first in the Instant Pot until they are just pink and remove them. This prevents them from overcooking when you add them back later.
- After sautéing aromatics, add the soaked and drained noodles and pour the prepared sauce over them. Do not stir too much to avoid breaking the noodles.
Variations
Shrimp Pad Thai is a versatile dish that can be adapted in various ways to suit different tastes and dietary requirements. Here are some variations you might consider:
- Vegetarian Pad Thai - Replace shrimp with tofu or an assortment of vegetables like bell peppers, carrots, and broccoli. Use soy sauce instead of fish sauce for a truly vegetarian version.
- Chicken or Beef Pad Thai - Substitute shrimp with thinly sliced chicken or beef. Cook the meat thoroughly before adding it to the noodle mixture.
- Spicy Pad Thai - Increase the heat by adding more red chili flakes, fresh Thai chilies, or a spoonful of Sriracha sauce to the Pad Thai sauce.
What To Serve With Shrimp Pad Thai
Serving Shrimp Pad Thai can be a delightful culinary experience, especially when you pair it with complementary sides and beverages. Here are some suggestions:
- Fresh Spring Rolls - Light and refreshing, these rolls filled with vegetables, herbs, and sometimes shrimp or chicken, can be a perfect start.
- Thai Chicken Satay - Skewers of grilled chicken served with a peanut sauce. The savory flavors pair well with the Pad Thai.
- Jasmine Rice - A staple in Thai cuisine, it’s a simple addition that can absorb the Pad Thai’s flavors.
- Stir-fried Vegetables - A mix of vegetables stir-fried with a bit of soy sauce or oyster sauce can add a healthy balance.
How Long Does It Last?
In the refrigerator, Shrimp Pad Thai can last for about 3 to 4 days. Make sure to store it in an airtight container to maintain its quality and prevent it from absorbing other flavors from the fridge.
Can You Freeze It?
You can freeze Shrimp Pad Thai for longer storage. In the freezer, it can last for up to 2 months. However, the texture of the noodles and shrimp might change after freezing and thawing. To freeze, place it in a freezer-safe container or bag.
More Thai Recipes
- Thai Curry Soup
- Air Fryer Thai Peanut Chicken
- Thai Green Curry Mussels
- Thai Cashew Chicken
- Spicy Thai Basil Beef
Shrimp Pad Thai Recipe | Instant Pot Pad Thai
Ingredients
- ▢ 8 oz Pad Thai Noodles
- ▢ 1 pound Shrimp , Peeled and deveined
- ▢ 3 tbsp Tamarind Paste
- ▢ 4 tbsp Fish Sauce
- ▢ 3 tbsp Brown Sugar
- ▢ 2 Eggs
- ▢ 1 cup Bean Sprouts
- ▢ 3 cloves Garlic , minced
- ▢ 1/2 cup Peanuts , crushed
- ▢ 4 Green Onions , sliced
- ▢ Cilantro , for garnish
- ▢ Lime Wedges , for garnish
- ▢ 1/4 cup Water
Instructions
- Prepare Noodles . Soak rice noodles in warm water until they’re soft.
- Sauté Shrimp . Using the sauté function, cook the shrimp until they turn pink, then set aside.
- Cook the Aromatic . Sauté garlic, then add tamarind paste, fish sauce, and brown sugar, stirring until well combined.
- Combine Ingredients . Add the softened noodles and cooked shrimp to the pot. Pour in a small amount of water and let everything simmer.
- Finish with Eggs and Garnishes . Push the noodles to one side, pour in the beaten eggs, and scramble. Toss everything together and finish with bean sprouts, peanuts, green onions, and cilantro.
Get support & connect with our community on Facebook!
Nutrition
Don’t forget to check out my otherBest-selling Instant Pot Cookbooks!
Indian Instant Pot , Keto Instant Pot, Instant Pot Fast and Easy , Healthy Instant Pot & Vegetarian Instant Pot .

