
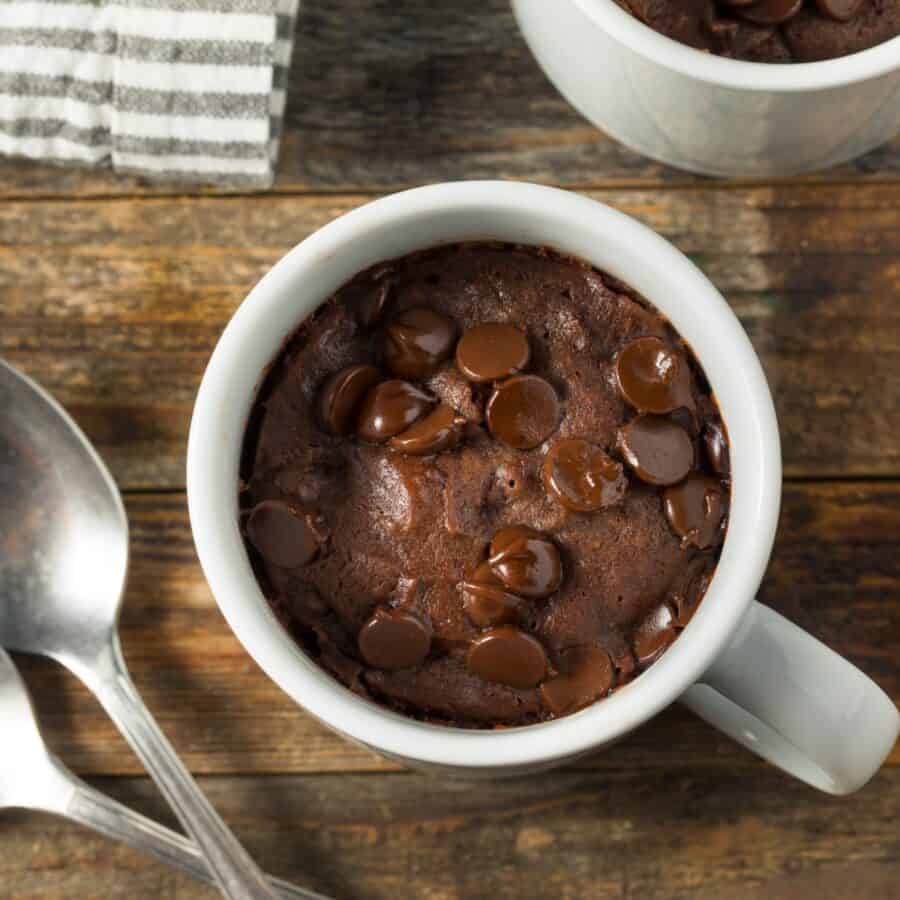
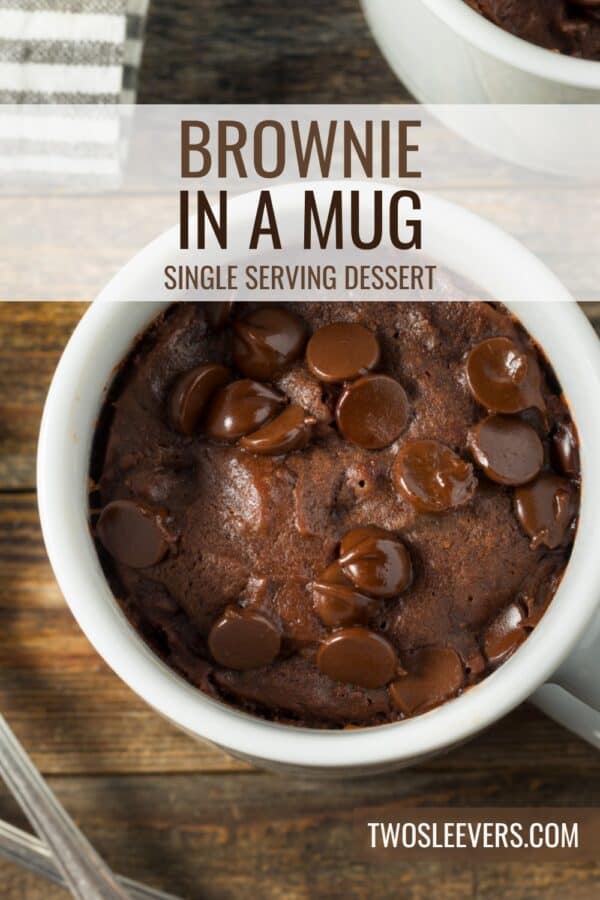
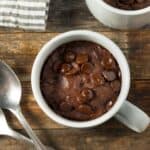
Brownie in a mug is a single-serving microwave brownie dessert made with cocoa powder, all-purpose flour, sugar, milk, oil, baking powder, and vanilla extract. It’s quick and works well for a late-night chocolate craving or an easy “dessert for one” when you don’t want to turn on the oven. Unlike traditional baked brownies that need a pan and oven time, this version mixes right in one mug and cooks in about a minute for a warm, fudgy center you can customize with toppings.
Why You’ll Love This Delicious Dessert
- Fast . Ready in under 5 minutes from start to finish!
- Easy . Just a handful of pantry staples needed.
- Satisfying . Delivers that rich, fudgy brownie flavor in a fraction of the time.
- Customizable . Add toppings like whipped cream, ice cream, or extra chocolate chips!
With minimal effort and no need to turn on the oven, you’ll satisfy your chocolate cravings in no time. Whether you’re enjoying it as a quick dessert after dinner or a late-night snack, this brownie is sure to become your new go-to treat.
Is A Brownie In A Mug As Good As A Regular Brownie?
Yes, a Brownie in a Mug is every chocolate lover’s dream come true. It’s warm, gooey, and rich in flavor, with the perfect fudgy texture you expect from a traditional brownie.
The best part? You only need one mug, a microwave, and a few basic ingredients to make it. No need for fancy equipment or long baking times!
Ingredients You’ll Need
- 1/4 cup All-Purpose Flour - Provides the structure and body of the brownie, helping it hold its shape while still staying soft.
- 2 tbsp Cocoa Powder - The main source of chocolate flavor, giving the brownie its rich, fudgy taste.
- 2 tbsp Sugar - Sweetens the brownie and balances the bitterness of the cocoa.
- 1/4 tsp Baking Powder - Acts as a leavening agent, giving the brownie a little lift so it isn’t too dense.
- Pinch of Salt - Enhances the flavors, especially the chocolate, and balances the sweetness.
- 1/4 cup Milk - Provides moisture to the batter, ensuring the brownie has a soft, cake-like texture instead of being dry.
- 2 tbsp Vegetable Oil - Adds richness and keeps the brownie moist and tender. Unlike butter, it creates a softer crumb.
- 1/4 tsp Vanilla Extract - Adds warmth and depth of flavor, complementing the cocoa and sugar.
How To Make A Brownie In A Mug
- Mix the Dry Ingredients . In a microwave-safe mug, whisk together 1/4 cup flour, 2 tbsp cocoa powder, 2 tbsp sugar, 1/4 tsp baking powder, and a pinch of salt.
- Add Wet Ingredients . Stir in 1/4 cup milk, 2 tbsp vegetable oil, and 1/4 tsp vanilla extract until smooth. Be sure to mix all the ingredients thoroughly, scraping the bottom and sides of the mug.
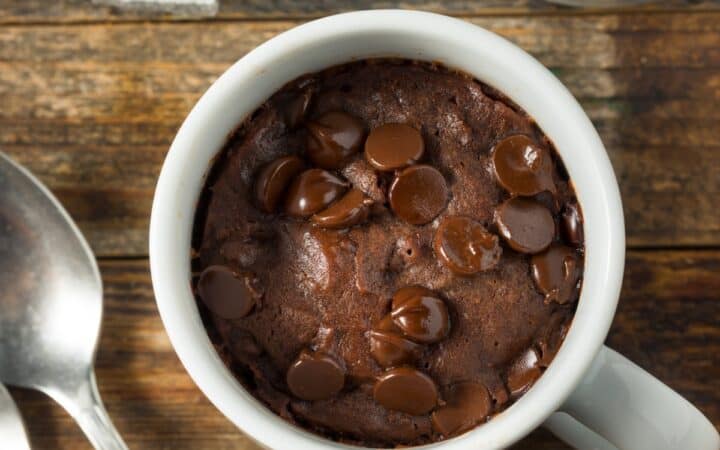
- Microwave . Place the mug in the microwave and cook on high for 1 minute to 1 minute 15 seconds. The brownie should rise and be set on top but still moist in the center.
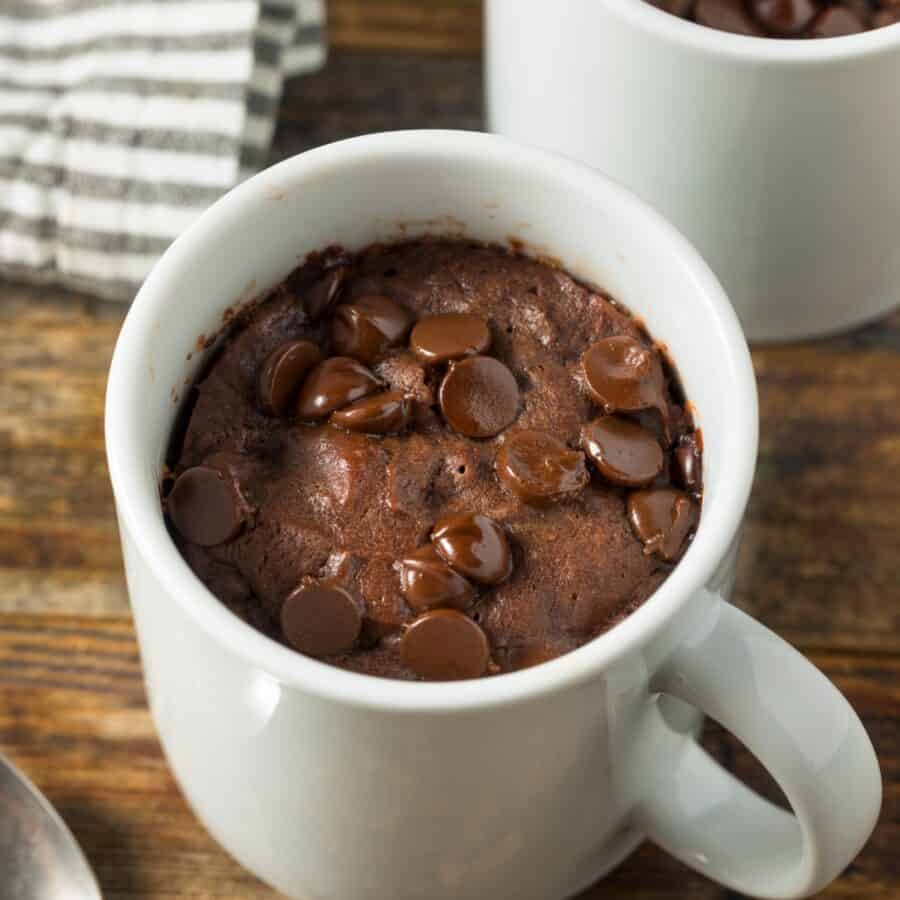
- Add Toppings . For an extra treat, sprinkle chocolate chips on top or add a scoop of vanilla ice cream. Enjoy your brownie straight out of the mug while it’s still warm!
Tips And Tricks
Making a Brownie in a Mug is super simple, but a few tricks can help you get the best results every time:
- Don’t overcook . Microwave times vary, so start with 1 minute and check the brownie. It’s better to undercook slightly to maintain that gooey, fudgy texture.
- Mix thoroughly . Be sure to mix the batter well to avoid any pockets of dry ingredients.
- Use a large mug . Make sure your mug is big enough (at least 12 oz) to prevent the batter from overflowing as it rises.
Variations
If you want to switch things up, here are a few fun and delicious variations you can try:
- Peanut Butter - Swirl a spoonful of peanut butter into the batter before microwaving for a nutty twist.
- Mint Chocolate - Add a drop of peppermint extract and some crushed peppermint candies for a refreshing, minty flavor.
- Nutty Brownie - Stir in chopped nuts like walnuts or pecans for added texture and flavor.
- S’mores Brownie - Top with mini marshmallows and graham cracker crumbs after microwaving for a gooey, campfire-inspired treat.
What To Enjoy With A Brownie In A Mug
While this Brownie in a Mug is delicious on its own, you can take it to the next level by pairing it with:
- Vanilla Ice Cream - The warm brownie and cold ice cream combination is irresistible!
- Whipped Cream - Add a dollop for an extra creamy finish.
- Fresh Berries - A handful of strawberries or raspberries adds a fresh, fruity contrast to the rich brownie.
How Long Do They Last?
While this brownie is best enjoyed fresh and warm from the microwave, you can store any leftovers (if there are any!) for up to 1 day at room temperature.
However, it’s so quick to make that we recommend whipping up a fresh one each time you crave a brownie!
Can You Freeze Them?
Mug brownies are designed to be quick and easy, so they’re not typically frozen. If you do have leftovers or want to prepare a batch ahead of time, you can freeze the mixed, uncooked batter in a freezer-safe container.
When you’re ready, microwave straight from frozen, adding 30-45 seconds to the cooking time.
For the best mug size for a brownie in a mug, use a microwave-safe 12–16 oz mug. It gives enough headspace to prevent a mug brownie overflow while still cooking evenly into a fudgy mug brownie with a gooey center. Avoid small 8–10 oz mugs because the batter can rise quickly and spill, especially with baking powder or vigorous mixing. As a rule, don’t fill the mug more than halfway, and if your microwave runs hot, cook in 30-second bursts so the edges don’t overcook while the center sets.
A mug brownie turns rubbery almost always because it’s overcooked. Microwaves cook fast, and even an extra 10–15 seconds can push a microwave brownie in a mug from fudgy to chewy and tough (plus it keeps cooking from residual heat). It can also happen if you used a too-small mug (causing uneven cooking), overmixed the batter, or added too much flour relative to moisture.
A brownie in a mug usually turns dry because it’s overcooked (microwave wattage varies a lot), or because the batter has too many dry ingredients. Using a smaller mug can also make a microwave mug brownie cook unevenly, so the edges dry out before the center sets. For a more fudgy mug brownie, use a 12–16 oz microwave-safe mug, measure dry ingredients carefully, add a splash more milk or a teaspoon of oil if the batter looks thick, and microwave in 30-second bursts, stopping when the center is still a little soft. Resting for a minute gives you a gooey middle without drying it out.
For a fudgy brownie in a mug, use a 12–16 oz mug, mix just until combined, and microwave in 30-second bursts based on your wattage, stopping when the edges look set but the center is still slightly glossy. Letting it rest for 1 minute finishes the cooking without turning it rubbery.
More Of Our Best Brownie Recipes
- Edible Brownie Batter
- Brownie Mix Cookies
- Brownie Ice Cream
- Lunch Lady Brownies
- Air Fryer Brownies
Brownie In A Mug | Microwave Mug Brownie Recipe
Ingredients
- ▢ 1/4 cup All Purpose Flour
- ▢ 2 tbsp Cocoa Powder
- ▢ 2 tbsp Sugar
- ▢ 1/4 tsp Baking Powder
- ▢ Salt , a pinch to taste
- ▢ 1/4 cup Milk
- ▢ 2 tbsp Vegetable Oil
- ▢ 1/4 tsp Vanilla Extract
Instructions
- Mix the Dry Ingredients . In a microwave-safe mug, whisk together 1/4 cup flour, 2 tbsp cocoa powder, 2 tbsp sugar, 1/4 tsp baking powder, and a pinch of salt.
- Add Wet Ingredients . Stir in 1/4 cup milk, 2 tbsp vegetable oil, and 1/4 tsp vanilla extract until smooth. Be sure to mix all the ingredients thoroughly, scraping the bottom and sides of the mug.
- Microwave . Place the mug in the microwave and cook on high for 1 minute to 1 minute 15 seconds. The brownie should rise and be set on top but still moist in the center.
- Add Toppings . For an extra treat, sprinkle chocolate chips on top or add a scoop of vanilla ice cream. Enjoy your brownie straight out of the mug while it’s still warm!
Get support & connect with our community on Facebook!
Nutrition

If you already signed up, you should have received an email with a password to give you unlimited access to our FREE Printable Library. The password is case sensitive. Enter it below and get printing!
Password:
Brownie In A Mug | Microwave Mug Brownie Recipe
Ingredients
- 1/4 cup All Purpose Flour
- 2 tbsp Cocoa Powder
- 2 tbsp Sugar
- 1/4 tsp Baking Powder
- Salt a pinch to taste
- 1/4 cup Milk
- 2 tbsp Vegetable Oil
- 1/4 tsp Vanilla Extract
Instructions
- Mix the Dry Ingredients . In a microwave-safe mug, whisk together 1/4 cup flour, 2 tbsp cocoa powder, 2 tbsp sugar, 1/4 tsp baking powder, and a pinch of salt.
- Add Wet Ingredients . Stir in 1/4 cup milk, 2 tbsp vegetable oil, and 1/4 tsp vanilla extract until smooth. Be sure to mix all the ingredients thoroughly, scraping the bottom and sides of the mug.
- Microwave . Place the mug in the microwave and cook on high for 1 minute to 1 minute 15 seconds. The brownie should rise and be set on top but still moist in the center.
- Add Toppings . For an extra treat, sprinkle chocolate chips on top or add a scoop of vanilla ice cream. Enjoy your brownie straight out of the mug while it’s still warm!
Brownie In A Mug | Microwave Mug Brownie Recipe https://twosleevers.com/brownie-in-a-mug/

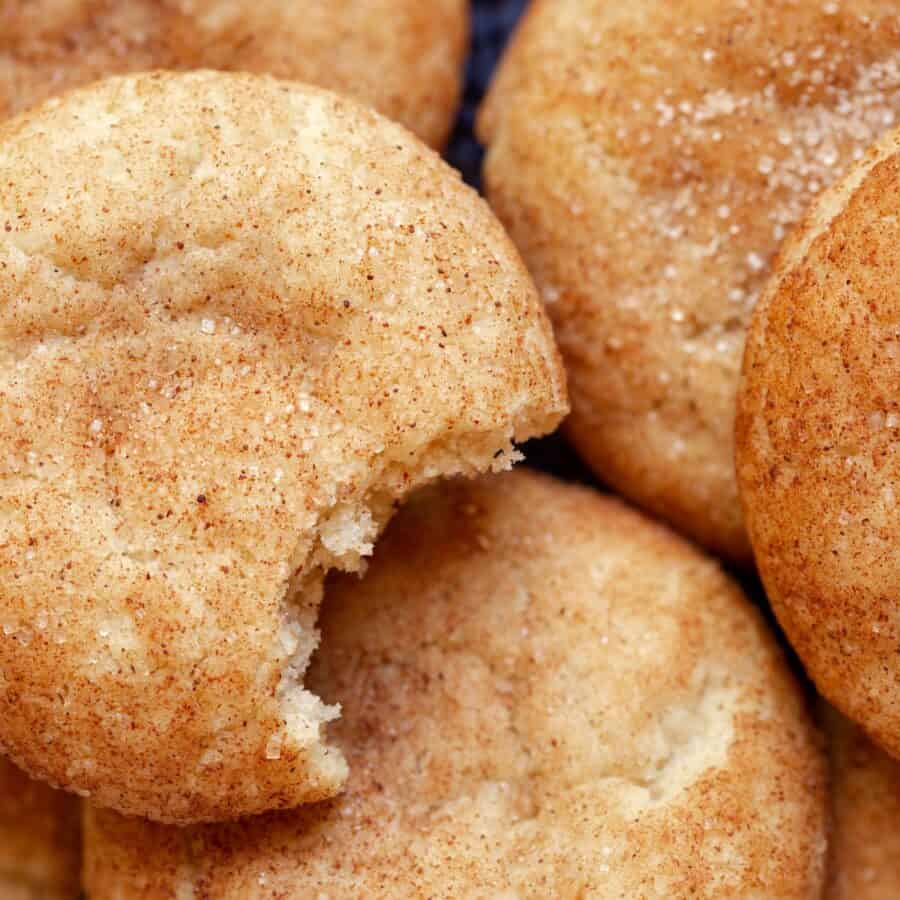
Fall baking just got even better with these Pumpkin Snickerdoodle Cookies! Imagine the classic, buttery snickerdoodle cookie but infused with rich pumpkin flavor and warm spices like cinnamon and nutmeg. These cookies are soft, chewy, and coated in a delicious cinnamon-sugar mix for a perfect autumn treat.
Why You’ll Love This DeliciousDessert
- Soft and Chewy. These pumpkin snickerdoodles are perfectly soft with just the right amount of chewiness.
- Packed with Fall Flavor. The combination of pumpkin puree and warm spices creates the ultimate fall cookie.
- Easy to Make. With simple pantry ingredients, you’ll have these cookies prepped in no time.
- Perfect for Any Occasion. Whether it’s a casual snack or a holiday treat, these cookies are a seasonal hit.
Whether you’re cozying up with a book or baking for a fall gathering, these cookies are sure to satisfy every pumpkin lover’s cravings.
What Do Pumpkin Snickerdoodle Cookies Taste Like?
These Pumpkin Snickerdoodle Cookies take everything you love about traditional snickerdoodles and give them an autumn twist.
The pumpkin puree adds extra moisture, making the cookies softer, while the spices bring a warm and cozy flavor to each bite. Plus, the cinnamon-sugar coating gives the cookies that classic snickerdoodle crunch.
Ingredients You’ll Need
- All-Purpose Flour – Forms the structure of the cookie dough.
- Baking Soda – Helps the cookies rise and stay soft.
- Cream of Tartar – Gives snickerdoodles their signature tangy flavor.
- Ground Cinnamon & Nutmeg – The perfect spices for adding warmth and depth to the cookies.
- Salt – Enhances all the flavors.
- Unsalted Butter – Provides richness and moisture to the cookies.
- Granulated Sugar & Brown Sugar – Adds sweetness and a slight caramel flavor.
- Pumpkin Puree – Adds moisture and that rich pumpkin flavor.
- Egg – Binds the ingredients together and contributes to the cookies’ texture.
- Vanilla Extract – Adds a sweet, aromatic note.
- Cinnamon Sugar – For rolling the cookies, giving them that iconic snickerdoodle look and taste.
How To Make Pumpkin Snickerdoodle Cookies
- Preheat the Oven and Prepare the Baking Sheets. Preheat your oven to 350°F and line two baking sheets with parchment paper or silicone baking mats.
- Whisk Dry Ingredients. In a medium bowl, whisk together the flour, baking soda, cream of tartar, cinnamon, nutmeg, and salt. Set aside.
- Cream the Butter and Sugars. In a large mixing bowl, beat the softened butter with the granulated sugar and brown sugar until light and fluffy, about 2-3 minutes.
- Add Wet Ingredients. Add the pumpkin puree, egg, and vanilla extract to the butter-sugar mixture and mix until combined.
- Combine Wet and Dry Ingredients. Gradually add the dry ingredients to the wet ingredients, mixing until just combined. Be careful not to overmix, as this can result in tougher cookies.
- Roll in Cinnamon Sugar. In a small bowl, mix together the cinnamon and sugar for rolling. Scoop out about 1.5 tablespoons of cookie dough, roll it into a ball, and coat it in the cinnamon-sugar mixture.
- Bake the Cookies. Place the coated cookie dough balls onto the prepared baking sheets, spacing them about 2 inches apart. Bake for 10-12 minutes, or until the edges are set and the tops are slightly cracked.
- Cool and Enjoy. Allow the cookies to cool on the baking sheet for 5 minutes before transferring them to a wire rack to cool completely. Serve and enjoy!
Tips And Tricks
For the perfect Pumpkin Snickerdoodle Cookies, follow these tips:
- Use Room Temperature Butter. Softened butter ensures your dough comes together smoothly.
- Don’t Overmix the Dough. Once the dry ingredients are added, mix just until combined to avoid tough cookies.
- Chill the Dough (Optional). If your dough is too sticky, chilling it for 30 minutes before rolling can make it easier to work with.
- Fresh Spices. Make sure your spices are fresh for the best flavor. Ground spices lose their potency over time.
- Roll Thoroughly in Cinnamon Sugar. Be generous when coating your dough balls in the cinnamon-sugar mixture for maximum flavor.
Variations
Looking to switch things up with your Pumpkin Snickerdoodle Cookies? Here are a few tasty variations:
- Pumpkin Chocolate Chip – Add 1 cup of semi-sweet chocolate chips to the dough for a chocolatey twist.
- Pecan – Fold in ¾ cup of chopped pecans for a nutty crunch.
- Maple Glazed – Drizzle a maple glaze over the cooled cookies for an extra layer of sweetness.
What To Enjoy With Pumpkin Snickerdoodle Cookies
These warm, spiced cookies pair perfectly with:
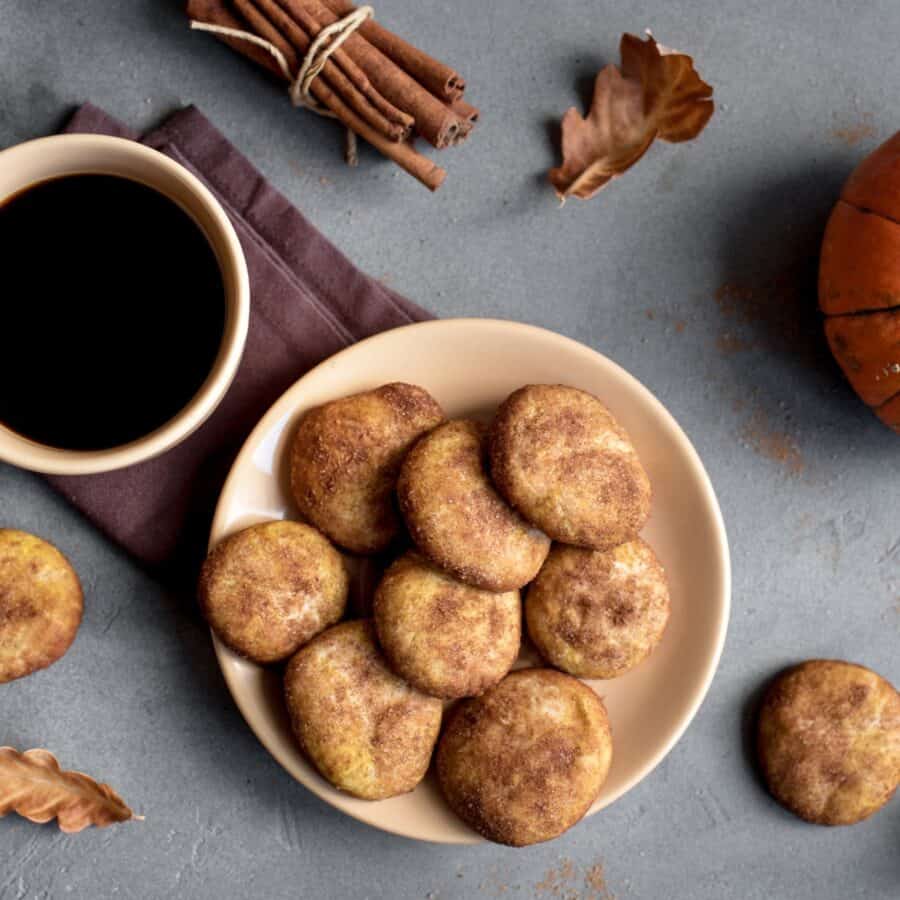
- Hot Beverages - A hot cup of coffee, tea, or spiced cider complements the cozy flavors of the cookies.
- Vanilla Ice Cream - For a fall-themed dessert, serve the cookies alongside a scoop of vanilla ice cream.
- Whipped Cream - Add a dollop of whipped cream on the side for an extra indulgent treat.
You can even add these cookies to your holiday cookie box with some of our other Best Cookie Recipes . They make a perfect holiday pairing with Pumpkin Oatmeal Cookies , Peppermint Chocolate Chip Cookies , and Soft Sugar Cookies .
How Long Do They Last?
Store your Pumpkin Snickerdoodle Cookies in an airtight container at room temperature for up to 5 days. They’ll stay soft and chewy for days, but they’re so delicious, they probably won’t last that long!
Can You Freeze Them?
Yes! You can freeze the cookie dough or baked cookies:
- To Freeze Dough: Roll the dough into balls and freeze them on a baking sheet. Once frozen, transfer them to a freezer-safe bag. When ready to bake, roll in cinnamon sugar and bake as directed (you may need to add 1-2 minutes to the bake time).
- To Freeze Baked Cookies: Allow the cookies to cool completely, then place them in a freezer-safe container. They can be frozen for up to 3 months. Thaw at room temperature before serving.
More Perfect Pumpkin Recipes
- Pumpkin Butter
- Pumpkin Oatmeal Cookies
- Low Carb Pumpkin Bars
- Pumpkin Mac and Cheese
- Keto Pumpkin Pie


Pumpkin Snickerdoodle Cookies | Pumpkin Spice Cookie Recipe
Ingredients
For The Cookies
- ▢ 3 1/4 cups All Purpose Flour
- ▢ 1 tsp Baking Soda
- ▢ 1 tsp Cream of Tartar
- ▢ 1 1/2 tsp Ground Cinnamon
- ▢ 1/2 tsp Ground Nutmeg
- ▢ 1/2 tsp Kosher Salt
- ▢ 1 cup Unsalted Butter , softened
- ▢ 3/4 cup Granulated Sugar
- ▢ 3/4 cup Brown Sugar
- ▢ 2/3 cup Pumpkin Puree
- ▢ 1 Egg
- ▢ 2 tsp Vanilla Extract
For Rolling
- ▢ 1/4 cup Granulated Sugar
- ▢ 1 tbsp Ground Cinnamon
Instructions
- Preheat the Oven and Prepare the Baking Sheets. Preheat your oven to 350°F and line two baking sheets with parchment paper or silicone baking mats.
- Whisk Dry Ingredients. In a medium bowl, whisk together the flour, baking soda, cream of tartar, cinnamon, nutmeg, and salt. Set aside.
- Cream the Butter and Sugars. In a large mixing bowl, beat the softened butter with the granulated sugar and brown sugar until light and fluffy, about 2-3 minutes.
- Add Wet Ingredients. Add the pumpkin puree, egg, and vanilla extract to the butter-sugar mixture and mix until combined.
- Combine Wet and Dry Ingredients. Gradually add the dry ingredients to the wet ingredients, mixing until just combined. Be careful not to overmix, as this can result in tougher cookies.
- Roll in Cinnamon Sugar. In a small bowl, mix together the cinnamon and sugar for rolling. Scoop out about 1.5 tablespoons of cookie dough, roll it into a ball, and coat it in the cinnamon-sugar mixture.
- Bake the Cookies. Place the coated cookie dough balls onto the prepared baking sheets, spacing them about 2 inches apart. Bake for 10-12 minutes, or until the edges are set and the tops are slightly cracked.
- Cool and Enjoy. Allow the cookies to cool on the baking sheet for 5 minutes before transferring them to a wire rack to cool completely. Serve and enjoy!
