
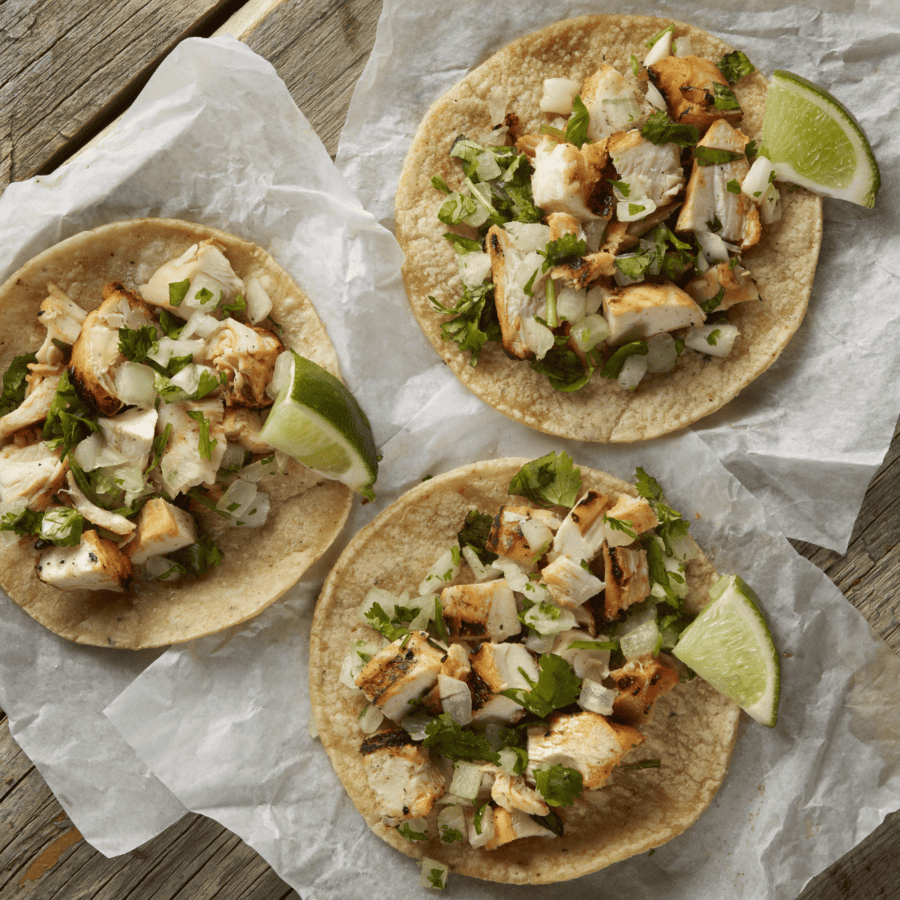
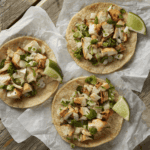
If you’re on the hunt for a fun and flavorful twist on traditional tacos, our Baked Chicken Tacos recipe is just what you need. It’s a fantastic way to elevate your taco night and impress your family and friends with a delightful baked twist on this beloved Mexican dish.
Why You’ll Love These Baked Chicken Tacos
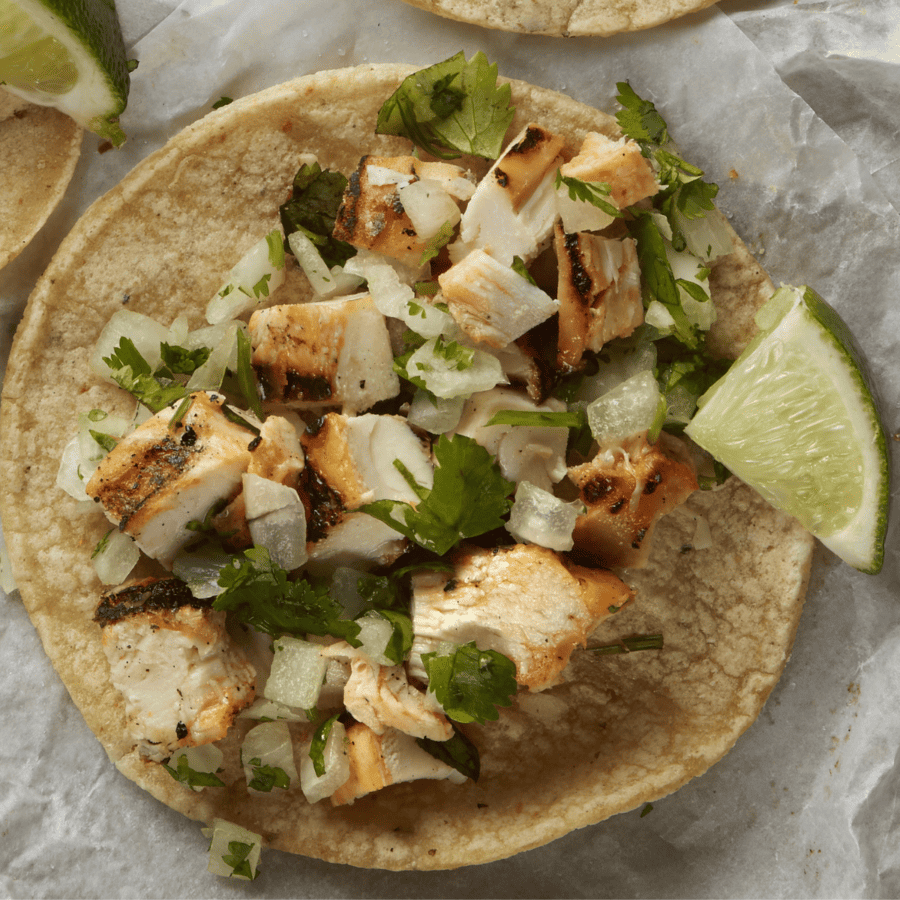
- Irresistible Flavor . Our Baked Chicken Tacos offer a mouthwatering blend of tender, seasoned chicken and melted cheese, all wrapped up in a crispy taco shell. The combination of flavors and textures is sure to satisfy your taste buds.
- Easy to Prepare . Don’t be fooled by the gourmet taste; these tacos are incredibly easy to make. With a few simple steps, you can have a delicious main course on the table in no time.
- Customizable . One of the best things about this chicken recipe is its versatility. You can customize your toppings to suit your preferences. Whether you’re a fan of fresh salsa, guacamole, or sour cream, these baked chicken tacos provide a perfect canvas for your favorite toppings.
Ingredients You’ll Need
For the Chicken Filling
- Cooked Chicken Breast- The cooked chicken breast serves as the main protein for the taco filling. It’s typically chopped or shredded and mixed with seasonings and salsa to create a flavorful and tender chicken mixture.
- Shredded Cheese - Oaxaca cheese is used to add a creamy and cheesy element to the chicken filling. When baked, it melts and combines with the other ingredients, creating a gooey and flavorful filling.
- Chili Powder - Adds a warm and slightly spicy flavor to the chicken filling. It contributes to the overall Tex-Mex flavor profile of the dish.
- Cumin- A key spice in many Mexican and Tex-Mex dishes. It adds a smoky and earthy flavor to the chicken mixture, enhancing its complexity.
- Garlic Powder- Provides a subtle garlic flavor, enhancing the overall taste of the chicken filling. It pairs well with the other spices and seasonings.
- Salt and Pepper- Used to season the chicken filling to taste. These seasonings help bring out the flavors of the other ingredients and provide a balanced taste.
For the Taco Shells
- Taco Shells- Taco shells serve as the vessel to hold the chicken filling. You can use either hard taco shells, which provide a crunchy texture, or soft taco shells, which offer a more pliable and foldable option, depending on your preference.
- Cooking Spray - Cooking spray is used to lightly coat the taco shells before baking. This helps them become crispy and golden brown in the oven .
Optional Toppings
- Sliced Jalapeños- A spicy topping option for those who enjoy extra heat and flavor in their tacos.
- Diced Tomatoes- Add freshness and a juicy element to the tacos. They provide a contrast to the warm and savory chicken filling.
- Chopped Cilantro - A vibrant and aromatic herb that adds a burst of freshness and a hint of citrus flavor to the tacos.
- Diced Onions - Diced onions can be either raw or sautéed. They add a crisp and slightly pungent flavor to the tacos.
- Sour Cream- Provides creaminess and a cooling effect, balancing out the spiciness of the chicken filling.
- Guacamole - A creamy avocado-based topping that adds richness and a buttery texture to the tacos.
- Salsa - Additional salsa can be used as a topping for extra flavor and moisture. You can choose a salsa with your preferred level of spiciness.
- Lime Wedges- Used to squeeze fresh lime juice over the tacos, adding a tangy and citrusy element that brightens up the flavors.
How To Make Baked Chicken Tacos
- Preheat the Oven . Begin by preheating your oven to 375°F. This will ensure that your baked chicken tacos cook evenly and turn out perfectly crispy.
- Prepare the Chicken Filling . Next, in a mixing bowl, combine the cooked chicken, shredded cheese, chili powder, cumin, garlic powder, salt, and pepper. Mix everything together until it’s well combined. This flavorful chicken mixture will be the star of your tacos.
- Fill the Taco Shells . Now it’s time to fill your taco shells. If you’re using corn shells, place them in a baking dish and lightly spray them with cooking spray. If you prefer soft taco shells, you can use a muffin tin to hold them upright. Fill each taco shell with the prepared chicken filling mixture. Be generous, as the cheesy, chicken goodness is the heart of these baked chicken tacos.
- Bake . Once your taco shells are filled, pop them into the preheated oven. Bake for approximately 10-12 minutes, or until the taco shells are crispy and the cheese is wonderfully melted.
- Add Toppings . Then, remove your baked chicken tacos from the oven, and now comes the fun part—adding your favorite toppings. Whether you’re a fan of spicy jalapeños, cool sour cream, or zesty salsa, customize your tacos to your heart’s content.
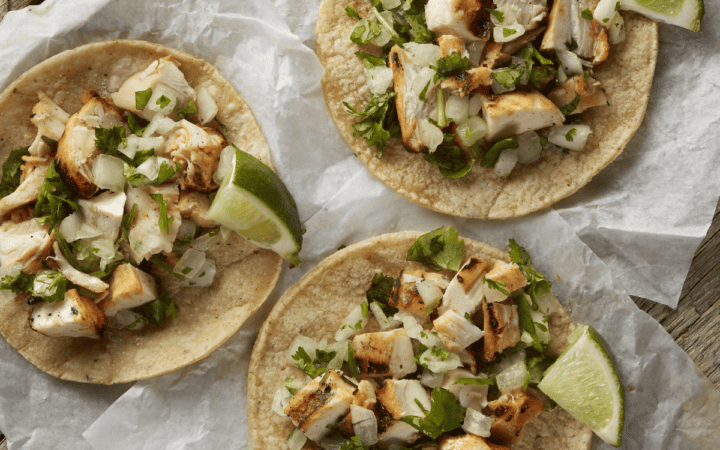
- Serve and Enjoy! Finally, plate your baked chicken tacos, squeeze some fresh lime juice over them for a burst of citrusy flavor, and get ready to indulge in a delightful Mexican-inspired meal. Don’t forget to have extra napkins on hand; these tacos can get a little messy, but that’s part of the fun!
Tips And Tricks
Here are some tips and tricks for making delicious baked chicken tacos:
- Use Cooked Chicken . To save time, use pre-cooked chicken. Rotisserie chicken works great, but you can also use leftover grilled or roasted chicken.
- Shred the Chicken . Shredding the chicken ensures that it mixes well with the other taco ingredients and is easy to distribute evenly in the taco shells.
- Salsa Selection . Choose a salsa that matches your preferred level of spiciness. Mild, medium, or hot salsa can be used, depending on your taste.
- Season Well . Season the shredded chicken with spices like chili powder, cumin, garlic powder, salt, and pepper. This step adds flavor to the chicken filling.
Variations
Baked chicken tacos are versatile, and you can customize them with various ingredients and flavors to suit your preferences. Here are some delicious variations to consider:
- Spicy Chicken Tacos - Increase the heat by adding diced jalapeños or hot sauce to the chicken filling. Top with sliced fresh or pickled jalapeños for an extra kick.
- Tex-Mex Style Tacos - Enhance the Tex-Mex flavors by incorporating ingredients like black beans, corn kernels, and diced bell peppers into the chicken mixture. Use a blend of Tex-Mex or Mexican cheeses for added richness.
- BBQ Chicken Tacos - Toss the shredded chicken with your favorite BBQ sauce for a tangy and smoky flavor. Top with coleslaw or pickles for a BBQ-inspired twist.
- Buffalo Chicken Tacos - Mix the chicken with buffalo sauce for a spicy and tangy filling. Drizzle with blue cheese dressing and top with crumbled blue cheese for that classic buffalo wing flavor.
What To Serve With Baked Chicken Tacos
Baked chicken tacos are a delicious and satisfying meal on their own, but you can enhance your taco dinner by serving them with a variety of complementary side dishes. Here are some tasty options to consider:
- Mexican Rice - A side of Mexican rice, also known as Spanish rice, is a classic accompaniment to tacos. It’s flavorful and pairs well with the chicken filling.
- Refried Beans - Refried beans, whether homemade or canned, make a hearty and traditional side dish for tacos. They can be served as a dip or as a side.
- Guacamole - Fresh guacamole is a creamy and flavorful side that adds richness to your taco meal. It’s perfect for dipping your tacos or spreading on top.
- Salsa and Chips - Offer a variety of salsas, such as pico de gallo, salsa verde, or a fruit salsa, along with tortilla chips for a crunchy and tangy side option.
- Mexican Street Corn - Grilled or roasted Mexican street corn is a delightful side dish. It’s typically coated with mayonnaise, cheese, and chili powder for a unique flavor.
How Long Do They Last?
If you have any leftover baked chicken tacos, store them in an airtight container in the refrigerator for up to two days. When reheating, use an oven or toaster oven to help restore the crispy texture of the taco shells.
Can You Freeze Them?
Yes, you can freeze baked chicken tacos for later consumption. Freezing them can be a convenient way to have a quick and tasty meal on hand.
Baked chicken tacos can typically be stored in the freezer for up to 2-3 months without significant loss of quality.
More Of OurBest Taco Recipes
- Keto Taco Casserole
- Taco Dip
- Tacos de Alambre
- Breakfast Tacos
- Chipotle Steak Tacos
- Korean Beef Tacos
- Chicken Street Tacos
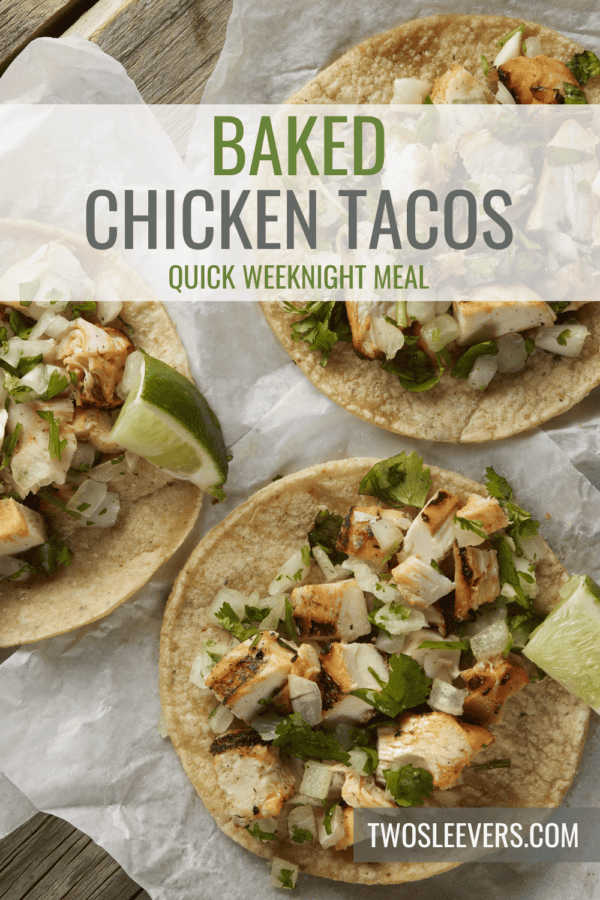
Baked Chicken Tacos | Easy Taco Tuesday Solution
Ingredients
- ▢ 4 cups Cooked Chicken , diced
- ▢ 2 cups Oaxaca Cheese , shredded
- ▢ 1 tsp Chili Powder
- ▢ 1 tsp Cumin
- ▢ 1 tbsp Garlic Powder
- ▢ 1 tsp Kosher Salt
- ▢ 1/2 tsp Ground Black Pepper
- ▢ 1 cup Onion , diced
- ▢ 1/4 cup Cilantro , chopped, for garnish
- ▢ Lime , for garnish
- ▢ 8 corn tortillas
Instructions
- Preheat the Oven . Begin by preheating your oven to 375°F. This will ensure that your baked chicken tacos cook evenly and turn out perfectly crispy.
- Prepare the Chicken Filling . Next, in a mixing bowl, combine the cooked chicken, shredded cheese, chili powder, cumin, garlic powder, salt, and pepper. Mix everything together until it’s well combined. This flavorful chicken mixture will be the star of your tacos.
- Fill the Taco Shells . Now it’s time to fill your taco shells. If you’re using corn shells, place them in a baking dish and lightly spray them with cooking spray. If you prefer soft taco shells, you can use a muffin tin to hold them upright. Fill each taco shell with the prepared chicken filling mixture. Be generous, as the cheesy, chicken goodness is the heart of these baked chicken tacos.
- Bake . Once your taco shells are filled, pop them into the preheated oven. Bake for approximately 10-12 minutes, or until the taco shells are crispy and the cheese is wonderfully melted.
- Add Toppings . Then, remove your baked chicken tacos from the oven, and now comes the fun part—adding your favorite toppings. Whether you’re a fan of spicy jalapeños, cool sour cream, or zesty salsa, customize your tacos to your heart’s content.
- Serve and Enjoy! Finally, plate your baked chicken tacos, squeeze some fresh lime juice over them for a burst of citrusy flavor, and get ready to indulge in a delightful Mexican-inspired meal. Don’t forget to have extra napkins on hand; these tacos can get a little messy, but that’s part of the fun!
Get support & connect with our community on Facebook!
Nutrition

If you already signed up, you should have received an email with a password to give you unlimited access to our FREE Printable Library. The password is case sensitive. Enter it below and get printing!
Password:
Baked Chicken Tacos | Easy Taco Tuesday Solution
Ingredients
- 4 cups Cooked Chicken diced
- 2 cups Oaxaca Cheese shredded
- 1 tsp Chili Powder
- 1 tsp Cumin
- 1 tbsp Garlic Powder
- 1 tsp Kosher Salt
- 1/2 tsp Ground Black Pepper
- 1 cup Onion diced
- 1/4 cup Cilantro chopped, for garnish
- Lime for garnish
- 8 corn tortillas
Instructions
- Preheat the Oven . Begin by preheating your oven to 375°F. This will ensure that your baked chicken tacos cook evenly and turn out perfectly crispy.
- Prepare the Chicken Filling . Next, in a mixing bowl, combine the cooked chicken, shredded cheese, chili powder, cumin, garlic powder, salt, and pepper. Mix everything together until it’s well combined. This flavorful chicken mixture will be the star of your tacos.
- Fill the Taco Shells . Now it’s time to fill your taco shells. If you’re using corn shells, place them in a baking dish and lightly spray them with cooking spray. If you prefer soft taco shells, you can use a muffin tin to hold them upright. Fill each taco shell with the prepared chicken filling mixture. Be generous, as the cheesy, chicken goodness is the heart of these baked chicken tacos.
- Bake . Once your taco shells are filled, pop them into the preheated oven. Bake for approximately 10-12 minutes, or until the taco shells are crispy and the cheese is wonderfully melted.
- Add Toppings . Then, remove your baked chicken tacos from the oven, and now comes the fun part—adding your favorite toppings. Whether you’re a fan of spicy jalapeños, cool sour cream, or zesty salsa, customize your tacos to your heart’s content.
- Serve and Enjoy! Finally, plate your baked chicken tacos, squeeze some fresh lime juice over them for a burst of citrusy flavor, and get ready to indulge in a delightful Mexican-inspired meal. Don’t forget to have extra napkins on hand; these tacos can get a little messy, but that’s part of the fun!
Baked Chicken Tacos | Easy Taco Tuesday Solution https://twosleevers.com/baked-chicken-tacos/

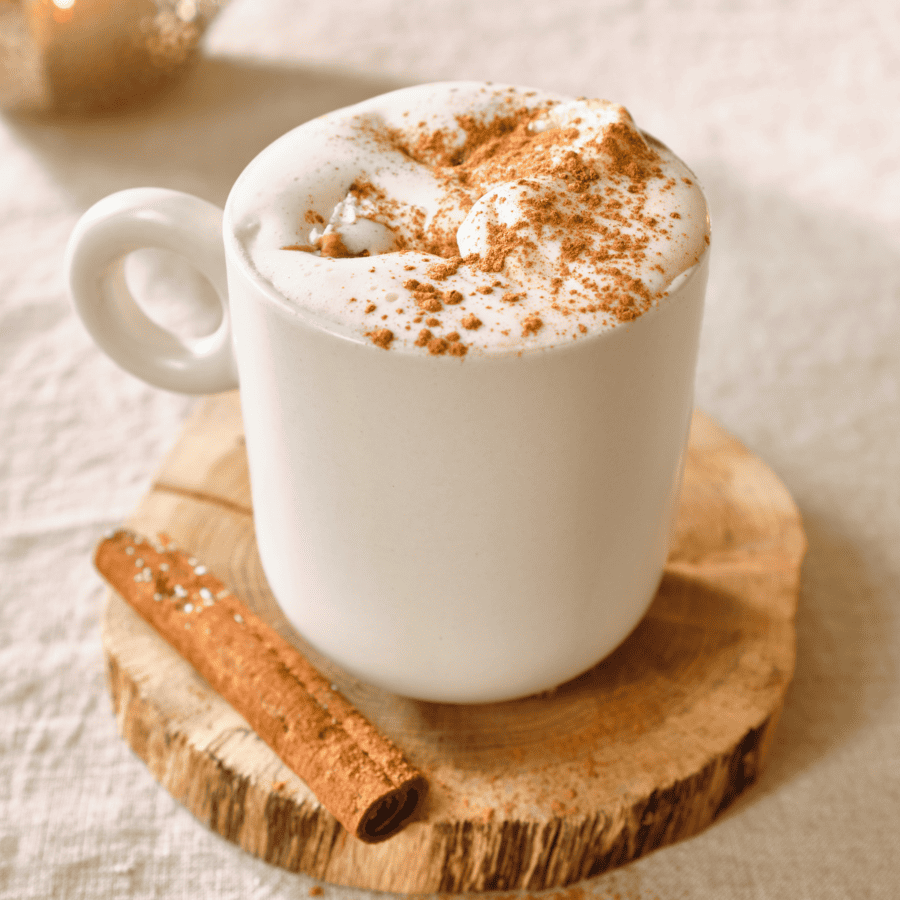
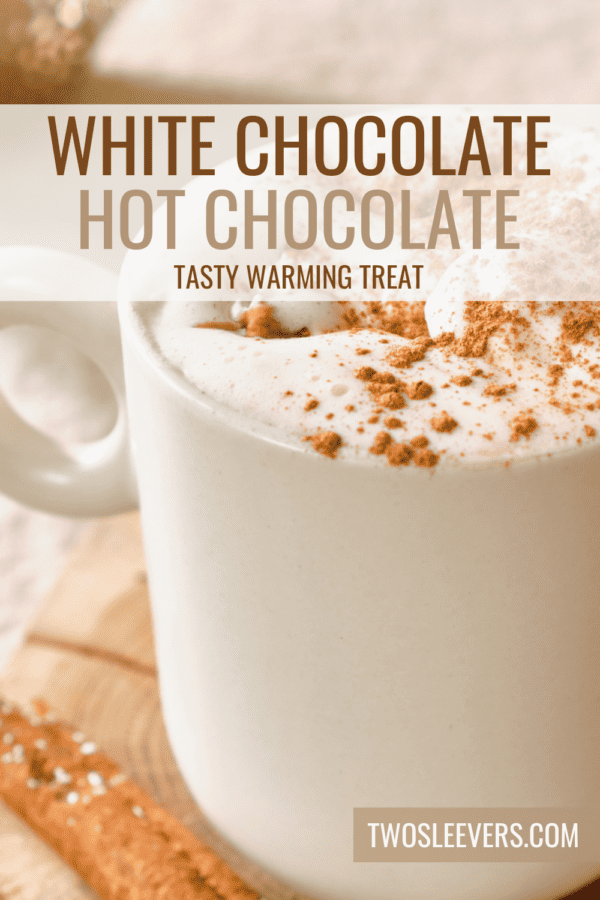
Embrace the winter chill with a comforting mug of our White Hot Chocolate. This dreamy winter treat is a delightful twist on the classic hot cocoa, featuring creamy white chocolate and a touch of vanilla. It’s the perfect beverage to warm you up on a frosty day.
Why You’ll Love This Way To Warm Up
- Decadent Flavor . White chocolate brings a rich and indulgent flavor that’s both sweet and creamy, making this hot chocolate a true winter luxury.
- Quick and Easy . Whip up a batch in no time with simple ingredients you probably already have on hand. Perfect for sipping by the fireplace or sharing with loved ones.
- Customizable. Top your white hot chocolate with whipped cream, marshmallows, or a drizzle of caramel for an extra touch of decadence.
Whether you’re looking for a cozy evening treat or a delightful beverage to serve at a winter gathering, this White Hot Chocolate recipe is a delightful choice.
Does Starbucks Make A White Chocolate Hot Chocolate?
Starbucks has offered this tasty drink in the past. Their menu can vary by location and may change seasonally, so it’s best to check with your local Starbucks or visit their official website or app to see if they currently offer White Hot Chocolate. If it’s available, it’s typically offered during the winter months as a seasonal treat.
Why worry if they have it available when you can make this tasty version at home any time of the year?
What Does White Chocolate Hot Cocoa Taste Like?
White chocolate hot cocoa has a creamy and sweet flavor with notes of vanilla. It tastes distinctly different from traditional hot cocoa or dark chocolate hot cocoa because it’s made with white chocolate, which contains cocoa butter, sugar, and milk solids but lacks cocoa solids. This gives it a rich, milky, and sweet taste with a pronounced vanilla undertone.
What Is White Hot Chocolate Made Of?
- Whole Milk - Whole milk serves as the base liquid. It provides a creamy and rich texture, making your hot chocolate smooth and satisfying.
- White chocolate- White chocolate is the star of this beverage. It adds sweetness, creaminess, and a rich vanilla-like flavor to your hot chocolate. Chopping it finely allows it to melt easily into the milk, creating a smooth and velvety consistency.
- Pure Vanilla Extract - Vanilla extract is used to enhance the overall flavor. It adds a warm and sweet aroma, complementing the sweetness of the white chocolate.
- Salt - A pinch of salt is added to balance the sweetness. It helps to bring out the flavors and create a more well-rounded taste.
- Whipped Cream- Whipped cream is a delightful garnish that adds an extra layer of creaminess and sweetness. It also makes your drink visually appealing.
- White Chocolate Shavings- White chocolate shavings are both a garnish and a flavor enhancer. They provide a decorative touch to your hot chocolate while also adding extra bursts of white chocolate flavor as they melt into the warm beverage.
These ingredients work together to create a comforting and indulgent drink that’s perfect for warming up during the winter months.
How To Make White Hot Chocolate
- Heat the Milk . In a saucepan over medium heat, warm the whole milk until it’s hot but not boiling. Stir occasionally to prevent scorching.
- Add the White Chocolate . Once the milk is hot, reduce the heat to low and add the finely chopped chocolate to the saucepan. Stir continuously until the white chocolate is completely melted and the mixture is smooth.
- Season and Flavor . Stir in a pinch of salt and the pure vanilla extract. These ingredients enhance the flavor of the white chocolate and provide a well-rounded taste.
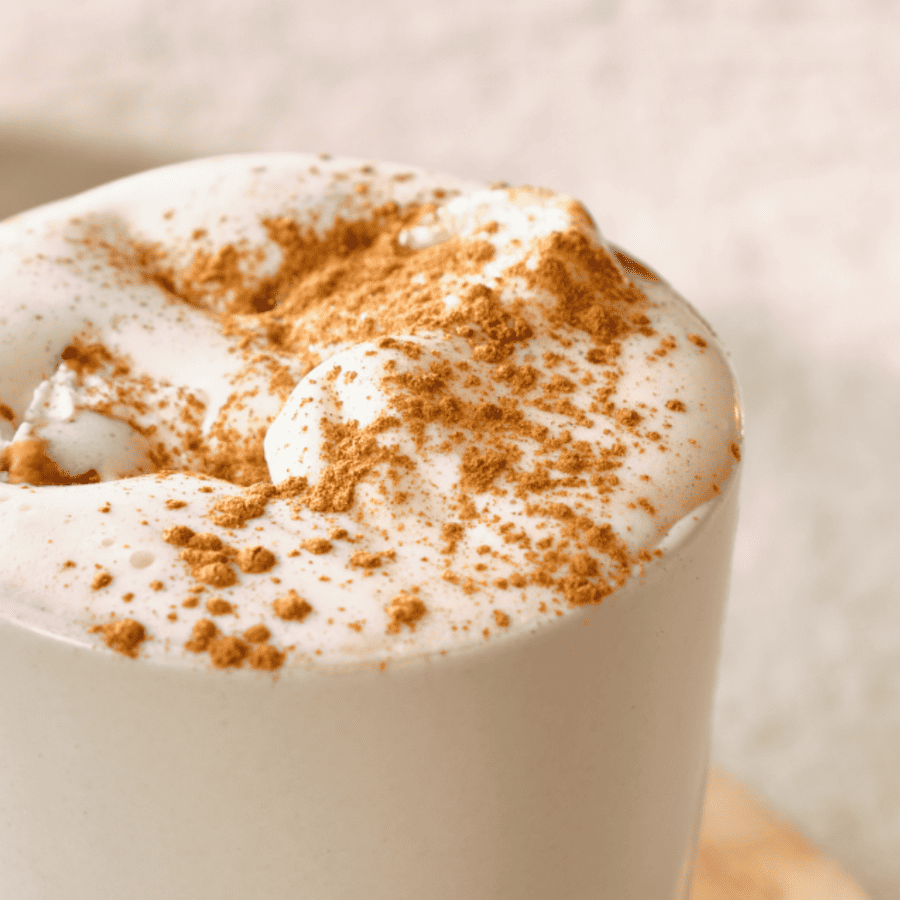
- Serve . Pour your creamy hot chocolate into mugs. Top each mug with a generous dollop of whipped cream and a sprinkling of white chocolate shavings.
- Enjoy . Sip it slowly and savor the comforting sweetness. Feel free to customize it with additional toppings like marshmallows or a drizzle of caramel if desired.
Tips And Tricks
Making delicious white hot chocolate can be a delightful experience. Here are some tips and tricks to help you achieve the best results:
- Choose High-Quality White Chocolate . Use high-quality white chocolate for the best flavor. Look for white chocolate with a cocoa butter content of at least 20% for a creamy texture and rich taste.
- Finely Chop the White Chocolate . Chop the chocolate finely to ensure it melts smoothly into the hot milk without clumping.
- Use Whole Milk . Whole milk adds creaminess and richness to your hot chocolate. It’s the best choice for a velvety texture, but you can use lower-fat milk if preferred.
- Gradually Heat the Milk . Heat the milk gently over medium-low heat, stirring constantly. Avoid boiling it, as this can scorch the milk and affect the taste.
Variations
White hot chocolate is a versatile and customizable beverage. Here are some delicious variations and flavor combinations to try:
- Peppermint - Add a few drops of peppermint extract or crushed candy canes for a refreshing and festive twist.
- Raspberry - Stir in raspberry syrup or pureed raspberries for a fruity and sweet flavor.
- Caramel - Drizzle caramel sauce into your hot chocolate for a rich, buttery sweetness.
What To Enjoy With White Hot Chocolate
White hot chocolate is a creamy and indulgent beverage that pairs wonderfully with a variety of sweet treats and snacks. Here are some delightful options to enjoy with it:
- Chocolate-Covered Pretzels - The combination of sweet and salty chocolate-covered pretzels is irresistible.
- Biscotti - Enjoy biscotti on the side for dipping into your hot chocolate. The crunchiness of the biscotti complements the creamy beverage.
- Shortbread Cookies - Savor some buttery shortbread cookies as a delightful accompaniment.
How Long Does It Last?
Homemade white hot chocolate can typically be stored for a short period in the refrigerator and reheated as needed.
Allow any leftovers to cool to room temperature before transferring it to an airtight container or a covered pitcher. Store it in the refrigerator for up to 2-3 days.
When you’re ready to enjoy it again, reheat it on the stovetop over low to medium heat or in the microwave in short intervals, stirring occasionally until it’s heated through. Be careful not to overheat, as it can scorch or separate.
More Delicious Drinks
- Pink Drink
- Horchata Recipe
- Lassi Recipe
- Hibiscus Tea
- Peppermint Mocha

White Hot Chocolate Recipe | White Chocolate Hot Chocolate
Ingredients
- ▢ 8 cups Whole Milk
- ▢ 12 oz White Chocolate
- ▢ 2 tsp Vanilla Extract
- ▢ 1/4 tsp Kosher Salt
- ▢ Whipped Cream , for garnish
- ▢ White Chocolate Shavings , for garnish
Instructions
- Heat the Milk . In a saucepan over medium heat, warm the whole milk until it’s hot but not boiling. Stir occasionally to prevent scorching.
- Add the White Chocolate . Once the milk is hot, reduce the heat to low and add the finely chopped chocolate to the saucepan. Stir continuously until the white chocolate is completely melted and the mixture is smooth.
- Season and Flavor . Stir in a pinch of salt and the pure vanilla extract. These ingredients enhance the flavor of the white chocolate and provide a well-rounded taste.
- Serve . Pour your creamy hot chocolate into mugs. Top each mug with a generous dollop of whipped cream and a sprinkling of white chocolate shavings.
- Enjoy . Sip it slowly and savor the comforting sweetness. Feel free to customize it with additional toppings like marshmallows or a drizzle of caramel if desired.
