
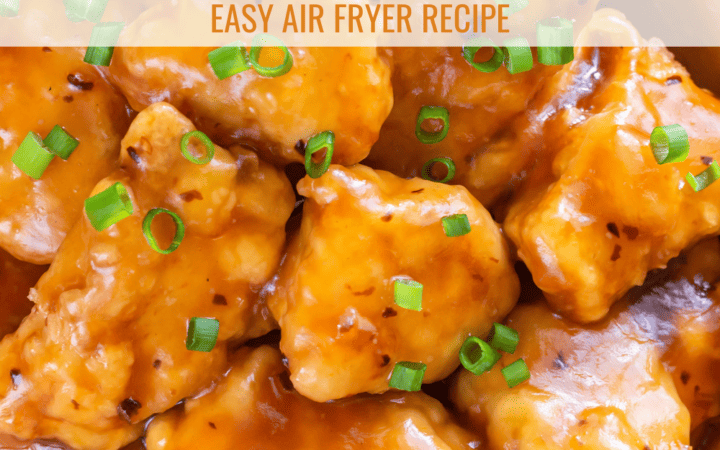
Treat your taste buds to the irresistible flavors of our Air Fryer Orange Chicken recipe. This delightful dish brings together the perfect balance of sweet and tangy flavors with crispy, tender chicken.
Why You’ll Love This Air Fryer Recipe
- Quick and Convenient . This recipe is ready in under 30 minutes, making it ideal for busy weeknights when you need a delicious meal in a hurry.
- Healthier Option . By using an air fryer, you can enjoy the crispy texture of fried chicken without all the extra oil and calories.
- Kid-Friendly . Even picky eaters will love the sweet and tangy flavor of this orange chicken.
Plus, the balance of savory, sweet, and slightly zesty flavors makes every bite irresistibly satisfying, appealing to both kids and adults alike. It’s indulgent without being heavy, and the clean-up is a breeze!
What Does Air Fryer Orange Chicken Taste Like?
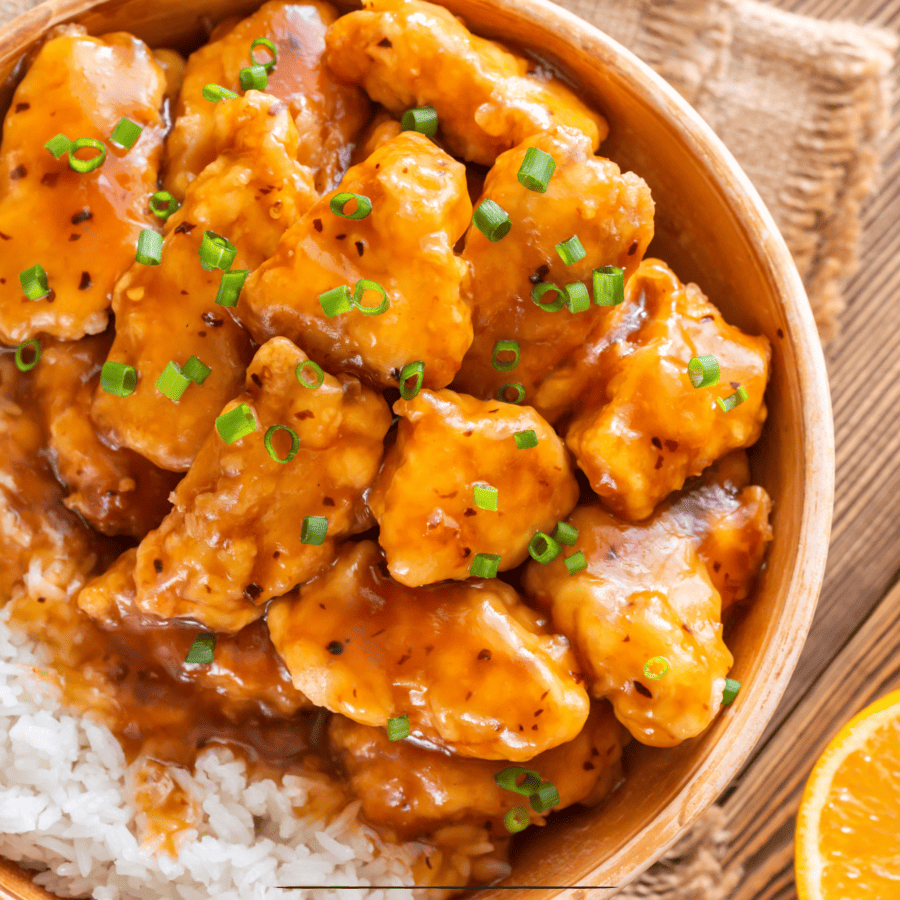
Air Fryer Orange Chicken is a delightful combination of juicy chicken coated in a sticky, citrus-infused sauce. The chicken is perfectly crispy on the outside and tender on the inside, while the sauce adds a burst of sweet and tangy flavor with a hint of garlic and ginger.
Is It Ok To Put Raw Chicken In An Air Fryer?
Yes, it is perfectly safe to cook raw chicken in an air fryer, as long as you follow proper food safety and cooking guidelines.
The air fryer works by circulating hot air around the food, which cooks the chicken quickly and evenly.
Ingredients You’ll Need
- Chicken - We recommend using boneless, skinless chicken thighs for the juiciest and most flavorful results.
- Orange Juice - Freshly squeezed orange juice adds a bright and citrusy flavor to the sauce.
- Soy Sauce - Soy sauce provides a savory depth of flavor and adds richness to the sauce.
- Honey- Honey adds natural sweetness to balance out the tanginess of the orange juice.
- Red Pepper Flakes - Add a small pop of heat and color.
- Ginger and Garlic - Fresh ginger and garlic infuse the sauce with aromatic flavor and depth.
- Cornstarch - Cornstarch helps thicken the sauce and creates a glossy, sticky coating on the chicken.
- Sesame Seeds - Toasted sesame seeds add a nutty flavor and crunchy texture to the finished dish.
How To Make Air Fryer Orange Chicken
- Prepare the Chicken . Cut the boneless, skinless chicken thighs into bite-sized pieces and season with salt and pepper.
- Coat with Cornstarch . In a bowl, toss the chicken pieces with cornstarch until evenly coated. This will help create a crispy coating when air-fried.
- Air Fry the Chicken . Preheat your air fryer to 400°F. Place the coated chicken pieces in a single layer in the air fryer basket, making sure they are not touching. Cook for 10-12 minutes, flipping halfway through, until golden brown and crispy.
- Make the Orange Sauce . In a saucepan, combine orange juice, soy sauce, honey, grated ginger, minced garlic, and a pinch of red pepper flakes. Bring the mixture to a simmer over medium heat and cook until slightly thickened.
- Coat the Chicken . Once the chicken is cooked, transfer it to a bowl and pour the orange sauce over the top. Toss until the chicken is evenly coated in the sauce.
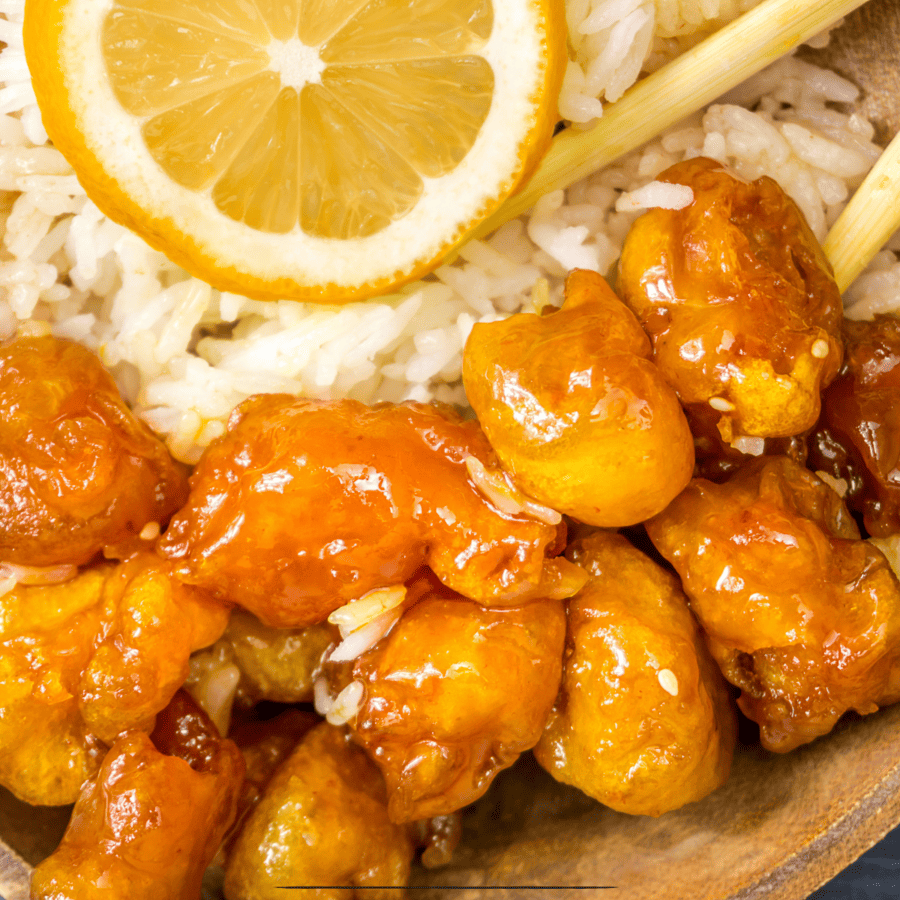
- Garnish and Serve . Sprinkle toasted sesame seeds over the chicken for added flavor and crunch. Serve the Air Fryer Orange Chicken hot, garnished with sliced green onions and a wedge of fresh orange.
Tips And Tricks
Mastering Air Fryer Orange Chicken requires attention to detail and a few tricks up your sleeve. Here are some tips to ensure your dish turns out perfectly every time:
- Preheat the Air Fryer . Just like with an oven, preheating your air fryer ensures that the chicken starts cooking immediately when you place it inside, resulting in a crispier coating.
- Avoid Overcrowding . Arrange the chicken in a single layer in the air fryer basket, leaving some space between each piece. Crowding the basket can lead to uneven cooking and soggy chicken.
- Make a Flavorful Sauce . The sauce is the star of this dish, so don’t skimp on flavor. Adjust the sweetness and tanginess to your liking by adding more honey or orange juice. You can also add a touch of spice with red pepper flakes or sriracha for a kick.
Variations
Experimenting with variations can elevate your Air Fryer Orange Chicken and add exciting new flavors. Here are some creative twists to consider:
- Sesame Orange - Add toasted sesame oil and sesame seeds to the sauce for a nutty flavor profile. Garnish with additional sesame seeds before serving for extra crunch.
- Spicy Orange - Kick up the heat by incorporating chili paste or sriracha into the sauce. Adjust the amount according to your spice preference for a fiery twist on the classic dish.
- Garlic Orange - Infuse the sauce with minced garlic or garlic powder for a savory undertone. Sauté the garlic briefly before adding the other sauce ingredients to enhance its flavor.
What To Eat With Air Fryer Orange Chicken
Air fryer orange chicken is a sweet, tangy, and crispy dish that pairs beautifully with a variety of sides to create a balanced and satisfying meal. Here’s what you can serve alongside it:
- Fried Rice - Whip up a batch of homemade fried rice with vegetables, eggs, and soy sauce for a hearty and satisfying side dish. The savory flavors of the fried rice complement the sweetness of the orange chicken.
- Vegetable Stir-Fry - Sauté a colorful medley of vegetables such as bell peppers, broccoli, carrots, and snap peas for a vibrant and nutritious side. The freshness of the vegetables adds texture and balance to the meal.
- Egg Rolls - Pair your orange chicken with crispy egg rolls filled with vegetables and protein for a satisfying appetizer or side dish. The crunchy texture of the egg rolls complements the tender chicken.
How Long Does It Last?
Air Fryer Orange Chicken is best enjoyed fresh and immediately after cooking for the crispiest texture. However, you can store any leftovers in an airtight container in the refrigerator for up to 2 days. Reheat in the air fryer or oven until heated through before serving.
Can You Freeze It?
While you can freeze cooked chicken, the crispy coating may become soggy when thawed and reheated. We recommend enjoying Air Fryer Orange Chicken fresh for the best taste and texture.
More Asian-Inspired Recipes
- Bourbon Chicken
- Beef and Broccoli
- Spicy Noodles
- Air Fryer Tofu
- Honey Walnut Shrimp
- Crab Rangoon
- Sweet Chili Chicken
Watch The Video

Air Fryer Orange Chicken Recipe
Ingredients
- ▢ 1 1/2 pounds Chicken Thighs
- ▢ 1/2 cup Orange Juice
- ▢ 1/4 cup Soy Sauce
- ▢ 2 tbsp Honey
- ▢ 1 tbsp Grated Ginger
- ▢ 2 cloves Garlic , minced
- ▢ 2 tbsp Cornstarch
- ▢ 2 tbsp Water
- ▢ Sesame Seeds , for garnish
- ▢ Green Onion , for garnish
- ▢ 1/4 tsp Red Pepper Flakes
Instructions
- Prepare the Chicken . Cut the boneless, skinless chicken thighs into bite-sized pieces and season with salt and pepper.
- Coat with Cornstarch . In a bowl, toss the chicken pieces with cornstarch until evenly coated. This will help create a crispy coating when air-fried.
- Air Fry the Chicken . Preheat your air fryer to 400°F. Place the coated chicken pieces in a single layer in the air fryer basket, making sure they are not touching. Cook for 10-12 minutes, flipping halfway through, until golden brown and crispy.
- Make the Orange Sauce . In a saucepan, combine orange juice, soy sauce, red pepper flakes, honey, grated ginger, minced garlic, and a pinch of red pepper flakes. Bring the mixture to a simmer over medium heat and cook until slightly thickened.
- Coat the Chicken . Once the chicken is cooked, transfer it to a bowl and pour the orange sauce over the top. Toss until the chicken is evenly coated in the sauce.
- Garnish and Serve . Sprinkle toasted sesame seeds over the chicken for added flavor and crunch. Serve the Air Fryer Orange Chicken hot, garnished with sliced green onions and a wedge of fresh orange.
Get support & connect with our community on Facebook!
Nutrition
And don’t forget to check out my air fryer cookbooks! Every day easy air fryer , and Air Fryer Revolution .


If you already signed up, you should have received an email with a password to give you unlimited access to our FREE Printable Library. The password is case sensitive. Enter it below and get printing!
Password:
Air Fryer Orange Chicken Recipe
Ingredients
- 1 1/2 pounds Chicken Thighs
- 1/2 cup Orange Juice
- 1/4 cup Soy Sauce
- 2 tbsp Honey
- 1 tbsp Grated Ginger
- 2 cloves Garlic minced
- 2 tbsp Cornstarch
- 2 tbsp Water
- Sesame Seeds for garnish
- Green Onion for garnish
- 1/4 tsp Red Pepper Flakes
Instructions
- Prepare the Chicken . Cut the boneless, skinless chicken thighs into bite-sized pieces and season with salt and pepper.
- Coat with Cornstarch . In a bowl, toss the chicken pieces with cornstarch until evenly coated. This will help create a crispy coating when air-fried.
- Air Fry the Chicken . Preheat your air fryer to 400°F. Place the coated chicken pieces in a single layer in the air fryer basket, making sure they are not touching. Cook for 10-12 minutes, flipping halfway through, until golden brown and crispy.
- Make the Orange Sauce . In a saucepan, combine orange juice, soy sauce, red pepper flakes, honey, grated ginger, minced garlic, and a pinch of red pepper flakes. Bring the mixture to a simmer over medium heat and cook until slightly thickened.
- Coat the Chicken . Once the chicken is cooked, transfer it to a bowl and pour the orange sauce over the top. Toss until the chicken is evenly coated in the sauce.
- Garnish and Serve . Sprinkle toasted sesame seeds over the chicken for added flavor and crunch. Serve the Air Fryer Orange Chicken hot, garnished with sliced green onions and a wedge of fresh orange.
Air Fryer Orange Chicken Recipe https://twosleevers.com/air-fryer-orange-chicken/
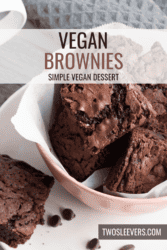
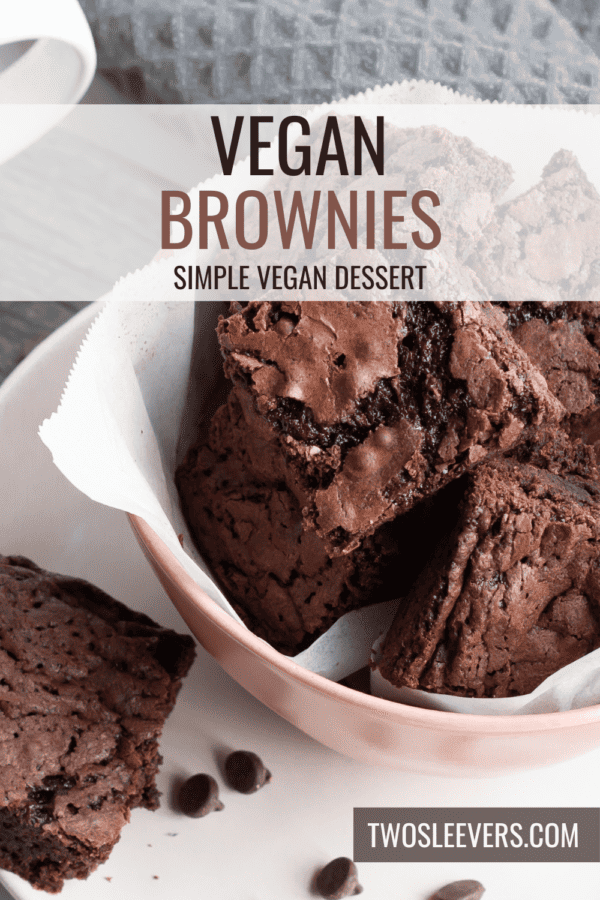
Satisfy your sweet tooth guilt-free with our mouthwatering Vegan Brownies recipe. These decadent treats are a chocolate lover’s dream, combining rich cocoa flavor with a fudgy texture that will leave you craving more. Whether you follow a vegan lifestyle or simply love delicious desserts, this recipe is sure to become a favorite.
Why You’ll Love This Vegan Dessert
- Vegan-Friendly . Perfect for those following a vegan diet, these brownies are completely free from animal products without compromising on flavor or texture.
- Quick and Easy . With simple ingredients and easy-to-follow instructions, this recipe comes together in no time, making it ideal for satisfying spontaneous chocolate cravings.
- Rich and Fudgy . Indulge in the rich, fudgy texture of these brownies that melt in your mouth with every bite, providing the ultimate chocolate experience.
What Do Vegan Brownies Taste Like?
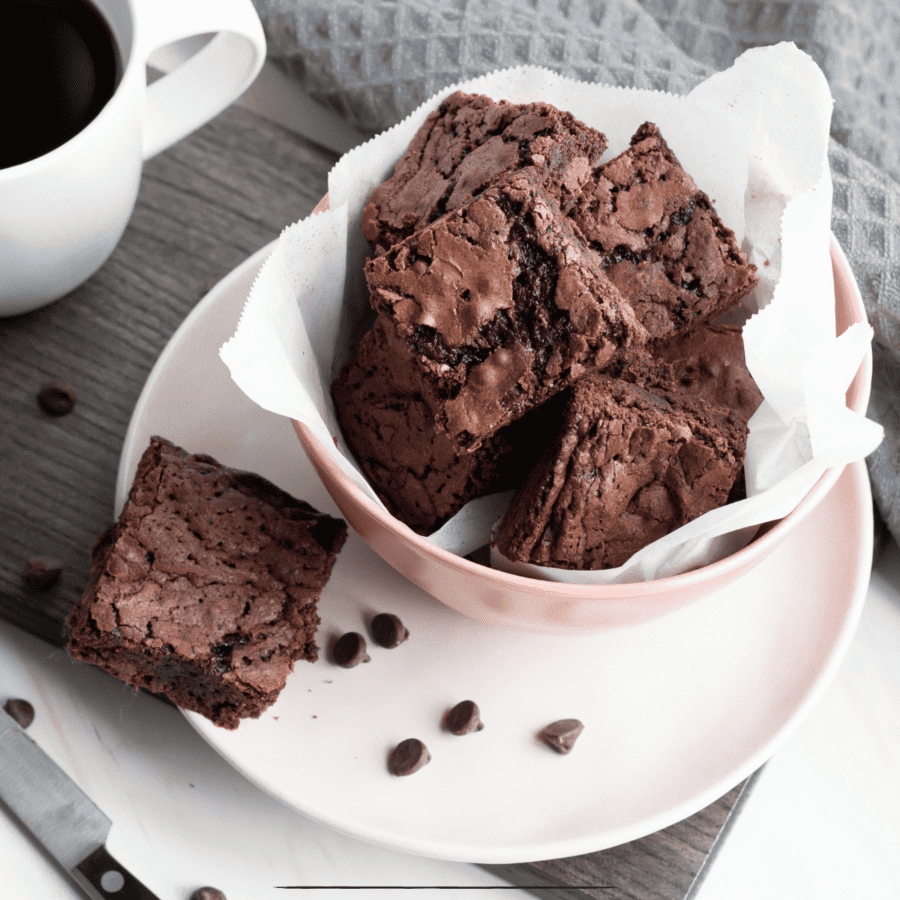
Our Vegan Brownies boast an intense chocolate flavor with a moist and fudgy texture that’s reminiscent of traditional brownies. They’re perfectly sweet with just the right amount of richness, making them a delightful treat for any occasion.
Ingredients You’ll Need
- Flour - Use all-purpose flour as the base for these brownies to provide structure and texture.
- Cocoa Powder - Unsweetened cocoa powder adds intense chocolate flavor and richness to the brownie batter.
- Sugar - Granulated sugar sweetens the brownies and helps create a tender crumb.
- Vegetable Oil - Substitute traditional butter with vegetable oil to keep these brownies dairy-free while maintaining moisture.
- Non-Dairy Milk - Use your favorite non-dairy milk, such as almond milk or soy milk, to add moisture to the batter.
- Vanilla Extract - Vanilla extract enhances the chocolate flavor and adds depth to the brownies.
- Baking Powder - Baking powder helps the brownies rise slightly for a softer texture.
- Salt - A pinch of salt balances the sweetness and enhances the chocolate flavor.
- Chocolate Chips - Fold dairy-free chocolate chips into the batter for extra chocolatey goodness and melty pockets of chocolate in every bite.
How To Make Vegan Brownies
- Preheat the Oven . Preheat your oven to 350°F and line a square baking pan with parchment paper, leaving an overhang for easy removal.
- Mix Dry Ingredients . In a mixing bowl, whisk together the flour, cocoa powder, sugar, baking powder, and salt until well combined.
- Combine Wet Ingredients . In a separate bowl, whisk together the vegetable oil, non-dairy milk, and vanilla extract until smooth and well incorporated.
- Combine Wet and Dry Ingredients . Pour the wet ingredients into the bowl of dry ingredients and stir until just combined. Be careful not to overmix.
- Add Chocolate Chips . Gently fold in the chocolate chips until evenly distributed throughout the batter.
- Bake . Transfer the brownie batter to the prepared baking pan, spreading it out evenly. Bake in the preheated oven for 25-30 minutes, or until the edges are set and a toothpick inserted into the center comes out with a few moist crumbs attached.
- Cool and Serve . Allow the brownies to cool completely in the pan before slicing them into squares. Serve and enjoy!

Tips And Tricks
Creating delicious Vegan Brownies can be a delightful experience, and here are some tips and tricks to ensure your brownies turn out perfectly:
- Don’t Overmix . Avoid overmixing the batter once you’ve added the dry ingredients. Overmixing can lead to dense and tough brownies. Mix until the ingredients are just combined to achieve a tender and fudgy texture.
- Choose the Right Pan . Use a quality non-stick baking pan or line your pan with parchment paper to prevent the brownies from sticking. An 8x8-inch square baking pan is ideal for achieving the perfect thickness.
- Don’t Overbake . Be mindful of baking time and avoid overbaking your brownies. Check for doneness a few minutes before the recommended baking time by inserting a toothpick into the center. If it comes out with a few moist crumbs attached, the brownies are ready to be removed from the oven.
Variations
There are numerous variations you can explore to customize your vegan brownies and add exciting flavor twists. Here are some creative ideas:
- Nutty Brownies - Fold chopped nuts like walnuts, pecans, almonds, or hazelnuts into the brownie batter for added texture and nutty flavor.
- Fruit Swirl Brownies - Swirl in pureed fruits such as raspberry, strawberry, or cherry into the brownie batter before baking for a fruity twist.
- Coconut Brownies - Add shredded coconut to the batter for a tropical flavor. You can also sprinkle toasted coconut flakes on top for extra crunch.
What To Enjoy With Vegan Brownies
When indulging in delicious Vegan Brownies, there are plenty of delightful accompaniments to enhance your experience. Here are some ideas for what to enjoy with your vegan treats:
- Dairy-Free Ice Cream - Serve a scoop of creamy dairy-free ice cream alongside your brownies for a classic and comforting dessert combination. Opt for flavors like chocolate, vanilla, or salted caramel for a decadent pairing.
- Fresh Berries - Add a pop of freshness and a burst of flavor by pairing your Vegan Brownies with a selection of fresh berries such as strawberries, raspberries, or blueberries. The tartness of the berries complements the rich chocolatey taste of the brownies beautifully.
- Coconut Whipped Cream - Whip up a batch of coconut whipped cream to dollop on top of your brownies for a luscious and creamy topping. The light and fluffy texture of the whipped cream adds a luxurious touch to each bite.
How Long Do They Last?
Store your Vegan Brownies in an airtight container at room temperature for up to 3 days or in the refrigerator for up to 1 week. For longer storage, you can freeze them for up to 3 months.
Can You Freeze Them?
Yes, you can freeze Vegan Brownies for future enjoyment. Wrap them tightly in plastic wrap or aluminum foil and place them in a freezer-safe container or resealable bag. Thaw them at room temperature or reheat them in the microwave for a quick treat.
More Of Our Best Brownie Recipes
- Edible Brownie Batter
- Zucchini Brownies
- Peanut Butter Brownies
- Air Fryer Brownies
- Brownie Mix Cookies

Vegan Brownies Recipe | The Best Vegan Homemade Brownies
Ingredients
- ▢ 1 1/4 cups All Purpose Flour
- ▢ 3/4 cups Unsweetened Cocoa Powder
- ▢ 1 1/2 cups Granulated Sugar
- ▢ 1/2 cup Vegetable Oil
- ▢ 1 cup Almond Milk
- ▢ 2 tsp Vanilla Extract
- ▢ 1 tsp Baking Powder
- ▢ 1/2 tsp Kosher Salt
- ▢ 1/2 cup Vegan Chocolate Chips
Instructions
- Preheat the Oven . Preheat your oven to 350°F and line a square baking pan with parchment paper, leaving an overhang for easy removal.
- Mix Dry Ingredients . In a mixing bowl, whisk together the flour, cocoa powder, sugar, baking powder, and salt until well combined.
- Combine Wet Ingredients . In a separate bowl, whisk together the vegetable oil, non-dairy milk, and vanilla extract until smooth and well incorporated.
- Combine Wet and Dry Ingredients . Pour the wet ingredients into the bowl of dry ingredients and stir until just combined. Be careful not to overmix.
- Add Chocolate Chips . Gently fold in the chocolate chips until evenly distributed throughout the batter.
- Bake . Transfer the brownie batter to the prepared baking pan, spreading it out evenly. Bake in the preheated oven for 25-30 minutes, or until the edges are set and a toothpick inserted into the center comes out with a few moist crumbs attached.
- Cool and Serve . Allow the brownies to cool completely in the pan before slicing them into squares. Serve and enjoy!
