
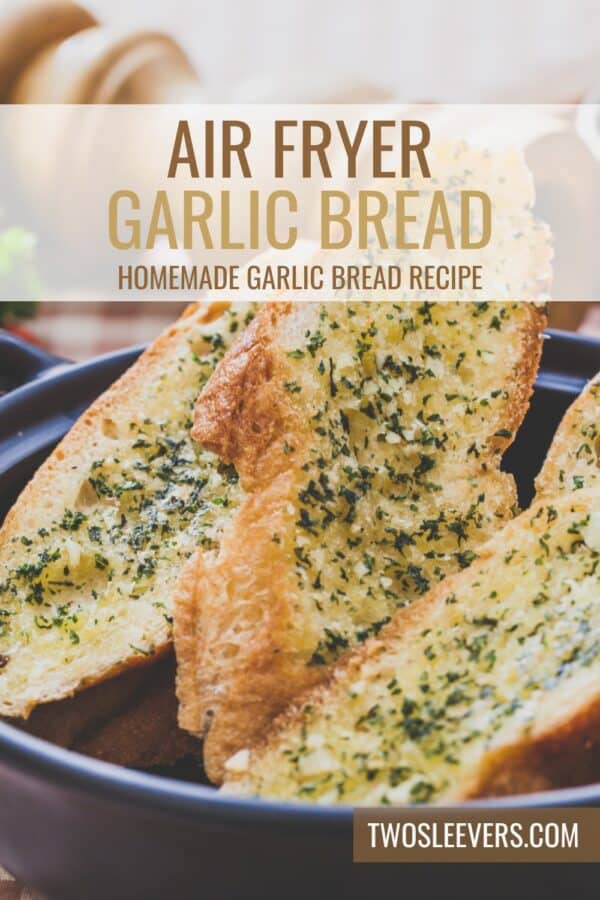
Level up your side dish game with this incredibly easy and delicious Air Fryer Garlic Bread! Perfectly crisp on the outside and buttery soft on the inside, this garlic bread recipe will have you saying goodbye to store-bought versions. With just a few simple ingredients and your trusty air fryer, you can whip up this crowd-pleaser in minutes.
<img loading=“lazy” src=“https://twosleevers.com/wp-content/uploads/2024/08/Air-Fryer-Garlic-Bread-1-900x900.jpg" onerror=“this.onerror=null;this.src=‘https://blogger.googleusercontent.com/img/a/AVvXsEhe7F7TRXHtjiKvHb5vS7DmnxvpHiDyoYyYvm1nHB3Qp2_w3BnM6A2eq4v7FYxCC9bfZt3a9vIMtAYEKUiaDQbHMg-ViyGmRIj39MLp0bGFfgfYw1Dc9q_H-T0wiTm3l0Uq42dETrN9eC8aGJ9_IORZsxST1AcLR7np1koOfcc7tnHa4S8Mwz_xD9d0=s16000';" alt=“A bowl of air fryer garlic bread
- 2”>
Why You’ll Love This Awesome Air Fryer Recipe
- Quick and Easy . Ready in just 10 minutes, this garlic bread is the perfect last-minute side dish.
- Perfectly Crispy . The air fryer ensures that your garlic bread is perfectly crisp without drying it out.
- Versatile . Customize the flavors with your favorite herbs and cheese for a garlic bread that’s uniquely yours.
Whether you’re serving it alongside pasta, soup, or salad, this air fryer garlic bread is bound to become a family favorite.
What Does Air Fryer Garlic Bread Taste Like?
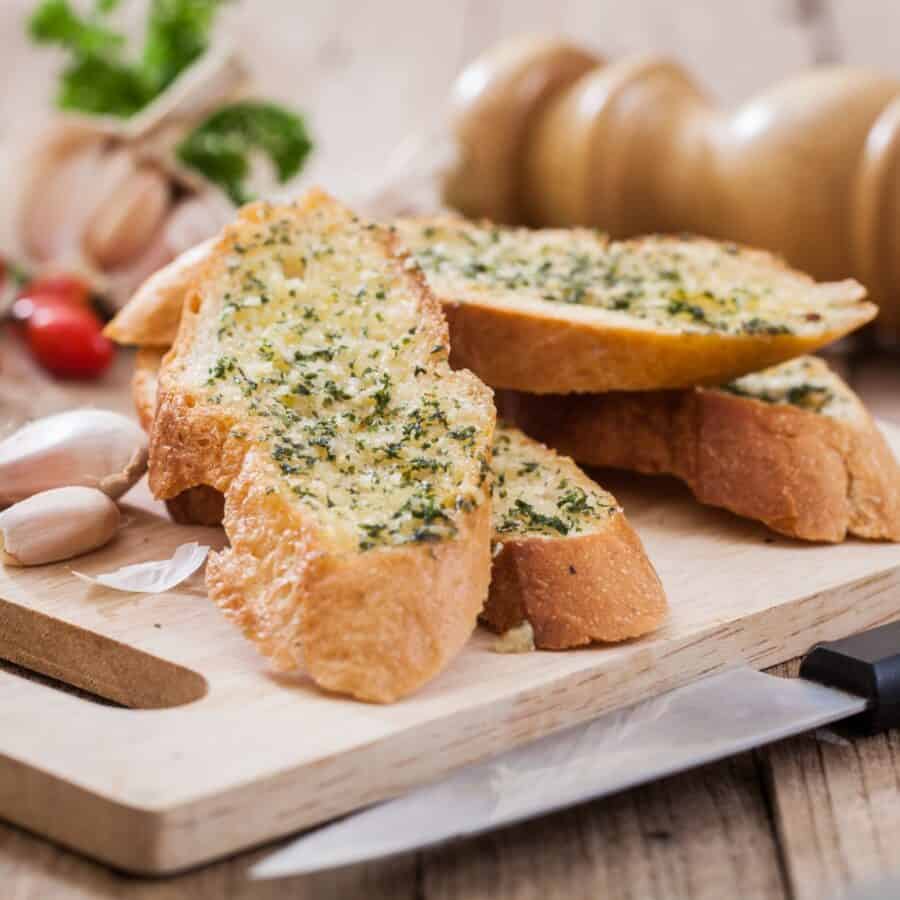
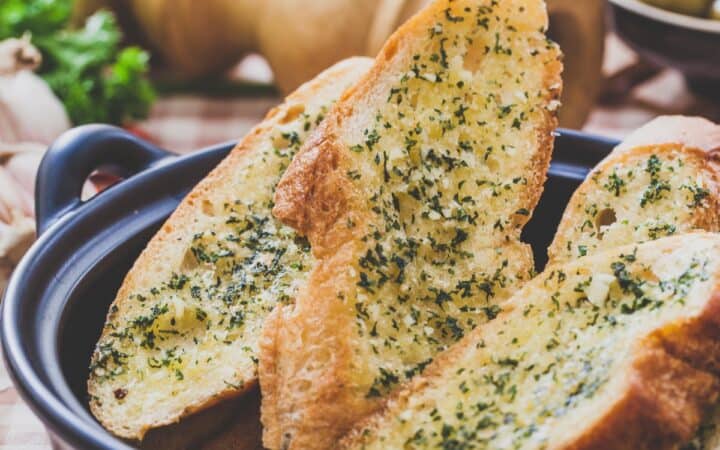
Air fryer garlic bread has a deliciously crispy and golden exterior with a soft, buttery interior. The garlic flavor is robust but not overpowering, and the slight toasting from the air fryer gives it a satisfying, almost melt-in-your-mouth quality.
Ingredients You’ll Need
- French Bread - The base of the dish, providing the perfect canvas for the garlic butter.
- Butter - Unsalted butter is best, so you can control the saltiness of the garlic bread.
- Garlic - Freshly minced garlic gives the best flavor, but garlic powder can be used in a pinch.
- Parsley - Adds a fresh, herby flavor that complements the garlic perfectly.
- Salt - Enhances the flavors of the garlic and butter.
- Parmesan Cheese - Adds a rich, savory element to the garlic bread.
- Olive Oil - Helps achieve that perfect crispy texture in the air fryer.
How To Make Air Fryer Garlic Bread
- Prep the Bread. Start by slicing your French bread into 1-inch thick slices. This thickness ensures that the bread will be crispy on the outside while remaining soft and fluffy on the inside.
- Make the Garlic Butter. In a small bowl, mix softened butter with minced garlic, chopped parsley, and a pinch of salt. If you’re adding Parmesan cheese, mix it into the butter as well. This will create a flavorful spread that’s rich and garlicky.
- Spread the Garlic Butter. Generously spread the garlic butter mixture on each slice of bread. Make sure to cover the entire surface for maximum flavor.
- Air Fry. Preheat your air fryer to 350°F. Arrange the slices in a single layer in the air fryer basket. Cook for 5-6 minutes, or until the bread is golden brown and crispy.
- Serve. Serve your air fryer garlic bread hot, straight from the fryer. It’s perfect as a side dish, an appetizer, or even a snack.
Tips And Tricks
Creating the perfect air fryer garlic bread is all about balancing flavor and texture. Here’s how to make sure your garlic bread turns out perfectly every time:
- Choose the Right Bread . French or Italian bread works best for garlic bread due to its airy texture and crusty exterior. Avoid using overly soft bread as it can become soggy.
- Don’t Overcrowd the Air Fryer . To ensure even cooking, place the bread slices in a single layer in the air fryer. If you’re making a large batch, cook the bread in batches.
- Adjust the Garlic to Your Taste . If you’re a garlic lover, feel free to add more minced garlic to the butter. For a milder flavor, use garlic powder instead.
- Watch the Cooking Time . Air fryers can vary, so keep an eye on the bread as it cooks. You want it to be golden and crispy, not burnt.
Variations
This air fryer garlic bread recipe is incredibly versatile. Here are a few ways to switch it up:
- Cheesy - Add shredded mozzarella or cheddar cheese on top of the garlic butter before air frying for a cheesy twist.
- Herb-Infused - Mix in dried herbs like oregano, basil, or thyme into the garlic butter for extra flavor.
- Spicy - Add a pinch of red pepper flakes or a dash of hot sauce to the garlic butter for a spicy kick.
What To Enjoy With Air Fryer Garlic Bread
Air fryer garlic bread pairs beautifully with a variety of dishes. Here are some ideas:
- Pasta Dishes - Serve alongside spaghetti, fettuccine alfredo, or lasagna for a classic Italian combo.
- Soups - Garlic bread is perfect for dipping into tomato soup, minestrone, or creamy potato soup.
- Salads - Pair with a Caesar salad or a fresh garden salad for a light and satisfying meal.
- Appetizers - Serve as an appetizer with marinara sauce or olive tapenade for dipping.
How Long Does It Last?
For the best taste and texture, try to consume the garlic bread within the first day or two after making it. The bread can start to lose its crispness after that, even when stored properly.
To reheat the garlic bread and bring back its crispy texture, place it back in the air fryer at 350°F for 2-3 minutes. This will help to crisp up the bread while keeping the inside soft and buttery.
Can You Freeze It?
Yes, you can freeze air fryer garlic bread! Freezing garlic bread is a great way to have it on hand for quick and easy meals.
Place the assembled garlic bread slices on a baking sheet in a single layer. Freeze them for about 1-2 hours, or until they are solid.
Once the garlic bread slices are frozen, transfer them to a freezer-safe bag or airtight container. Label the bag with the date so you can keep track of how long they’ve been stored. They can be frozen for up 3 months.
More Brilliant Bread Recipes
- Keto Bread
- Applesauce Bread
- Peach Bread
- Star Bread
- Nut and Seed Bread
- Air Fryer Biscuits
- Socca
Air Fryer Garlic Bread Recipe | Quick And Crispy Garlic Bread
Ingredients
- ▢ 1/2 French Baguette , cut into 1” slices
- ▢ 1/2 cup Unsalted Butter , softened
- ▢ 3 cloves Garlic , minced
- ▢ 2 tbsp Parsley , chopped
- ▢ 1/4 tsp Kosher Salt
- ▢ 1/4 cup Parmesan Cheese
- ▢ 1 tbsp Olive Oil
Instructions
- Prep the Bread. Start by slicing your French bread into 1-inch thick slices. This thickness ensures that the bread will be crispy on the outside while remaining soft and fluffy on the inside.
- Make the Garlic Butter. In a small bowl, mix softened butter with minced garlic, chopped parsley, and a pinch of salt. If you’re adding Parmesan cheese, mix it into the butter as well. This will create a flavorful spread that’s rich and garlicky.
- Spread the Garlic Butter. Generously spread the garlic butter mixture on each slice of bread. Make sure to cover the entire surface for maximum flavor.
- Air Fry. Preheat your air fryer to 350°F. Arrange the slices in a single layer in the air fryer basket. Cook for 5-6 minutes, or until the bread is golden brown and crispy.
- Serve. Serve your air fryer garlic bread hot, straight from the fryer. It’s perfect as a side dish, an appetizer, or even a snack.
Get support & connect with our community on Facebook!
Nutrition
And don’t forget to check out my air fryer cookbooks! Every day easy air fryer , and Air Fryer Revolution .

Level up your side dish game with this incredibly easy and delicious Air Fryer Garlic Bread! Perfectly crisp on the outside and buttery soft on the inside, this garlic bread recipe will have you saying goodbye to store-bought versions. With just a few simple ingredients and your trusty air fryer, you can whip up this crowd-pleaser in minutes.
<img loading=“lazy” src=“https://twosleevers.com/wp-content/uploads/2024/08/Air-Fryer-Garlic-Bread-1-900x900.jpg" onerror=“this.onerror=null;this.src=‘https://blogger.googleusercontent.com/img/a/AVvXsEhe7F7TRXHtjiKvHb5vS7DmnxvpHiDyoYyYvm1nHB3Qp2_w3BnM6A2eq4v7FYxCC9bfZt3a9vIMtAYEKUiaDQbHMg-ViyGmRIj39MLp0bGFfgfYw1Dc9q_H-T0wiTm3l0Uq42dETrN9eC8aGJ9_IORZsxST1AcLR7np1koOfcc7tnHa4S8Mwz_xD9d0=s16000';" alt=“A bowl of air fryer garlic bread
- 8”>
Why You’ll Love This Awesome Air Fryer Recipe
- Quick and Easy . Ready in just 10 minutes, this garlic bread is the perfect last-minute side dish.
- Perfectly Crispy . The air fryer ensures that your garlic bread is perfectly crisp without drying it out.
- Versatile . Customize the flavors with your favorite herbs and cheese for a garlic bread that’s uniquely yours.
Whether you’re serving it alongside pasta, soup, or salad, this air fryer garlic bread is bound to become a family favorite.
What Does Air Fryer Garlic Bread Taste Like?
Air fryer garlic bread has a deliciously crispy and golden exterior with a soft, buttery interior. The garlic flavor is robust but not overpowering, and the slight toasting from the air fryer gives it a satisfying, almost melt-in-your-mouth quality.
Ingredients You’ll Need
- French Bread - The base of the dish, providing the perfect canvas for the garlic butter.
- Butter - Unsalted butter is best, so you can control the saltiness of the garlic bread.
- Garlic - Freshly minced garlic gives the best flavor, but garlic powder can be used in a pinch.
- Parsley - Adds a fresh, herby flavor that complements the garlic perfectly.
- Salt - Enhances the flavors of the garlic and butter.
- Parmesan Cheese - Adds a rich, savory element to the garlic bread.
- Olive Oil - Helps achieve that perfect crispy texture in the air fryer.
How To Make Air Fryer Garlic Bread
- Prep the Bread. Start by slicing your French bread into 1-inch thick slices. This thickness ensures that the bread will be crispy on the outside while remaining soft and fluffy on the inside.
- Make the Garlic Butter. In a small bowl, mix softened butter with minced garlic, chopped parsley, and a pinch of salt. If you’re adding Parmesan cheese, mix it into the butter as well. This will create a flavorful spread that’s rich and garlicky.
- Spread the Garlic Butter. Generously spread the garlic butter mixture on each slice of bread. Make sure to cover the entire surface for maximum flavor.
- Air Fry. Preheat your air fryer to 350°F. Arrange the slices in a single layer in the air fryer basket. Cook for 5-6 minutes, or until the bread is golden brown and crispy.
- Serve. Serve your air fryer garlic bread hot, straight from the fryer. It’s perfect as a side dish, an appetizer, or even a snack.
Tips And Tricks
Creating the perfect air fryer garlic bread is all about balancing flavor and texture. Here’s how to make sure your garlic bread turns out perfectly every time:
- Choose the Right Bread . French or Italian bread works best for garlic bread due to its airy texture and crusty exterior. Avoid using overly soft bread as it can become soggy.
- Don’t Overcrowd the Air Fryer . To ensure even cooking, place the bread slices in a single layer in the air fryer. If you’re making a large batch, cook the bread in batches.
- Adjust the Garlic to Your Taste . If you’re a garlic lover, feel free to add more minced garlic to the butter. For a milder flavor, use garlic powder instead.
- Watch the Cooking Time . Air fryers can vary, so keep an eye on the bread as it cooks. You want it to be golden and crispy, not burnt.
Variations
This air fryer garlic bread recipe is incredibly versatile. Here are a few ways to switch it up:
- Cheesy - Add shredded mozzarella or cheddar cheese on top of the garlic butter before air frying for a cheesy twist.
- Herb-Infused - Mix in dried herbs like oregano, basil, or thyme into the garlic butter for extra flavor.
- Spicy - Add a pinch of red pepper flakes or a dash of hot sauce to the garlic butter for a spicy kick.
What To Enjoy With Air Fryer Garlic Bread
Air fryer garlic bread pairs beautifully with a variety of dishes. Here are some ideas:
- Pasta Dishes - Serve alongside spaghetti, fettuccine alfredo, or lasagna for a classic Italian combo.
- Soups - Garlic bread is perfect for dipping into tomato soup, minestrone, or creamy potato soup.
- Salads - Pair with a Caesar salad or a fresh garden salad for a light and satisfying meal.
- Appetizers - Serve as an appetizer with marinara sauce or olive tapenade for dipping.
How Long Does It Last?
For the best taste and texture, try to consume the garlic bread within the first day or two after making it. The bread can start to lose its crispness after that, even when stored properly.
To reheat the garlic bread and bring back its crispy texture, place it back in the air fryer at 350°F for 2-3 minutes. This will help to crisp up the bread while keeping the inside soft and buttery.
Can You Freeze It?
Yes, you can freeze air fryer garlic bread! Freezing garlic bread is a great way to have it on hand for quick and easy meals.
Place the assembled garlic bread slices on a baking sheet in a single layer. Freeze them for about 1-2 hours, or until they are solid.
Once the garlic bread slices are frozen, transfer them to a freezer-safe bag or airtight container. Label the bag with the date so you can keep track of how long they’ve been stored. They can be frozen for up 3 months.
More Brilliant Bread Recipes
- Keto Bread
- Applesauce Bread
- Peach Bread
- Star Bread
- Nut and Seed Bread
- Air Fryer Biscuits
- Socca
Air Fryer Garlic Bread Recipe | Quick And Crispy Garlic Bread
Ingredients
- ▢ 1/2 French Baguette , cut into 1” slices
- ▢ 1/2 cup Unsalted Butter , softened
- ▢ 3 cloves Garlic , minced
- ▢ 2 tbsp Parsley , chopped
- ▢ 1/4 tsp Kosher Salt
- ▢ 1/4 cup Parmesan Cheese
- ▢ 1 tbsp Olive Oil
Instructions
- Prep the Bread. Start by slicing your French bread into 1-inch thick slices. This thickness ensures that the bread will be crispy on the outside while remaining soft and fluffy on the inside.
- Make the Garlic Butter. In a small bowl, mix softened butter with minced garlic, chopped parsley, and a pinch of salt. If you’re adding Parmesan cheese, mix it into the butter as well. This will create a flavorful spread that’s rich and garlicky.
- Spread the Garlic Butter. Generously spread the garlic butter mixture on each slice of bread. Make sure to cover the entire surface for maximum flavor.
- Air Fry. Preheat your air fryer to 350°F. Arrange the slices in a single layer in the air fryer basket. Cook for 5-6 minutes, or until the bread is golden brown and crispy.
- Serve. Serve your air fryer garlic bread hot, straight from the fryer. It’s perfect as a side dish, an appetizer, or even a snack.
Get support & connect with our community on Facebook!
Nutrition
And don’t forget to check out my air fryer cookbooks! Every day easy air fryer , and Air Fryer Revolution .

If you already signed up, you should have received an email with a password to give you unlimited access to our FREE Printable Library. The password is case sensitive. Enter it below and get printing!
Password:

Air Fryer Garlic Bread Recipe | Quick And Crispy Garlic Bread
Ingredients
- 1/2 French Baguette cut into 1” slices
- 1/2 cup Unsalted Butter softened
- 3 cloves Garlic minced
- 2 tbsp Parsley chopped
- 1/4 tsp Kosher Salt
- 1/4 cup Parmesan Cheese
- 1 tbsp Olive Oil
Instructions
- Prep the Bread. Start by slicing your French bread into 1-inch thick slices. This thickness ensures that the bread will be crispy on the outside while remaining soft and fluffy on the inside.
- Make the Garlic Butter. In a small bowl, mix softened butter with minced garlic, chopped parsley, and a pinch of salt. If you’re adding Parmesan cheese, mix it into the butter as well. This will create a flavorful spread that’s rich and garlicky.
- Spread the Garlic Butter. Generously spread the garlic butter mixture on each slice of bread. Make sure to cover the entire surface for maximum flavor.
- Air Fry. Preheat your air fryer to 350°F. Arrange the slices in a single layer in the air fryer basket. Cook for 5-6 minutes, or until the bread is golden brown and crispy.
- Serve. Serve your air fryer garlic bread hot, straight from the fryer. It’s perfect as a side dish, an appetizer, or even a snack.
Air Fryer Garlic Bread Recipe | Quick And Crispy Garlic Bread https://twosleevers.com/air-fryer-garlic-bread-recipe/
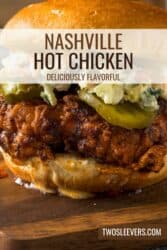
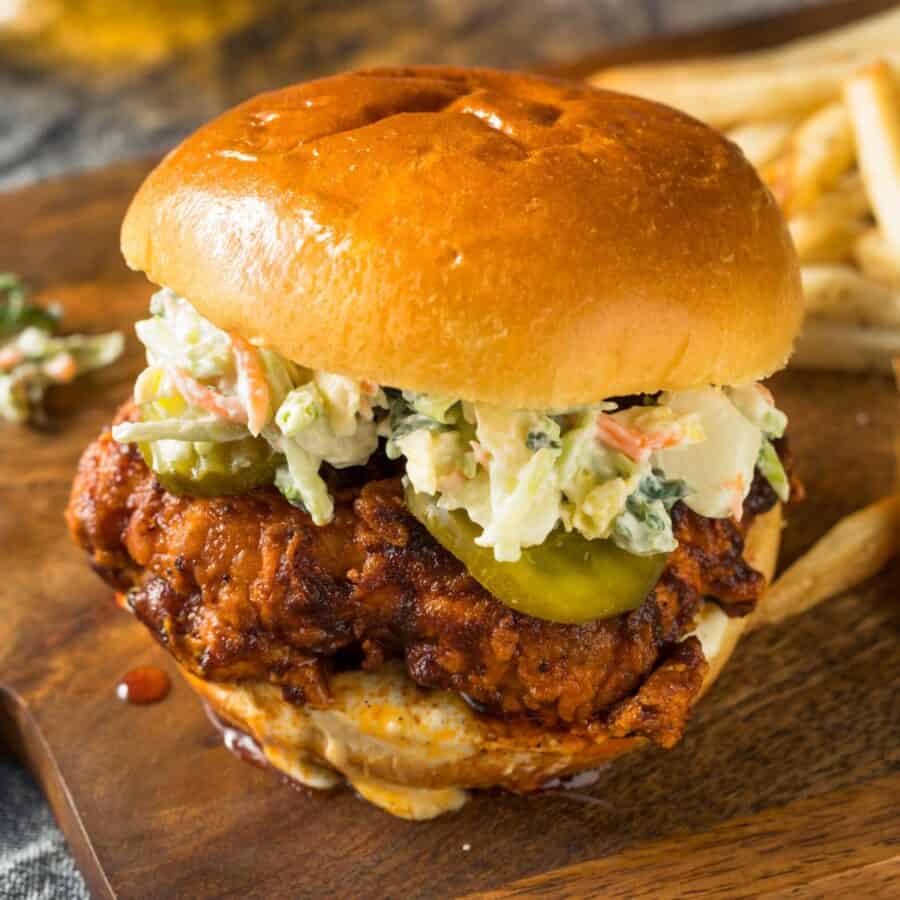
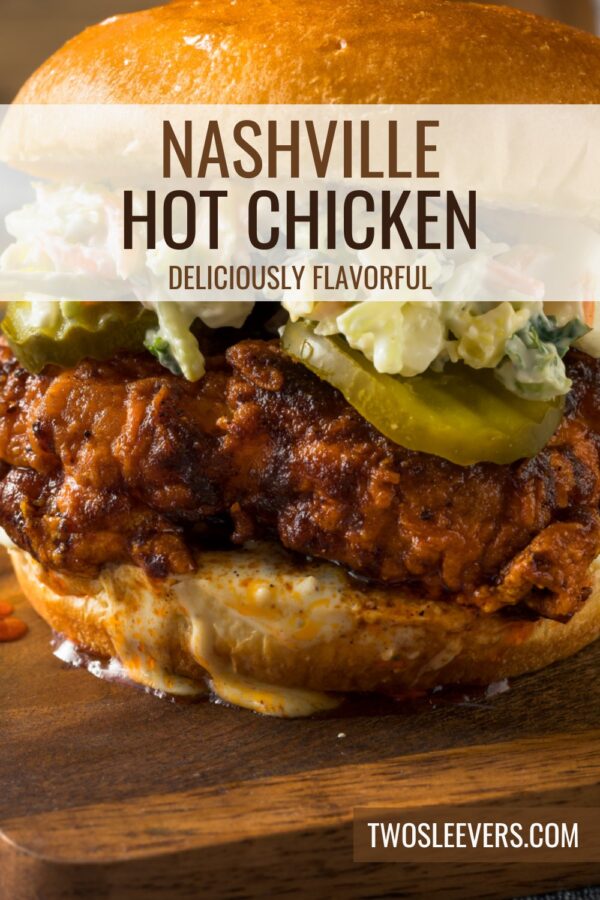
Turn up the heat in your kitchen with this fiery Nashville Hot Chicken recipe! This Southern classic is all about that perfect blend of crispy, juicy chicken and a fiery, flavor-packed sauce. Whether you’re hosting a party or craving a spicy kick, this foolproof method guarantees crispy perfection with a spicy punch.
Why You’ll Love This Craveworthy Chicken
- Bold Flavors. The combination of cayenne pepper, paprika, and garlic powder creates a rich, spicy, and slightly sweet flavor that’s hard to resist.
- Ultimate Comfort. Nashville Hot Chicken is comfort food at its finest, with a perfect balance of crunchy coating and juicy meat.
- Customizable Heat. You can easily adjust the heat level by adding more or less cayenne pepper, making it perfect for everyone’s taste buds.
With this recipe, you’ll enjoy the rich, deep flavors of Southern cooking without needing to head to Nashville. It’s a spicy, crispy, and absolutely delicious meal that’s sure to become a favorite.
What Is Nashville Hot Chicken?
Nashville Hot Chicken is a fiery fried chicken dish that originated in Nashville, Tennessee.
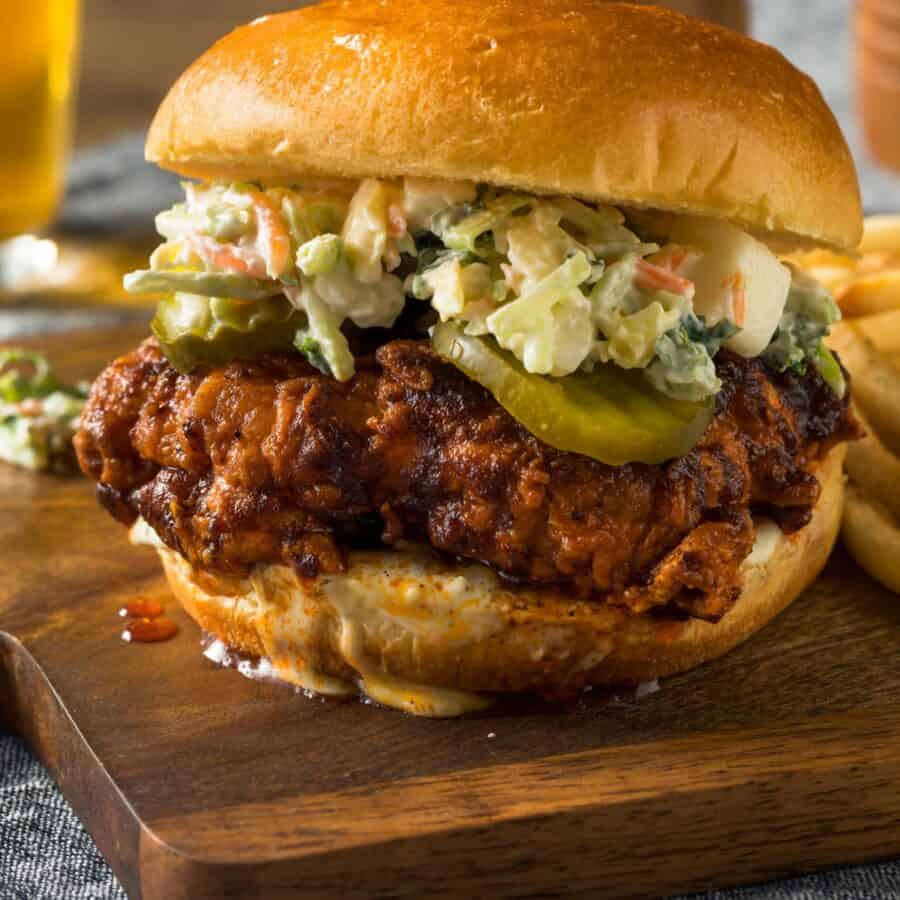
The chicken is typically marinated, breaded, and deep-fried, then slathered with a spicy, cayenne pepper-laden sauce. It’s traditionally served with white bread and pickles, which help to balance the intense heat of the chicken.
Is Nashville Hot Chicken Wet Or Dry?
while Nashville Hot Chicken is most commonly wet due to the spicy oil-based sauce (as with this recipe), it can also be served dry for a different textural experience. Both versions are delicious and packed with flavor, with the choice largely depending on personal preference.
Ingredients You’ll Need
For The Chicken
- Chicken Breasts or Thighs – Choose boneless, skinless chicken for easy preparation.
- Buttermilk – Helps tenderize the chicken and adds flavor.
- Hot Sauce – Adds an extra layer of flavor to the marinade.
- All-Purpose Flour – Forms the base of the crispy coating.
- Cayenne Pepper – The star ingredient for that signature Nashville heat.
- Paprika – Adds a subtle sweetness and vibrant color.
- Garlic Powder – Enhances the overall flavor with a savory note.
- Salt and Pepper – To taste, for seasoning.
- Vegetable Oil – For frying the chicken to golden perfection.
For The Sauce
- Cayenne Pepper – Adjust to your preferred level of spiciness.
- Brown Sugar – Adds a touch of sweetness to balance the heat.
- Paprika – Deepens the color and flavor of the sauce.
- Garlic Powder – Adds depth to the sauce.
- Butter – The base of the sauce, making it rich and silky.
- Hot Sauce – For an additional kick of heat and flavor.
How To Make Nashville Hot Chicken
- Prep the Chicken. Start by marinating the chicken. In a large bowl, mix the buttermilk and hot sauce. Add the chicken, ensuring each piece is fully submerged. Cover and refrigerate for at least 2 hours, or overnight for the best flavor.
- Prepare the Coating. In a separate shallow dish, mix the flour, cayenne pepper, paprika, garlic powder, salt, and pepper. This will form the crispy coating.
- Coat the Chicken. Remove the chicken from the marinade, letting any excess buttermilk drip off. Dredge each piece in the flour mixture, ensuring it’s fully coated. For an extra crispy finish, you can double-dip the chicken by returning it to the buttermilk and then back into the flour mixture.
- Fry the Chicken. Heat the vegetable oil in a large skillet or deep fryer to 350°F. Fry the chicken in batches, being careful not to overcrowd the pan. Cook for about 6-8 minutes per side, or until the chicken is golden brown and the internal temperature reaches 165°F.
- Make the Hot Sauce. While the chicken is frying, prepare the sauce. In a small saucepan, melt the butter over medium heat. Stir in the cayenne pepper, brown sugar, paprika, garlic powder, and hot sauce. Mix until well combined and heated through.
- Coat the Chicken in Sauce. Once the chicken is done frying, place it on a wire rack to drain excess oil. Brush each piece generously with the hot sauce while it’s still hot, ensuring it’s well-coated.
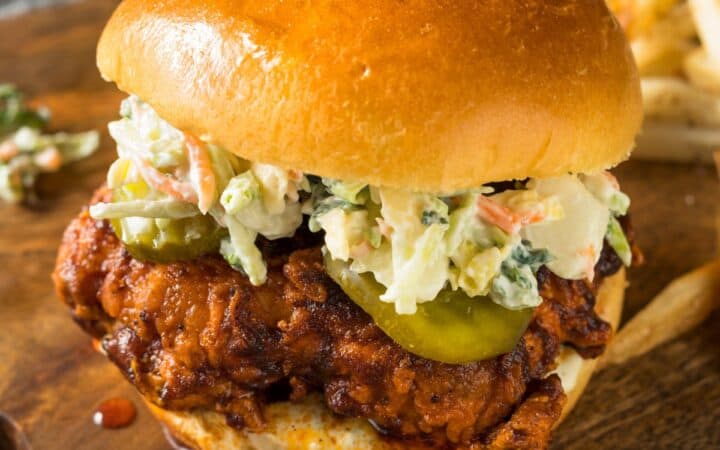
- Serve. Serve your Nashville Hot Chicken with slices of white bread and pickles on the side. This traditional pairing helps to balance the heat and adds a delightful contrast to the spicy chicken.
Tips And Tricks
Making Nashville Hot Chicken at home can be a rewarding experience, but there are a few tips and tricks that can help you achieve that perfect crispy, spicy result:
- Use a Meat Thermometer . To ensure your chicken is cooked through but still juicy, use a meat thermometer. The internal temperature should reach 165°F. This also prevents overcooking and drying out the chicken.
- Fry at the Right Temperature . Maintain the frying oil at 350°F for the best results. If the oil is too hot, the outside will burn before the inside is cooked; if it’s too cool, the chicken will absorb too much oil and become greasy.
- Rest on a Wire Rack . After frying, place the chicken on a wire rack instead of paper towels. This allows air to circulate around the chicken, keeping it crispy while excess oil drains away.
Variations
Nashville Hot Chicken is a versatile dish that can be adapted to different tastes:
- Honey Hot Chicken – Drizzle honey over the fried chicken before adding the hot sauce for a sweet and spicy combo.
- BBQ Hot Chicken – Mix BBQ sauce with the hot sauce for a smoky flavor.
- Chicken Tenders – Use chicken tenders instead of thighs or breasts for a fun, bite-sized version.
What Is A Good Side Dish For Nashville Hot Chicken?
This spicy chicken pairs wonderfully with a variety of sides:
- Coleslaw – The cool, creamy texture of coleslaw helps to balance the heat of the chicken.
- Mac and Cheese – Creamy, cheesy mac and cheese is the perfect comfort food pairing.
- Pickles – Classic pickles add a tangy crunch that complements the spicy chicken.
- Cornbread – A sweet, moist slice of cornbread offers a delicious contrast to the heat.
How Long Does It Last?
Store any leftovers in an airtight container in the refrigerator for up to 3 days. Reheat in the oven at 350°F for about 15 minutes to maintain the crispiness before serving.
Can You Freeze It?
Absolutely! After frying and cooling, freeze the chicken on a baking sheet, then transfer to a freezer bag. Reheat directly from frozen in the oven at 350°F for about 25 minutes.
More Of Our Best Chicken Recipes
- Instant Pot Butter Chicken
- Tandoori Chicken
- Air Fryer Chicken Tenders
- Chicken Vindaloo
- Chicken Biryani
- Apricot Chicken
Nashville Hot Chicken Recipe | Irresistible Hot Chicken
Ingredients
For The Chicken
- ▢ 4 Boneless Skinless Chicken Thighs
- ▢ 1 cup Buttermilk
- ▢ 2 tbsp Hot Sauce
- ▢ 1 1/2 cups All Purpose Flour
- ▢ 2 tsp Cayenne Pepper
- ▢ 1 tsp Paprika
- ▢ 1 tsp Garlic Powder
- ▢ 1/2 tsp Kosher Salt
- ▢ 1/4 tsp Ground Black Pepper
- ▢ Vegetable Oil , for frying
For The Nashville Hot Sauce
- ▢ 1/2 cup Butter
- ▢ 2 tbsp Cayenne Pepper
- ▢ 1 tbsp Brown Sugar
- ▢ 1 tsp Paprika
- ▢ 1 tsp Garlic Powder
- ▢ 2 tbsp Hot Sauce
Instructions
- Prep the Chicken. Start by marinating the chicken. In a large bowl, mix the buttermilk and hot sauce. Add the chicken, ensuring each piece is fully submerged. Cover and refrigerate for at least 2 hours, or overnight for the best flavor.
- Prepare the Coating. In a separate shallow dish, mix the flour, cayenne pepper, paprika, garlic powder, salt, and pepper. This will form the crispy coating.
- Coat the Chicken. Remove the chicken from the marinade, letting any excess buttermilk drip off. Dredge each piece in the flour mixture, ensuring it’s fully coated. For an extra crispy finish, you can double-dip the chicken by returning it to the buttermilk and then back into the flour mixture.
- Fry the Chicken. Heat the vegetable oil in a large skillet or deep fryer to 350°F. Fry the chicken in batches, being careful not to overcrowd the pan. Cook for about 6-8 minutes per side, or until the chicken is golden brown and the internal temperature reaches 165°F.
- Make the Hot Sauce. While the chicken is frying, prepare the sauce. In a small saucepan, melt the butter over medium heat. Stir in the cayenne pepper, brown sugar, paprika, garlic powder, and hot sauce. Mix until well combined and heated through.
- Coat the Chicken in Sauce. Once the chicken is done frying, place it on a wire rack to drain excess oil. Brush each piece generously with the hot sauce while it’s still hot, ensuring it’s well-coated.
- Serve. Serve your Nashville Hot Chicken with slices of white bread and pickles on the side. This traditional pairing helps to balance the heat and adds a delightful contrast to the spicy chicken.
