
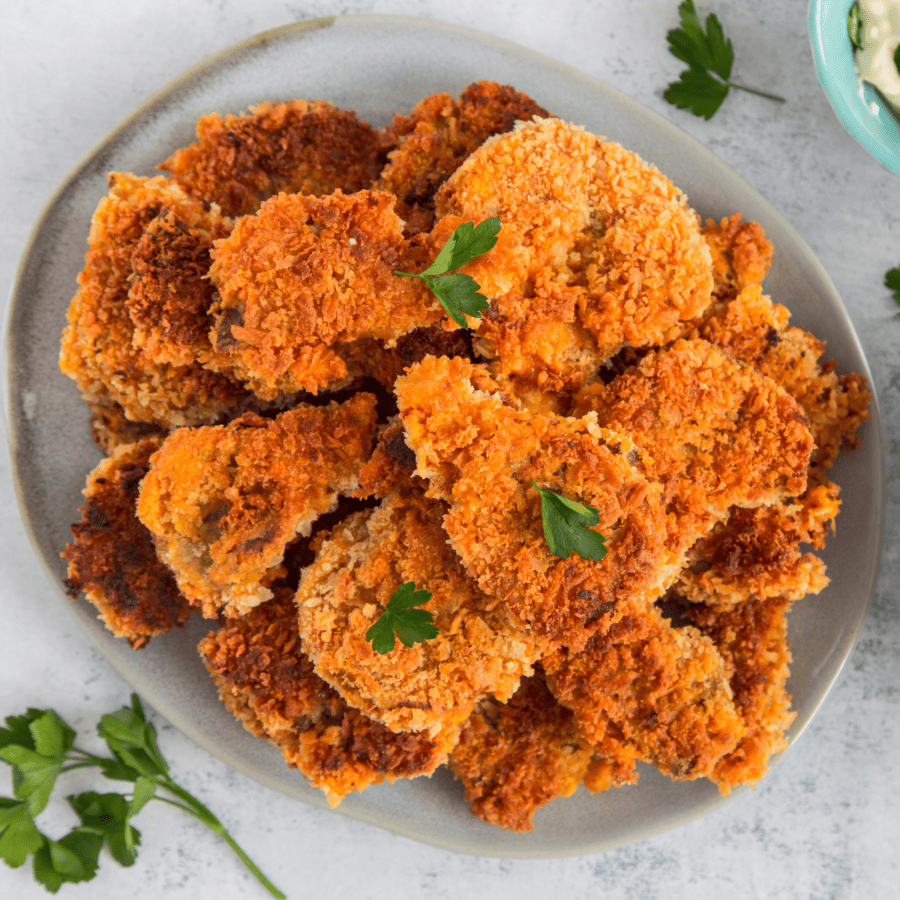
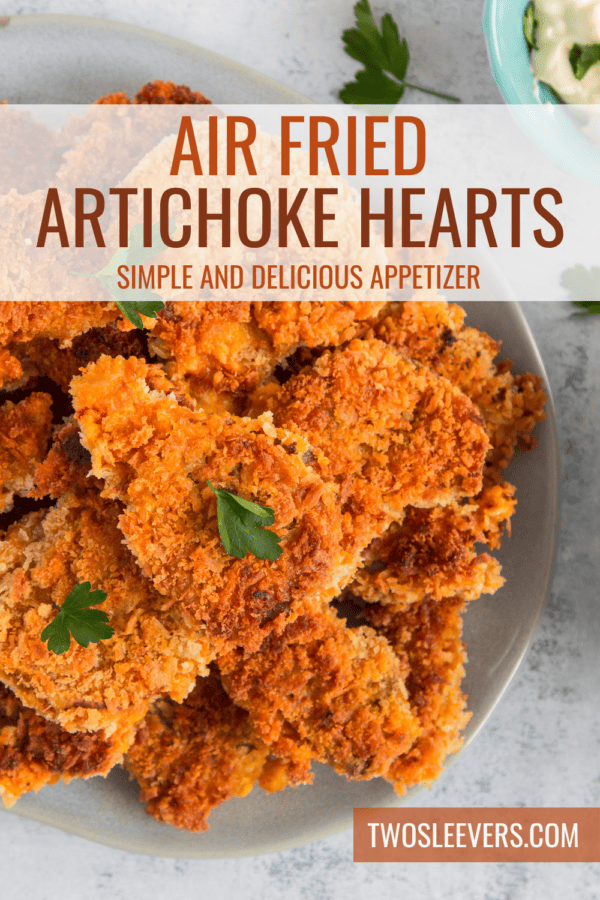
If you’re on the hunt for a crispy and flavorful appetizer or snack, you’re in for a treat! Our Air Fryer Artichoke Hearts recipe takes canned or frozen artichoke hearts to the next level, delivering a delightful crunch and delicious taste that’ll have you coming back for more.
Why You’ll Love These Roasted Veggies
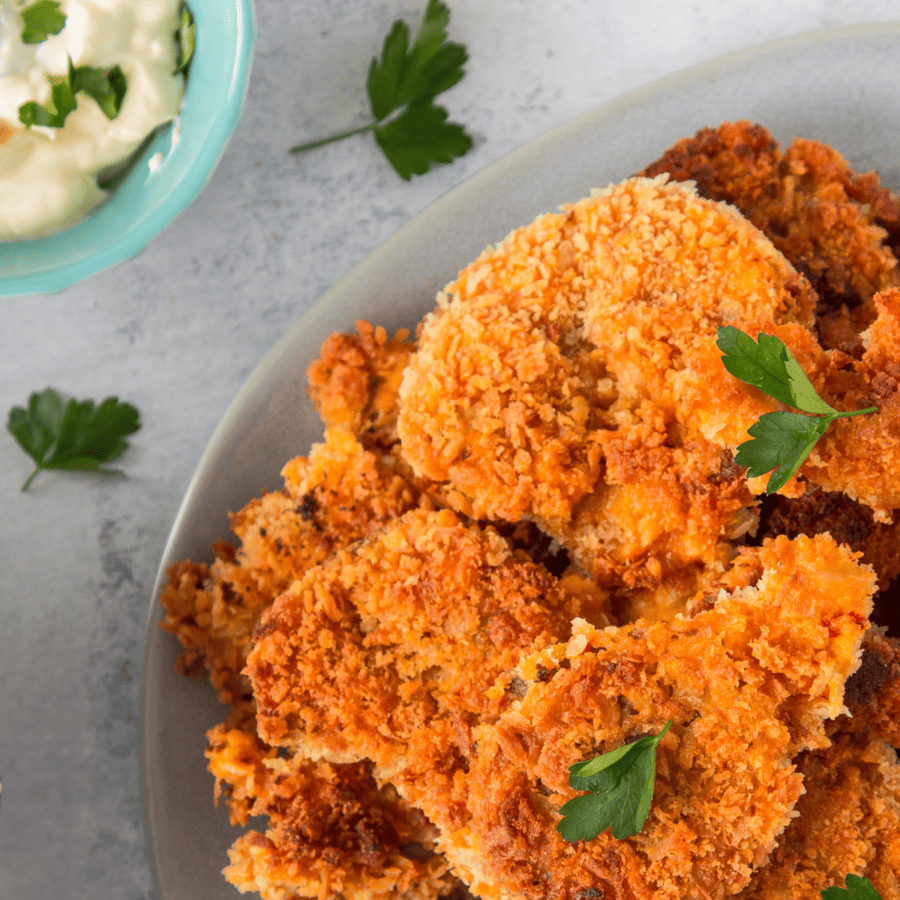
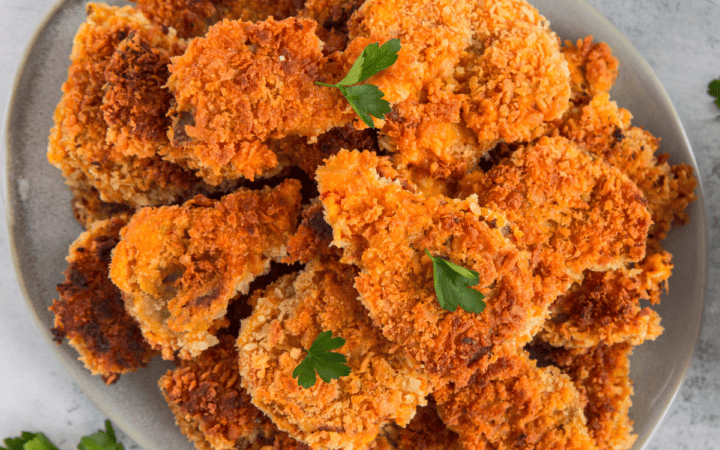
- Irresistible Crunch . Thanks to the magic of the air fryer, you’ll achieve a perfectly crispy texture that’s simply addictive.
- Effortless Prep . This recipe is a breeze to make, requiring minimal effort for a maximum reward.
- Versatile Snack . Whether you’re serving it as an appetizer, side dish, or snack, air fryer artichoke hearts are always a hit.
Air fryer artichoke hearts are versatile and open to various seasoning options. Whether you’re enjoying them as a crunchy snack or a delightful appetizer, this recipe is sure to become a favorite. So, fire up your air fryer and get ready to savor the satisfying crispiness of these delectable artichoke hearts.
Can You Eat Artichoke Hearts Right Out Of The Jar?
Yes, you can eat artichoke hearts right out of the jar. Many artichoke hearts that come in jars or cans are pre-cooked and preserved, making them safe and convenient to consume without further cooking.
The taste and texture of jarred or canned artichoke hearts may vary depending on the brand and preparation method, so you may want to rinse them or season them according to your preference before eating.
Are Canned Artichoke Hearts Healthy For You?
Canned artichoke hearts can be a healthy addition to your diet, as they offer several nutritional benefits. Here are some of the potential health benefits of canned artichoke hearts:
- Low in Calories. Canned artichoke hearts are relatively low in calories, making them a good choice for those looking to manage their calorie intake.
- Rich in Fiber. Artichoke hearts, whether canned or fresh, are a good source of dietary fiber. Fiber is essential for digestive health and can help promote feelings of fullness, which may aid in weight management.
- High in Antioxidants. Artichokes are rich in antioxidants, including quercetin, rutin, and anthocyanins. Antioxidants help protect your cells from oxidative damage caused by free radicals, which may reduce the risk of chronic diseases.
- Vitamins and Minerals. Canned artichoke hearts contain various vitamins and minerals, including vitamin C, vitamin K, folate, potassium, and magnesium. These nutrients play essential roles in maintaining overall health.
Ingredients You’ll Need
- Frozen Artichoke Hearts - These are the main ingredient and the star of the dish. The frozen artichoke hearts will be breaded and air-fried to achieve a crispy and flavorful texture.
- Grated Parmesan Cheese - Parmesan cheese is one of the key components of the breading mixture. It adds a savory and nutty flavor while contributing to the crispy coating of the artichoke hearts.
- Panko Breadcrumbs - Panko breadcrumbs are used to create the crispy outer layer of the artichoke hearts. They provide a light and airy texture, making the artichoke hearts wonderfully crunchy.
- All-Purpose Flour - Flour is another component of the breading mixture. It helps to create a cohesive and adhesive layer that allows the breadcrumbs to stick to the artichoke hearts.
- Mayonnaise - Mayonnaise serves as a binding agent for the breadcrumbs and seasonings. It adds a creamy texture and helps the coating adhere to the artichoke hearts.
- Olive Oil - Olive oil is used to brush or spray the air fryer basket and the artichoke hearts. This prevents sticking and helps the artichoke hearts achieve an even golden brown color during cooking.
- Garlic Powder - Garlic powder provides a delightful garlic flavor to the breading mixture, infusing the artichoke hearts with savory goodness.
- Dried Basil and Dried Oregano - These dried herbs contribute to the overall seasoning of the artichoke hearts, enhancing their flavor profile with aromatic Mediterranean notes.
- Salt and Pepper - Salt and pepper are added to taste, ensuring the artichoke hearts are well-seasoned and flavorful.
How To Make Air Fryer Artichoke Hearts
- Preheat the Air Fryer . Start by preheating your air fryer to 375°F. This ensures that your artichoke hearts will cook evenly and become wonderfully crispy.
- Prepare the Coating . In a shallow dish, combine the grated Parmesan cheese, panko breadcrumbs, all-purpose flour, garlic powder, dried basil, dried oregano, salt, and pepper. Mix them well to create a flavorful coating.
- Coat the Artichoke Hearts . Take each artichoke heart and dip it into the mayonnaise, ensuring it’s evenly coated. Then, roll it in the prepared breadcrumb mixture, pressing gently to adhere the coating. Repeat this process for all the artichoke hearts.
- Air Fry to Perfection . Brush or spray the air fryer basket with olive oil to prevent sticking. Arrange the coated artichoke hearts in a single layer in the basket, making sure they don’t touch. Depending on the size of your air fryer, you may need to cook them in batches.
- Air Fryer Settings . Cook the artichoke hearts in the preheated air fryer at 375°F for about 8-10 minutes or until they turn golden brown and crispy. Flip them halfway through the cooking time for even browning.
- Serve and Enjoy . Once they’re beautifully crispy, transfer the air-fried artichoke hearts to a serving platter. Serve them hot as an appetizer or snack with marinara sauce for dipping if desired.
Tips And Tricks
Making air fryer artichoke hearts is a delicious and easy process, but here are some tips and tricks to ensure they turn out perfectly:
- Preheat the Air Fryer . Preheating your air fryer is important for even cooking and a crispy texture. Preheat it for a few minutes at the recommended temperature before adding the artichoke hearts.
- Don’t Overcrowd . Avoid overcrowding the air fryer basket. Make sure there’s enough space between the artichoke hearts for the hot air to circulate. Cook them in batches if necessary.
- Check and Shake . Halfway through the cooking time, open the air fryer and gently shake the basket to ensure even cooking. This helps in preventing any sticking and achieving uniform crispiness.
Variations
Air-fried artichoke hearts are a versatile and delicious snack or appetizer, and you can customize them with various flavors and ingredients. Here are some variations to consider:
- Spicy Artichoke Hearts - Add a kick of heat by mixing cayenne pepper, paprika, or red pepper flakes into the breadcrumb coating. You can also serve them with a spicy aioli or hot sauce for dipping.
- Cheesy Artichoke Hearts - Boost the cheesy flavor by mixing grated Parmesan, Romano, or Pecorino cheese into the breadcrumb mixture. You can also sprinkle some extra cheese on top of the artichoke hearts before air frying for a cheesy crust.
- Herb-Infused Artichoke Hearts- Experiment with fresh or dried herbs like rosemary, thyme, or parsley to infuse extra flavor into the coating. Fresh herbs can be chopped finely and mixed into the breadcrumb mixture.
What To Serve With Air Fryer Artichoke Hearts
Air fryer artichoke hearts can be served as a delicious appetizer or side dish, and they pair well with various dipping sauces and accompaniments. Here are some ideas for what to serve with them:
- Marinara Sauce - A classic choice for dipping, marinara sauce complements the crispy and savory artichoke hearts perfectly.
- Ranch Dressing - Ranch dressing is a popular choice for dipping fried foods. Its creamy and tangy taste pairs nicely with the crispy artichoke hearts.
- Tzatziki Sauce - If you enjoy Mediterranean flavors, tzatziki sauce, made with yogurt, cucumber, garlic, and herbs, is a refreshing option for dipping.
- Hummus - Hummus is a nutritious and creamy dip that complements the earthy taste of artichoke hearts. It’s a healthy choice for dipping.
How Long Do They Last?
Air fryer artichoke hearts are best enjoyed when they are freshly cooked and still crispy. They are similar to other fried or baked foods, and their texture can change when stored as leftovers.
If you want to save them for later, place the leftovers in an airtight container and store them in the refrigerator. They can be kept for up to 2-3 days.
Can You Freeze Them?
While it’s not ideal, you can freeze air fryer artichoke hearts if you want to store them for a longer period. Place them in an airtight container or a freezer-safe bag. They can be frozen for up to 2-3 months.
More Air Fryer Vegetables
- Air Fryer Mushrooms
- Air Fryer Zucchini
- Roasted Brussels Sprouts
- Air Fryer Asparagus
- Air Fryer Carrots
Air Fryer Artichoke Hearts | Roasted Artichoke Heart Recipe
Ingredients
- ▢ 8 Artichoke Hearts
- ▢ 1/2 cup Mayonnaise
- ▢ 1 cup Panko Breadcrumbs
- ▢ 1/4 cup Parmesan Cheese
- ▢ 1/4 cup All Purpose Flour
- ▢ 1 tsp Garlic Powder
- ▢ 1/2 tsp Dried Basil
- ▢ 1/2 tsp Dried Oregano
- ▢ 1/2 tsp Salt
- ▢ 1/4 tsp Black Pepper
- ▢ 2 tbsp Olive Oil
Instructions
- Preheat the Air Fryer . Start by preheating your air fryer to 375°F. This ensures that your artichoke hearts will cook evenly and become wonderfully crispy.
- Prepare the Coating . In a shallow dish, combine the grated Parmesan cheese, panko breadcrumbs, all-purpose flour, garlic powder, dried basil, dried oregano, salt, and pepper. Mix them well to create a flavorful coating.
- Coat the Artichoke Hearts . Take each artichoke heart and dip it into the mayonnaise, ensuring it’s evenly coated. Then, roll it in the prepared breadcrumb mixture, pressing gently to adhere the coating. Repeat this process for all the artichoke hearts.
- Air Fry to Perfection . Brush or spray the air fryer basket with olive oil to prevent sticking. Arrange the coated artichoke hearts in a single layer in the basket, making sure they don’t touch. Depending on the size of your air fryer, you may need to cook them in batches.
- Air Fryer Settings . Cook the artichoke hearts in the preheated air fryer at 375°F for about 8-10 minutes or until they turn golden brown and crispy. Flip them halfway through the cooking time for even browning.
- Serve and Enjoy . Once they’re beautifully crispy, transfer the air-fried artichoke hearts to a serving platter. Serve them hot as an appetizer or snack with marinara sauce for dipping if desired.
Get support & connect with our community on Facebook!
Nutrition
And don’t forget to check out my air fryer cookbooks! Every day easy air fryer , and Air Fryer Revolution .


If you already signed up, you should have received an email with a password to give you unlimited access to our FREE Printable Library. The password is case sensitive. Enter it below and get printing!
Password:

Air Fryer Artichoke Hearts | Roasted Artichoke Heart Recipe
Ingredients
- 8 Artichoke Hearts
- 1/2 cup Mayonnaise
- 1 cup Panko Breadcrumbs
- 1/4 cup Parmesan Cheese
- 1/4 cup All Purpose Flour
- 1 tsp Garlic Powder
- 1/2 tsp Dried Basil
- 1/2 tsp Dried Oregano
- 1/2 tsp Salt
- 1/4 tsp Black Pepper
- 2 tbsp Olive Oil
Instructions
- Preheat the Air Fryer . Start by preheating your air fryer to 375°F. This ensures that your artichoke hearts will cook evenly and become wonderfully crispy.
- Prepare the Coating . In a shallow dish, combine the grated Parmesan cheese, panko breadcrumbs, all-purpose flour, garlic powder, dried basil, dried oregano, salt, and pepper. Mix them well to create a flavorful coating.
- Coat the Artichoke Hearts . Take each artichoke heart and dip it into the mayonnaise, ensuring it’s evenly coated. Then, roll it in the prepared breadcrumb mixture, pressing gently to adhere the coating. Repeat this process for all the artichoke hearts.
- Air Fry to Perfection . Brush or spray the air fryer basket with olive oil to prevent sticking. Arrange the coated artichoke hearts in a single layer in the basket, making sure they don’t touch. Depending on the size of your air fryer, you may need to cook them in batches.
- Air Fryer Settings . Cook the artichoke hearts in the preheated air fryer at 375°F for about 8-10 minutes or until they turn golden brown and crispy. Flip them halfway through the cooking time for even browning.
- Serve and Enjoy . Once they’re beautifully crispy, transfer the air-fried artichoke hearts to a serving platter. Serve them hot as an appetizer or snack with marinara sauce for dipping if desired.
Air Fryer Artichoke Hearts | Roasted Artichoke Heart Recipe https://twosleevers.com/air-fryer-artichoke-hearts/
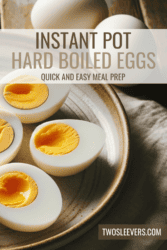
Are you tired of spending valuable time peeling eggs, only to end up with a pitted and less-than-perfect result? Look no further! Our Instant Pot Hard Boiled Eggs recipe is here to revolutionize your egg game. Get ready for consistently perfect hard-boiled eggs with minimal effort.
Why You’ll Love Making Eggs This Way
If you’ve ever struggled with stovetop boiling or wondered how to achieve that ideal hard-boiled egg, you’ll appreciate the benefits of using an Instant Pot:
- Consistency . Instant Pot delivers perfectly cooked eggs every time, with no guesswork or variation in results.
- Efficiency . Pressure cooking in the Instant Pot is faster than boiling on the stovetop. You’ll have your eggs ready in no time.
- Easy Peeling . With our method, you’ll experience easier peeling compared to traditional boiling methods.
- Customizable . Adjust the cooking time to your preference, whether you prefer slightly soft or completely hard yolks.
- Hands-Free . Once you set the Instant Pot, you can go about your tasks while it does the work.
With our Instant Pot Hard Boiled Eggs recipe, you’ll achieve perfect eggs every time without the hassle. Whether you enjoy them as a quick snack or incorporate them into various dishes, your Instant Pot will be your new favorite kitchen appliance for cooking flawless hard-boiled eggs.
What Is The 5-5-5 Method For Eggs?
The 5-5-5 method is a simple and easy-to-remember technique for cooking hard-boiled eggs in an Instant Pot or electric pressure cooker. It involves cooking the eggs at high pressure for 5 minutes, allowing a natural pressure release for 5 minutes, and then placing the eggs in an ice water bath for 5 minutes. This method ensures consistent and perfectly cooked hard-boiled eggs with fully set yolks and easy-to-peel shells.
Here’s a breakdown of the 5-5-5 method for cooking hard-boiled eggs in an Instant Pot:
- Cooking (5 minutes) - Place the eggs in the Instant Pot with a cup of water. Close the lid and set the Instant Pot to “Pressure Cook” or “Manual” mode. Adjust the cooking time to 5 minutes.
- Natural Pressure Release (5 minutes) - After the 5 minutes of cooking are complete, allow the Instant Pot to naturally release pressure for 5 minutes. During this time, the eggs continue to cook gently as the pressure decreases.
- Ice Water Bath (5 minutes) - Carefully transfer the eggs to a bowl of ice water using tongs or a slotted spoon. Let the eggs sit in the ice water bath for 5 minutes. This step stops the cooking process and helps in easy peeling.
Can You Make Eggs In The Instant Pot Without A Rack?
Yes, you can make eggs in the Instant Pot without using a rack. While using a rack helps to keep the eggs elevated and prevents them from touching the bottom of the Instant Pot, you can still achieve good results without one.
Ingredients You’ll Need
- Eggs- Use as many as you need.
- Water- Sufficient to create steam in your Instant Pot.
That’s right! All you need is two things to make perfectly cooked eggs in the Instant Pot. Feel free to garnish them to your preference with some of the suggestions below.
How To Make Instant Pot Hard Boiled Eggs
- Prepare Your Instant Pot . Place the trivet or a steamer basket in your Instant Pot. Add 1 cup of water to the pot.
- Add the Eggs . Place your eggs on the trivet or in the steamer basket. You can cook as few or as many eggs as you want, as long as they’re in a single layer.
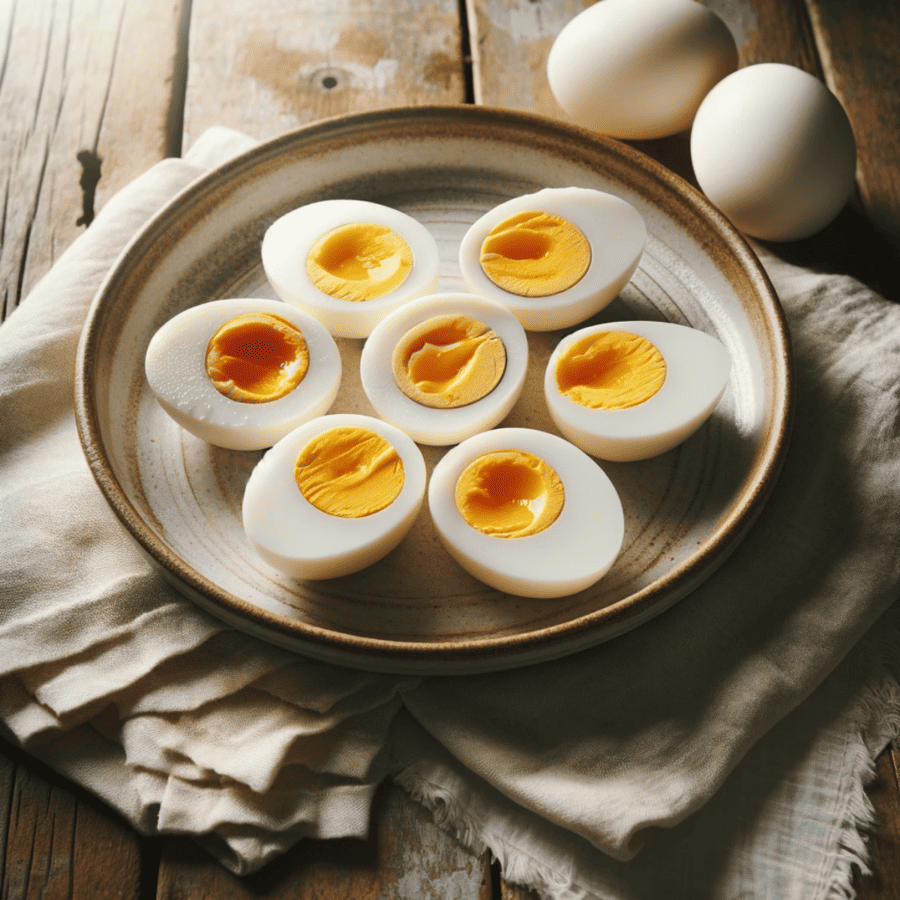
- Set the Instant Pot . Close the Instant Pot lid and ensure the valve is set to the “Sealing” position. Select the “Pressure Cook” or “Manual” setting and set the timer based on your desired yolk consistency: For soft-boiled eggs (runny yolk): 4 minutes For medium-boiled eggs (partially set yolk): 5-6 minutes For hard-boiled eggs (fully set yolk): 7-8 minutes
- Quick Release . As soon as the cooking time is up, perform a quick pressure release by turning the valve to the “Venting” position. Be cautious of hot steam.
- Ice Bath . Transfer the eggs to an ice water bath using tongs or a slotted spoon. Allow them to sit in the ice water for at least 5 minutes. This helps stop the cooking process and makes peeling easier.
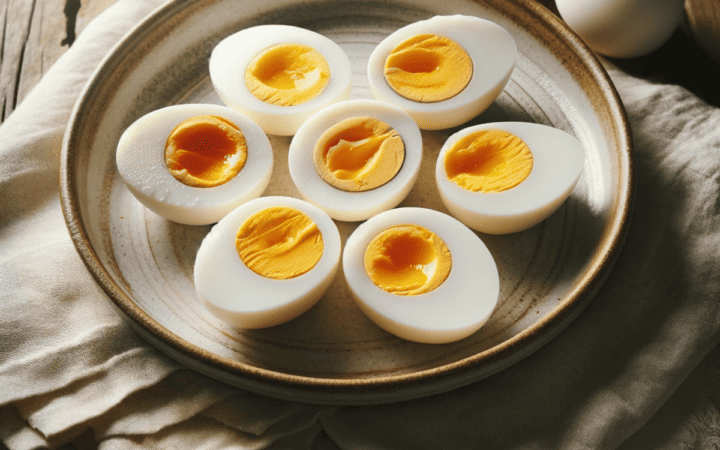
- Peel and Enjoy . Gently crack the eggs on a hard surface, then peel. Your Instant Pot Hard Boiled Eggs are now ready to enjoy!

Tips And Tricks
Making hard-boiled eggs in an Instant Pot is a convenient and foolproof method. Here are some tips and tricks to achieve the perfect eggs:
- Use Fresh Eggs . Fresh eggs tend to be easier to peel. If possible, choose eggs that are less than a week old.
- Rack or Trivet . While you can make Instant Pot hard-boiled eggs without a rack, using one can help prevent cracking and make it easier to place and remove the eggs from the Instant Pot. If you don’t have a rack, you can still make them successfully.
- Peeling . To peel the eggs, tap them gently on a hard surface to crack the shell, then roll them between your hands to loosen the shell. Start peeling from the larger end, where the air pocket is, as it’s often easier to begin peeling from there.
Variations
While perfect hard-boiled eggs are delicious on their own, you can get creative with these variations:
- Deviled Eggs . Slice your hard-boiled eggs in half, remove the yolks, mix them with mayo, mustard, and seasonings, then pipe the mixture back into the egg whites.
- Egg Salad . Chop hard-boiled eggs and mix them with mayonnaise, mustard, celery, and seasoning to make a classic egg salad.
- Pickled Eggs . Submerge your peeled hard-boiled eggs in a pickling solution of vinegar, water, and spices for a tangy and colorful treat.
How To Serve Instant Pot Hard Boiled Eggs
Instant Pot hard-boiled eggs are incredibly versatile and can be served in various ways. Here are some popular serving options:
- Classic Snack - Enjoy hard-boiled eggs as a simple and nutritious snack. Just sprinkle a pinch of salt and pepper on them and eat them as they are.
- Deviled Eggs - Turn your hard-boiled eggs into deviled eggs. Cut them in half, scoop out the yolks, and mix them with mayonnaise, mustard, a touch of vinegar, and seasoning. Pipe or spoon this filling back into the egg whites for a delicious appetizer.
- Egg Salad - Chop hard-boiled eggs and combine them with mayonnaise, diced celery, chopped green onions, mustard, and your favorite seasonings to create a classic egg salad. Enjoy it in sandwiches, wraps, or on a bed of lettuce.
- Sliced on Salads - Add sliced or chopped hard-boiled eggs to salads for an extra protein boost. They work well in green salads, Cobb salads, or as a topping for a Nicoise salad.
- As a Breakfast - Serve hard-boiled eggs as part of your breakfast. They pair nicely with toast, avocado, and fresh fruit for a balanced morning meal.
How Long Do They Last?
Instant Pot hard-boiled eggs, when properly stored, can last in the refrigerator for up to one week.
Always use your best judgment when assessing the freshness of hard-boiled eggs. If they develop an off-putting odor, unusual texture, or any signs of spoilage, it’s best to discard them.
Can You Freeze Them?
While it’s best to consume hard-boiled eggs fresh, you can freeze them for later use. However, freezing may change their texture slightly. If you plan to freeze them, peel the eggs, wrap them tightly in plastic wrap or aluminum foil, and place them in an airtight container.
They can be frozen for up to 3 months.
More Recipes With Eggs
- Air Fryer Hard Boiled Eggs
- Egg Korma
- Keto Scotch Eggs
- Egg Loaf
- Keto Egg Drop Soup

Instant Pot Hard Boiled Eggs | Super Easy Hard Boiled Eggs
Ingredients
- ▢ 6 Eggs
- ▢ 1/2 cup Water
Instructions
- Cooking (5 minutes) - Place the eggs in the Instant Pot with a cup of water. Close the lid and set the Instant Pot to “Pressure Cook” or “Manual” mode. Adjust the cooking time to 5 minutes.
- Natural Pressure Release (5 minutes) - After the 5 minutes of cooking are complete, allow the Instant Pot to naturally release pressure for 5 minutes. During this time, the eggs continue to cook gently as the pressure decreases.
- Ice Water Bath (5 minutes) - Carefully transfer the eggs to a bowl of ice water using tongs or a slotted spoon. Let the eggs sit in the ice water bath for 5 minutes. This step stops the cooking process and helps in easy peeling.
Get support & connect with our community on Facebook!
Nutrition
Don’t forget to check out my otherBest-selling Instant Pot Cookbooks!
Indian Instant Pot , Keto Instant Pot, Instant Pot Fast and Easy , Healthy Instant Pot & Vegetarian Instant Pot .

